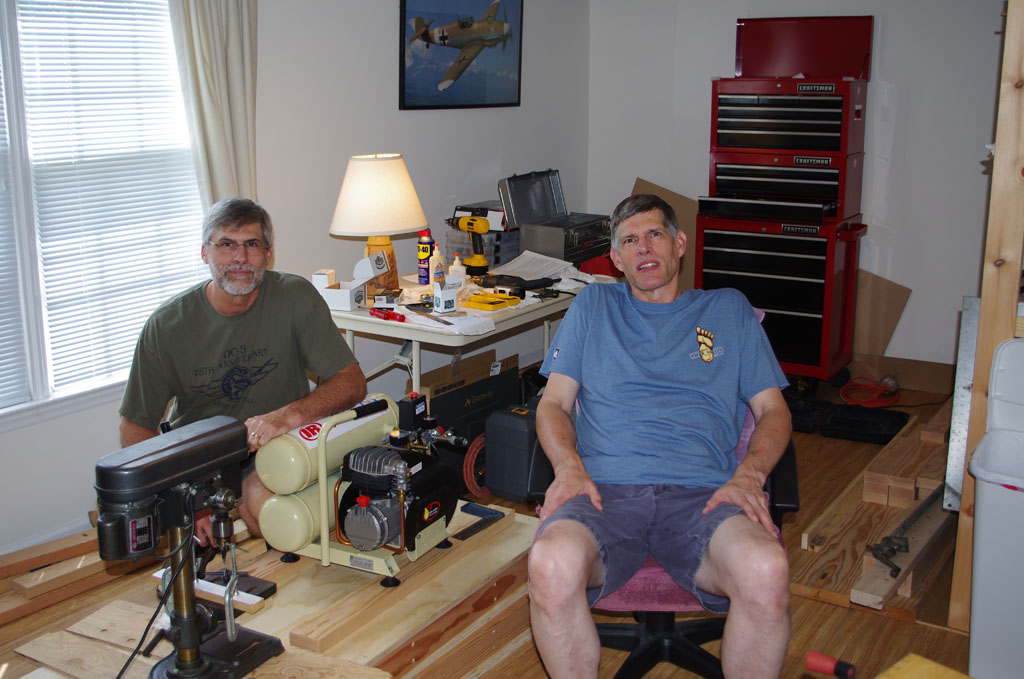
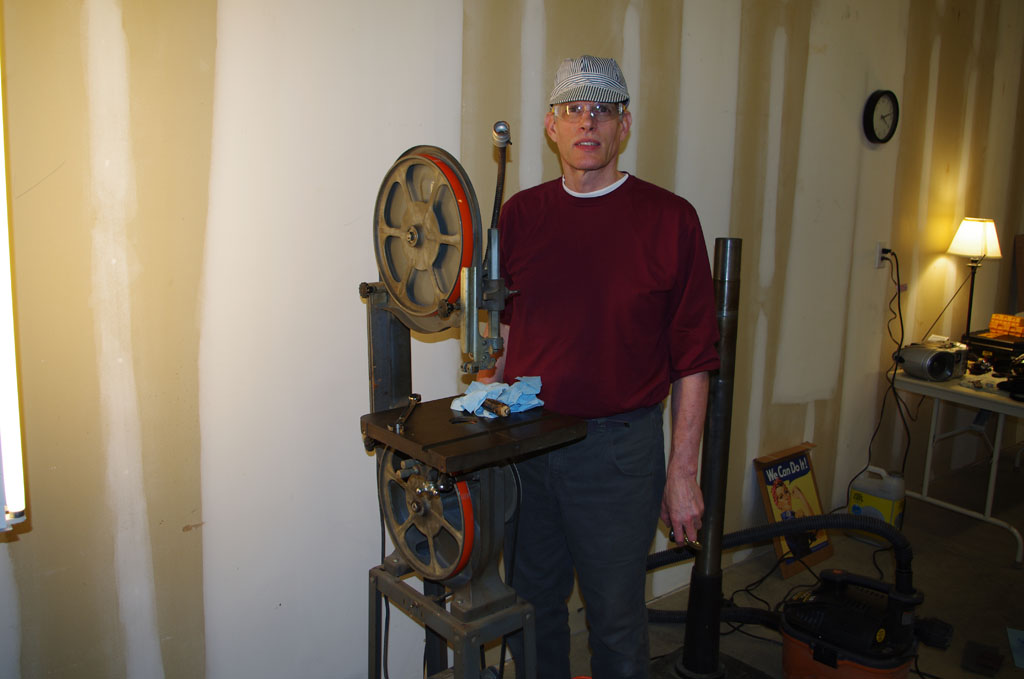
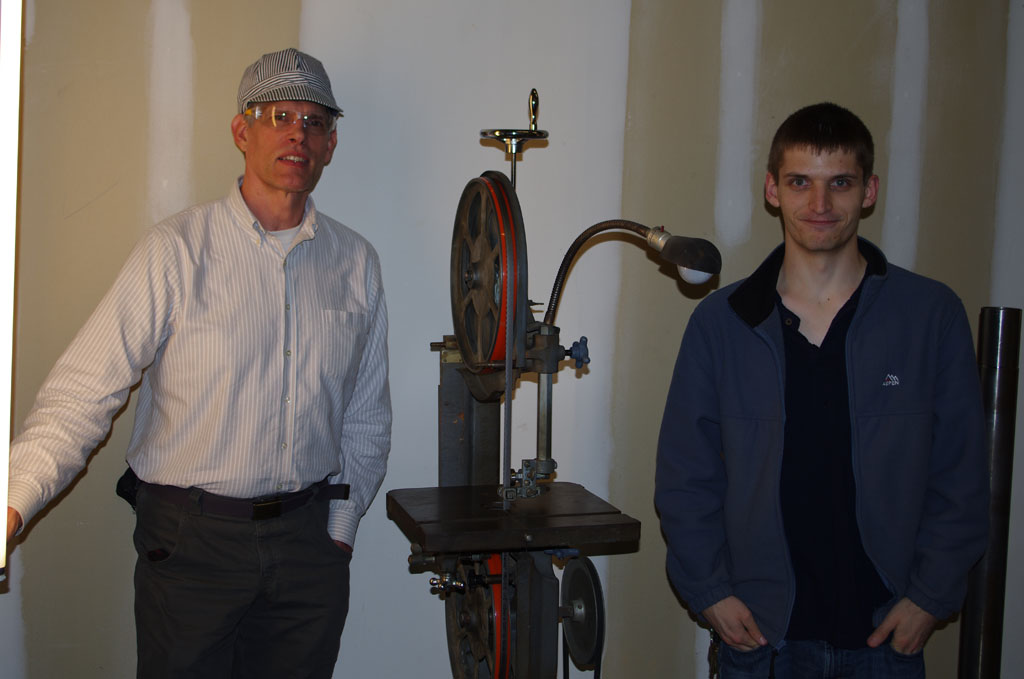
Over the first two weeks in 2015 Rich came from Texas with a Trooper full of wonderful old tools. The crown jewels included a Delta-Rockwell 28-207 bandsaw (based on a model 890 and made in Tupelo, MS in 1953), a Delta 17-900 drill press, belt sander, grinder, scroll saw, and numerous drill vises, clamps, and jigs. We spend most of the two weeks dis-assembling, cleaning, lubricating, and reconfiguring. Here are a series of photos showing the work in the new shop location.
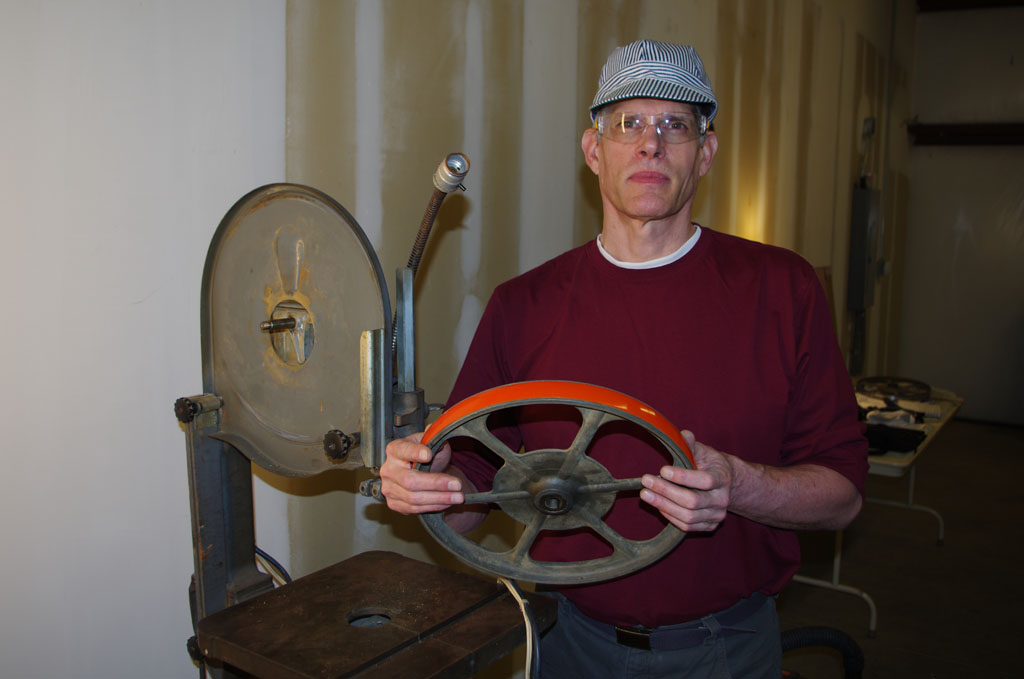
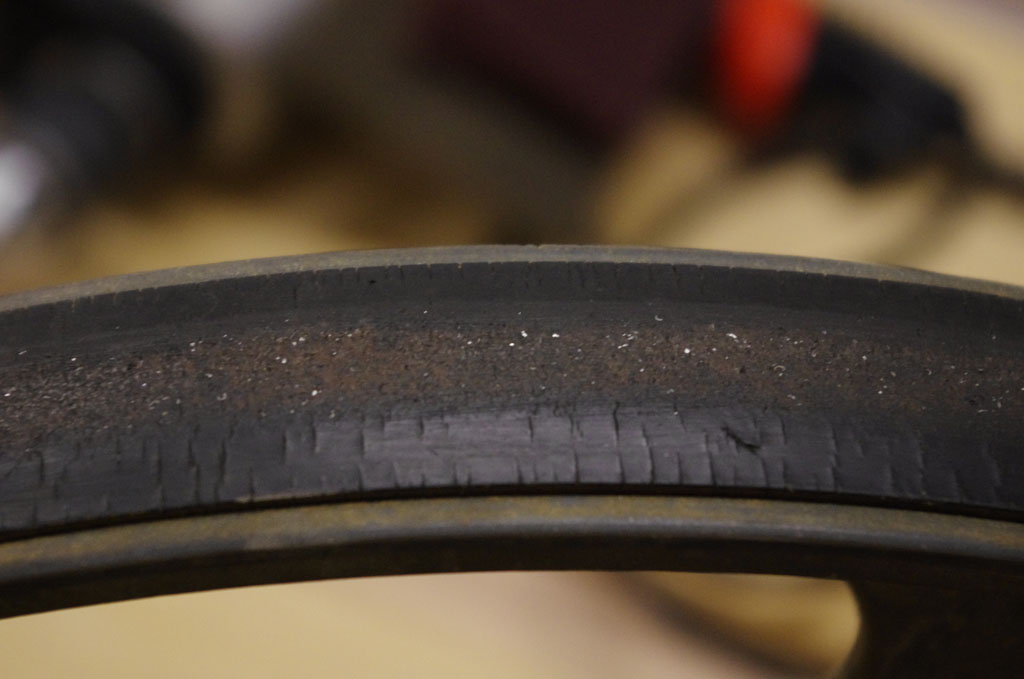 The old rubber tires looked near original. Nice, but not very effective these days.
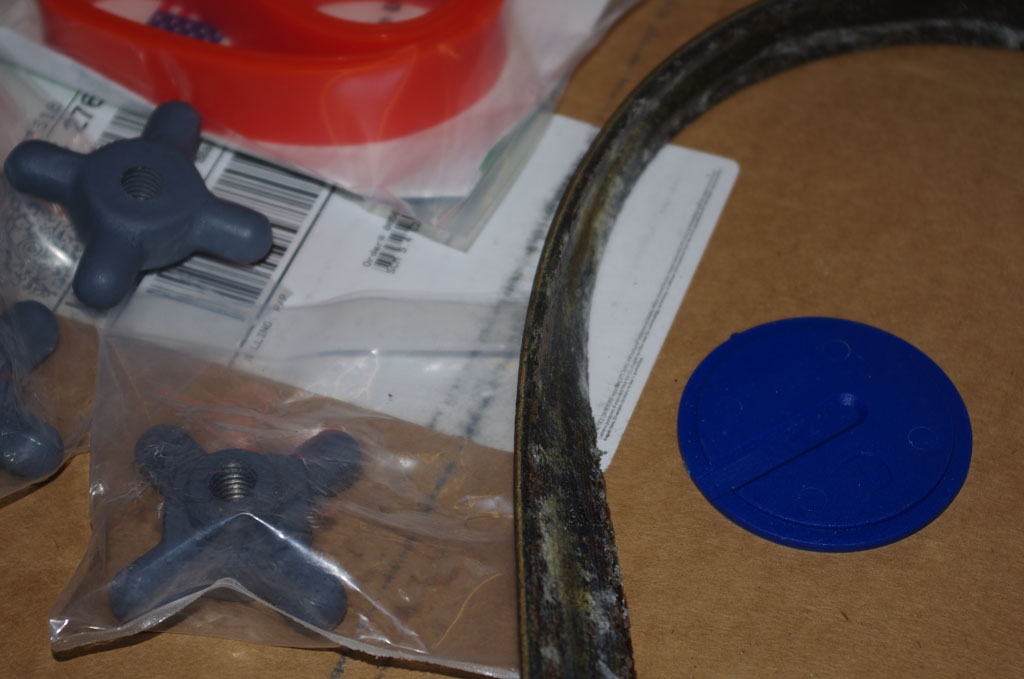
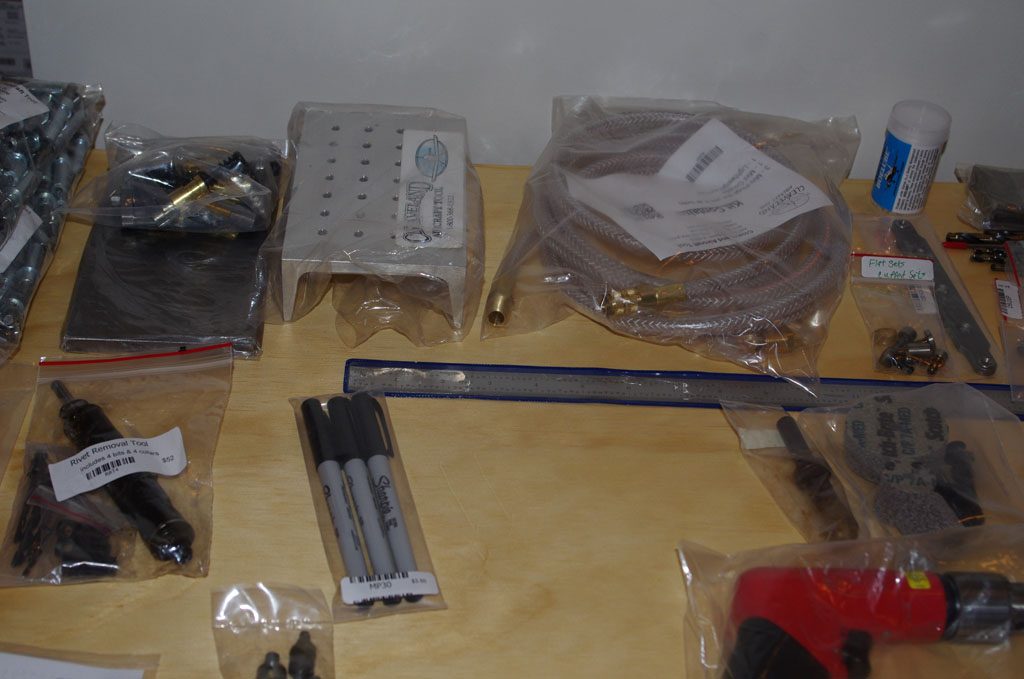
 Between Rich and I we acquired numerous rebuild parts. Most of them came from Iturra Design. It is quite interesting that almost all the parts (besides the cast iron pieces) can be had new for this machine.

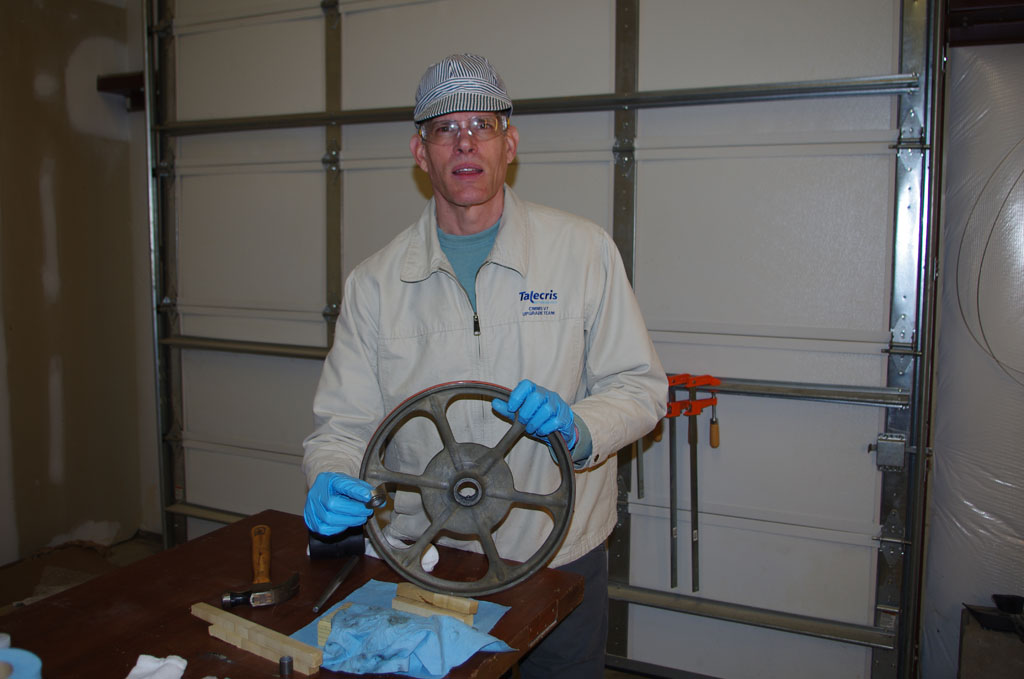
 Removing, cleaning, and putting new tires on the wheels.

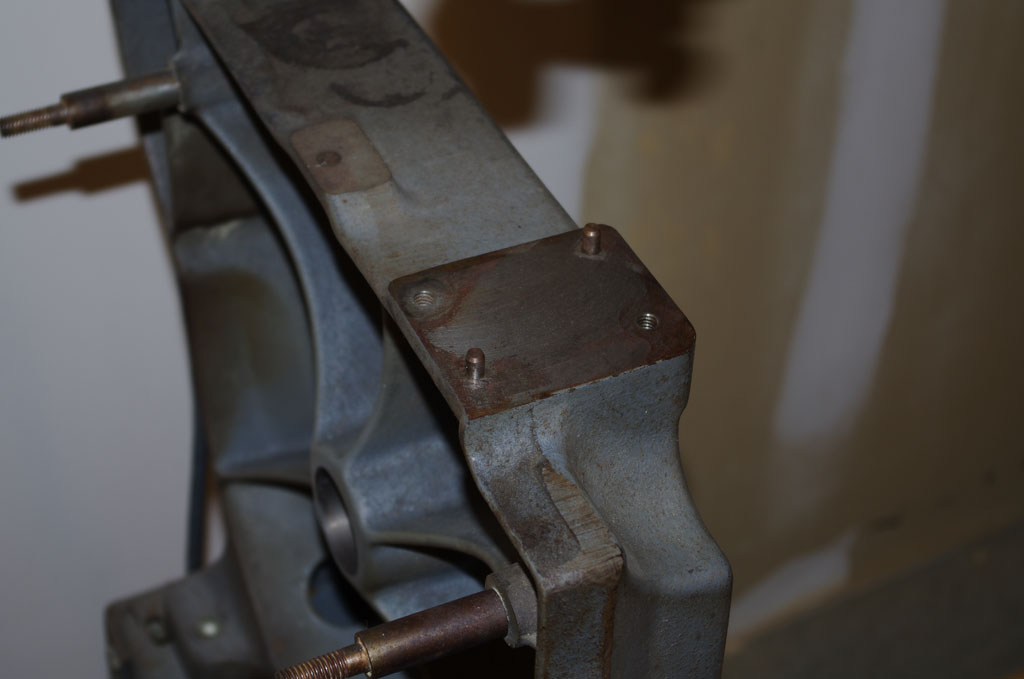
 New ceramic, from a company literally called SpaceAge Technology).
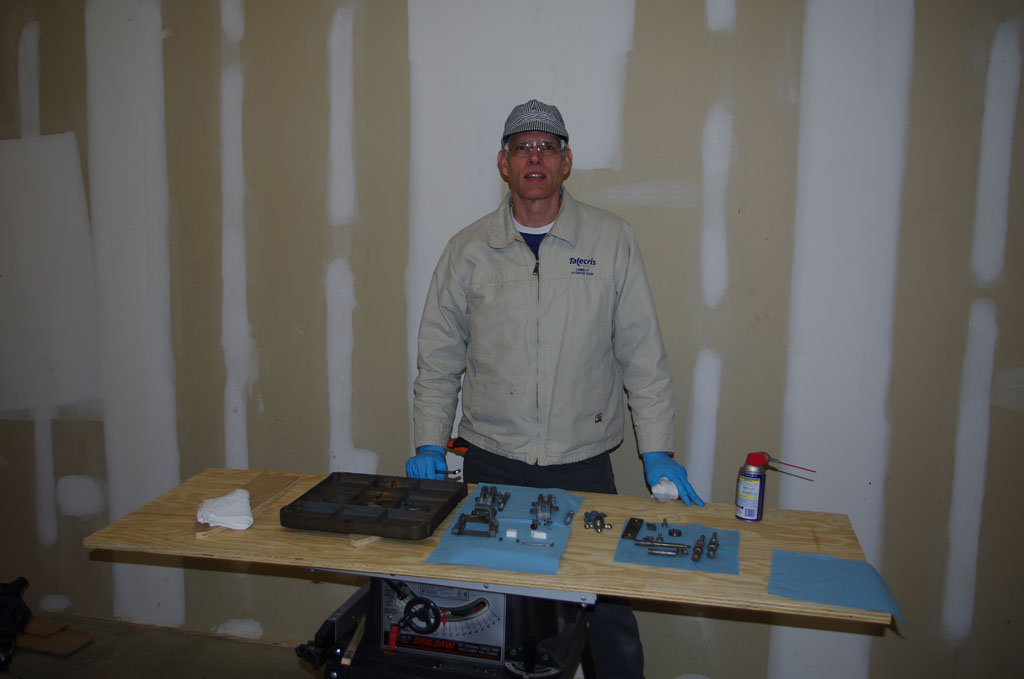
 After using the bandsaw a few times, I went ahead with ordering replacement bearings, shims, and some additional parts. Started the rebuild process again.
 Remove the table and dis-assemble the adjustment mechanism.

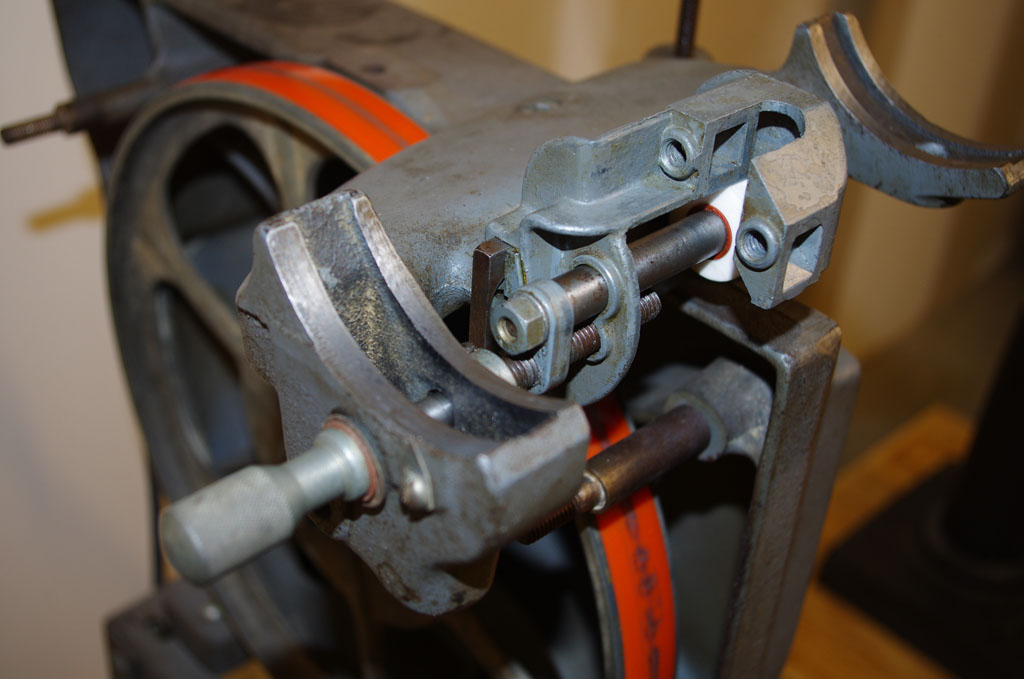 Clean and reassemble the table adjustment mechanisms.
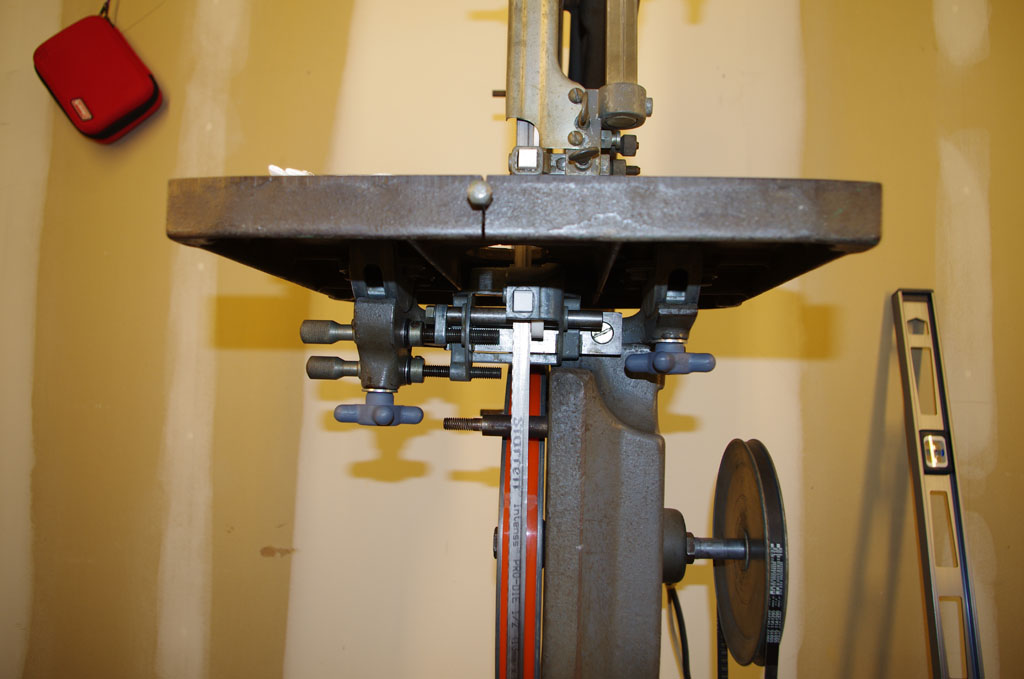 Table and saw blade reinstalled. Notice the new cranks and bolts on the trunnions, courtesy of Rich.
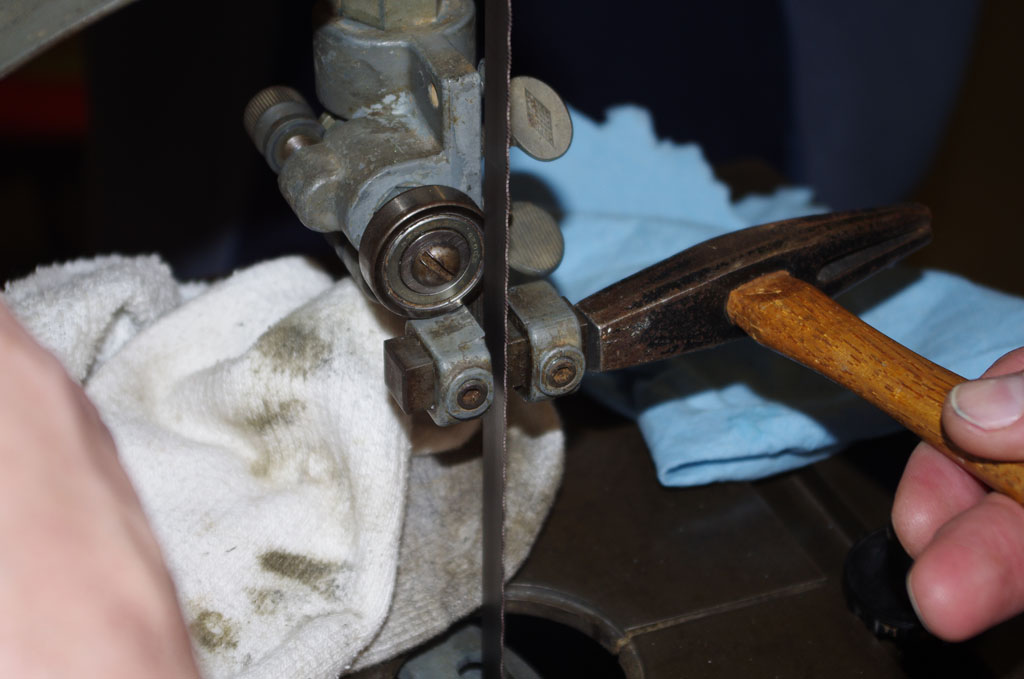
 Remove the old bearings. Note the retaining clips on the upper wheel.
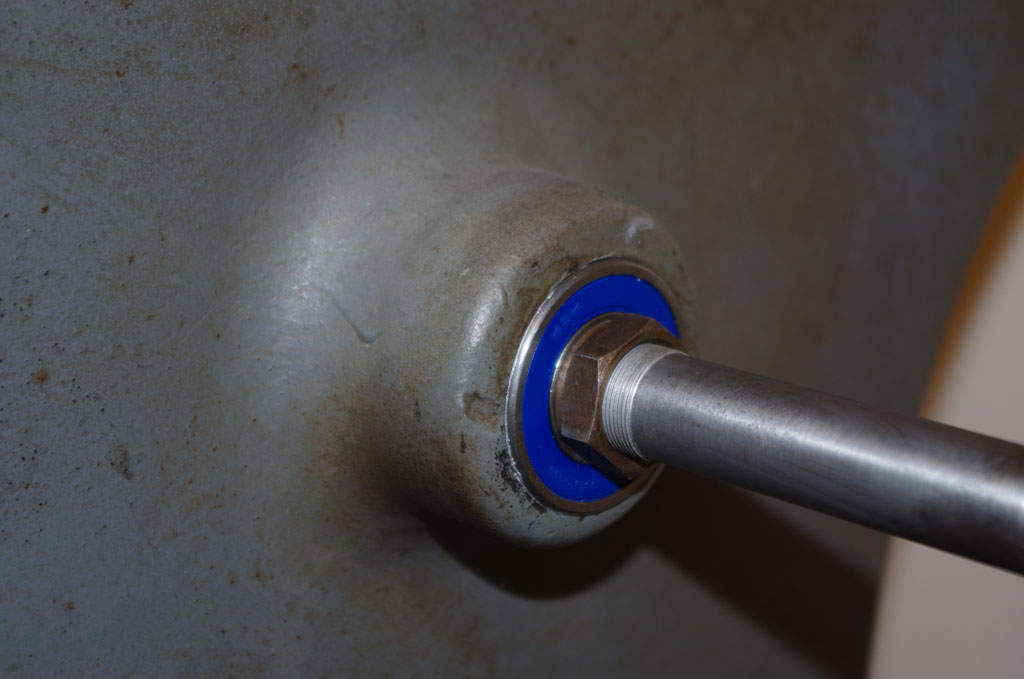 Lower bearing installed on drive side.

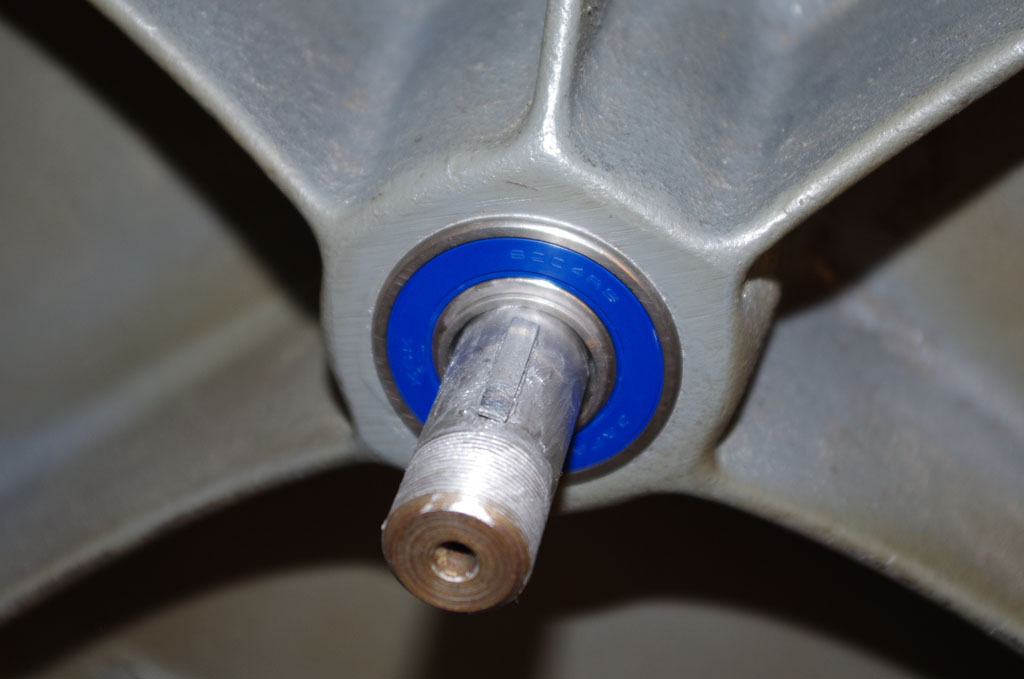 Lower bearing on wheel side partially, then fully installed.
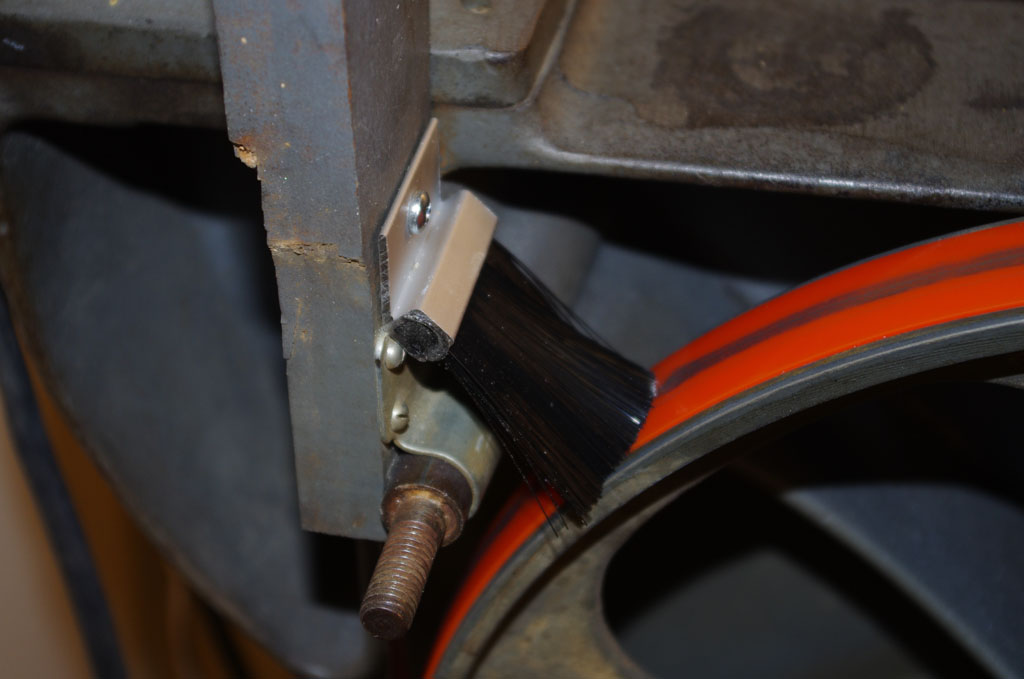
 Here is the new wheel brush installed on the lower guard. I replaced the 39″ v-belt with one 35″ long. Why – because there was absolutely no tension adjustment with the longer belt – the motor rested directly on the mounting plate. I used 3/8″ x 4″ bolts to elevate the motor slightly and used multiple nuts for final height/tension adjustment. This configuration seems to work well.
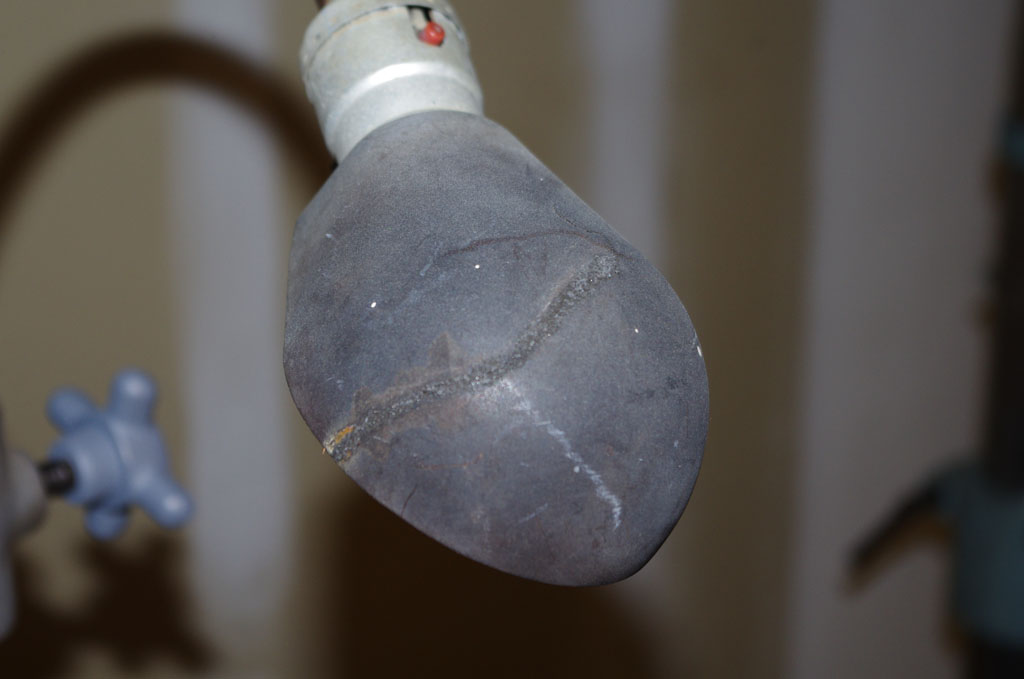
 Q-bond was used to repair the original bakelite light shade. This completes the refurbishment process for the time being. With the cleaning, new parts and bearings, the saw runs very smoothly.
DRILL PRESS
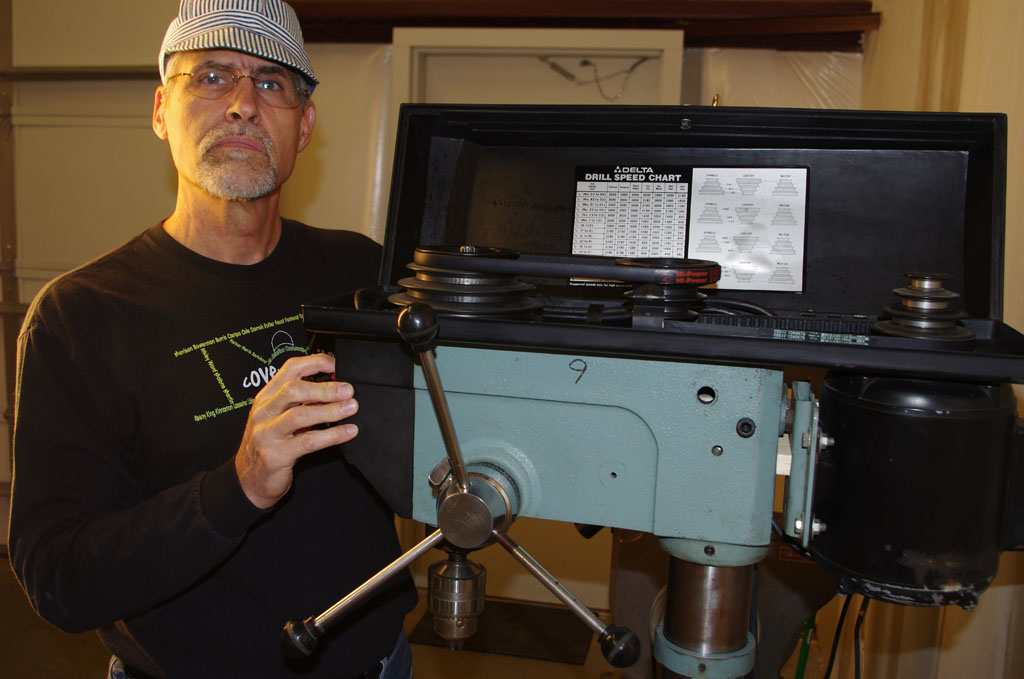
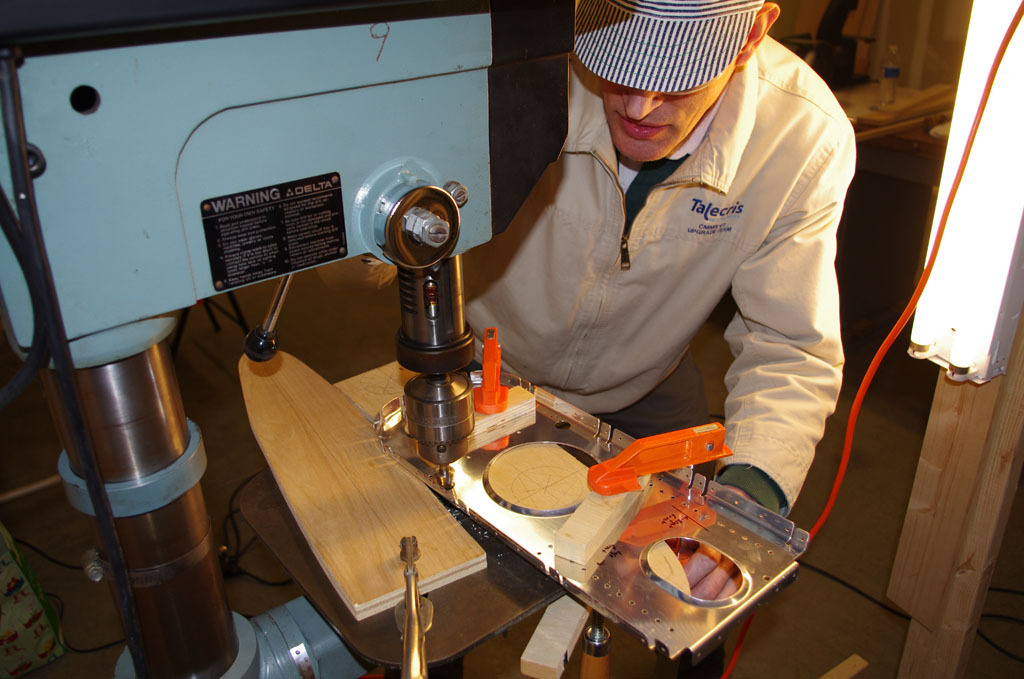
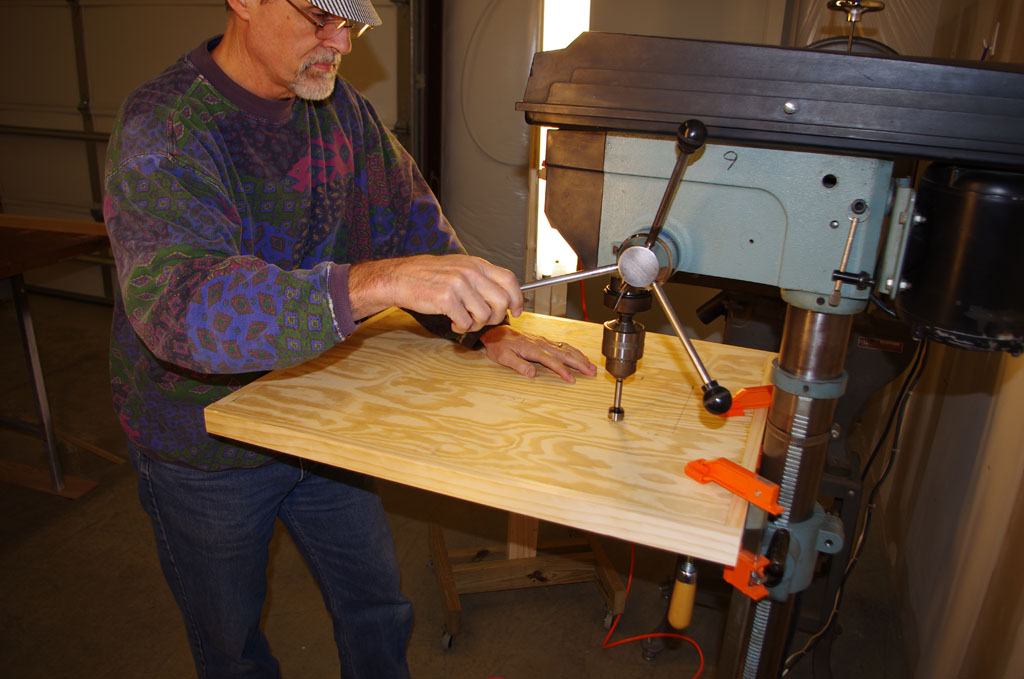
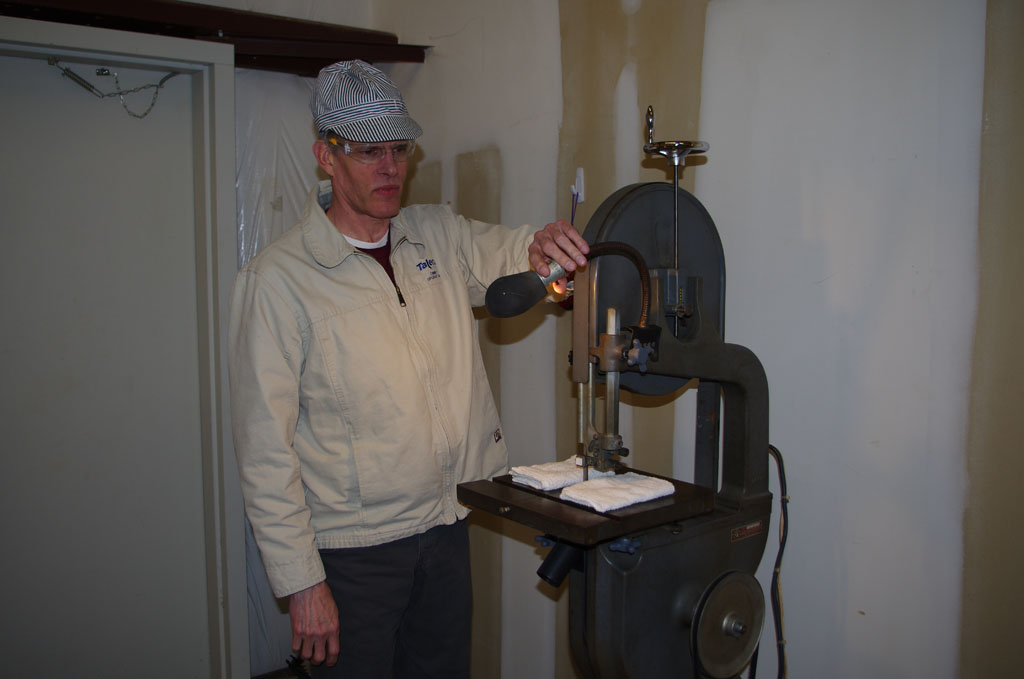
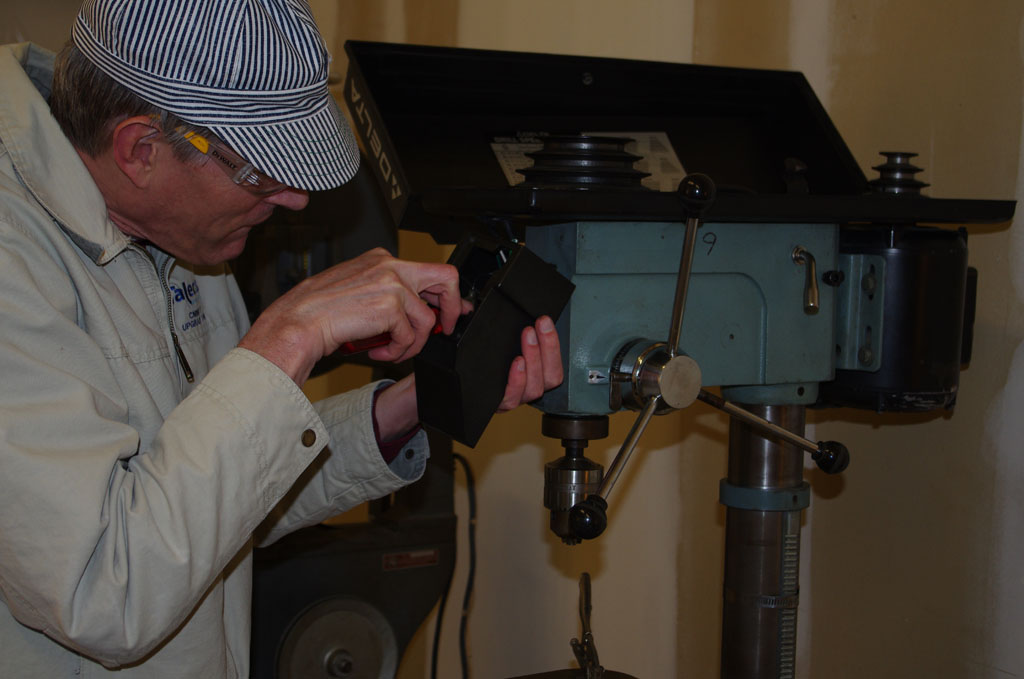
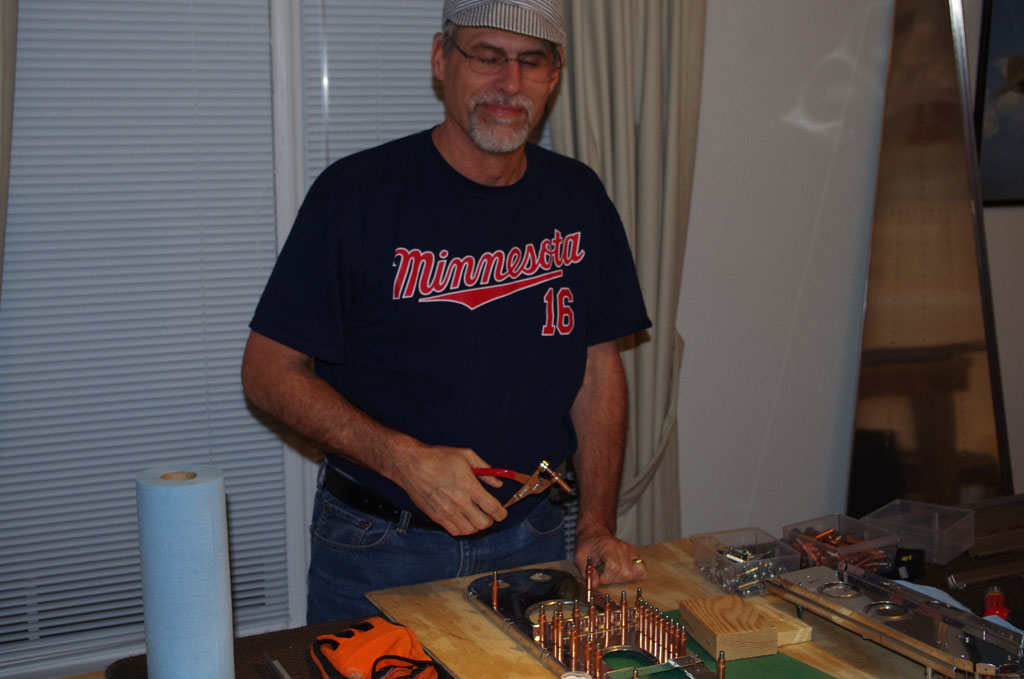
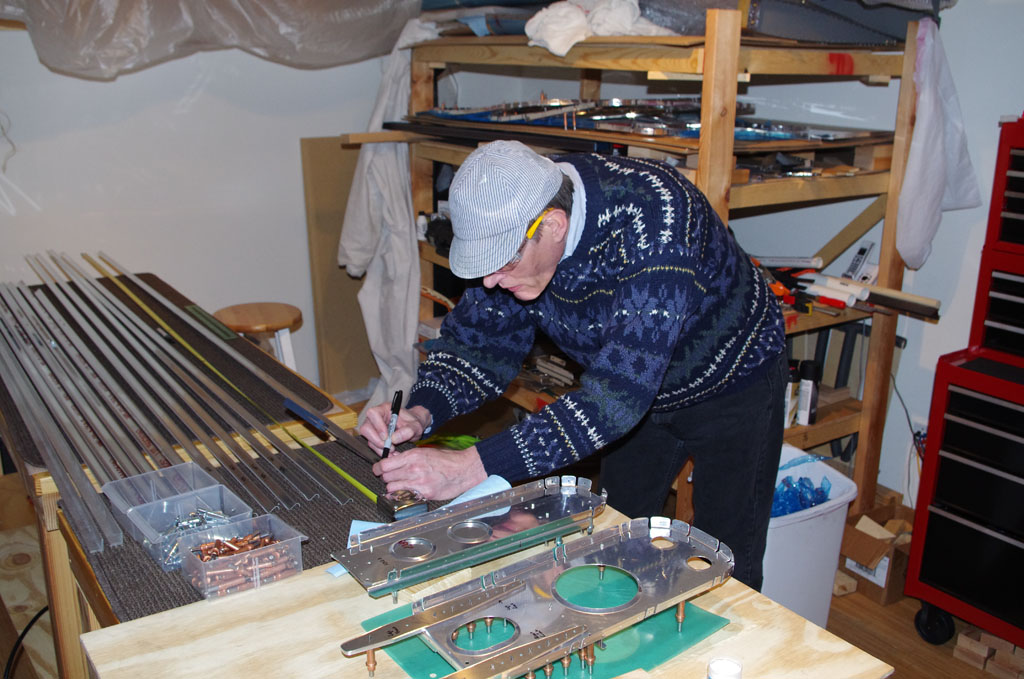
We measured the runout on this machine at less than 0.001″ of an inch right off his truck. Outstanding! I will replace belts, a few missing set screws, a broken belt-tensioning eccentric lever, and fix the table adjusting crank, but overall the machine works great. The photos above show it in action on some tail section bulkheads, and Rich using a Forstner bit to make some ‘furniture-quality’ floor stands.
SECOND REBUILD
 After receiving the parts, I proceeded to drill out the broken bolt on the table adjusting crank. The over-sized hole was then tapped for a M10 metric bolt. This arrangement seems to work well.

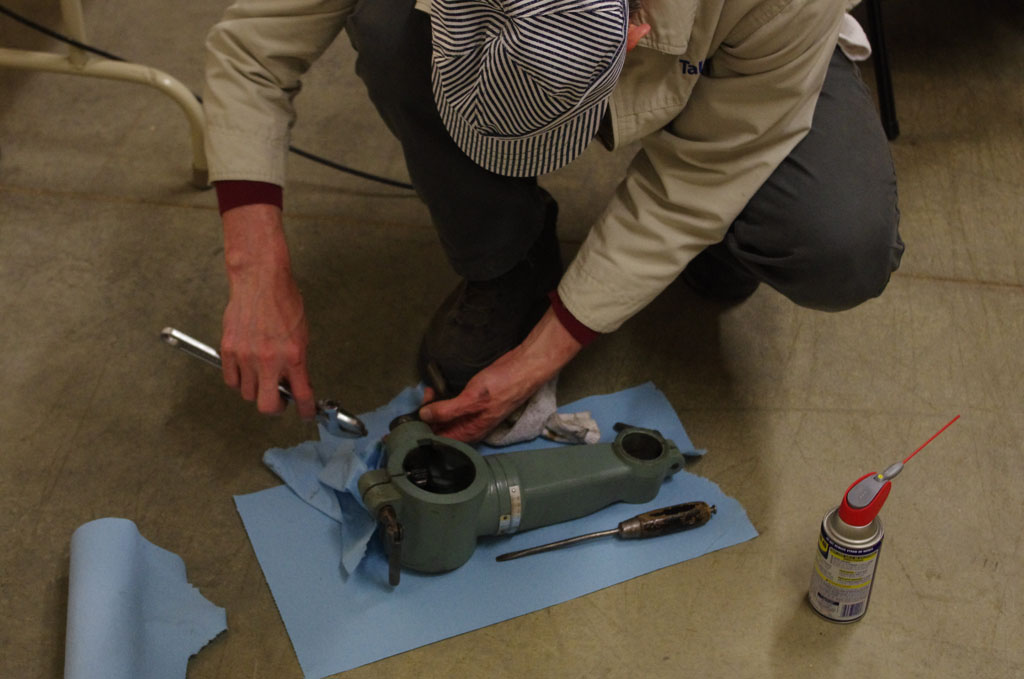
 The top pulleys and belt housing were removed to clean the motor adjustment pins. After a good greasing, these were reinstall on the cast iron head. A replacement power switch faceplate is added after the wiring is put back in place.

 Final adjustments to the faceplate and ready for power on.
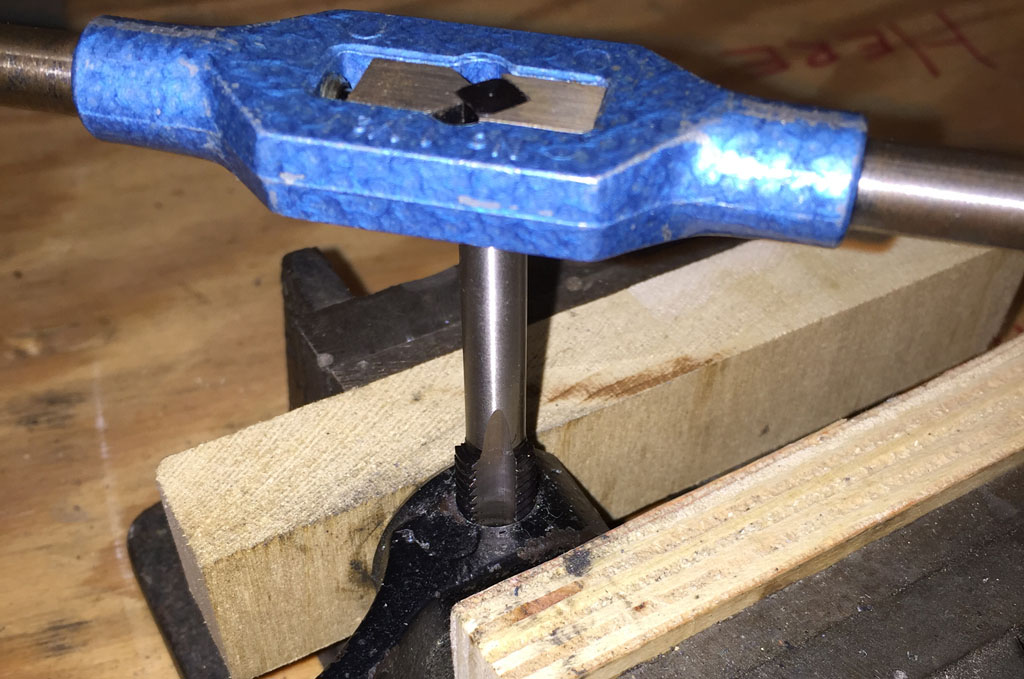
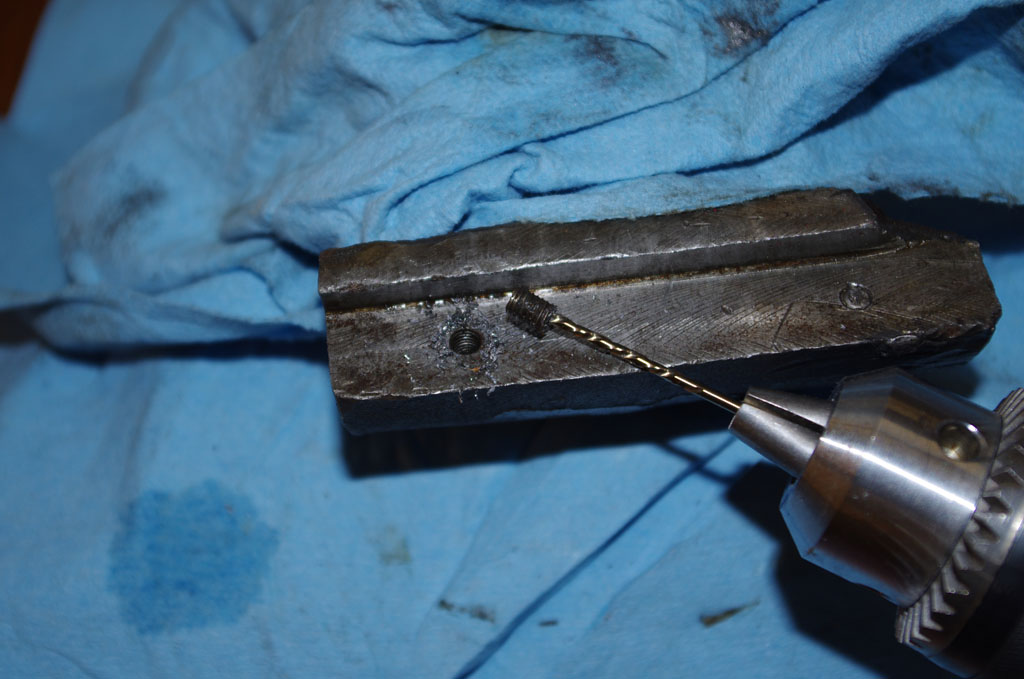
 I broke the original retaining bolt off during the initial cleanup. After repeated attempts to back out the broken bolt shaft, I finally purchased a left-handed cobalt drill. This worked well, but the bolt did not back out on its own. Tapping the final hole with an M10-1.5 set I had from Germany, then filling with an appropriate metric set screw did the trick.

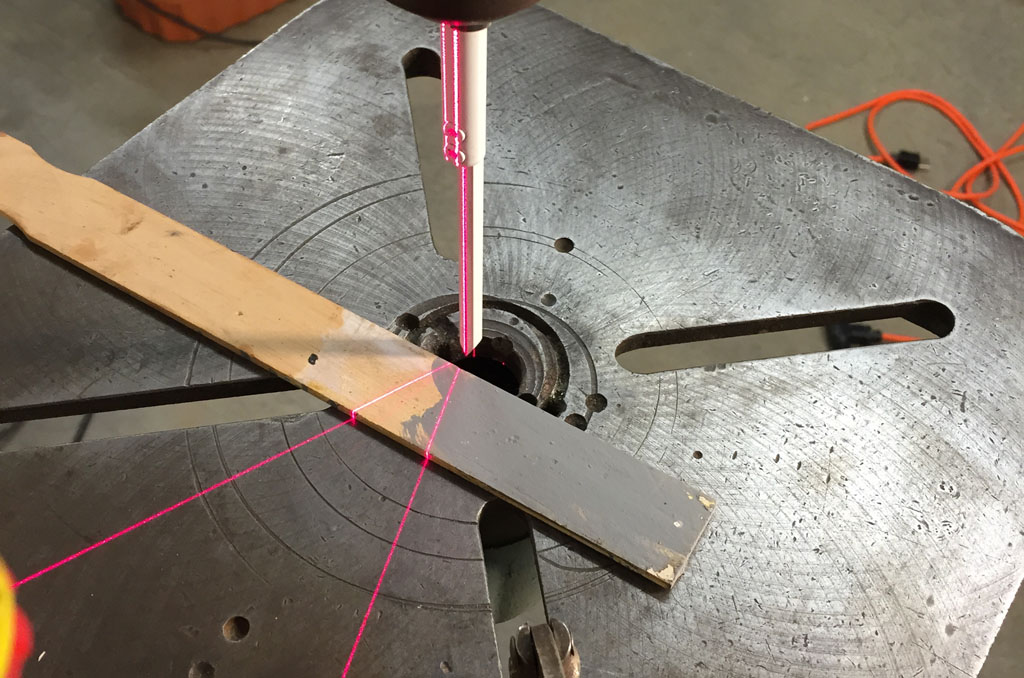 The addition of a Peachtree PW929 drill press laser for $40 rounds out the second rebuild.
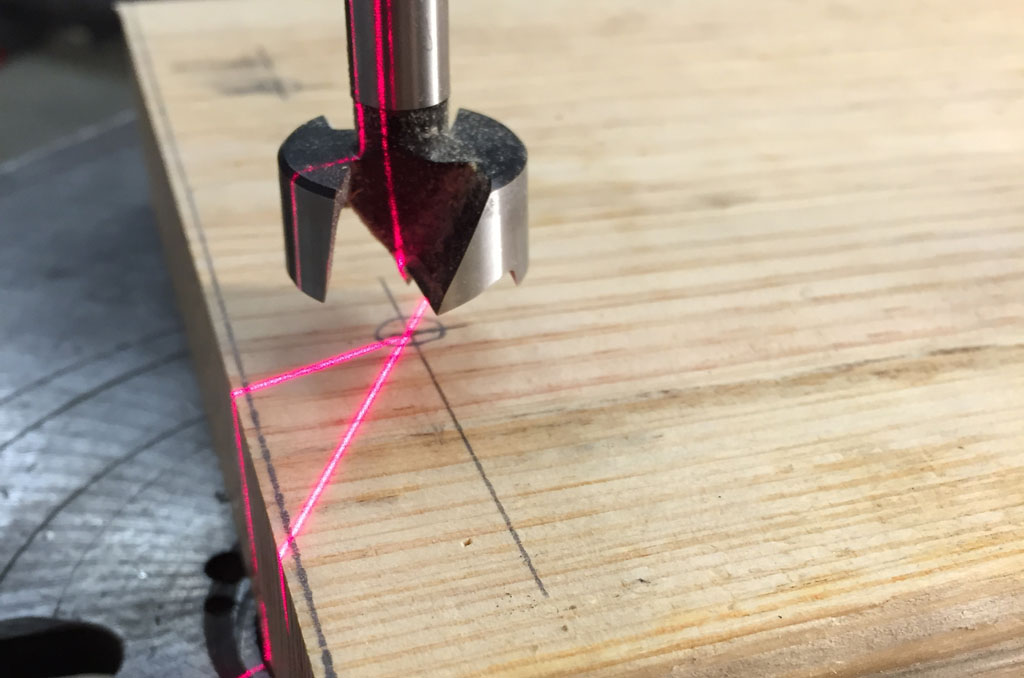 The laser functions on the principle that two intersecting planes form a straight line. By adjusting the two laser heads vertically with the spindle shaft and correcting for angle should provide a clear cross indicator for a drill center at any depth. Very cool on the science side, plus it makes positioning your drill piece extremely fast and easy. I would say this is good value for the price. We’ll see how robust it is as time goes by.
VISE and SANDER (January 31, 2015)
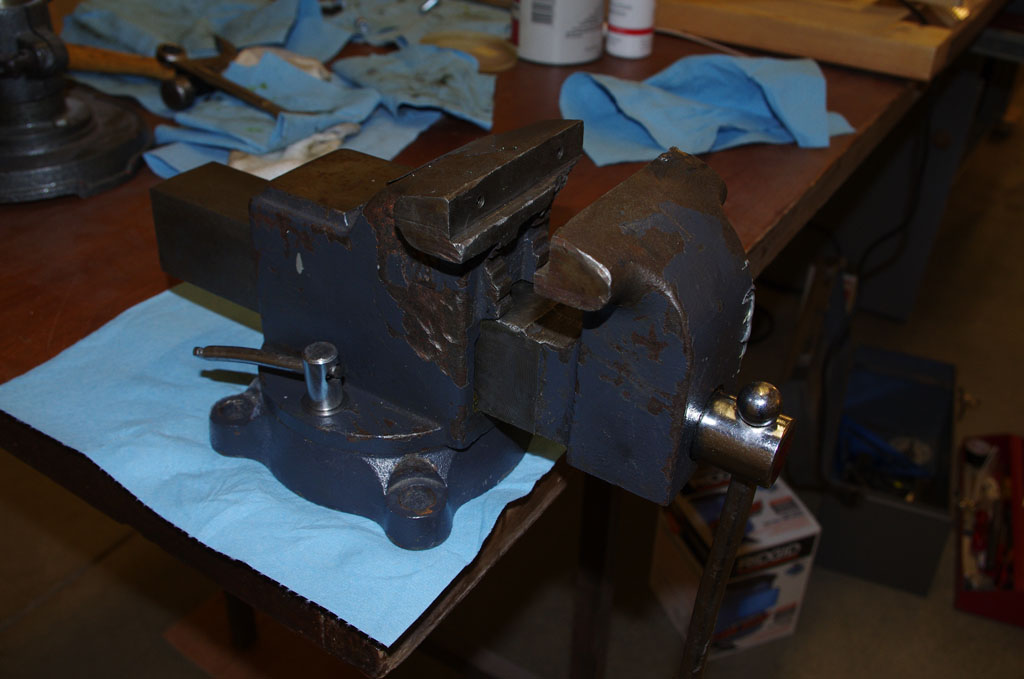
 I bought an old Wilton 4″ vise on Craigslist for $25 a few weeks ago. As show here, the jaw inserts were missing, with the broken fastening screws left in the faces. A 5/32″ left-handed, cobalt was used to drill them out. Fortunately all four screws backed out on their own during the drillout process. Luck will beat skill most times!
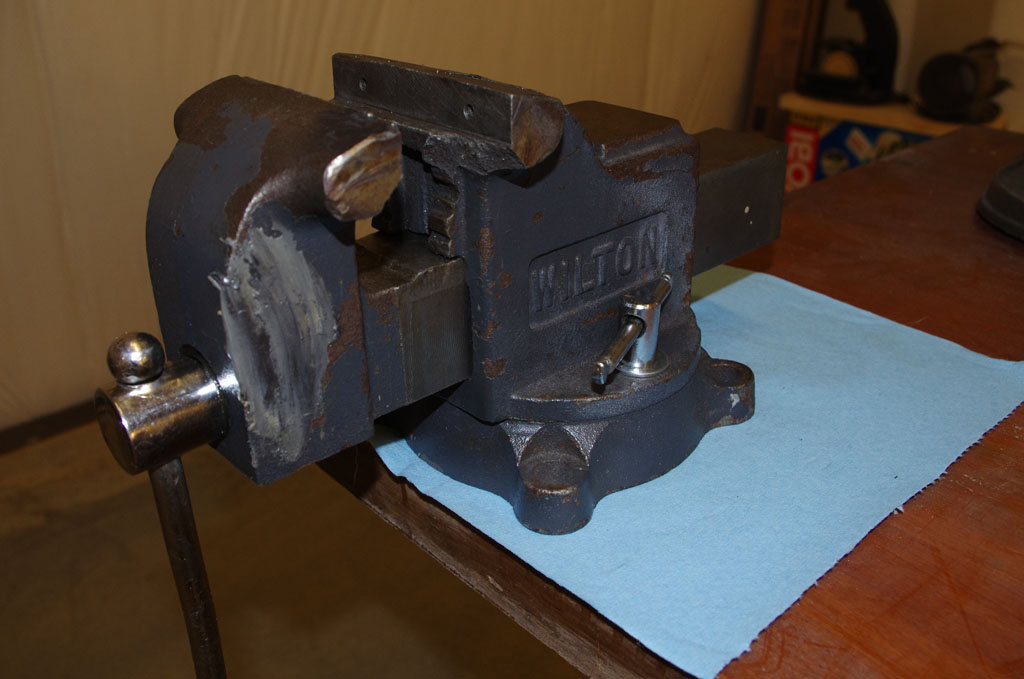
 Here is the vise after cleaning and greasing. I will mount on a 2″x8″ board, and should be able to clamp down to the bench surfaces as needed. Replacements faces are on order, so it should work good as new.
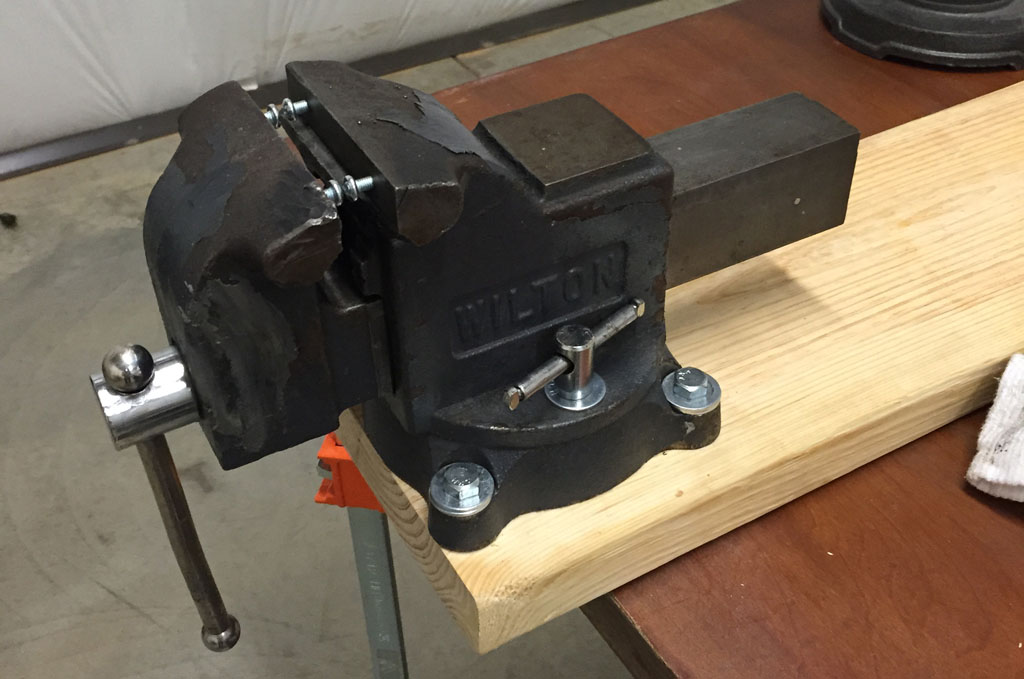
(February 7) I used 1/4″ lag screws to fasten to the board. Overall result – rock solid.
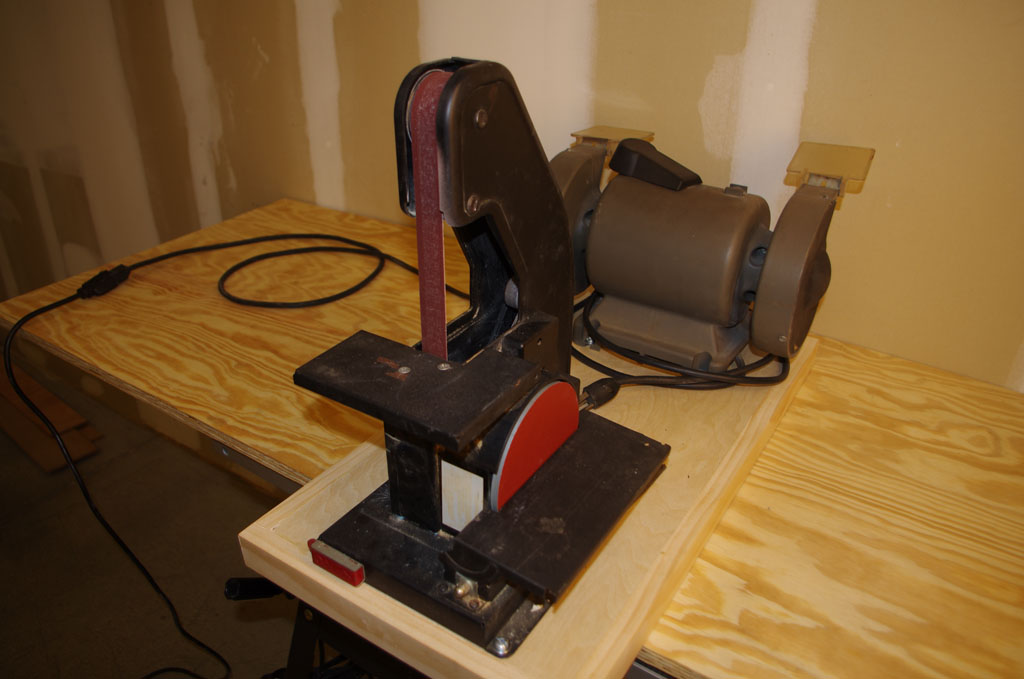 Rich built another quality base for the Craftsman sander and grinder he brought from Texas. Here both are shown mounted on the base. The sander was cleaned and new 5″ disc / 1″ x 15″ belt were added.
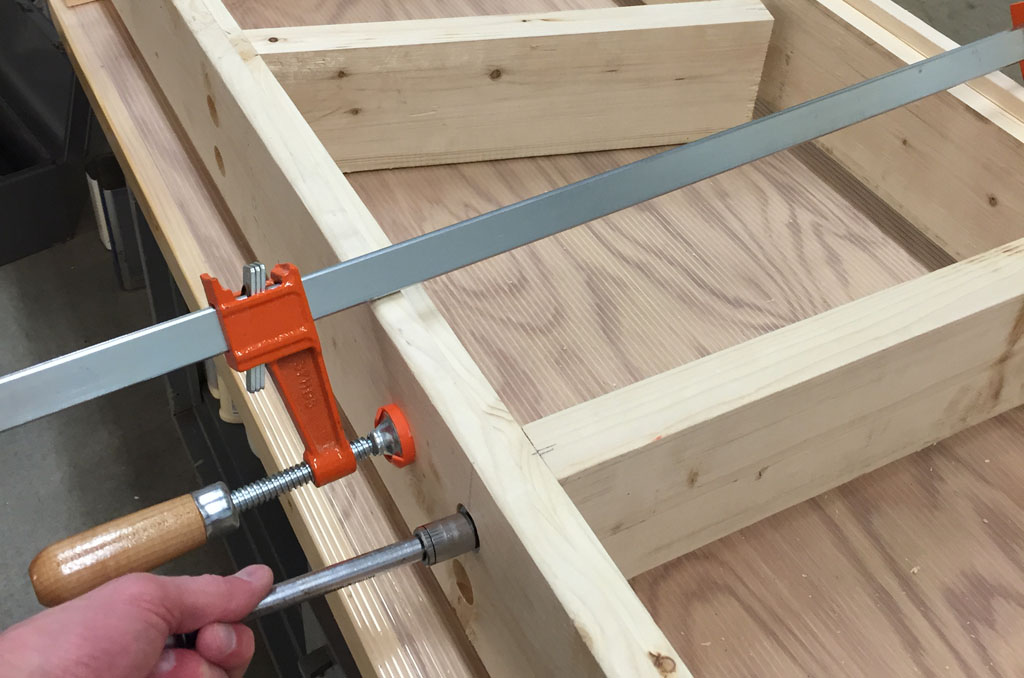
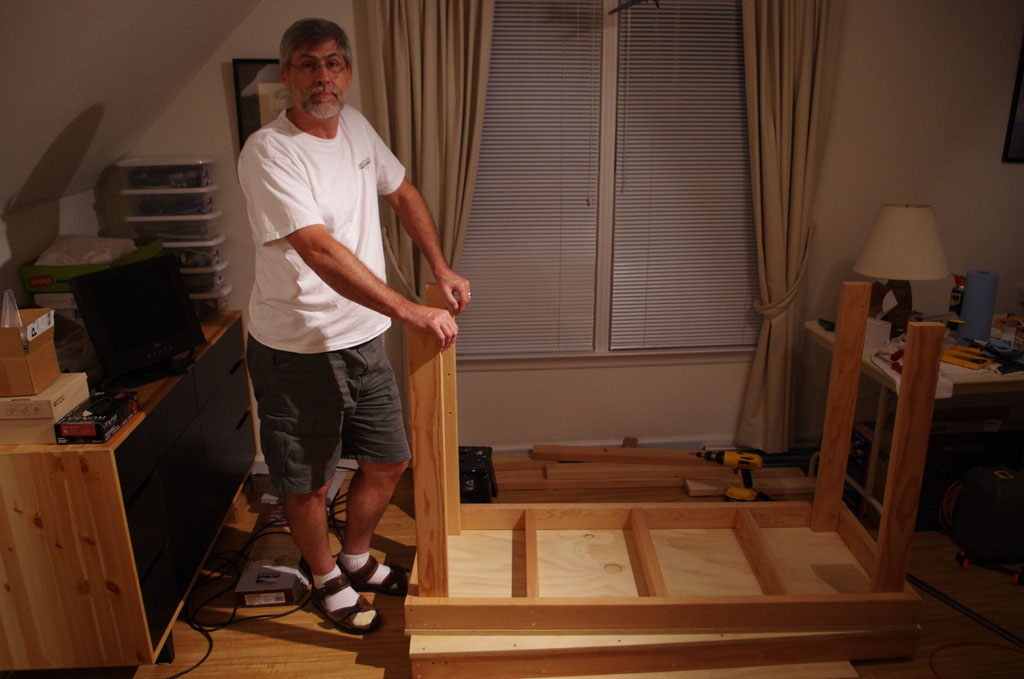
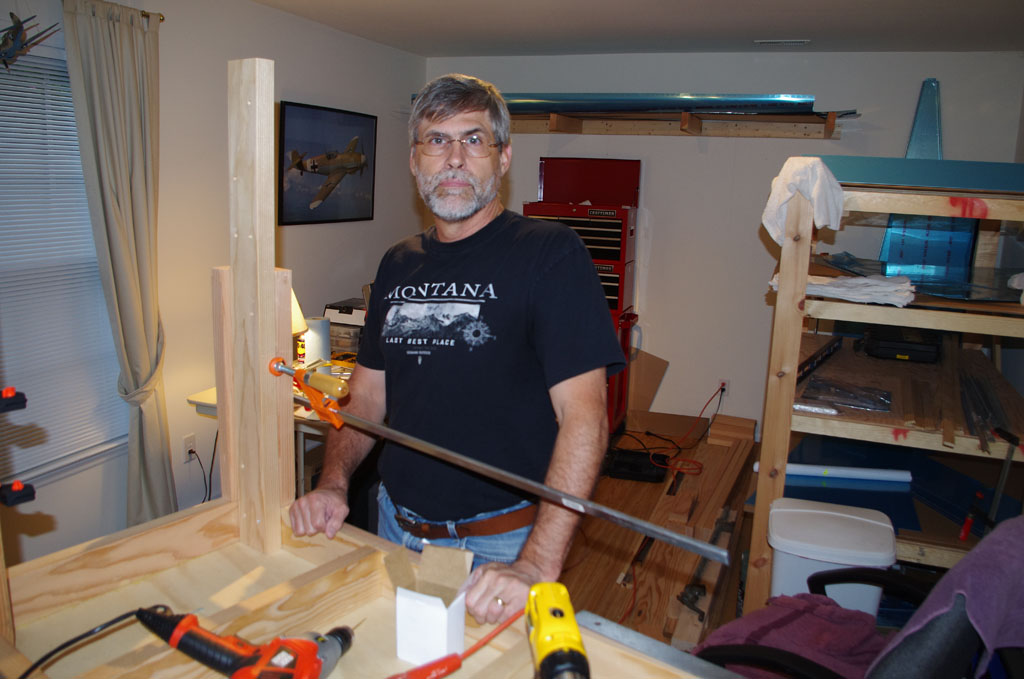
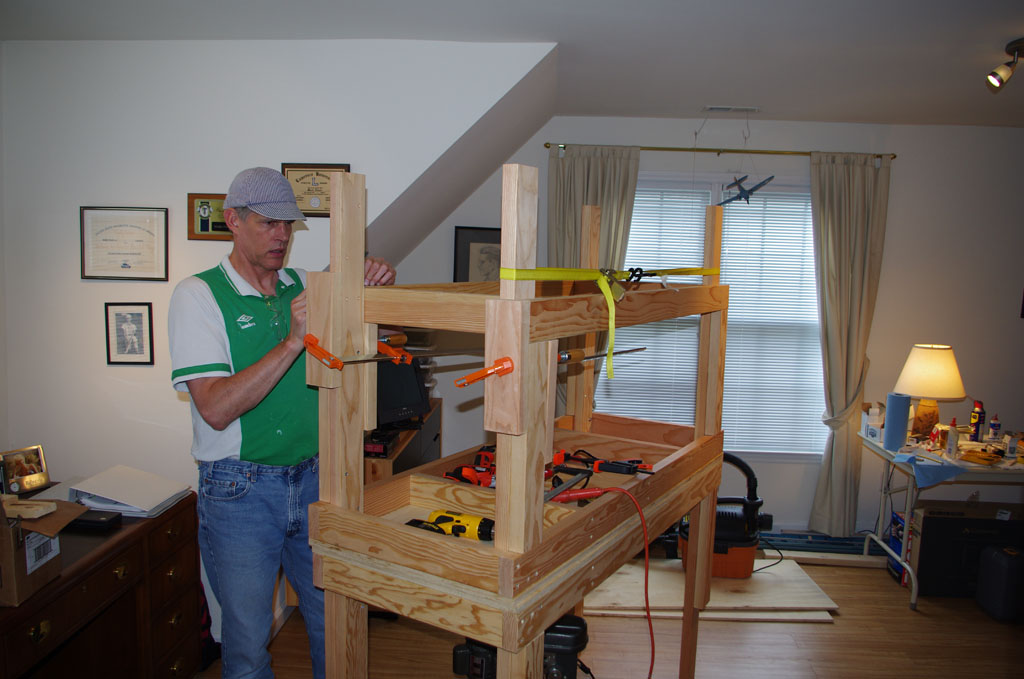
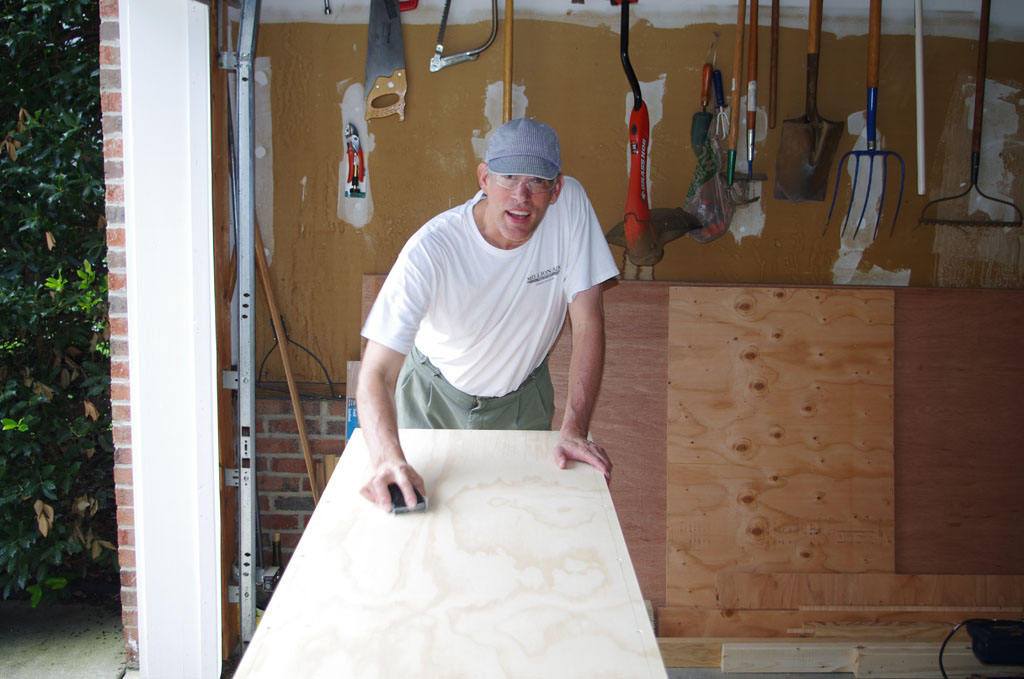
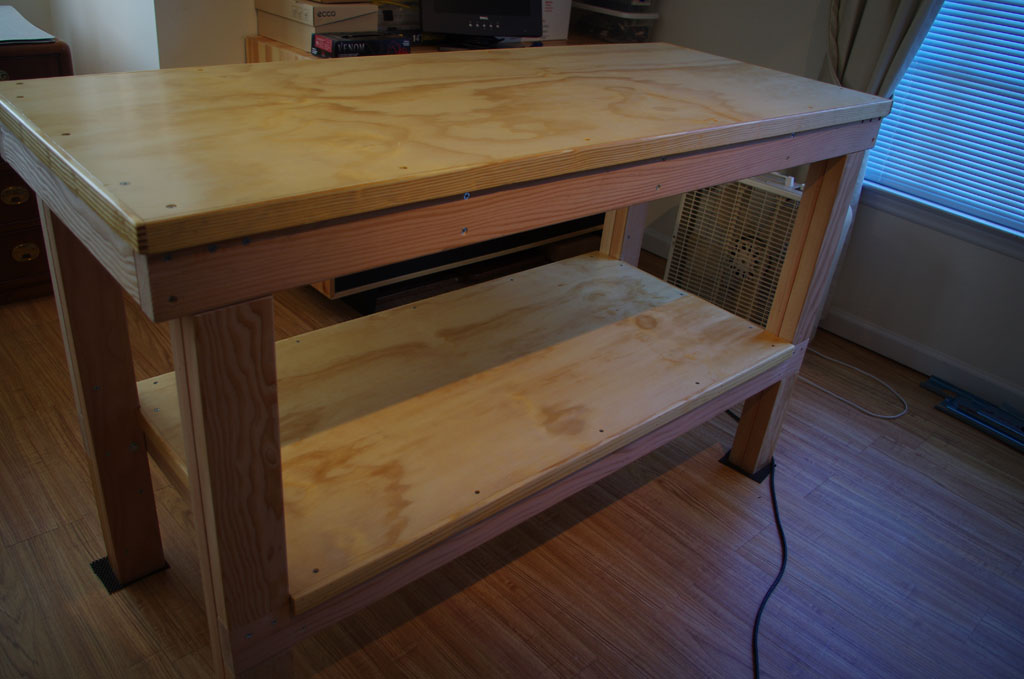
WORKBENCH BASE
Custom base now brings all the bench surfaces to a uniform 36-3/4″ above the floor. This is the same height for my EAA benches, and the DRDT-2 dimpling machine.