I will be using Matco brakes and wheels for this build. The design and quality of their parts is excellent. Friends with similar installations on their aircraft highly recommend the braking capacity as compared to the stock items available from Van’s. Also the front axle is replace with a version which cannot rotate, instead forcing the wheel to spin on the bearings (as intended). Apparently the original designed axle can spin along with the wheel itself. This causes wear and eventually serious vibration over time.
FRONT WHEEL

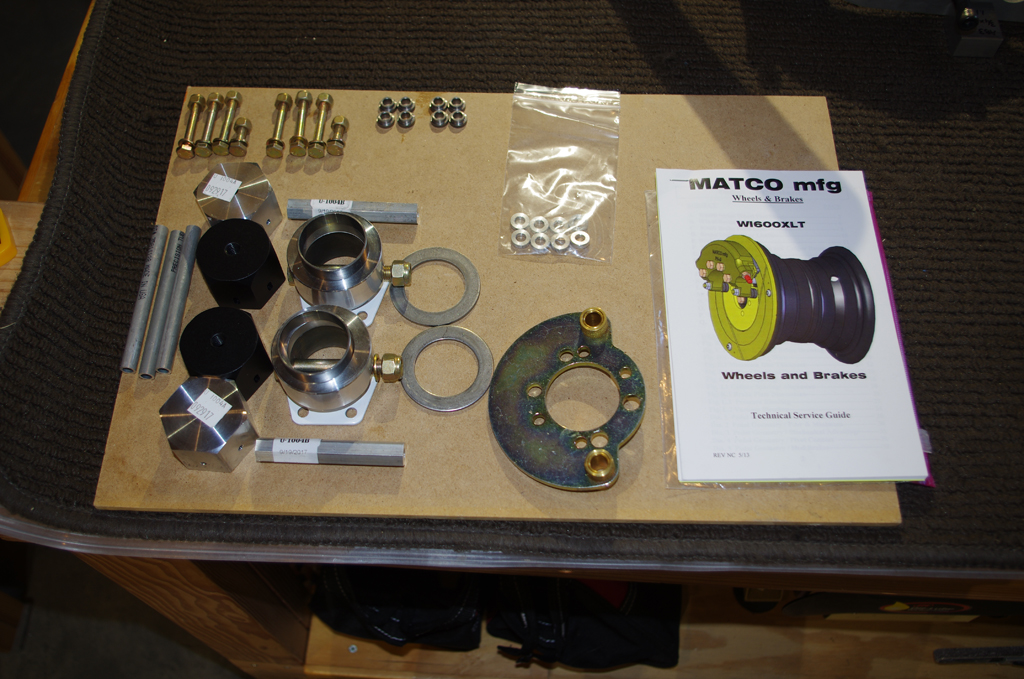
 On the left are the available parts for the front wheel laid out for inspection. Side standoff blocks where the front tow bar is attached must be fabricated from 1.5″ x 1.25″ x 0.75″ pieces of aluminum.
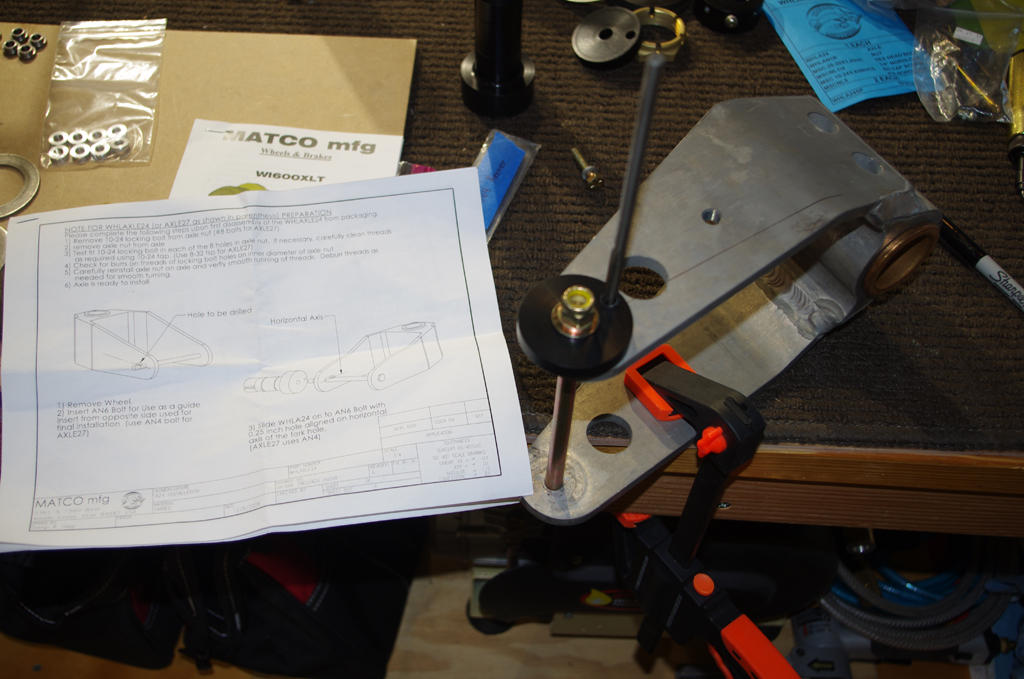
 To prevent the Matco axle from rotating with the wheel, a retention bolt must be inserted through the front fork. The receiving piece is fastened on the outside to act as a drill guide for the drill/ream operation shown on the right.

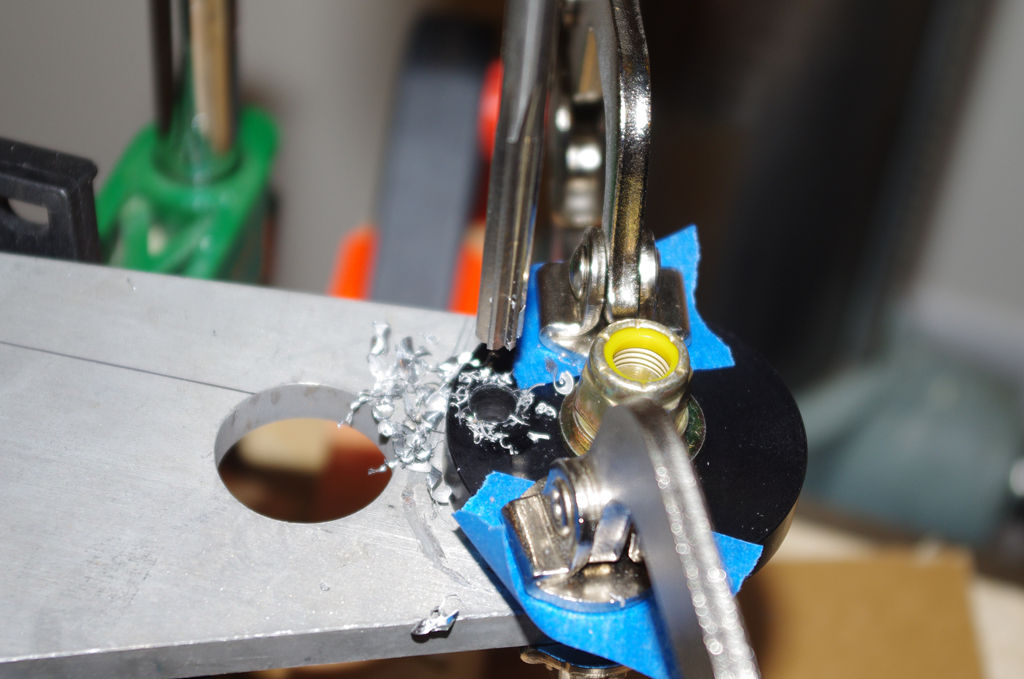
 Outcome of the drilling operation – perfect fit.
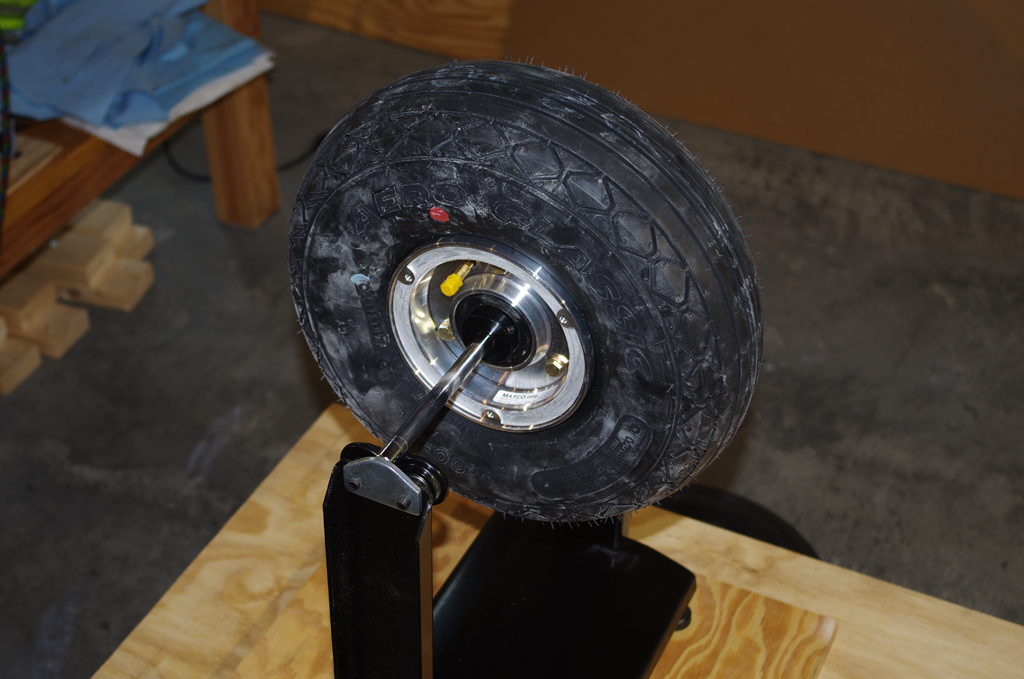 Once the tube and Aero Classic 5.00-5, 6 ply tire retread from Desser are mountedd on the hub, static balancing is performed. For this wheel, the heaviest part always occurs where the valve stem is located. A few motorcycle weights will need to be attached to the rim to compensate.
MAIN LANDING GEAR

The left photo shows the main gear parts laid out for inspection. The right picture is the wheel axle held by a custom wooden jig. The horizontal attitude of the hardened axle should make the wheel assembly easy
 Standoffs and spacers between the brake torque plate and the wheel pant bracket are needed for correct alignment. Here the spacers made from 3/8″ aluminum tube are measured with a digital micrometer to roughly 21/32 inches in length. They were subsequently rough cut on the bandsaw, then sanded to final tolerance on a 5″ tabletop sander. The completed lengths across all 6 parts are very consistant.
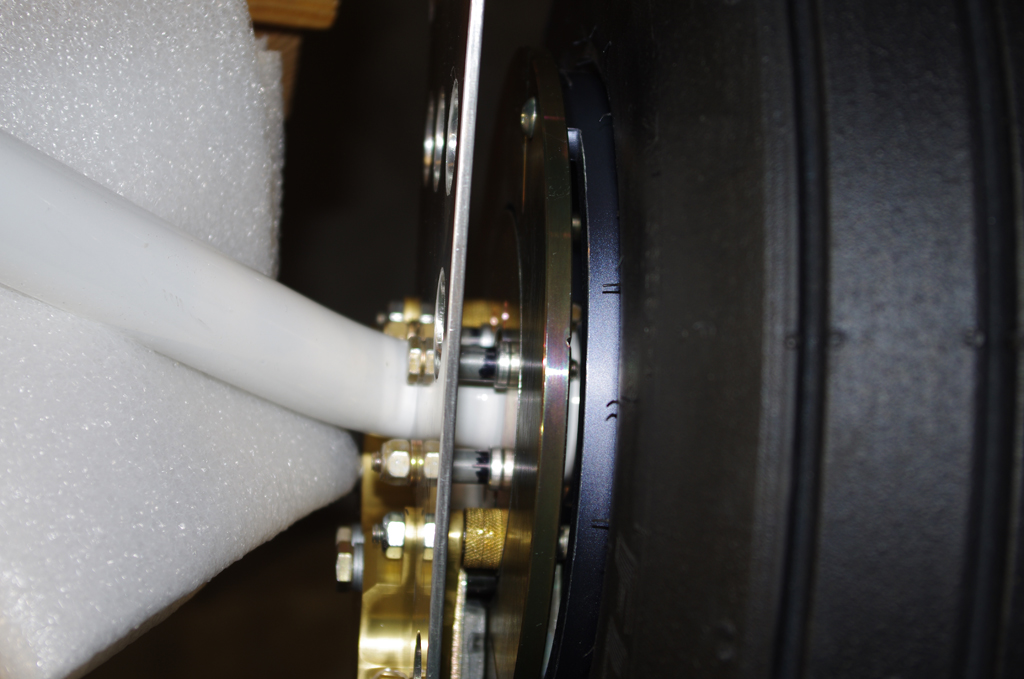
 The spacers are visible on the left between the torque plate and the wheel pant bracket. This space holds the brake caliper unit.
 The assembled wheel fits just right. Note the black anodized Matco nut holding a spacer washer from the open bearing seal. The nut is tightened just enough to keep the seal/race from rotating with the wheel – this job is for the bearings themselves. A final step still to be completed is mark the correct position of the nut on the axle, then use a carbide end mill to create a hole for a retention cotter pin.
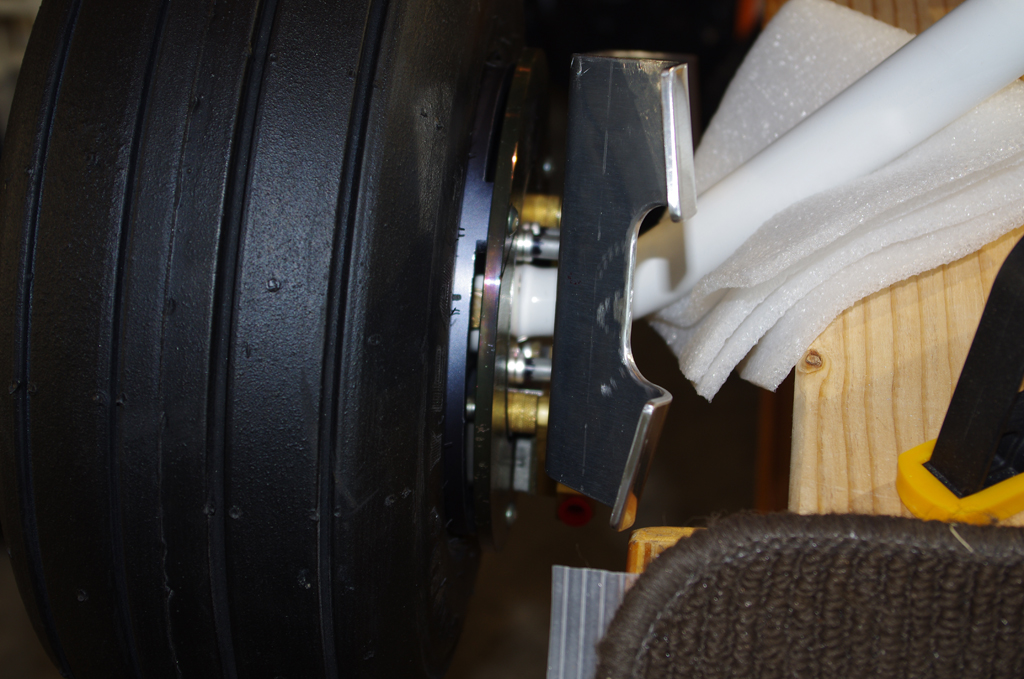 Here are different views of the mock assembled wheel. Next is disassemble everything again, drill the cotter pin hole, torque the hub bolts, and prime the wheel pant bracket. The final assembly will occur when the main gears are attached to the fuselage.