Monthly Archives: November 2016

You are browsing the site archives by month.

Cabin Cover (4)

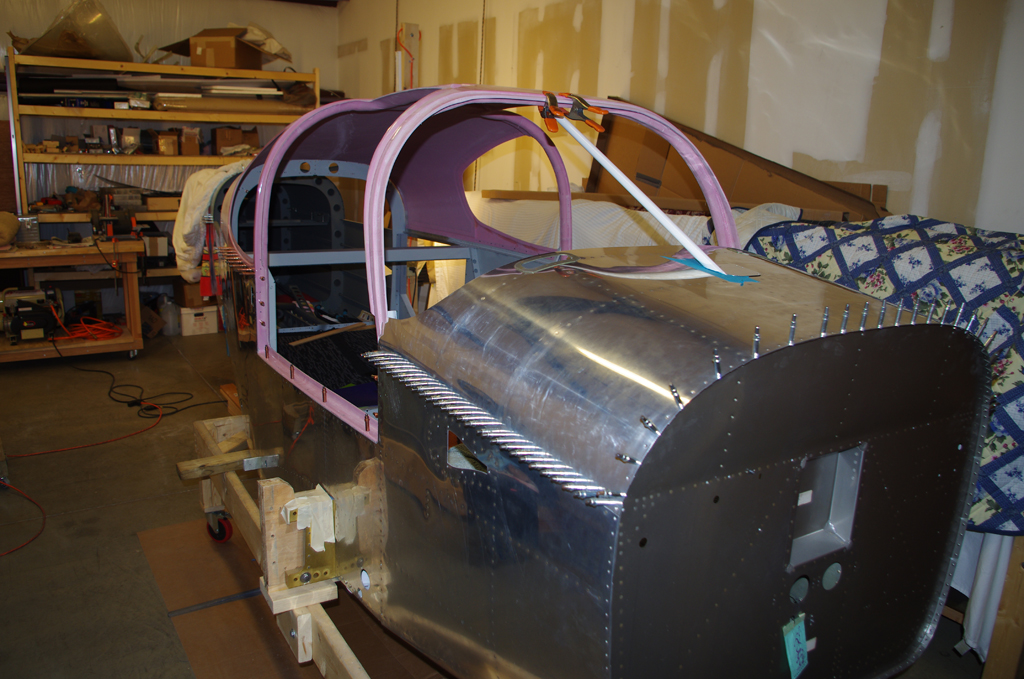
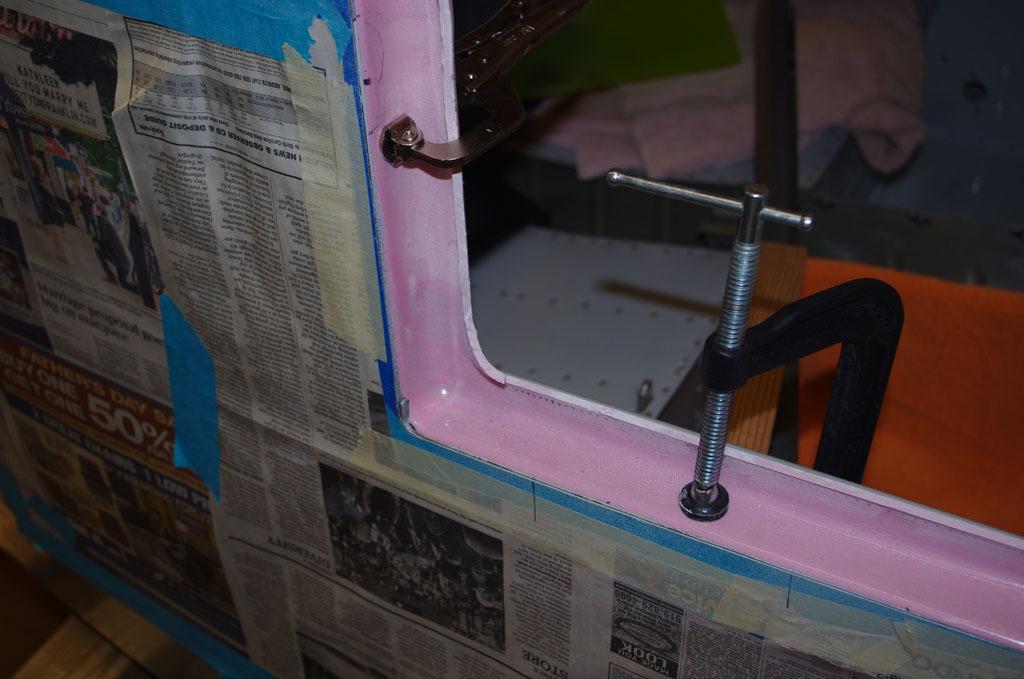
Attaching the center console brace and beginning to trim window panes was the order for the day.

imgp7261
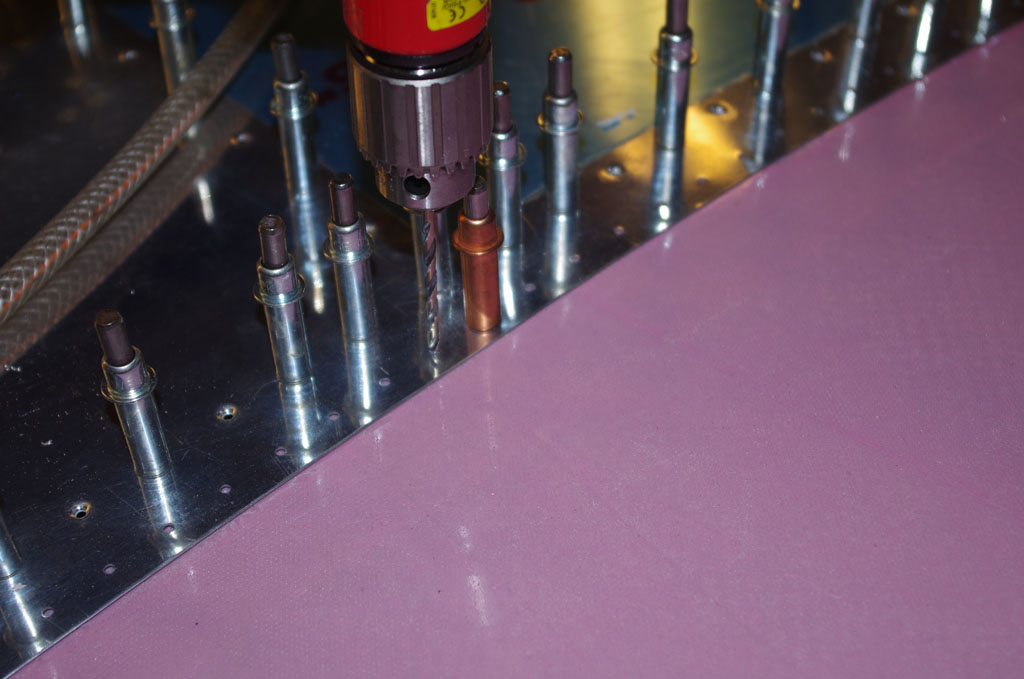
The center brace is clamped in the middle of the forward canopy cover, then match drilled with a #12 drill to accommodate an AN3 bolt.  This is tightened down to fasten the brace, so the the rest of the holes can be drilled.


imgp7263
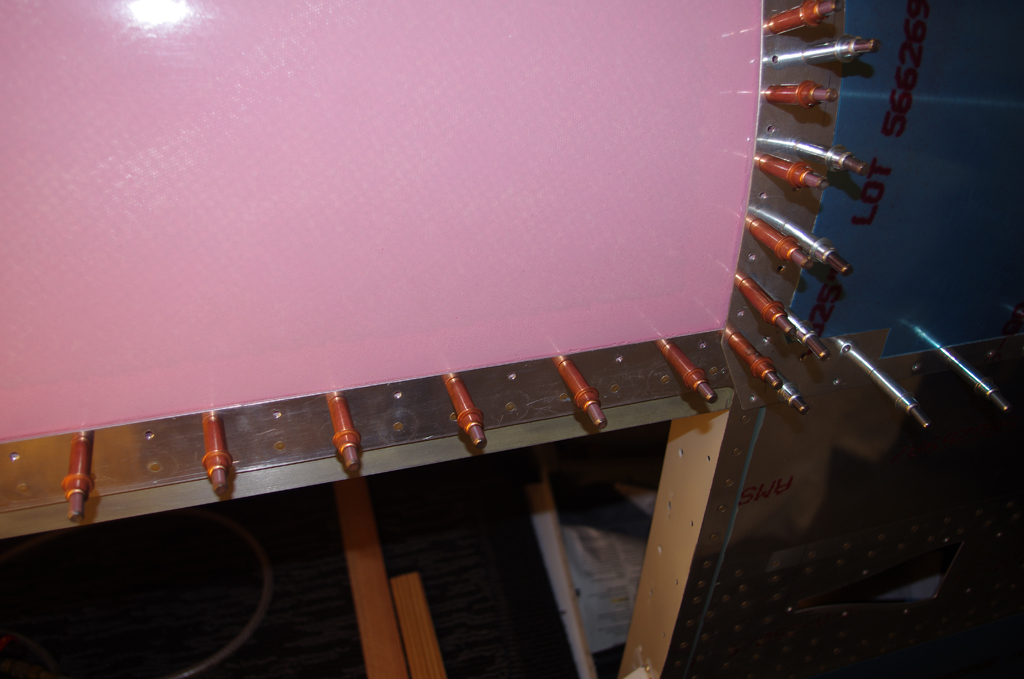
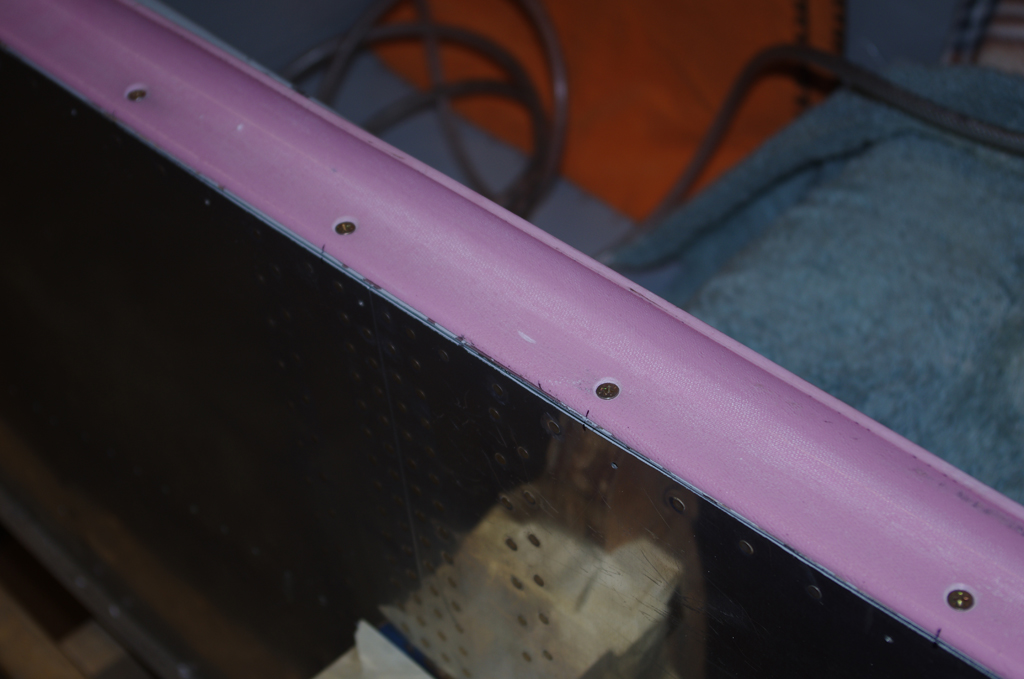
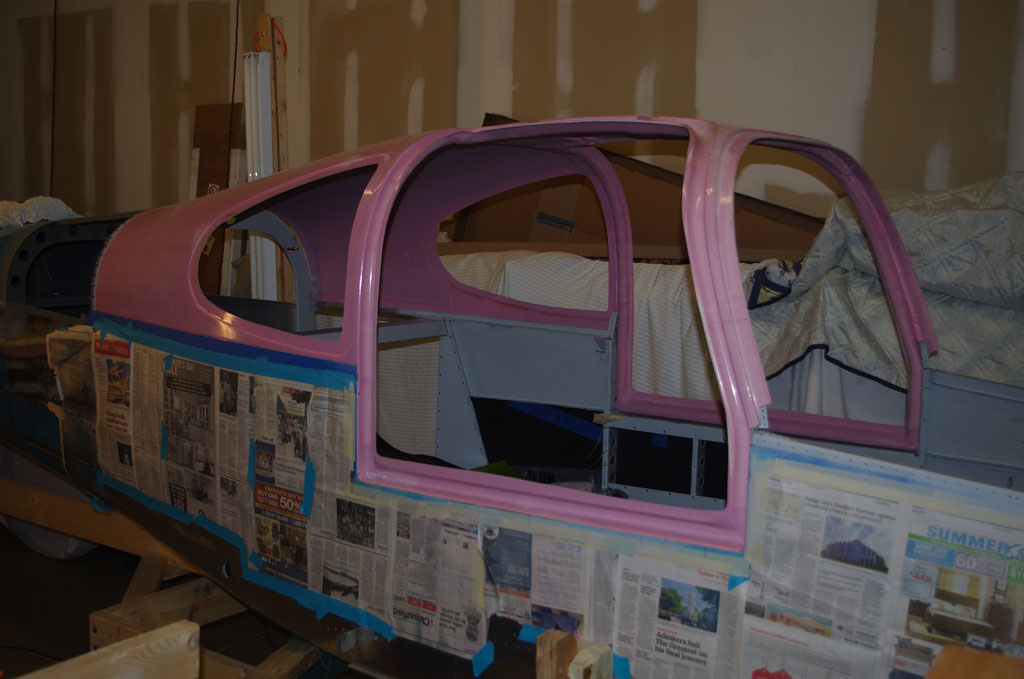
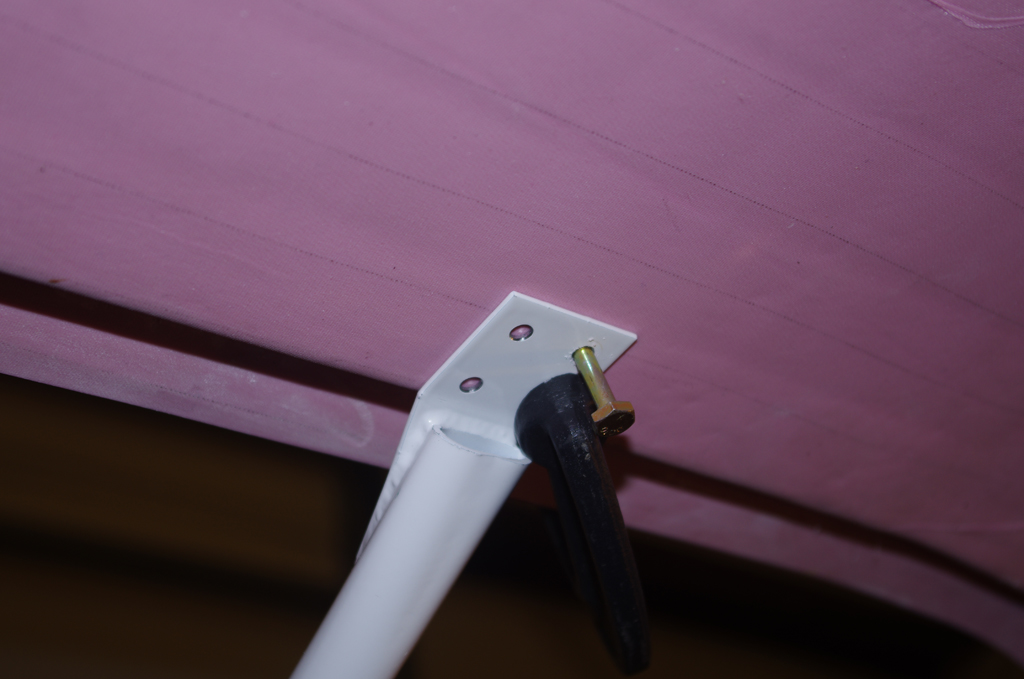
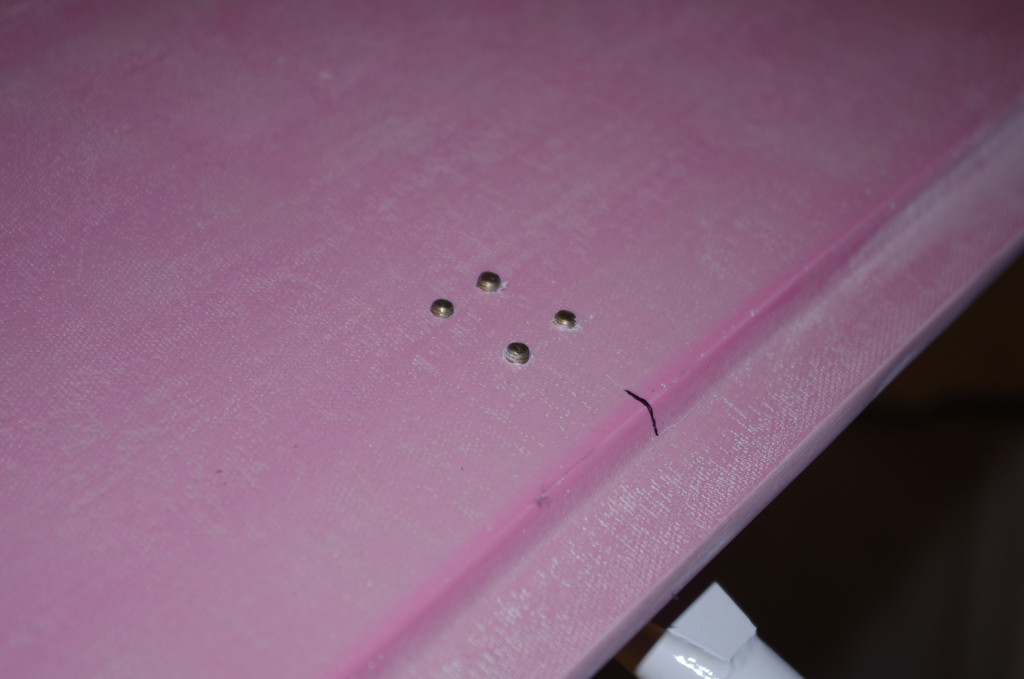
Here is how the top of the outer cabin cover looks after the fastener holes are completed.


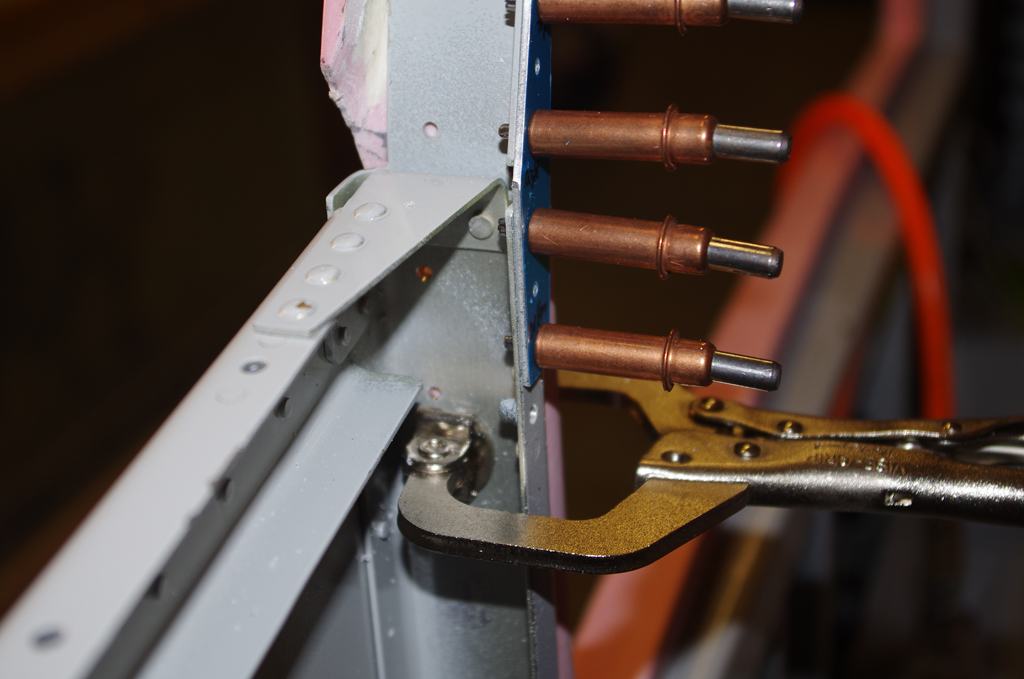
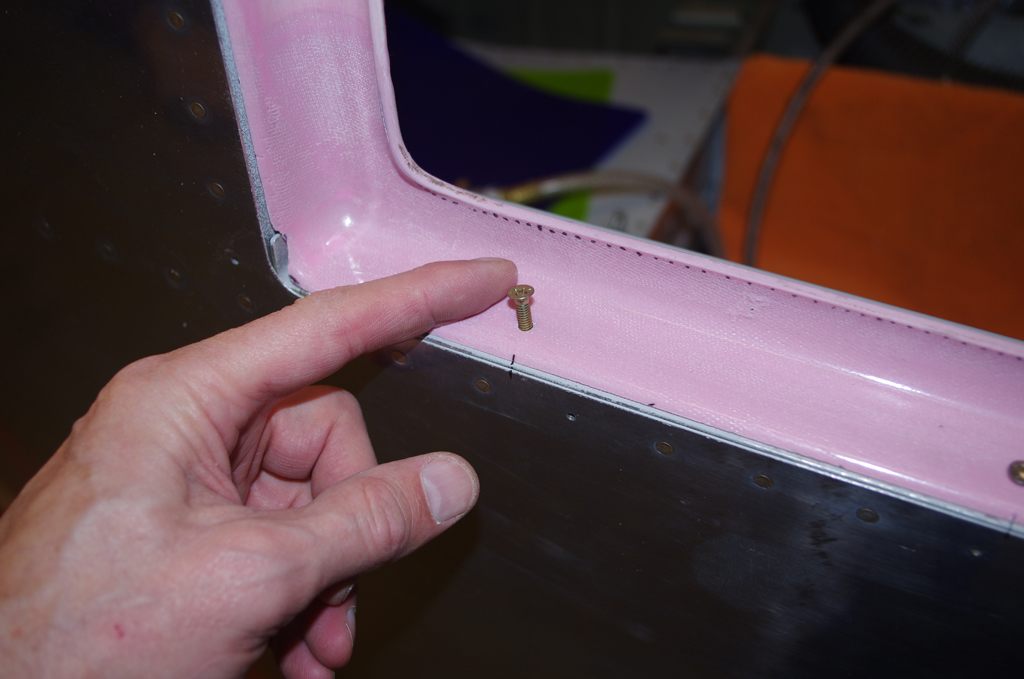
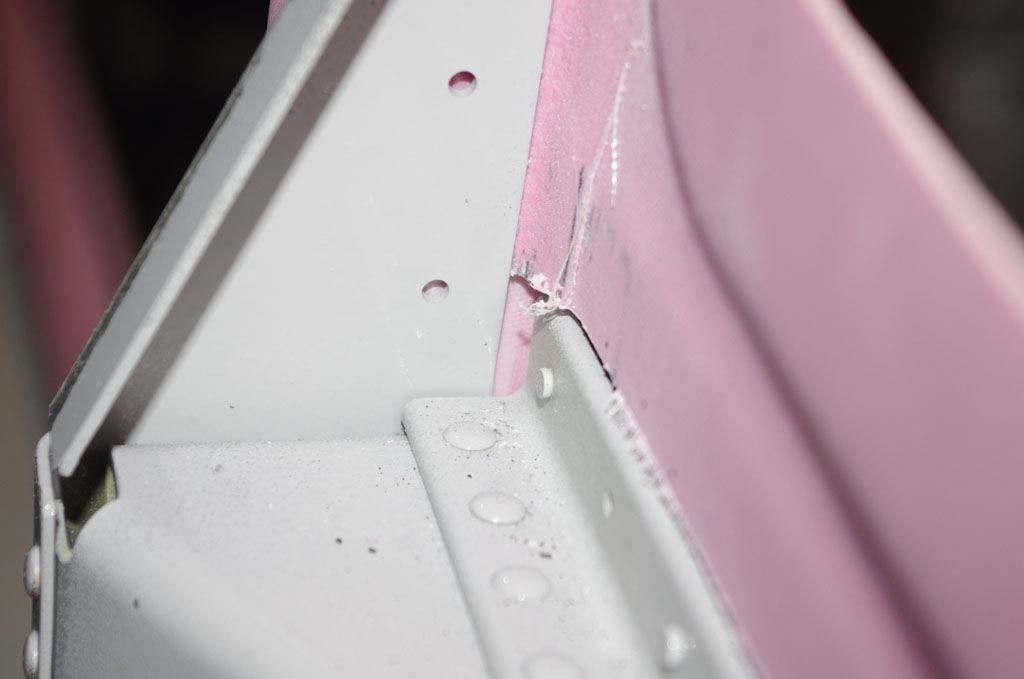
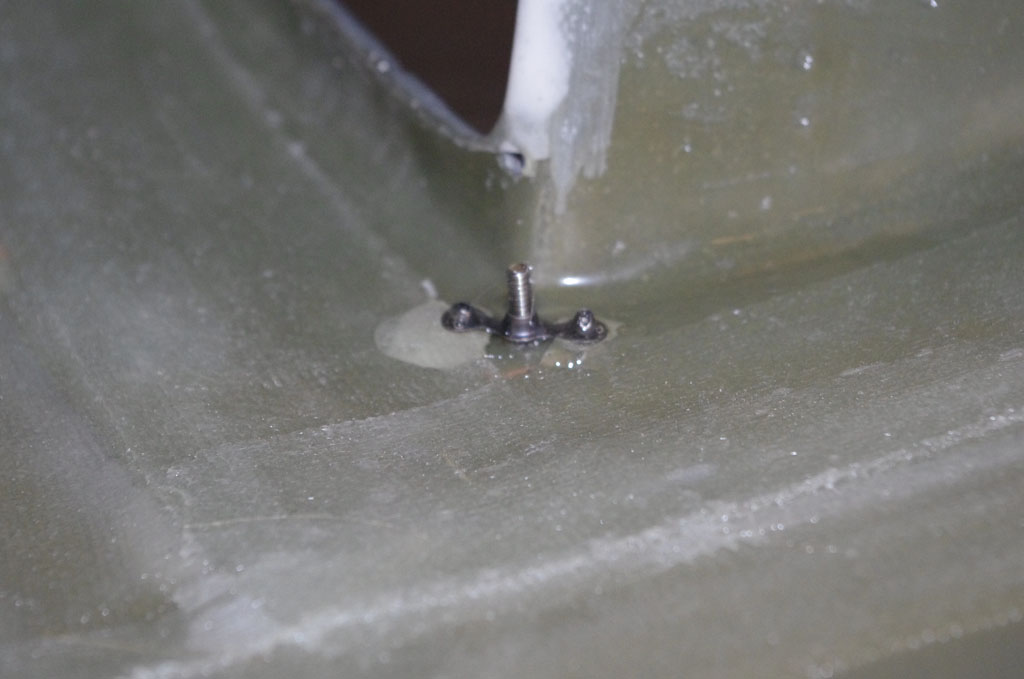
Here are left/right pictures of the bottom portion of the center brace attached near the firewall.  Two AN3 bolt hole are drilled between an angle bulkhead and a reinforcing plate.


imgp7274
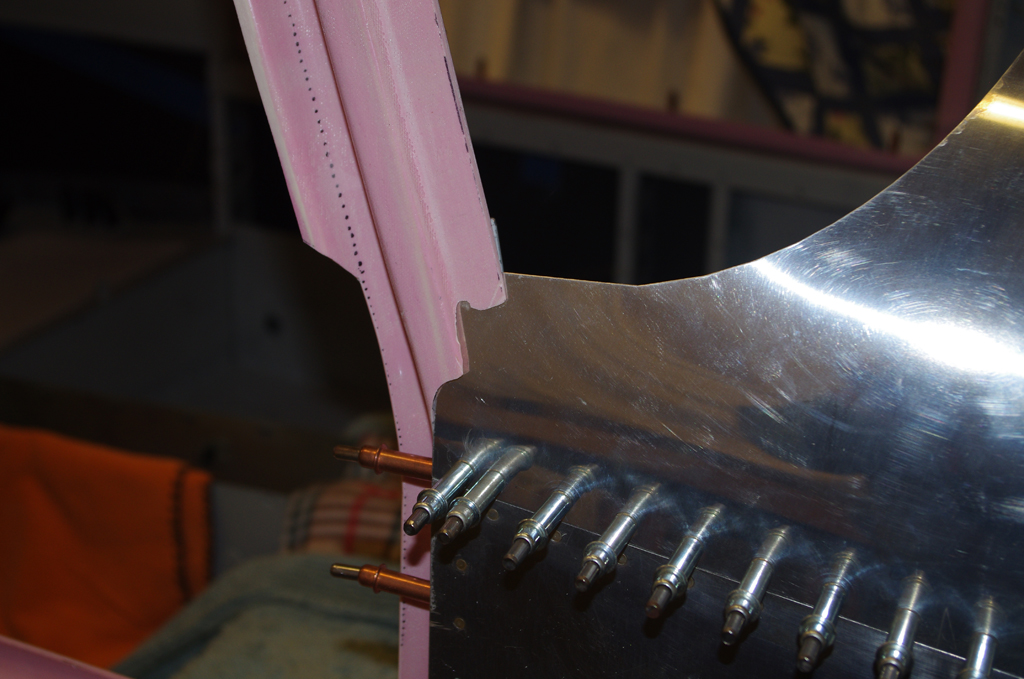
A set of spacers 1-13/32″ long  are fabricated from 5/16″ diameter tube.  This will eventually be driven into enlarged holes for the center brace.  The cabin cover needs to come off for further processing, so this step will be saved for later.


imgp7265
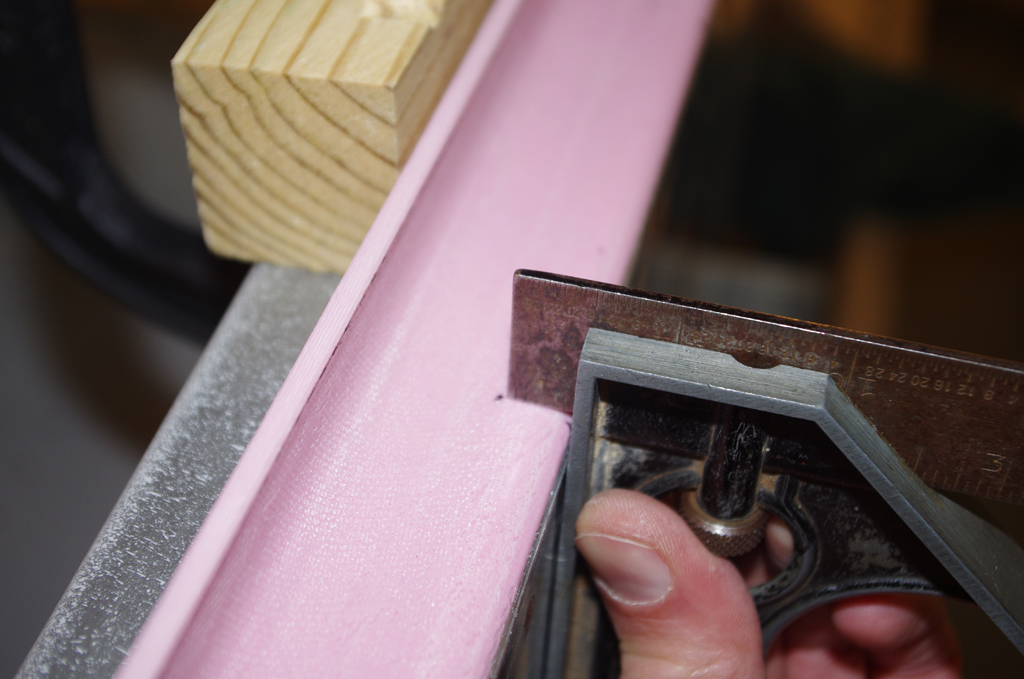
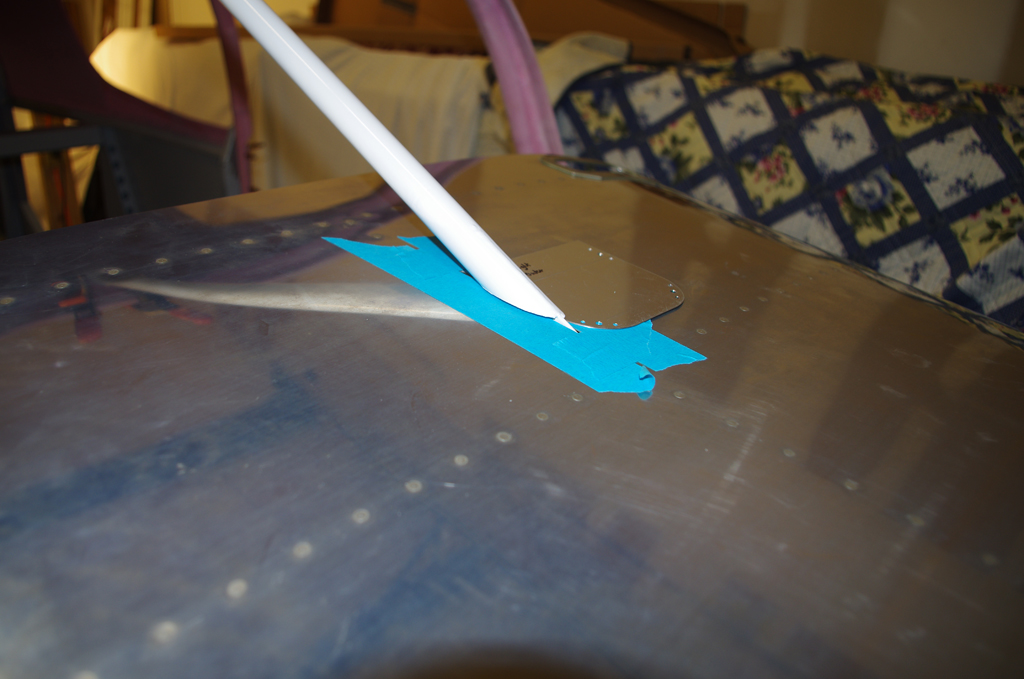
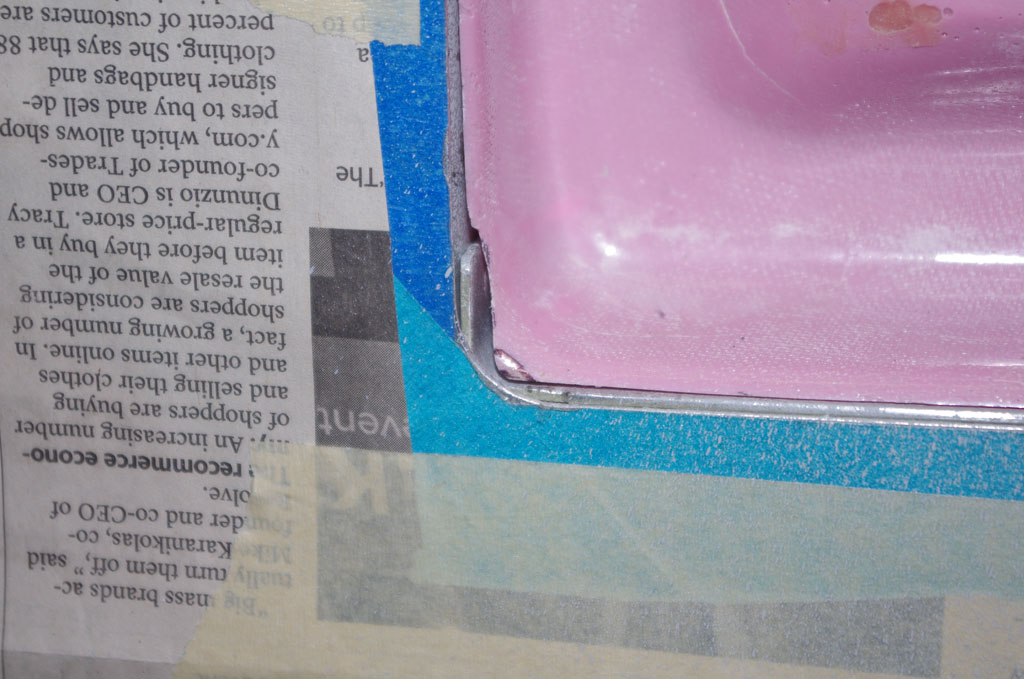
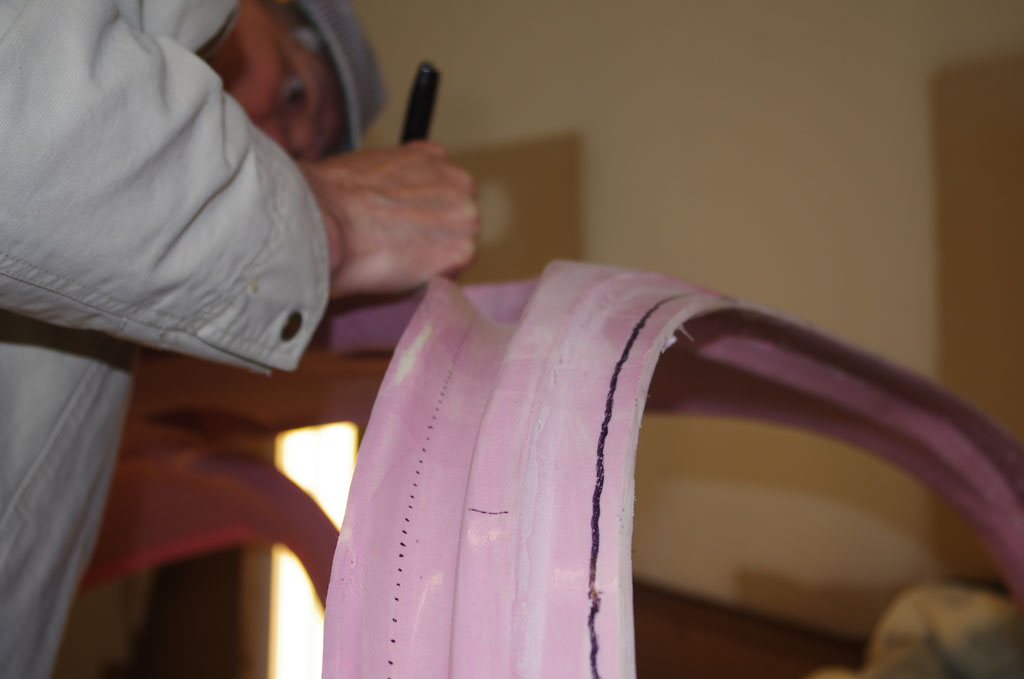
The plans call for fitting the windscreen first, but I wanted some experience dealing with Lexan/acrylic trimming beforehand.  The side windows will be my test platform – if things go south these will be cheaper and easier to replace compared to the windscreen.


imgp7275imgp7276
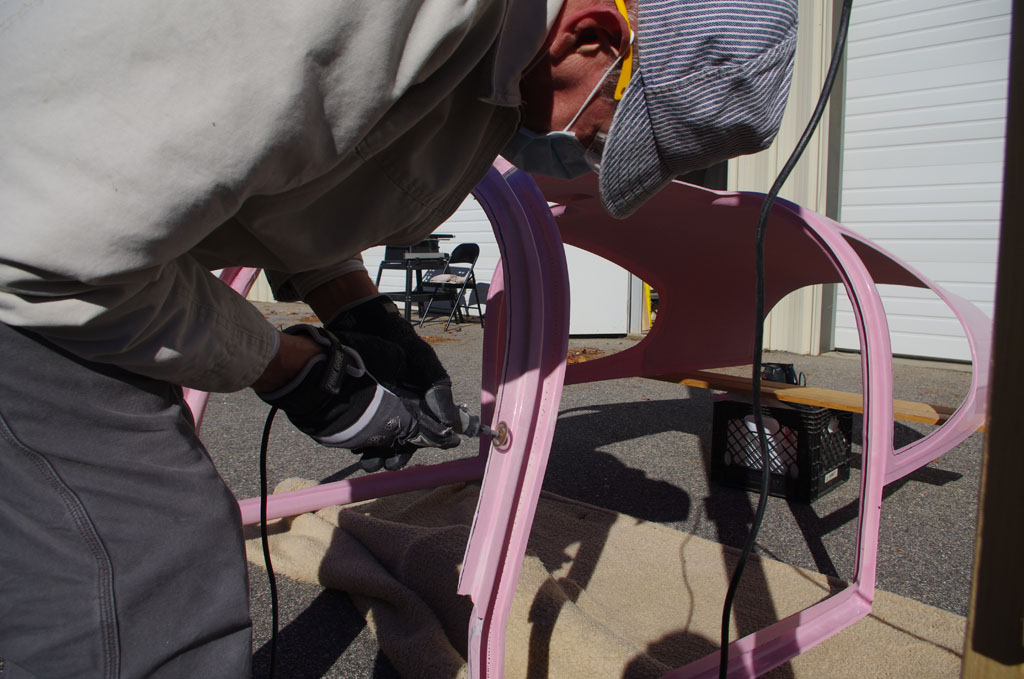
Pull back the protective covering and get ready to power trim!

Cabin Cover (3)

Over the Thanksgiving week off the focus was finishing major elements of the cabin cover.

imgp7192The first step was complete match drilling the mid-skins to the cabin cover.


imgp7191imgp7194Next was clamp the rear door frames to the bulkheads and match drill for #10 countersunk screws.


imgp7200imgp7198Here the right side has been drilled and clecoed into place.


imgp7206Now for the forward door frames. The gusset  is clecoed to the bulkhead, but match drilling for the #10 screws to the fiberglass frame goes through about 1/4″ of empty space. According to the plans, this space will have structural filler applied.


imgp7226

imgp7225Getting the fiberglass trimmed for the front deck took quite some time. (between initial Dremel tool sanding and hand filing).


imgp7211imgp7216Next was measure the door jam bottom, then drill #19 holes for #8 countersunk screws.


imgp7254imgp7257Check for size, then countersink with an angle tool.


imgp7258The final product looks pretty good.


imgp7221imgp7220Now rough fit the center console brace.  Overall starting to look like an airplane.


New Home (3)

Here is progress as of November 24 (Thanksgiving Day)

imgp7228imgp7242imgp7231


imgp7241imgp7233imgp7236


imgp7237imgp7253imgp7244


imgp7245imgp7246imgp7247


imgp7251


New Home (2)

Here is the basement rough-in from November 18.

imgp7161imgp7162imgp7163


imgp7167imgp7168imgp7173


imgp7177imgp7179imgp7188

New Home

The construction of airplane parts will be taking a back seat to new home construction.  One benefit of the new domicile will be a 25′ x 30′ heated/cooled basement workspace.  Excellent!

All the initial paperwork has been completed. Now the build is underway.  My direct involvement will not occur for another few months.

imgp7069imgp7072imgp7073


imgp7074imgp7078imgp7077


imgp7086imgp7088imgp7091


imgp7092imgp7087imgp7092


imgp7126imgp7123imgp7122


imgp7132imgp7130imgp7138


imgp7133imgp7137imgp7160


imgp7158

Cabin Cover (2)

I had another forced pause from the shop due to business travel overseas.  This weekend was getting back in action with Eric’s help on further cutting, fitting and sanding the fiberglass cabin cover.

imgp7098The door bottom needs extensive trimming to get to the proper thickness.


imgp7099Left and right sides need to be notched to accommodate the bulkhead reinforcements at the bottom.  Notice the degree of relief needed to make this fit.


imgp7102The inner section must line up just right with the mid-skin longerons.  Too much taken off will decrease strength for the connecting rivets.  Too little and the fiberglass bottoms out on the longeron and fit will not be proper.


imgp7127First reduction was with a fiberglass cutting wheel on a Dremel tool, followed by a belt sander, hand file and finally Great Lakes 22″ sanding block with 120 grit paper.


imgp7105imgp7141Fit, trim and refit is the process here. Getting the cabin cover to slide in without too much material removed takes time and patience.  On the right photo the 3/4″ offset for windshield and doors are being highlighted with a Sharpie.


imgp7143imgp7145Trim the windshield flange…


imgp7151Clamp the rear door pillar and bottom flange in place.  Then start the match drilling of the cabin cover to the top tailcone skin.


imgp7152

imgp7153Eric pushes up on the cabin cover fiberglass while I drill #30 holes down through the tailcone skin. This process will continue on around the whole baggage bulkhead area.

Wingtips / Lights (2)

Continuing with the wingtip preparations…

imgp7063This shows the #4 nutplates for the navigation and strobes being riveted into place. I  used stainless steel and countersunk Cherry nutplate rivets, which are expressly designed for the purpose.  A standard hand riveter can be used, no need for the specialized and expensive Cherry puller(s).


imgp7065A #4 screw fastens the bracket which will hold the nav/strobe housing.


imgp7068Here the nav/strobe housing is shown in final configuration.


imgp7081imgp7082Here are the nutplate insertions (outside and inside) for holding the lenses in place.  Next up is final AwlFair application, sanding and priming.