Use of paint booth and fabricate custom parts for empennage attach.
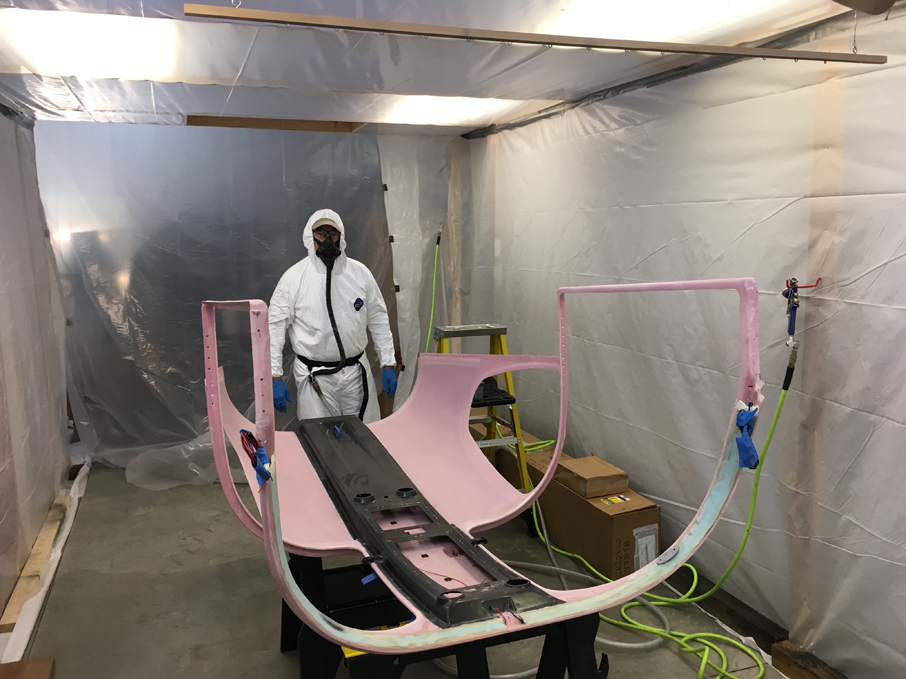
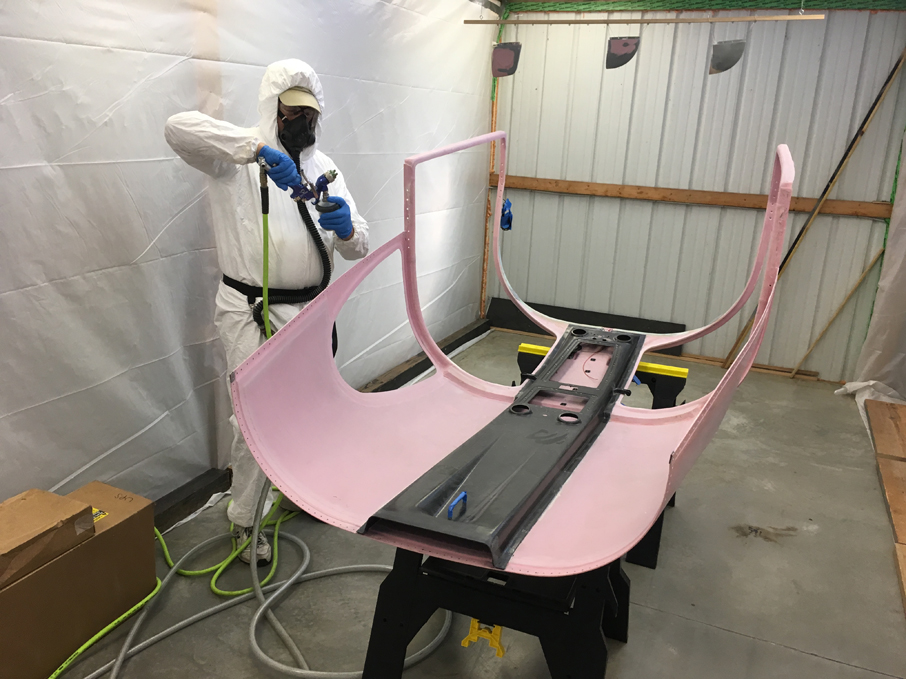 Over the last few months, Tal and I have been constructing a paint booth in his workshop. This was our first run of priming parts in the just finished facility. Here he prepares to apply PPG DP40LF primer to the internal side of his canopy/overhead console, plus my horizontal and vertical stabilizer fiberglass tips.

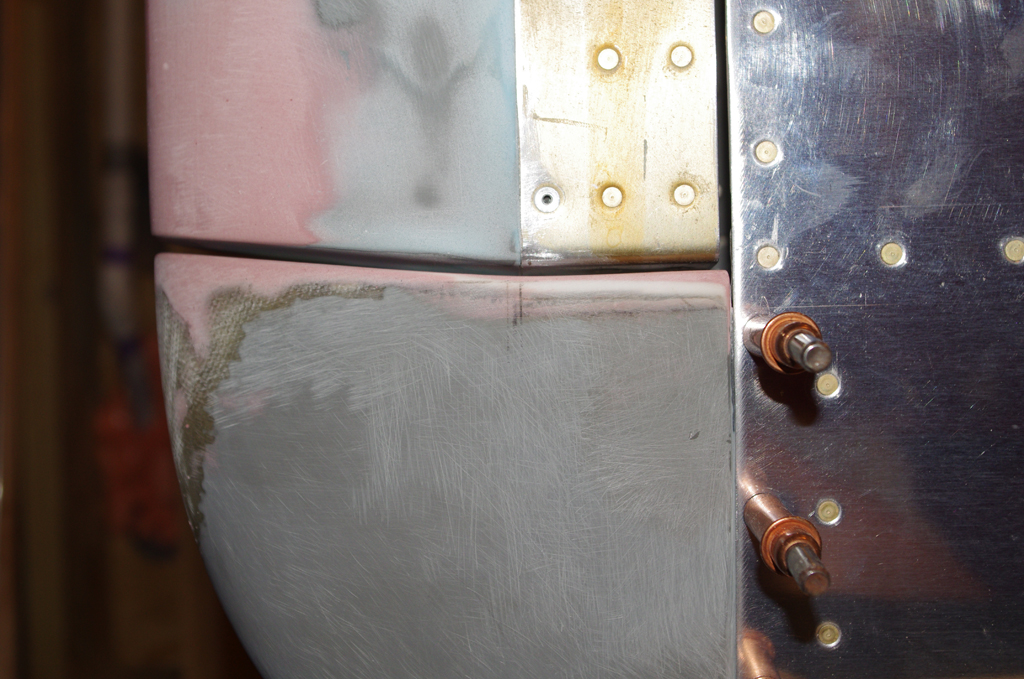
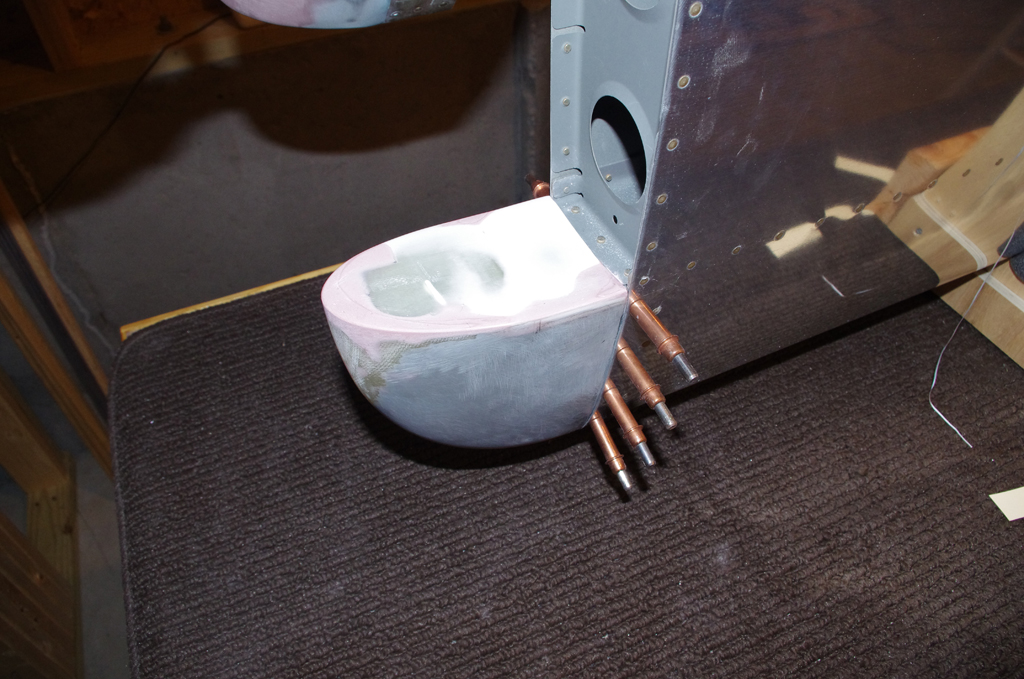
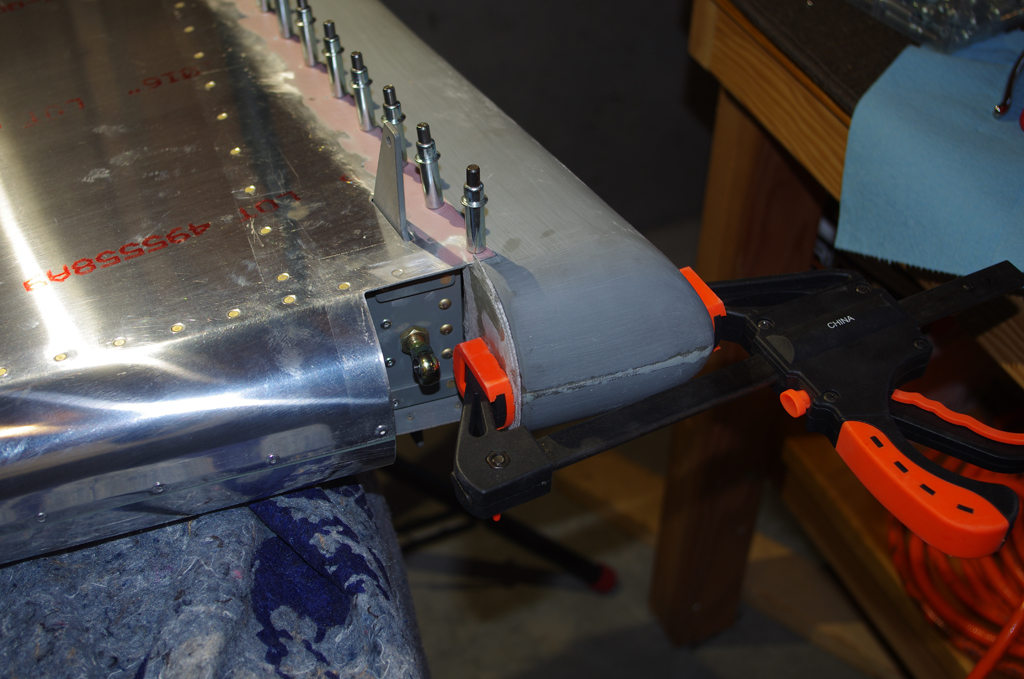
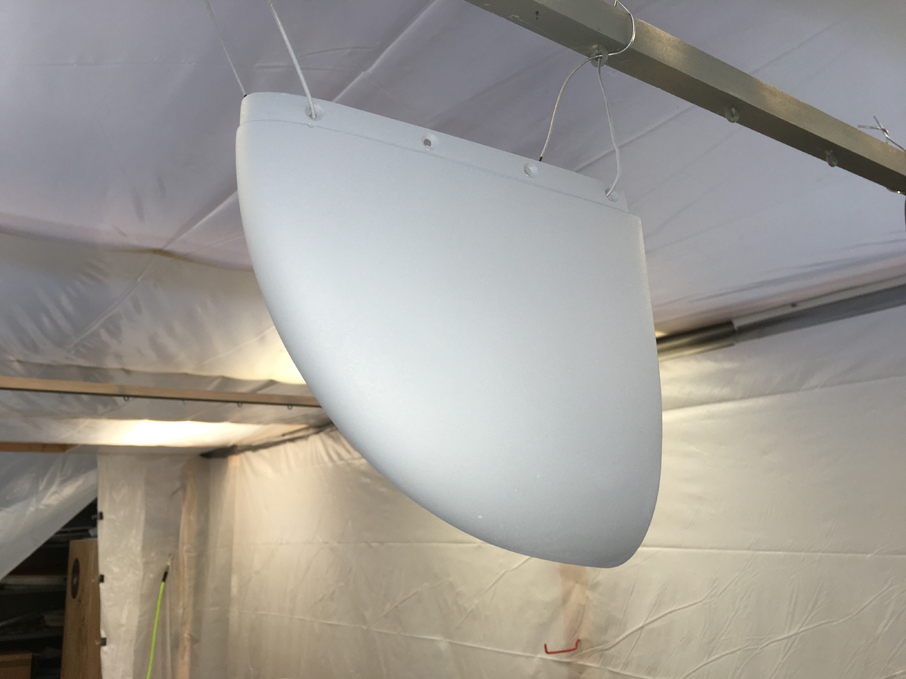 My tips had to be sanded heavily to get the properly rounded outside profiles to match the elevator tips. My experience is the fiberglass parts from Van’s are just rough approximations – to get this right requires plenty of work. Witness the sanding completely through the gel coat on the left part, this required additional fiberglass/resin layers on the inside to prevent holes.
 Next up is prepare and fabricate additional parts on the empennage attach sequence. The left photo shows a supplimental cover on the rudder bottom. Not necessary, but it should help deflect some water from entering. The right photos shows HS attach shims being made.

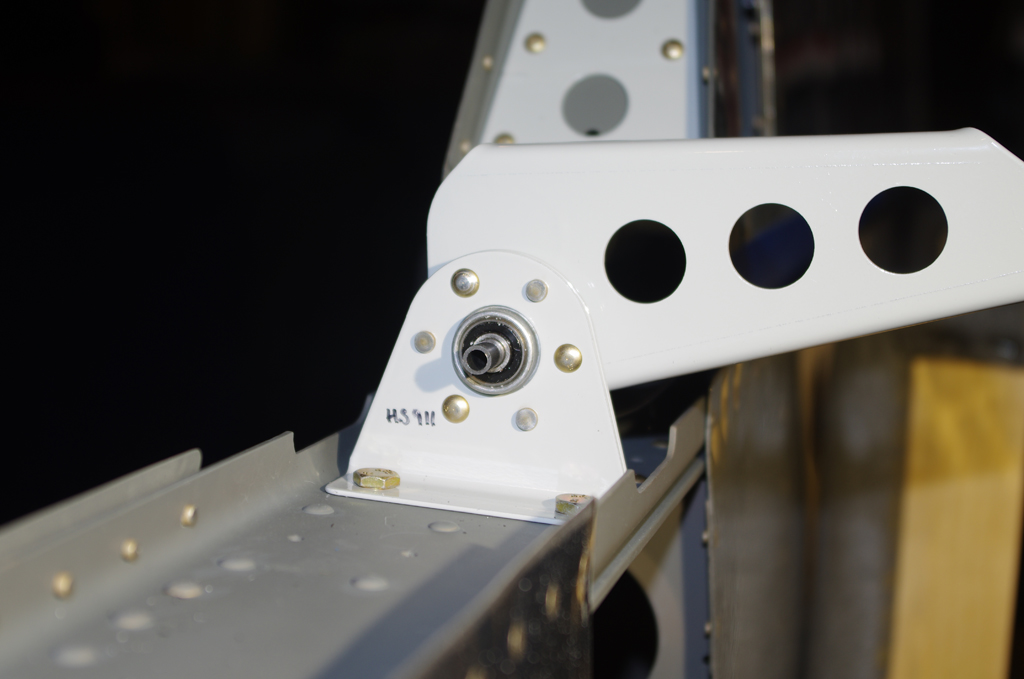
 Attach points for the elevator trim motor and cables are being prepared on the left. A 3/8″ spotting drill in a clamped vice ensures the attach rivet and bolt holes for the AN6 pivot bolts are correctly aligned to hold the trim bellcrank.