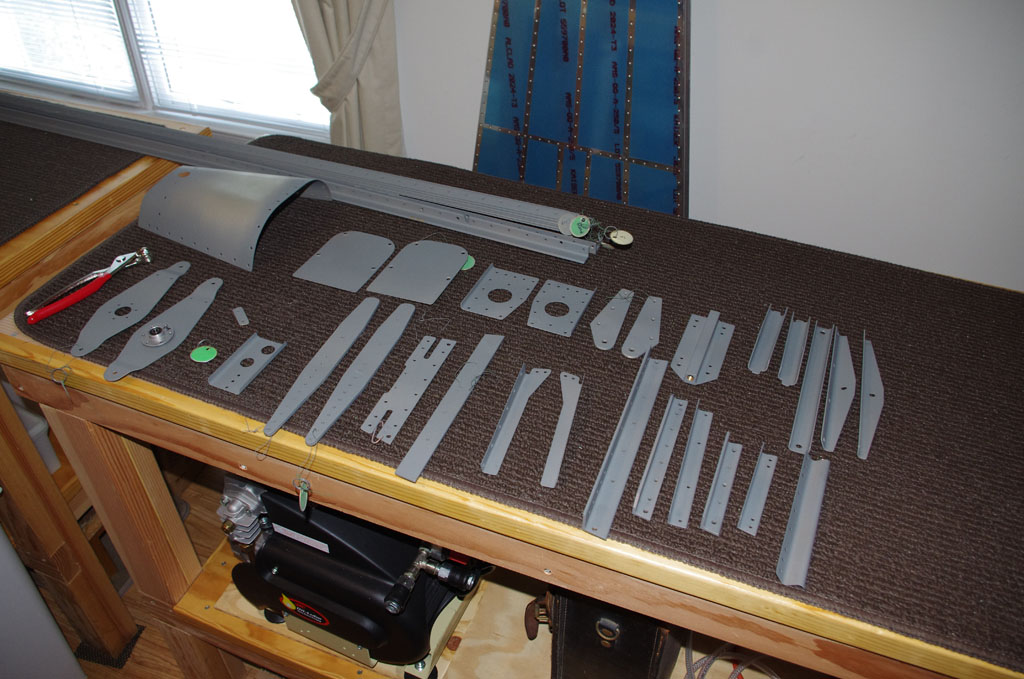
Weeknights I started on assembling the smaller parts (brackets, angles, frames, bulkheads). On the weekend Eric came over to start riveting stiffeners on the bottom tailcone pan. This action will be the last in the bonus room for the tailcone, as final assembly will have to take place in the shop – assembled parts are simply to large to get out the door and out of the house.
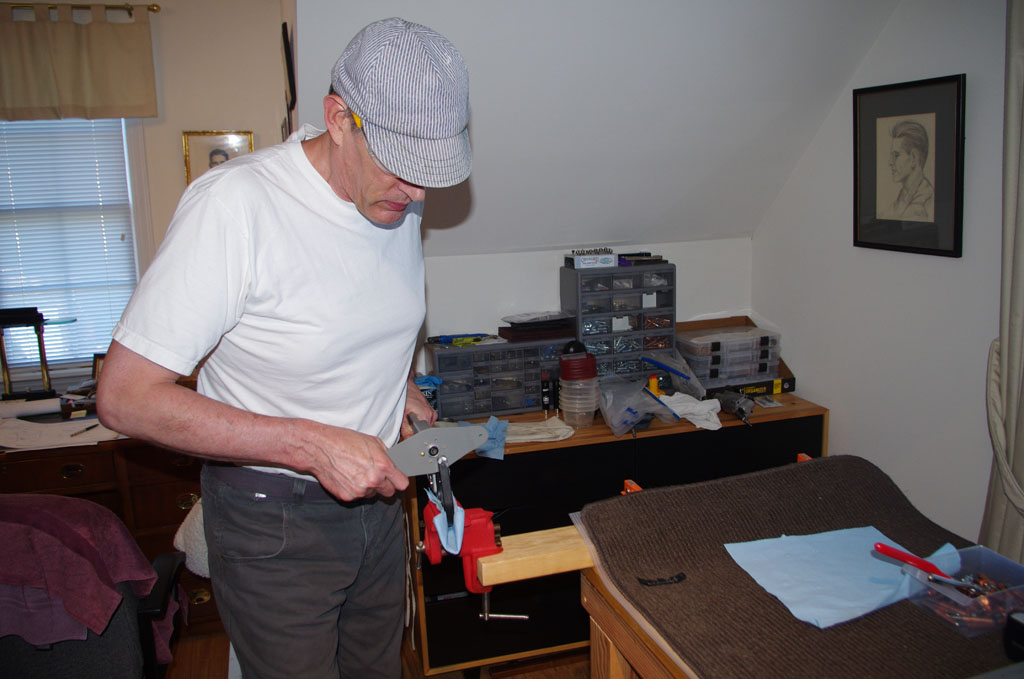
 Here riveting the Bellcrank Assembly together, and the final result.
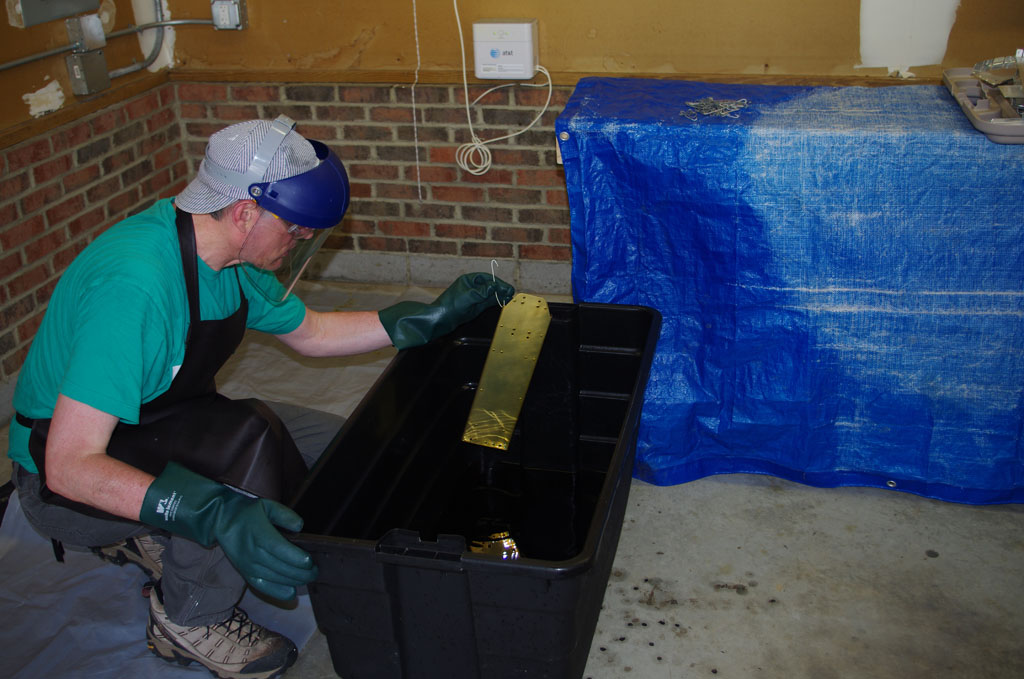
 For the rearmost frames and bulkheads I used some spare mixed primer to cover the rivet heads. I had not done this with all parts prior, but found the DP40LF primer will hold for some days if sealed properly in the mixing cups. Maybe if I have some extra material after future priming sessions, I will go back to the VS, HS, and rudder parts to cover the still accessible rivet heads.

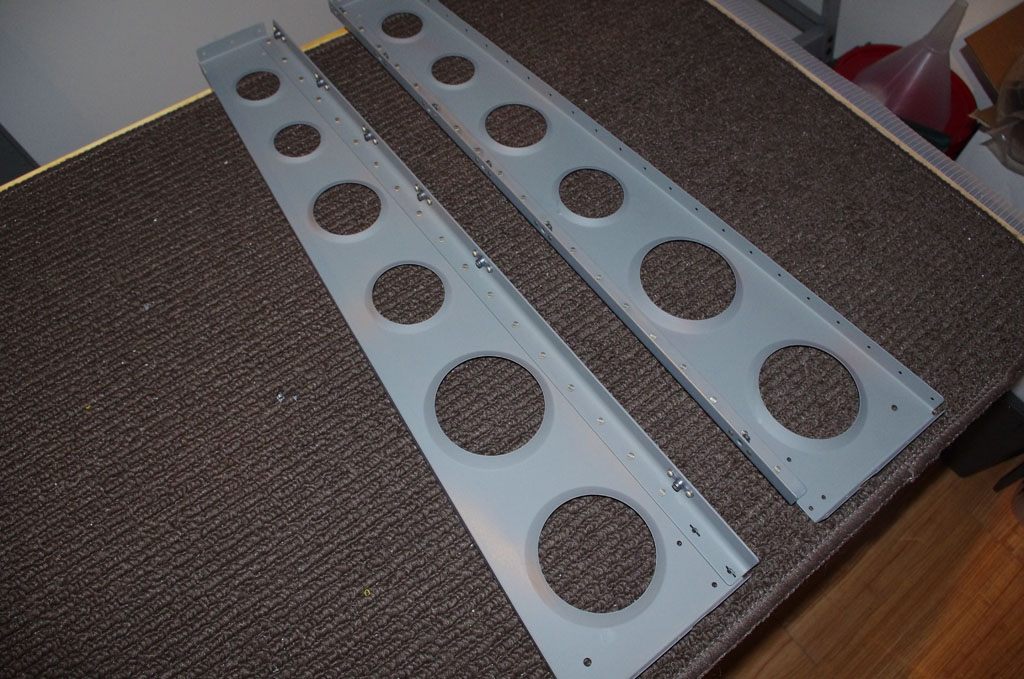 Here the angles are riveted to the Bellcrank Assembly brackets, then the final results.

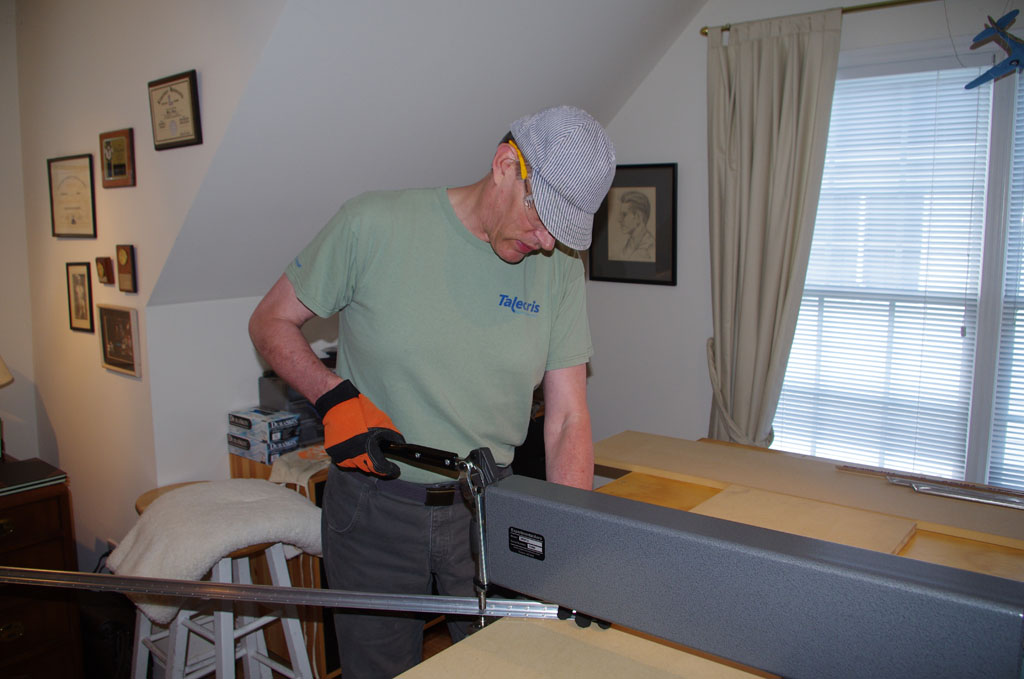
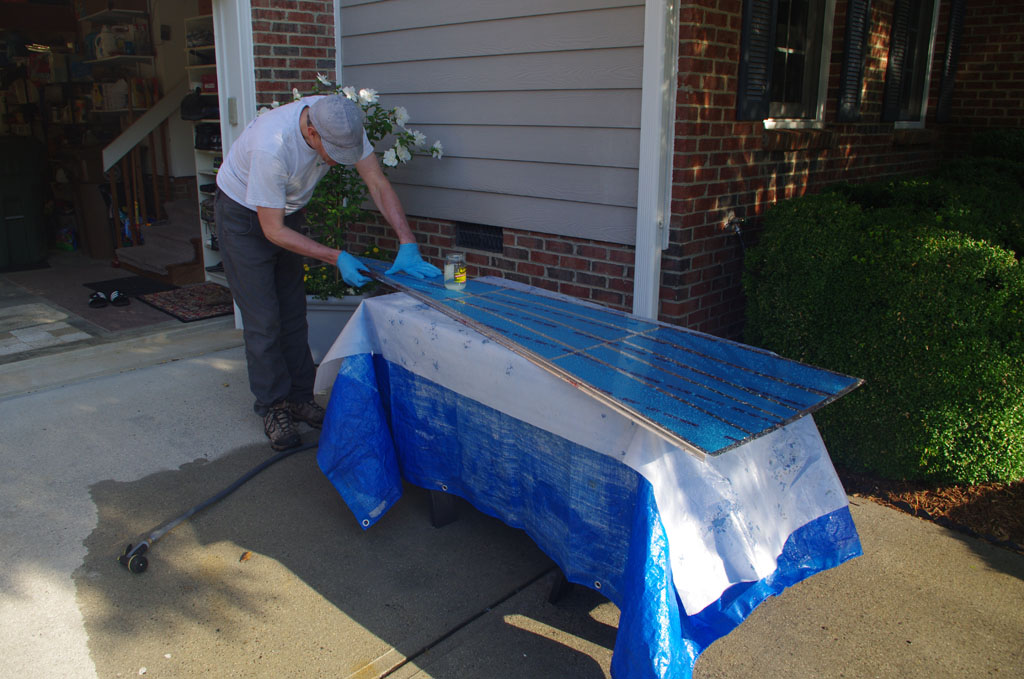
 Bottom pan stiffeners being bucked into place – I buck while Eric drives. He has gotten quite good at this and the results are excellent. We started the pan trying to back rivet, but had to drill out the first four attempts. We found bucking the rivets to produce better results, and actual was faster.