Monthly Archives: February 2014

You are browsing the site archives by month.

VS Metal Prep & Logisitics

Spent time this week preparing for the big two week building push expected during Rich’s visit in early March.  I fabricated a pair of drying racks from 1×1″ pine boards using medium eyelets to hold hooks made from 14/3 electrical wire. This combination was cheap and seems to work fine.  Also scuffed the non-skin components of the VS and rudder.

IMGP3853
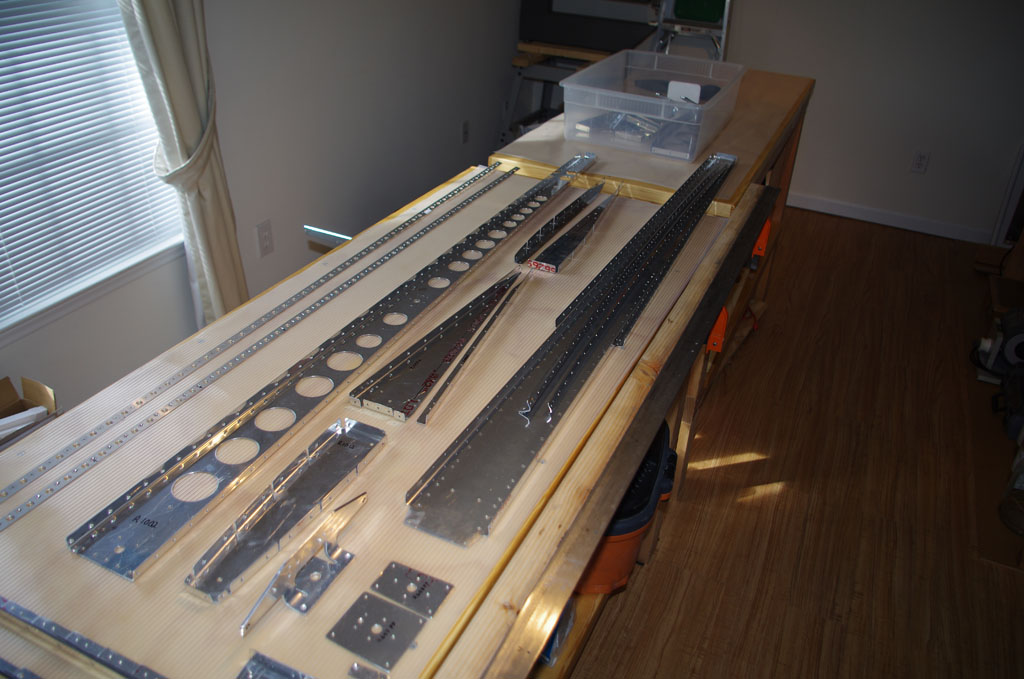
Here all the parts are staged prior to scuffing.


IMGP3854Used the spare bathroom and a doggie shower attachment to scuff with maroon Scotchbrite and green Dawn dish washing soap.  This action also took off the major grease and grime from earlier processing steps.  This is a porcelain tub, so a rubber bath mat cushions the parts in this picture.


IMGP3856
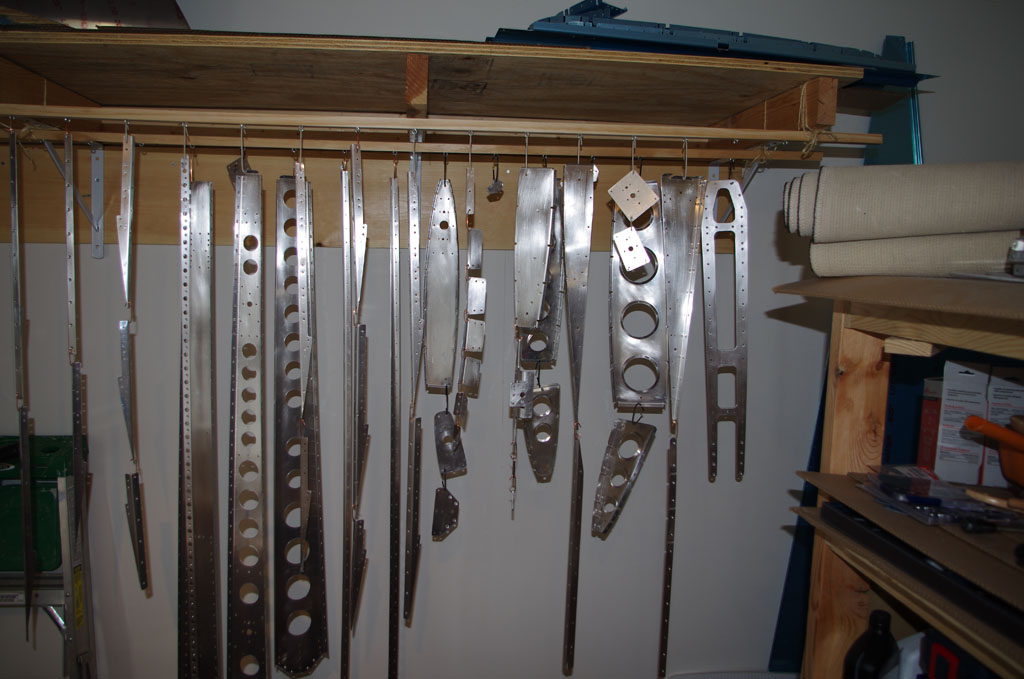
All the parts are scuffed, cleaned and are hanging on the new drying racks.


IMGP3860I manufactured a fake window box for the dual fan setup in a few hours with cheap 2×6 pine boards. The fan is supposed to move 1420 cfm, the whole shed is 800 cubic feet.  If all goes as planned, a complete air turnover will happen twice a minute – not bad for a home paint booth.

VS Upper Rib Doubler

I spent some time this week going back to major parts of the vertical stabilizer and rudder to smooth the edges much better than my original efforts. Last week my technical advisor had shown me how edges should look. In retrospect a rather poor job had been done on final rounding my parts with the Scotchbrite wheel.  Fortunately, none of these parts have been riveted together.  The results now look much better.

The other activity this week was fabricating a rib doubler for the uppermost rib on the vertical stabilizer.  I want to use 3/4″ plastic conduit obtained from Van’s to feed wire for either a VOR antenna, an anti-collision LED beacon, or both to the top of VS.  The conduit can be held in-place with the appropriate sized hole drilled with a unibit.  However this would weaken the spar web, so a doubler is needed.  In addition, I wanted to use the #10 screw nut plate trick, ala the bonding straps, to allow for later installation of any electrical equipment.

IMGP3837A scrap piece of sheet aluminum is measured out for the rib doubler.  This picture shows the position of the nut plates, the unibit to be used for the 3/4″ hole and a practice piece of plastic conduit.


IMGP3842Here is the doubler rough cut for  insertion into the upper VS rib.


IMGP3849On the left is the fabricated doubler with all the holes drilled and deburred.  I countersank the nut plate lobe holes for flush riveting with an ‘oops’ rivet.  I wanted this to be flush for flexibility of later installations.

On the right is a practice piece with the plastic conduit inserted into the 3/4″ hole.  As can be see here, the conduit has alternating bands of 3/4″ and 7/8″ diameter sections.  This will allow the conduit to be threaded through the unibit hole and self-attach to the rib doubler. Nice and neat.

The lower VS ribs do not need this treatment, as special Panduit wire ties will be attached to the already present lightning holes.

HS Preparation – cont.

This week I finished the deburr and Scotchbrite treatment of most horizontal stabilizer parts. In addition, I ordered a 2hp, 7.2 cfm Sears Professional air compressor, a Bosch JS470E hand jig saw, and the final set of parts/accessories for priming.

IMGP3796With earlier work on smoothing edges, I had tried various combinations of Dremel sanding bits, 400 grit Emory cloth, and Vixen files.  The best results so far are obtained using a fine bastard file on the really rough sections, followed with a very fine needle file, then a deburr tool to round over the sharp corners and finally smoothing on a 6″ Scotchbrite wheel mounted in the drill press. It takes quite some time per piece, but the results are very good.


IMGP3801This photo shows me using a medium file to shape the end of a HS spar cap rough trimmed with a band saw.


IMGP3798The deburr tool run 2-3 times over the edge of the spar cap will take off the sharpest corners (which are the result of Van’s manufacturing process of high-pressure water jet cutting, then bending in special jigs at the factory). Here the spar cap is clamped to the angle iron jig I originally made to hold the rudder trailing edge section.  This jig has been handy for a number of other operations as well.


IMGP3806My EAA technical counselor, Terry Gardner, was kind enough to spend an evening in his shop with me producing the HS attachment brackets from raw angle aluminum stock.  An earlier post showed my rough measurements, Terry was able with his Bridgeport milling machine to achieve 0.0025 or better tolerances on all the holes.  On the left is the final milled piece coated with the blue dye used for accurate scribing, the right bracket has been cleaned and polished.  These are results I could never have achieved by myself with hand tools. Thanks Terry!

HS Preparation – cont.

Spent about 7 hours this week deburring the ribs on the horizontal stabilizer.  This is tedious, but necessary work.

IMGP3788


IMGP3792