Eric and I drove to Airventure 2018 in Oshkosh primarily to order an engine and propeller from Van’s.
 The show discounts from Van’s amounted to $1000 when ordering both components together, plus free shipping. The engine is a 260hp Lycoming XIO-540-D4A5, while the propeller is a 3-blade Hartzell C3Y1R-1N/N7605C with a C-4582-P spinner (picture at left). The engine will be added to the production schedule and should be built in 3-4 months. The propeller is expected to ship in 4-6 weeks. After much discussion, I was also able to get a free hat from Lycoming.
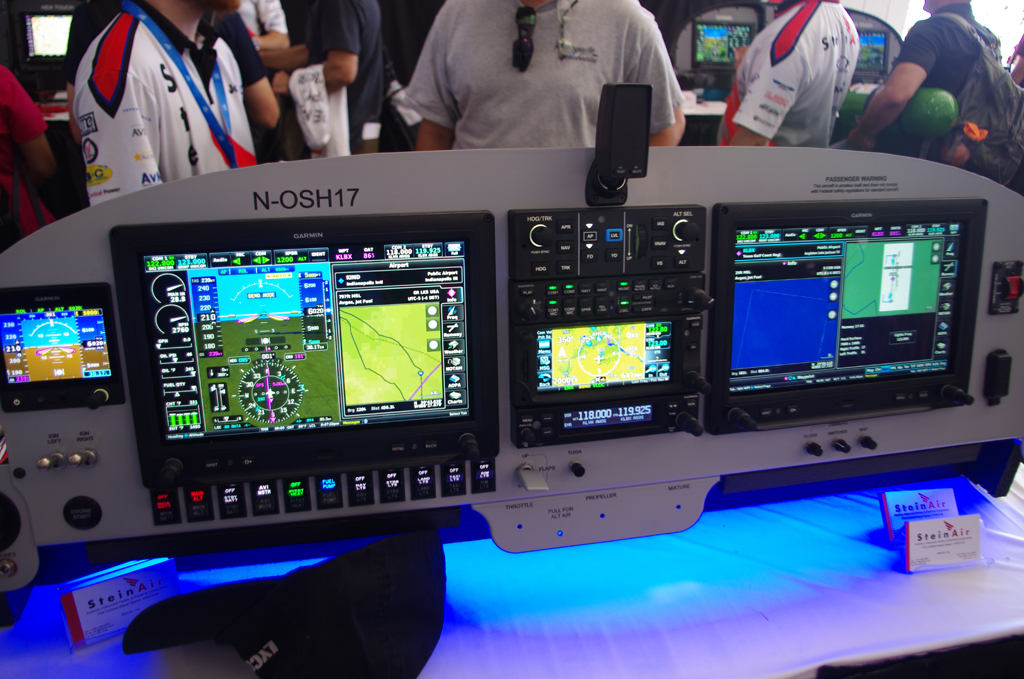 We stopped by SteinAir to ask a few questions about G5 autopilot connections, and VOILA! – they had a demonstration panel with nearly the exact equipment and layout I have been imagining for some time. This is essentially how mine will be configured with a few alterations for internal lights, USB power and CO2 sensors. Otherwise excellent.
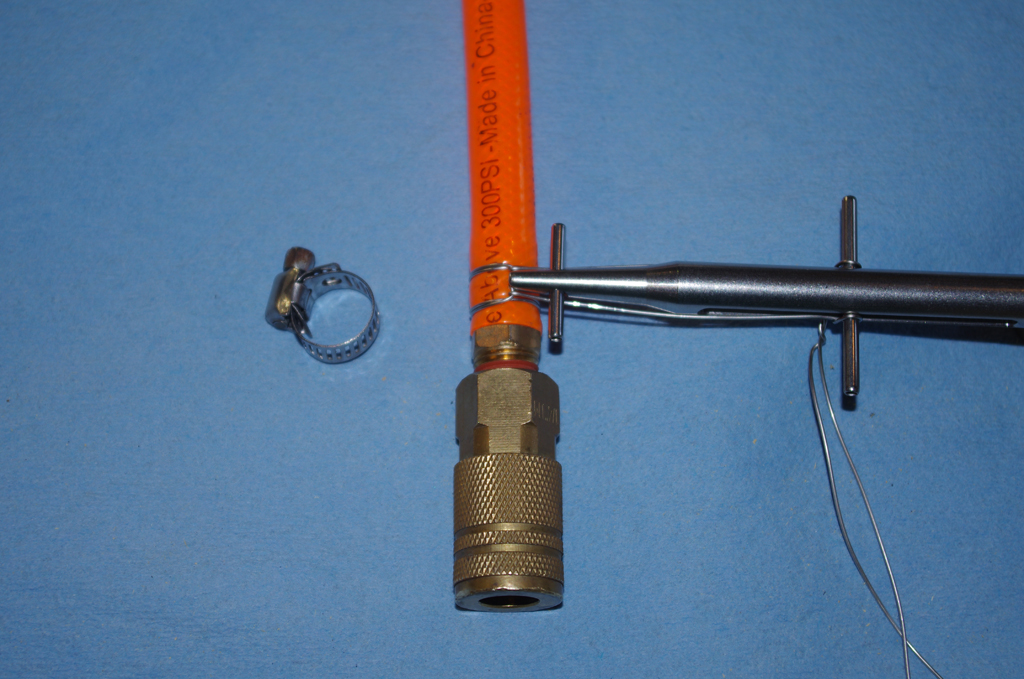
 These two products were obtained during the week. Both are very versatile for aeronautical and home use. My first application was replace an air hose clamp with .032 safety wire. The combination works great and eliminates the sharp edges of the hose clamp when handling.
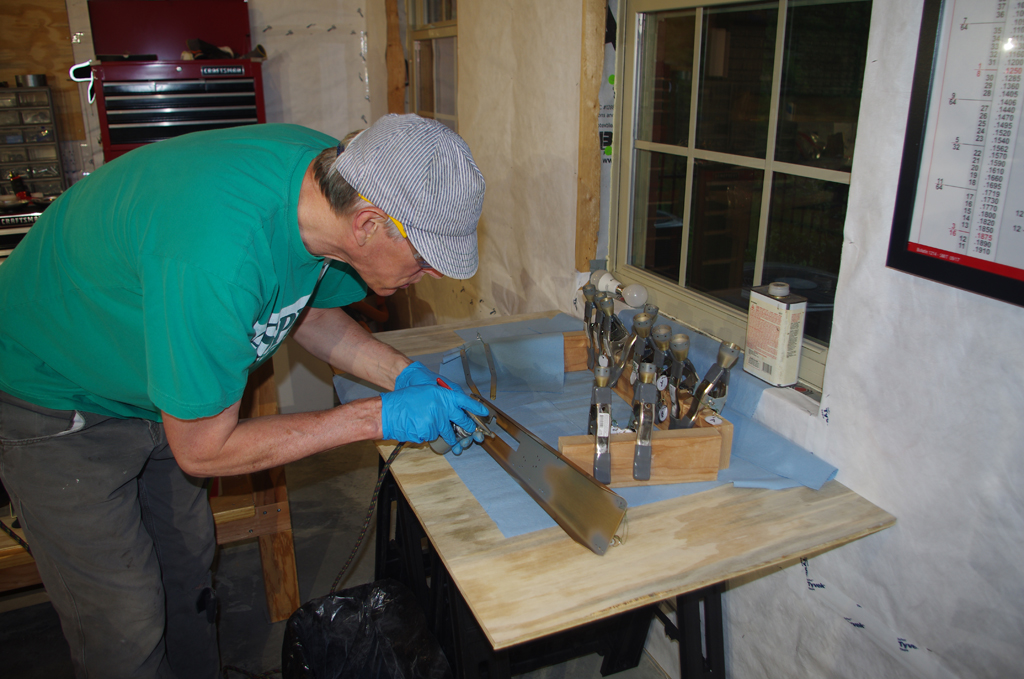

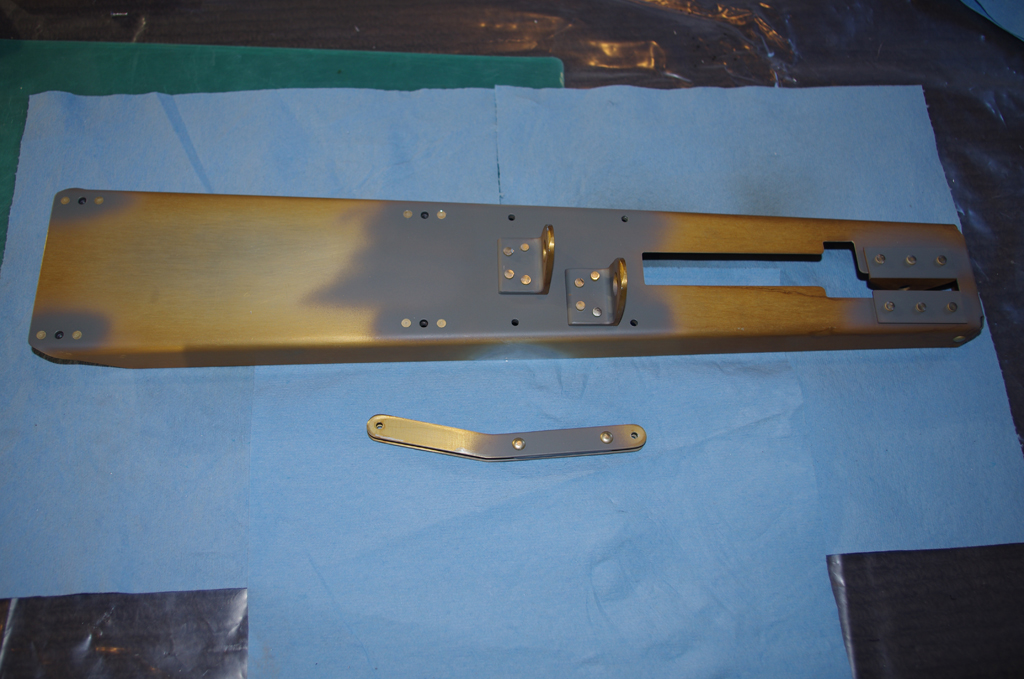
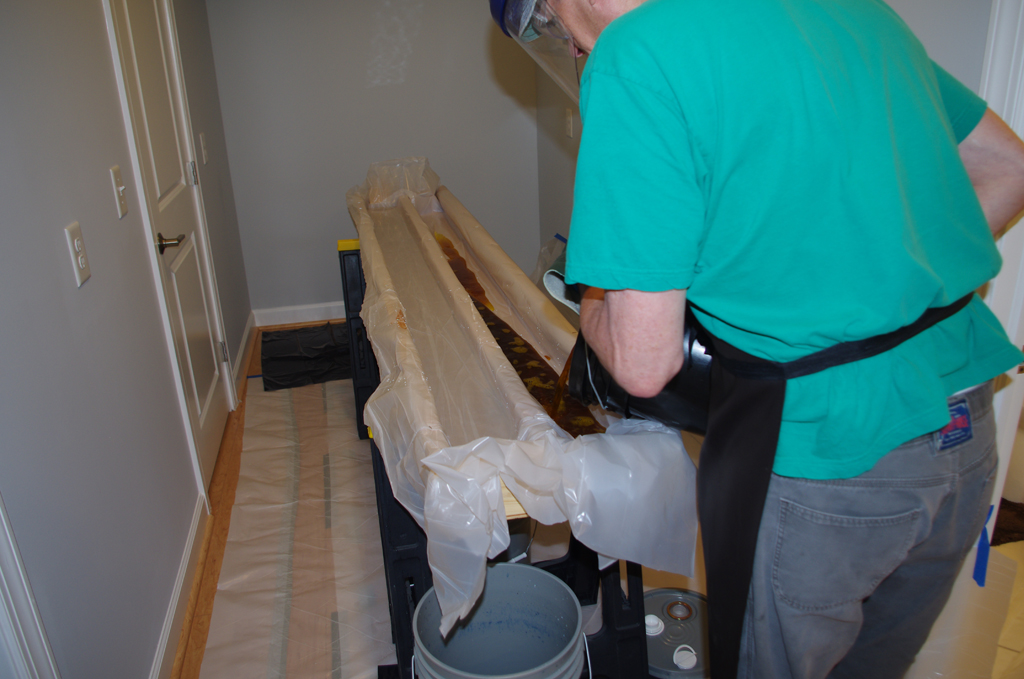

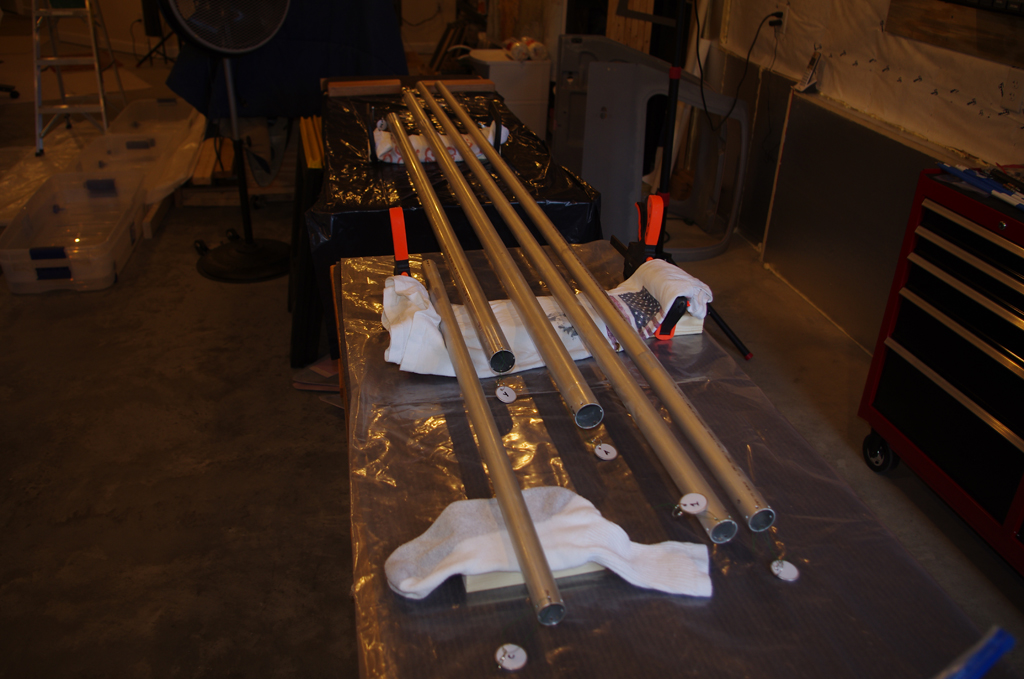
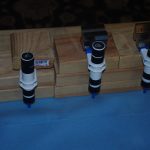
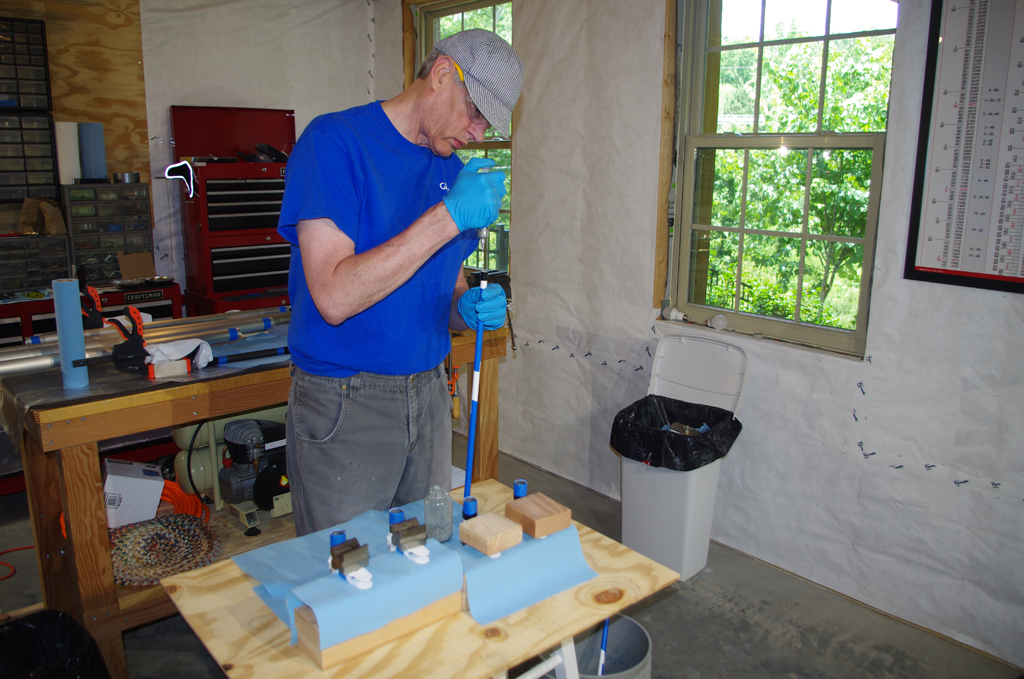
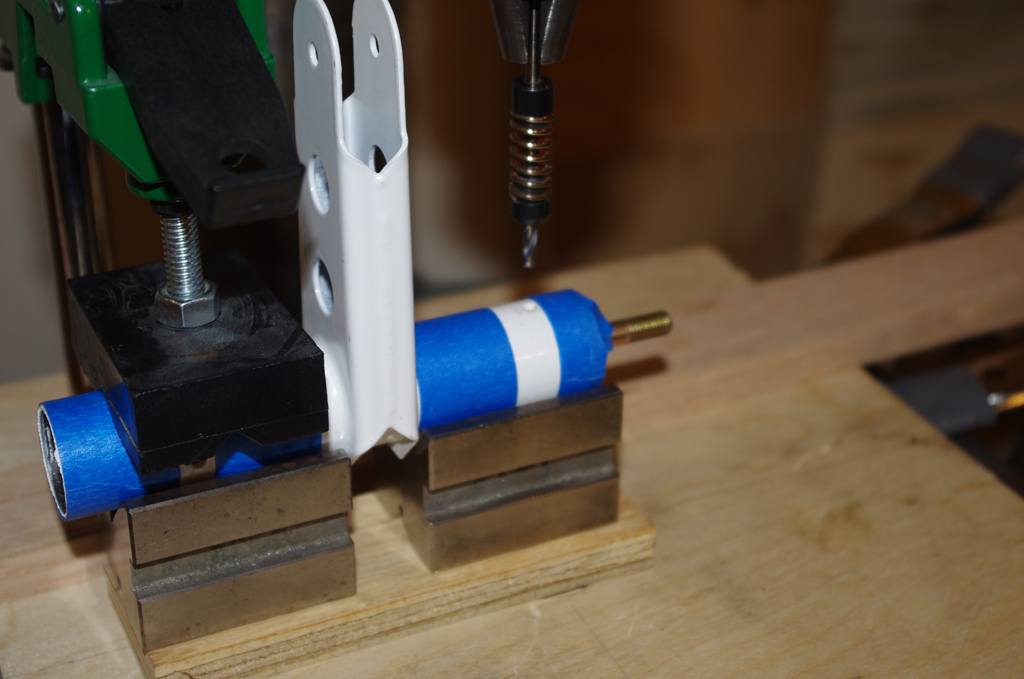
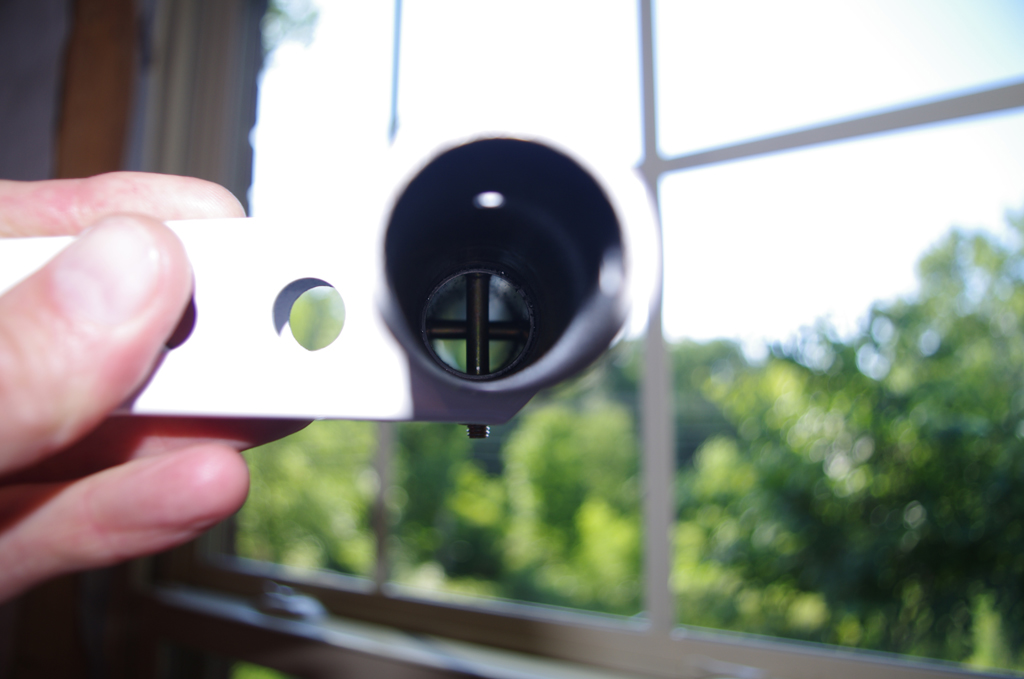
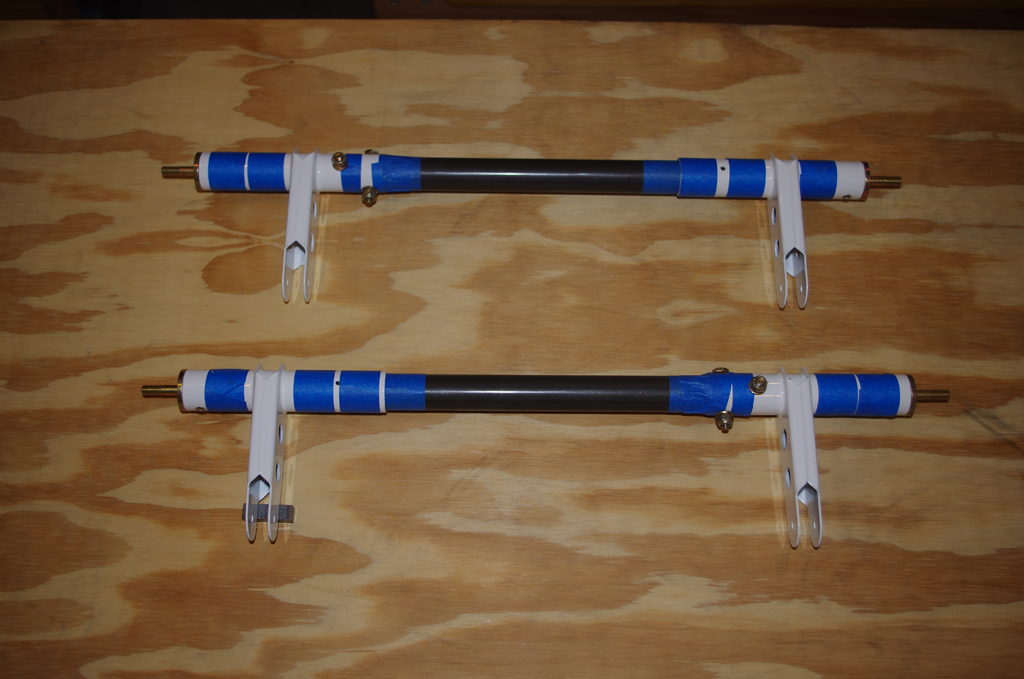
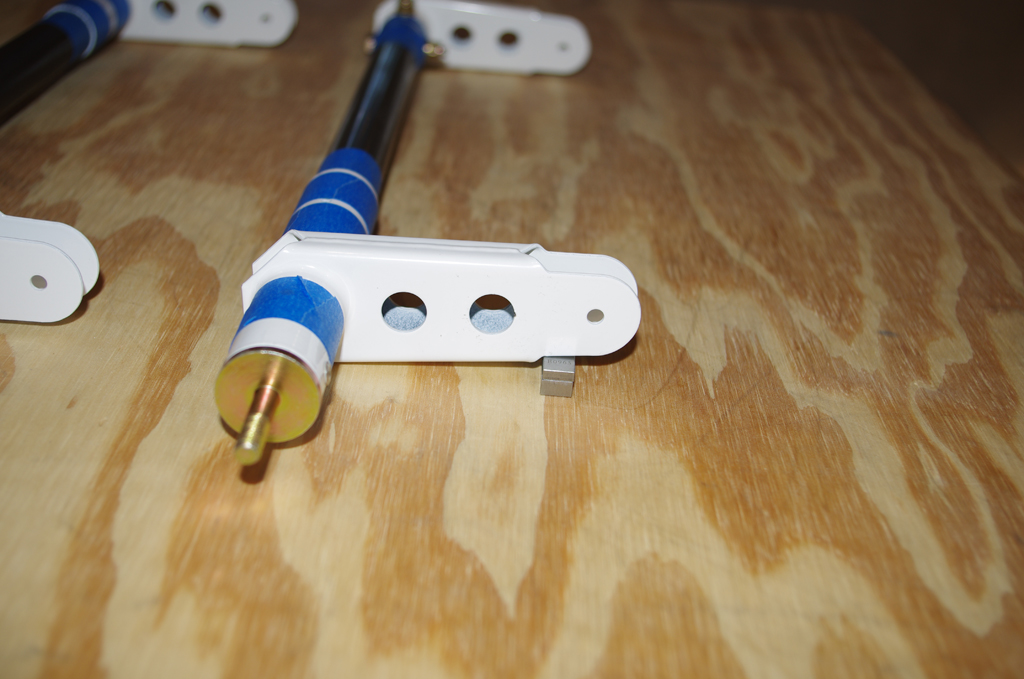
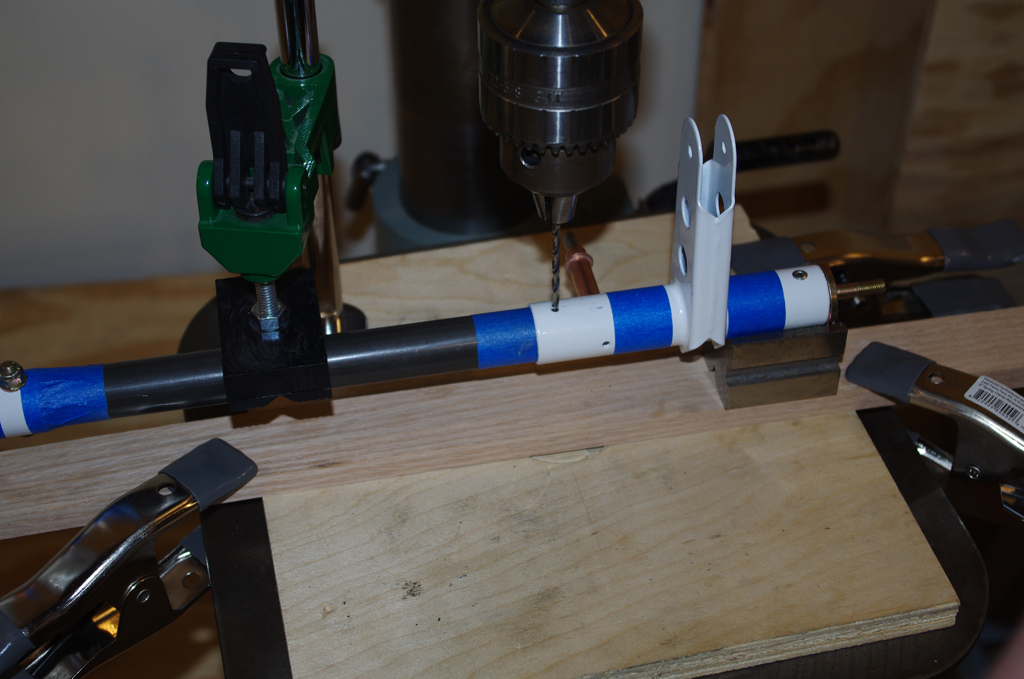
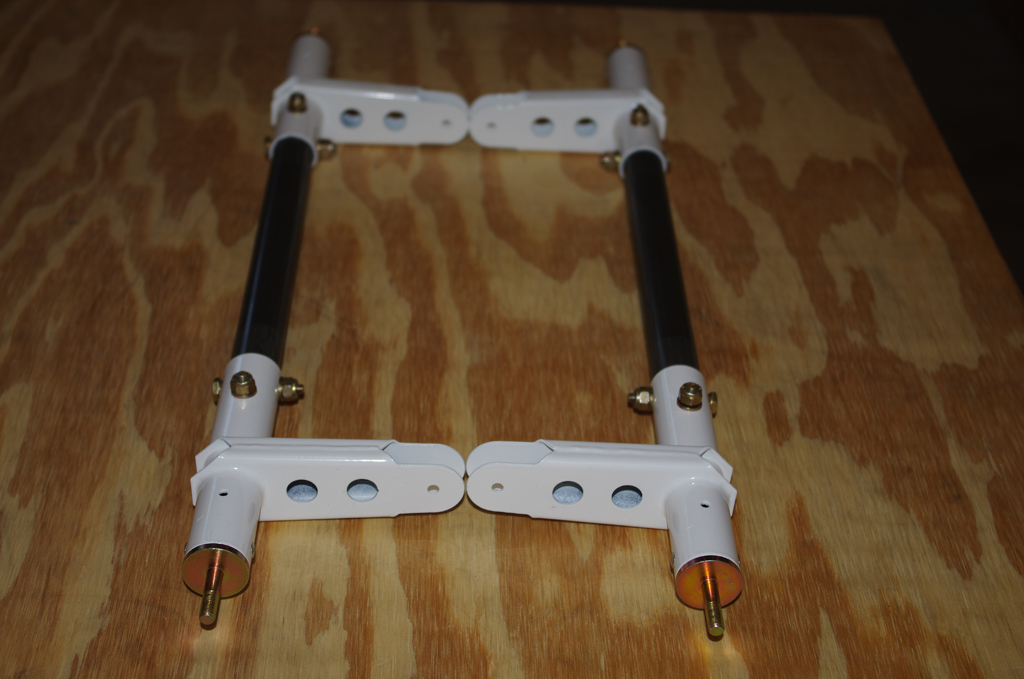
 Priming the interiors of the flap pushrods and torque tubes is recommended in the plans. A small quantity of two part, epoxy primer (PPG DP40LF) was mixed. A small bit of acetone was added to help the primer flow better along the inner walls of these tubes.