While the title of this post is about torque tubes, the general work this week is alodine and prime various other parts as well.
ALODINE

 The process to wash, acid etch, rinse and alodine parts has been covered in previous posts. The difference here is performing the task in the climate controlled splendor of my new basement. Wonderful how not having to sweat at every motion seems to make the work go faster.

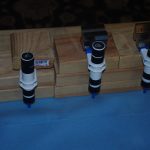
 This batch included parts from control push rods, end caps, rudder trim mountings, cabin rivet backing plates and more accumulated during various stages of fabrication. Unfortunately the alodine was at/near the end of its useful life, so only a light coating was achieved. A new supply has been ordered, so a repeat of the last stage may be needed.
PRIME

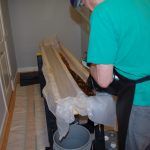
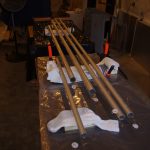
 Priming the interiors of the flap pushrods and torque tubes is recommended in the plans. A small quantity of two part, epoxy primer (PPG DP40LF) was mixed. A small bit of acetone was added to help the primer flow better along the inner walls of these tubes.
 Here the primer is injected in the open end of a flap pushrod. The rod is then shaken to distribute the primer. Excess material was poured out – though not much came out. Most remained well attached inside the tubes. Now let them dry thoroughly, then assemble as needed.
CUSTOM PARTS
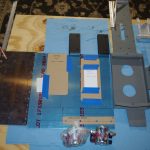
New parts outside the plans are laid out for attachment to the center control bellcrank housing. One is a auxiliary battery platform. The other is a mounting bracket for two battery contactors. The original Vans housing is configured for one contactor, I need two for the electrical system on my plane.
