This week saw final riveting on the hinges, trailing edges, rib tips, and bending the leading edges.
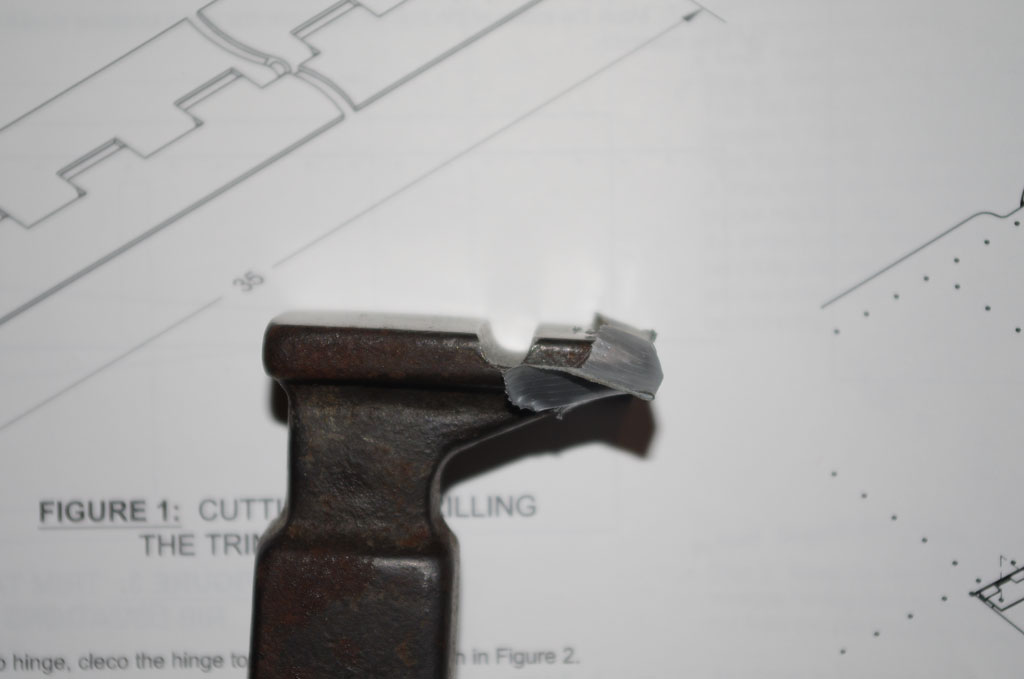
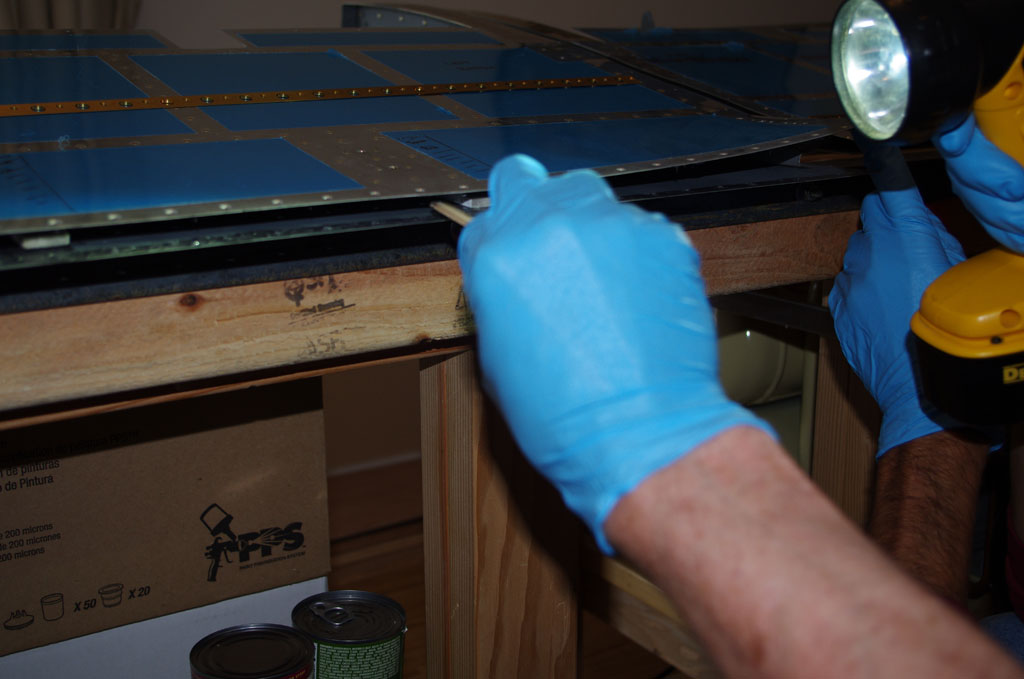
 A special modification to a standard bucking bar was made with a grinder and round file. The depression in the bucking bar face exactly matches the trim tab hinges. This configuration allow bucking the hinge rivets without smashing the hinge assembly itself. The bar worked well and the results look good.
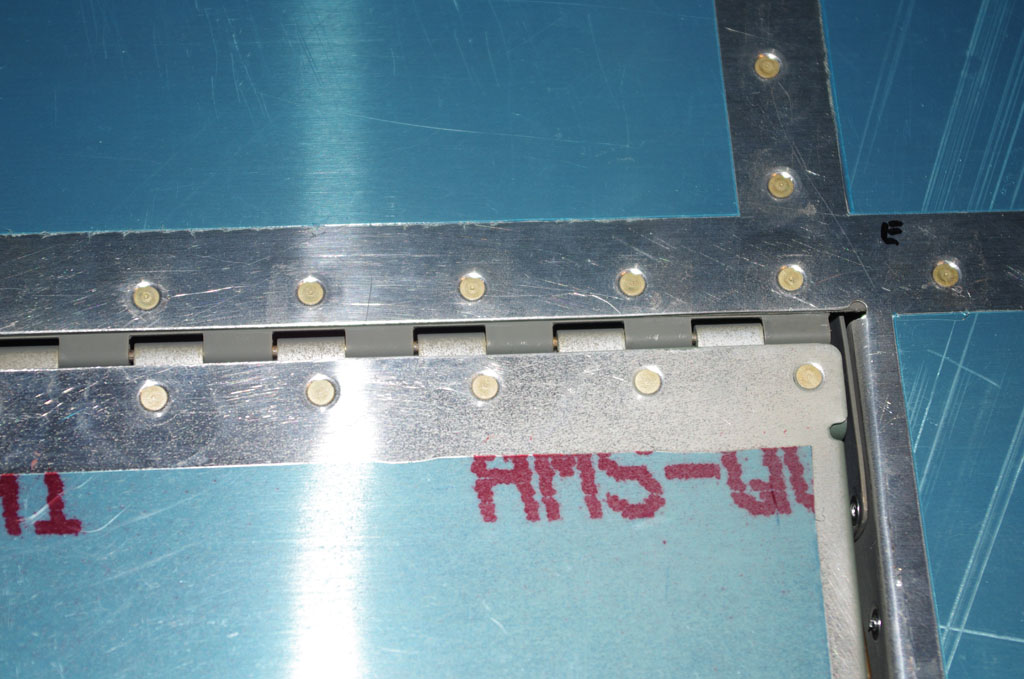
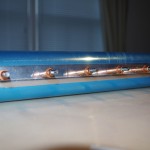
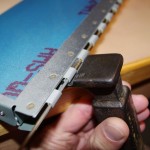 Here is how the modifed bar fits under the hinge to access the rivet for bucking.
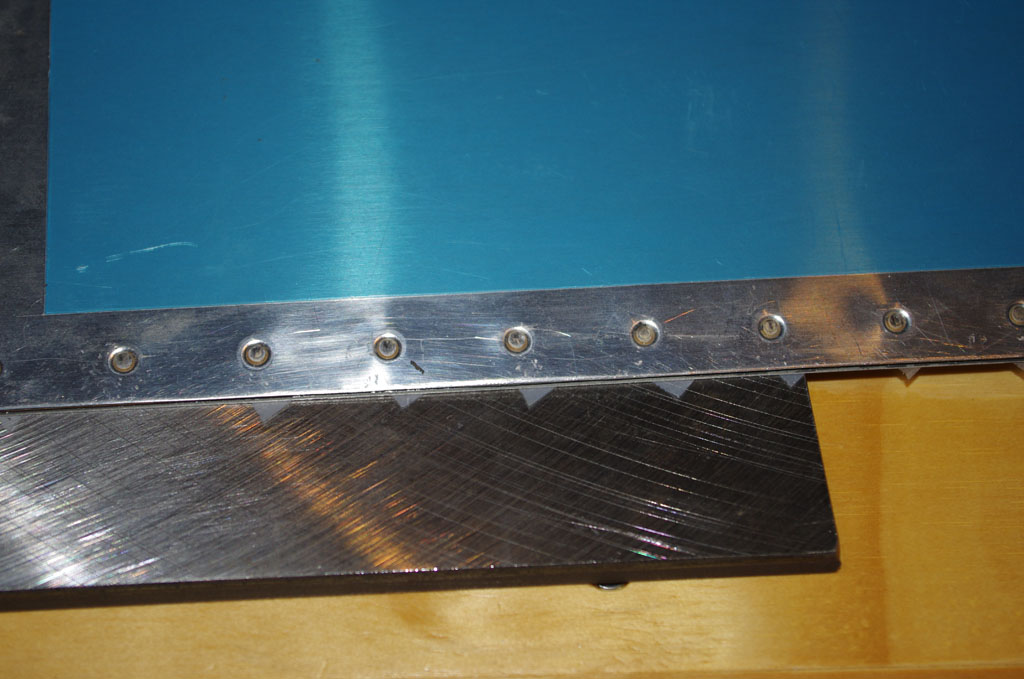
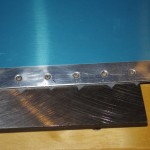
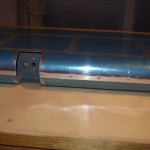
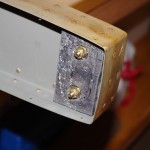
 The final product looks good.
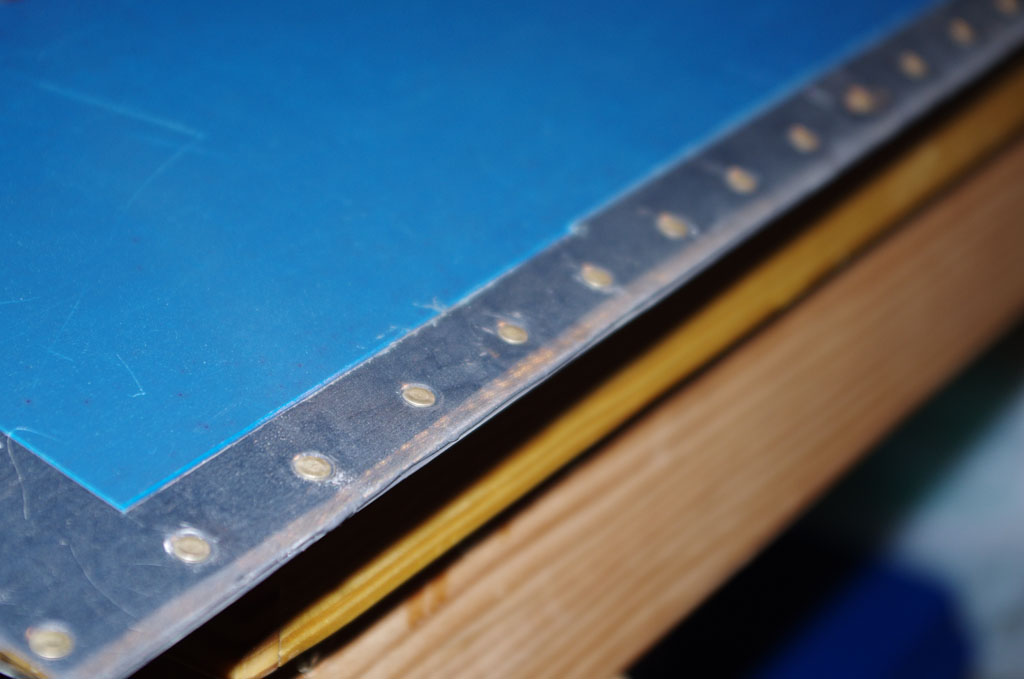
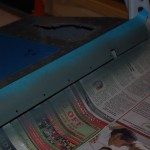
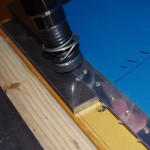 Next came backriveting the trailing edge. This process was the same as for the rudder, with the exception that all the manufactured heads are on the top skin (no altering top and bottom). I was able to do this by myself. Again the results look good.
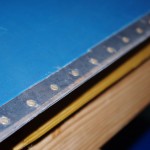 The outcome on upper and lower edges.
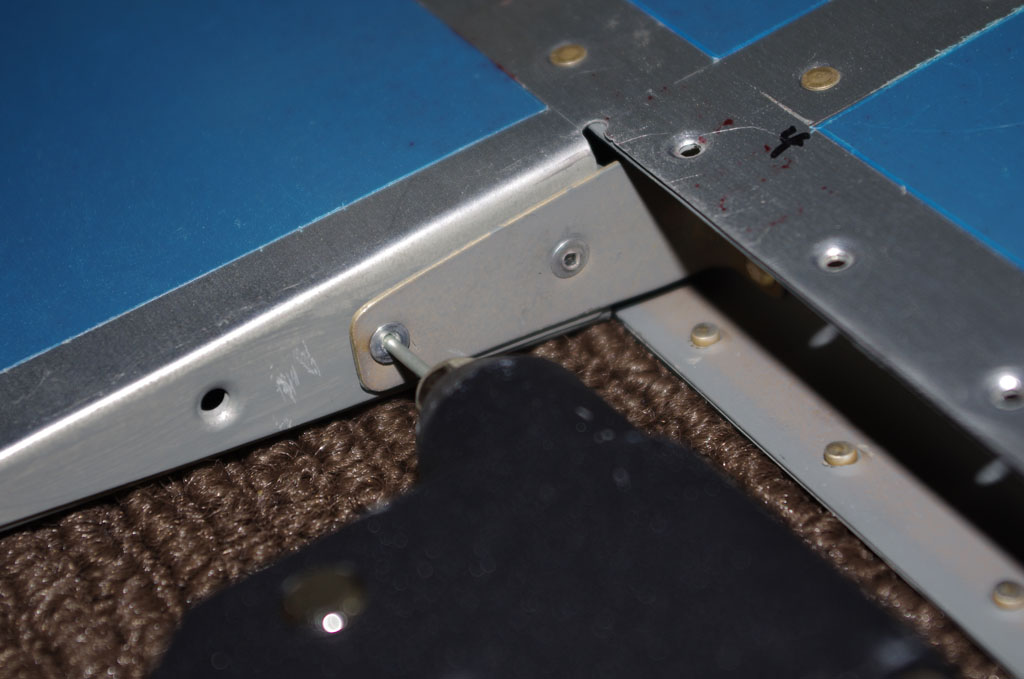
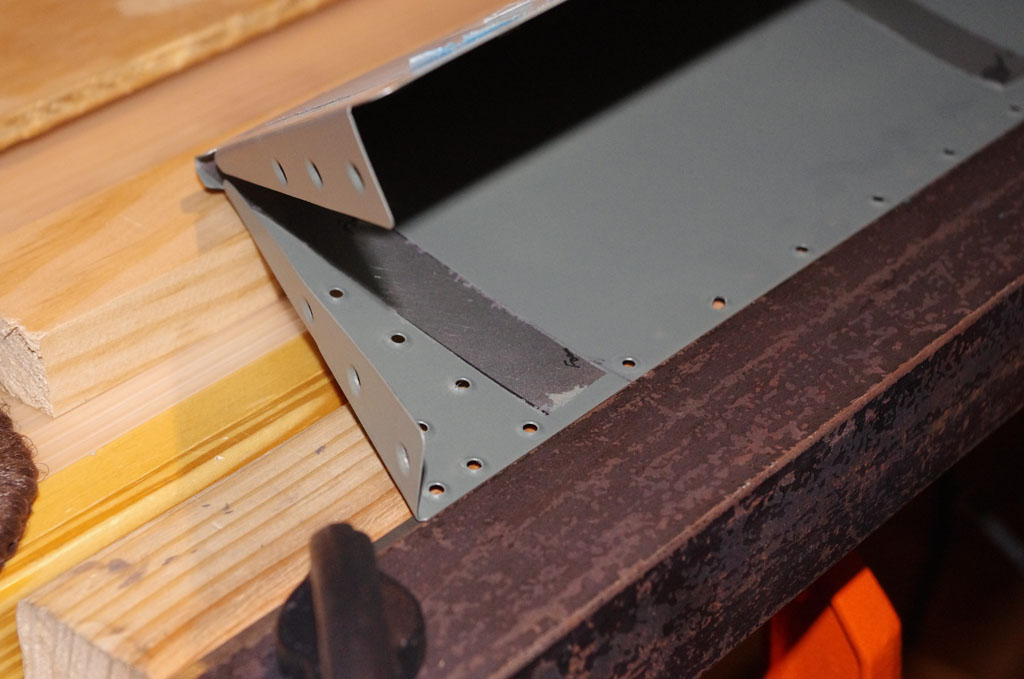
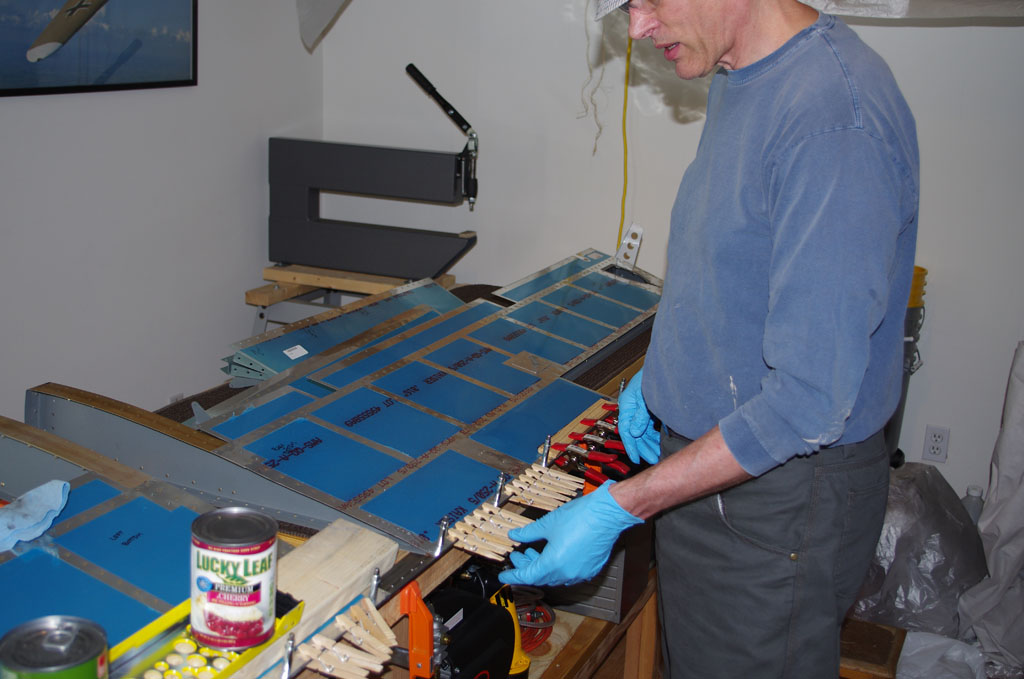
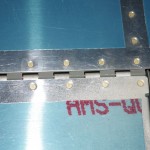
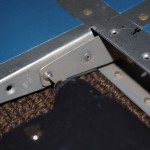 Here the sheer clips are being pop riveted into place.
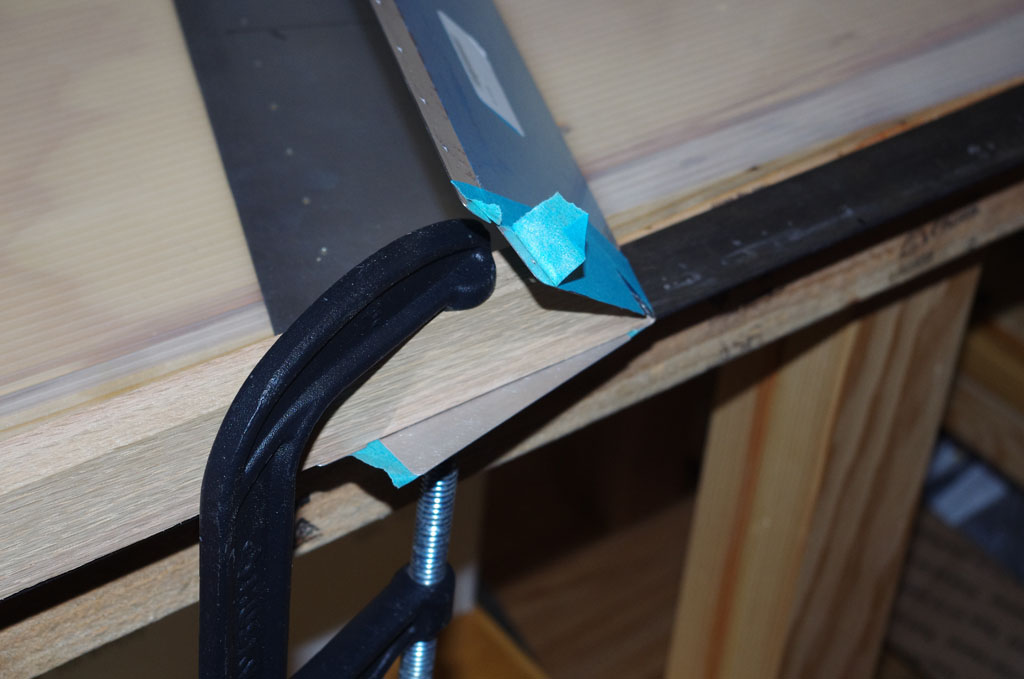
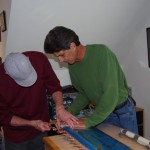 After rolling the leading edge of the right elevator with Rich’s help, we cleco the two halves together. We were only able to complete the left side with the time available today, but the final work on the right side will be done in a day or two. More photos of the final product will be added later.
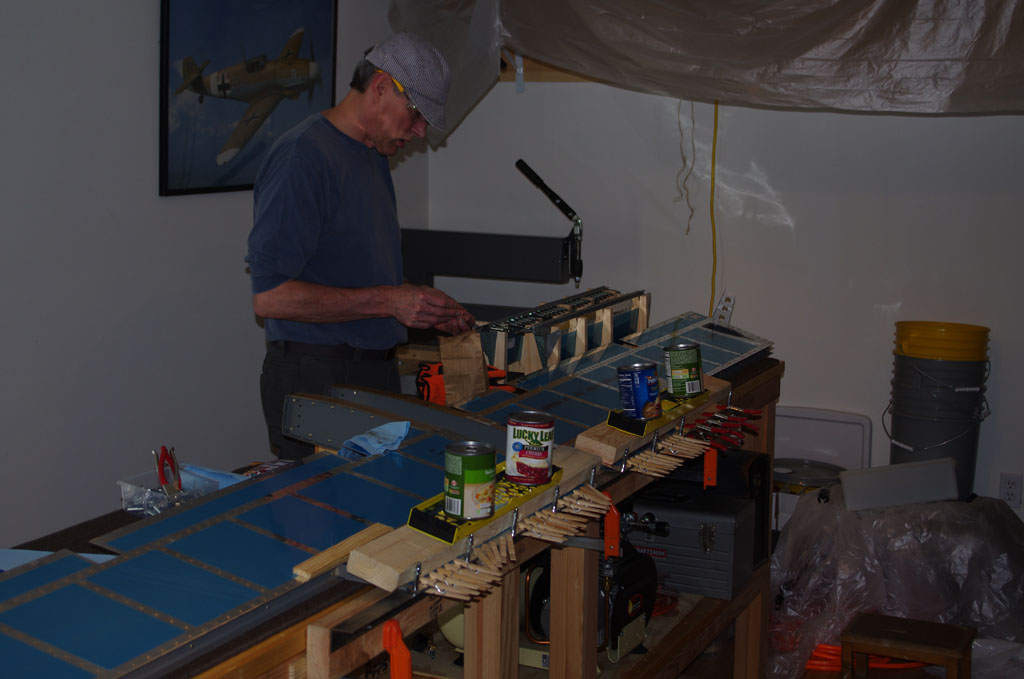
The week of November 24 (Thanksgiving Holiday) I spent time with Eric finishing up all elements of the elevator build.
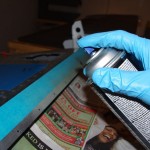
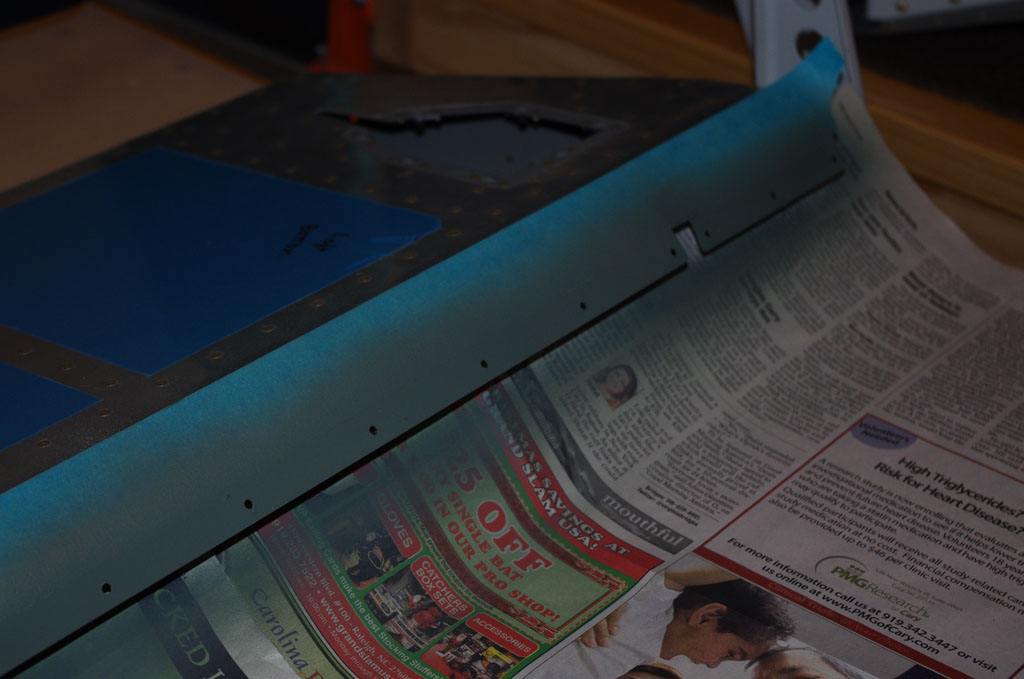
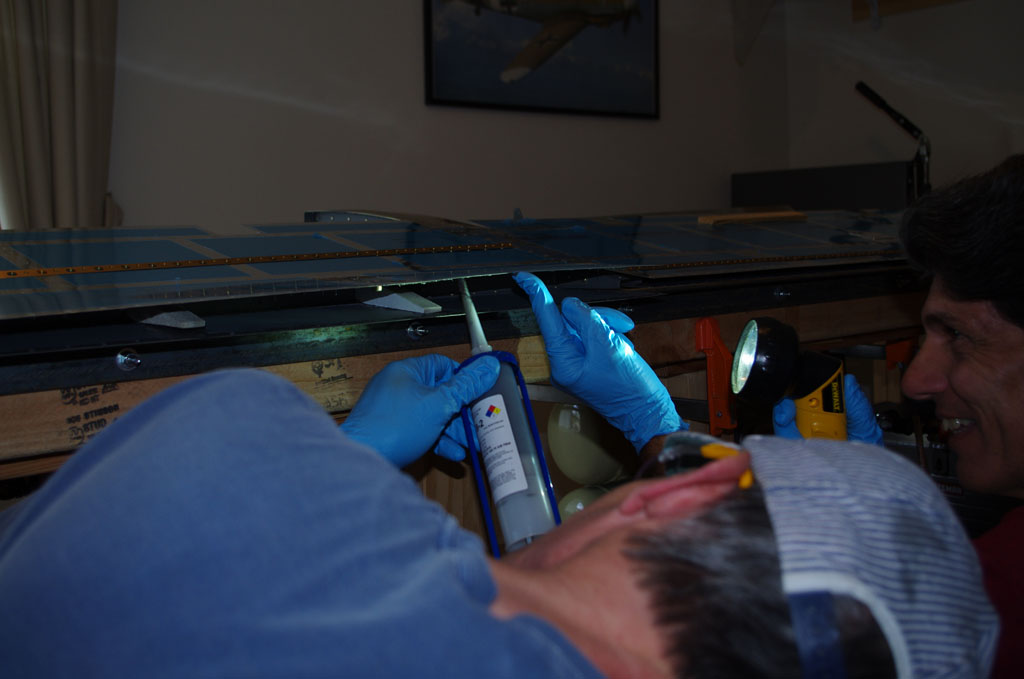
 After rolling edges, priming the surface to be covered was the next order of business.
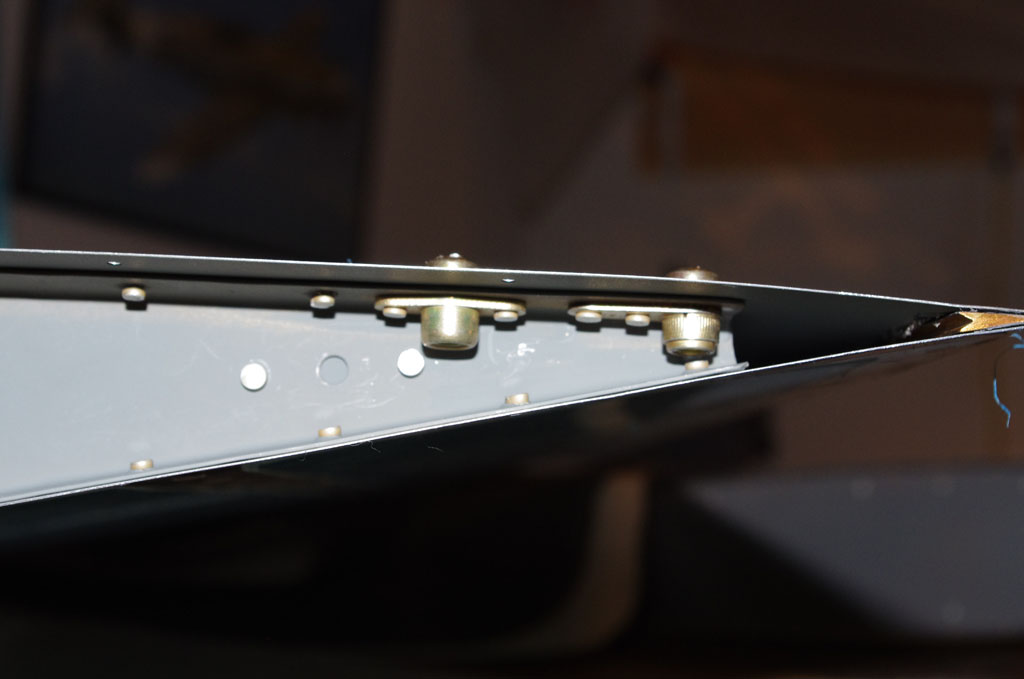
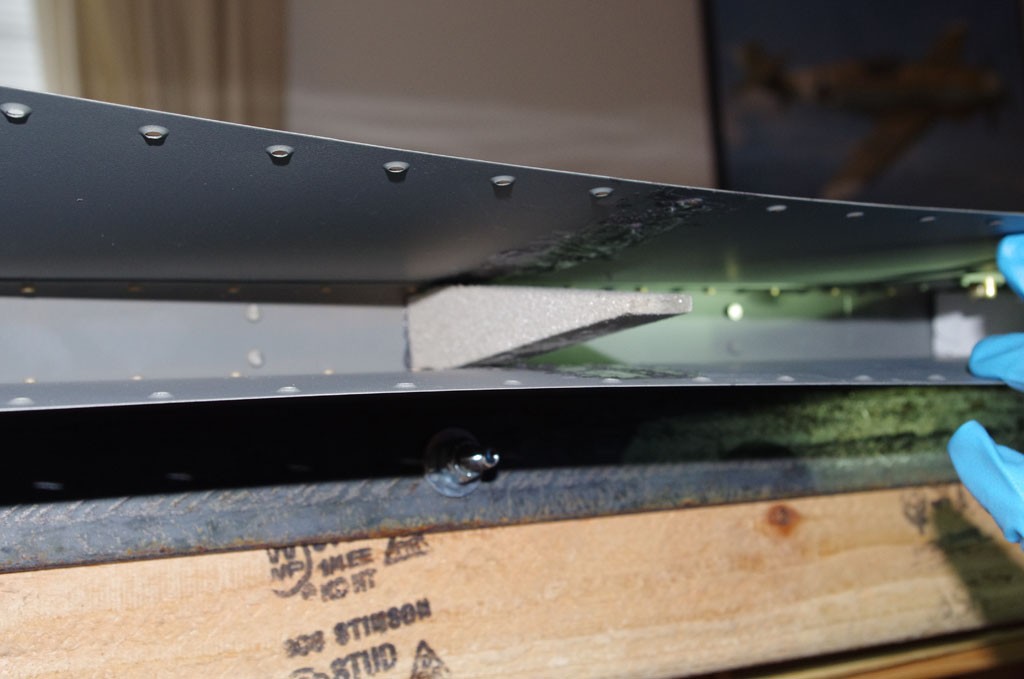
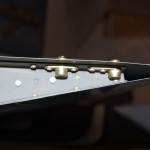
 Closeup of the final product before and after pop rivets.
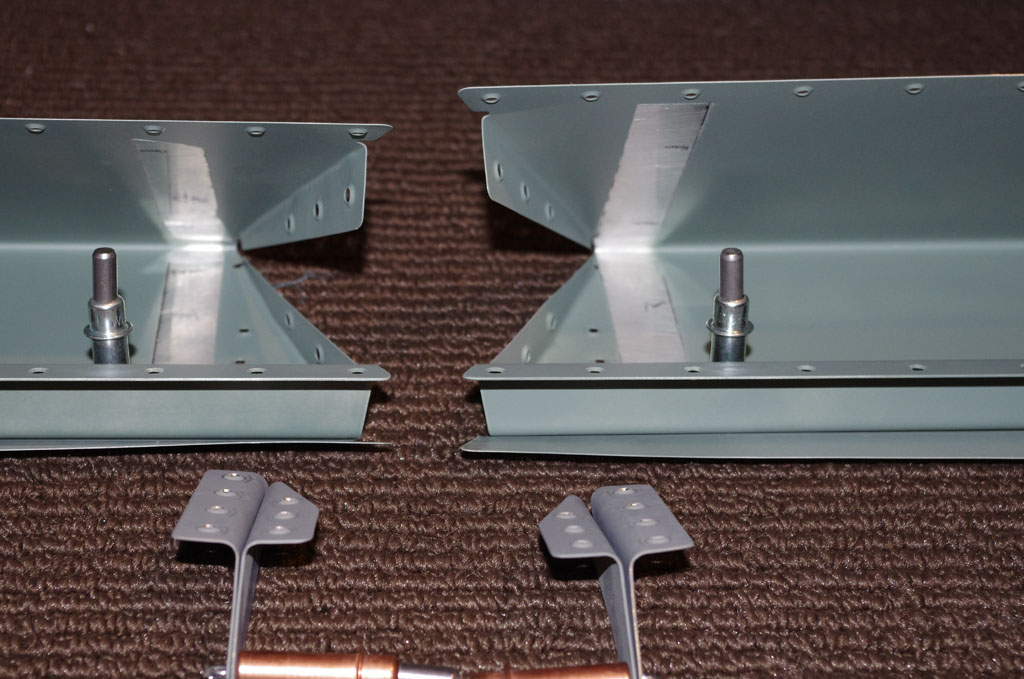
 The static wick nut plates install on the lower skin at the tip ribs.
 Tip rib counterweights installed.
 End results! They look good at a distance, but I really struggled through the elevators (see previous posts). Now on to the tail cone section.
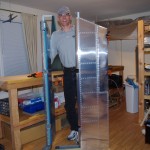
 The obligatory staging shot with vinyl removed.
 Initial fitting. This was about 30 hours after starting all the metal prep on frames and bulk heads. I have not even started on the skins or the miscellaneous other parts.
 Section where bellcrank will be housed.
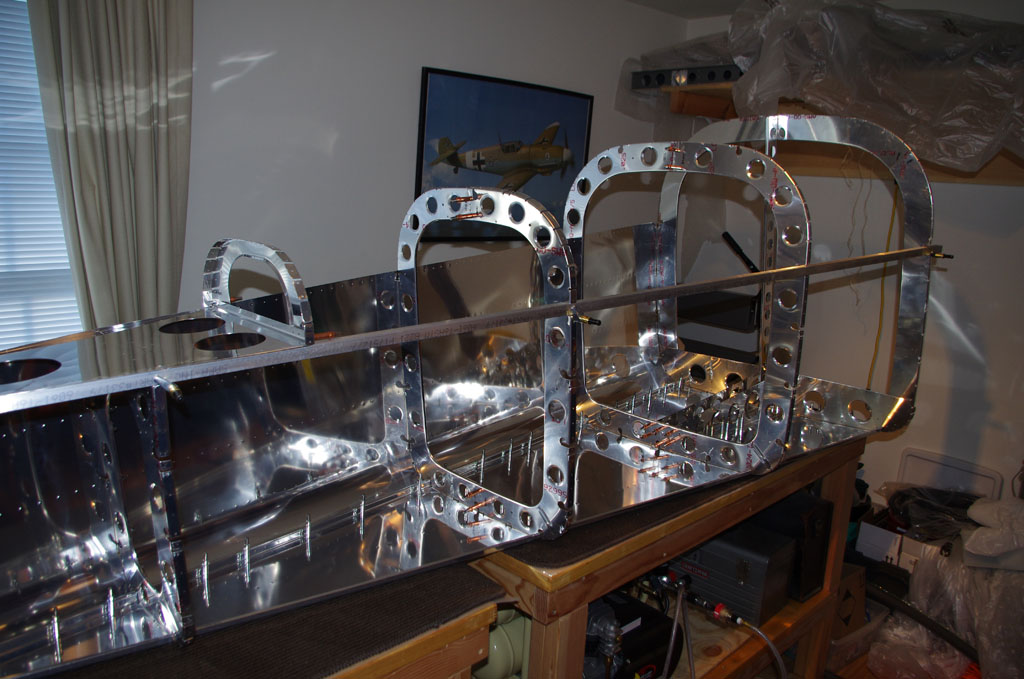
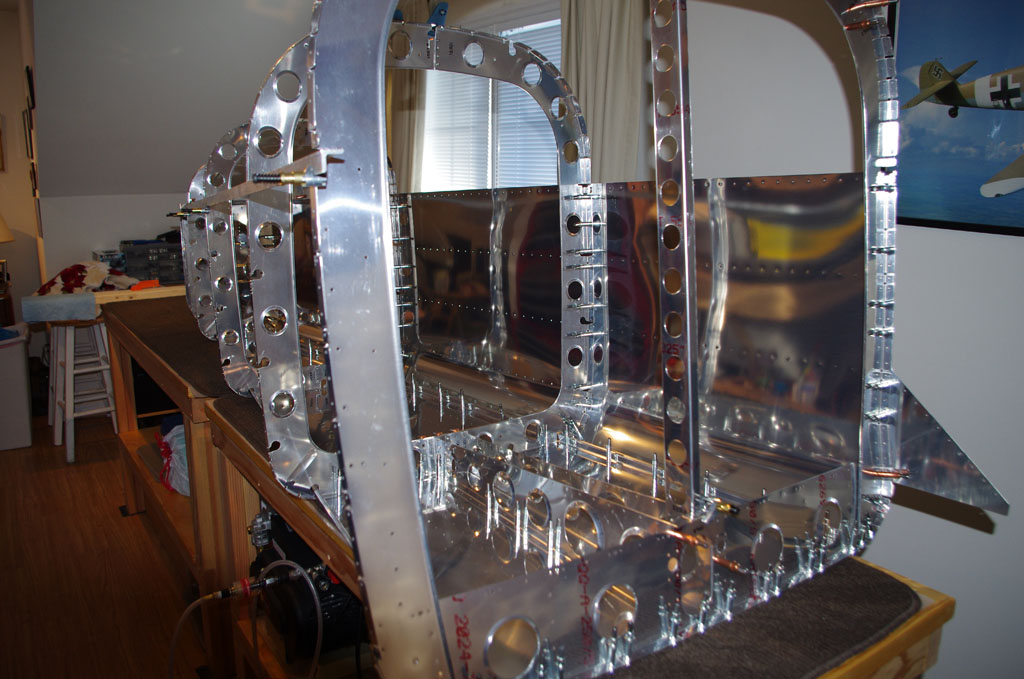 One lower skin is attached for stability. This is actually starting to look like an airplane! Much more metal prep and fitting before any match drilling is started.