Monthly Archives: May 2014

You are browsing the site archives by month.

Tools

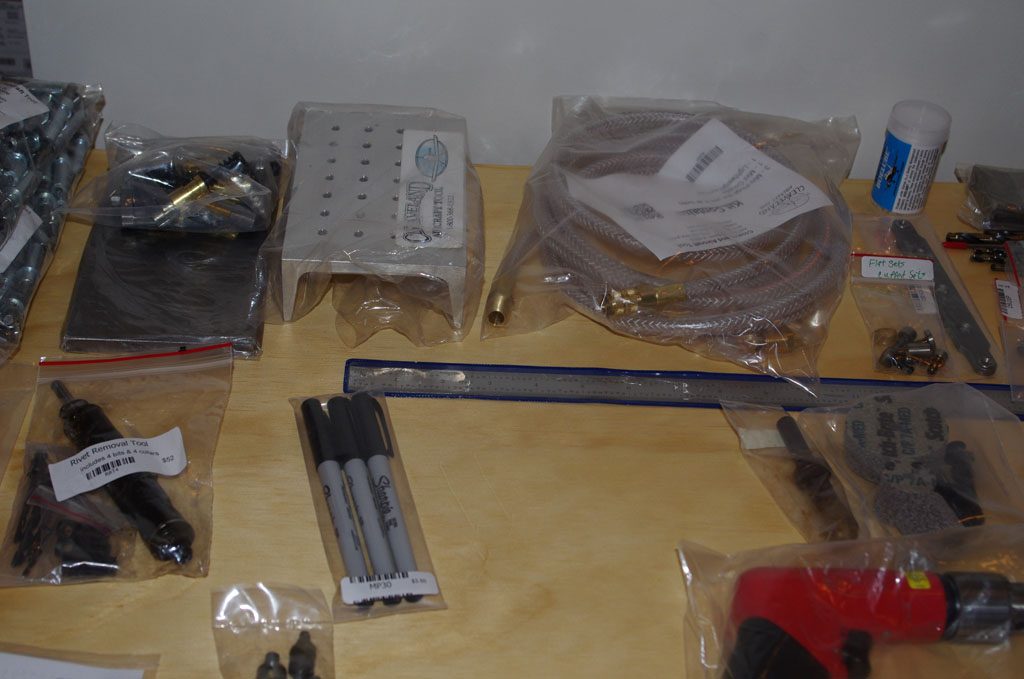
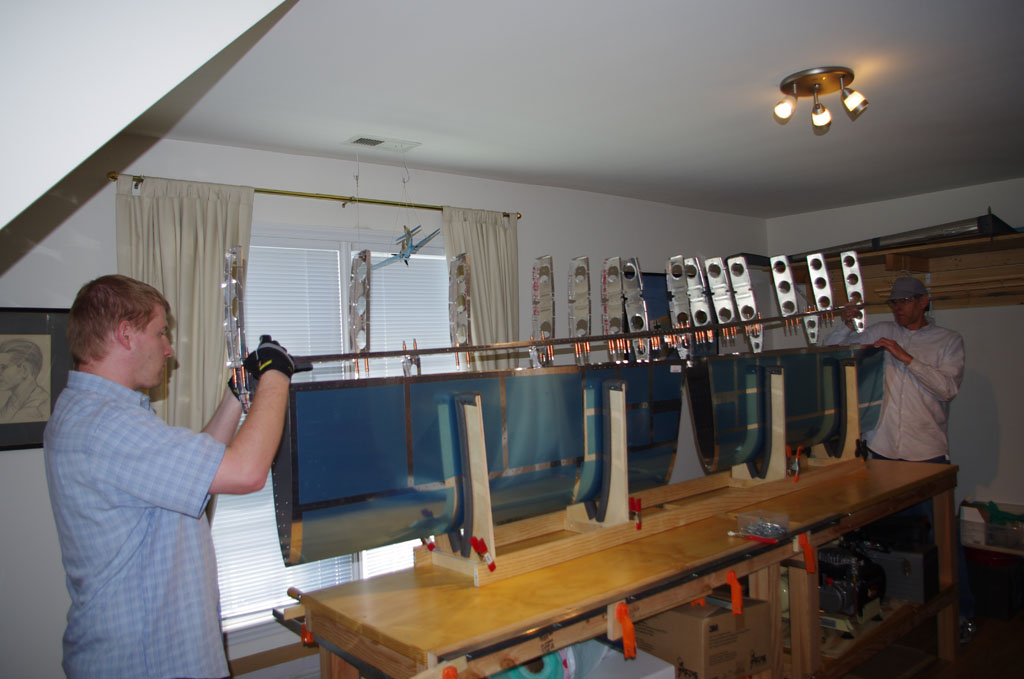
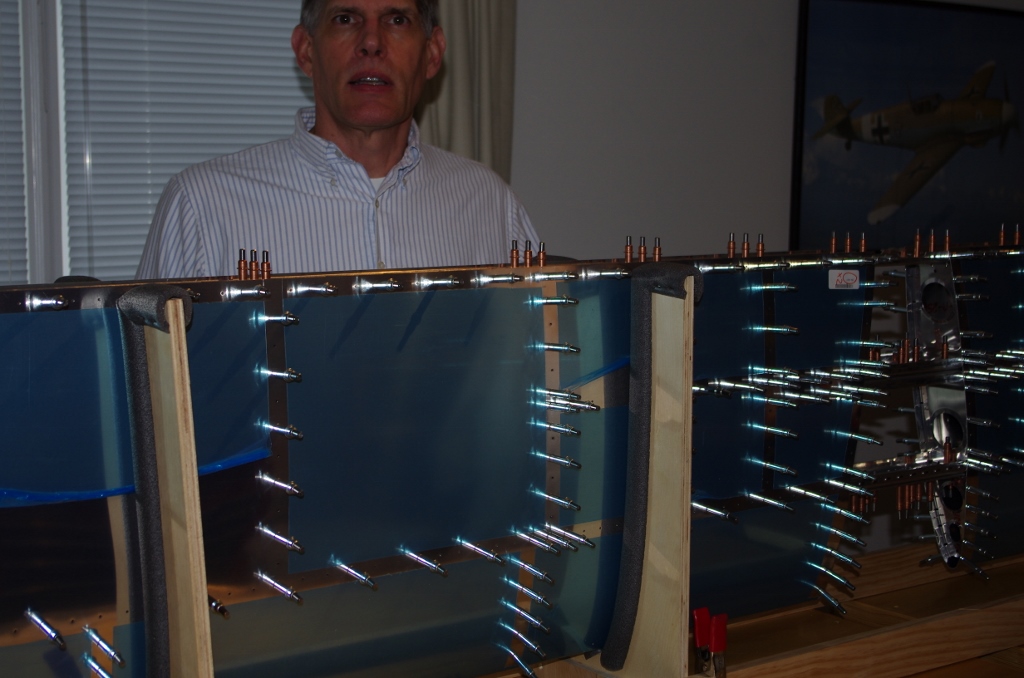
Many speciality tools are needed to fabricate a kit airplance.  I spent years researching the subject and still did not have enough information to get it right the first time.  However, my first bulk purchase went to Cleaveland Tools in Ames, IA for their RV10 starter package.

IMGP3271
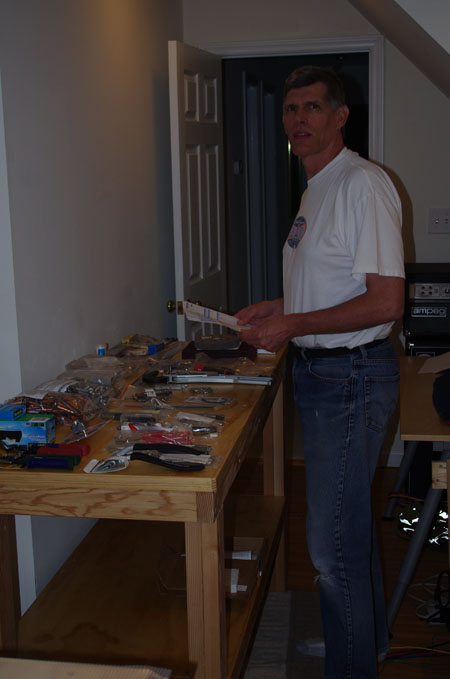
Here is the original packing list.  Eric and I did a full inventory on the first shipment, only found one issue needing correction.  Some tools were back-ordered, but otherwise responses from Annette from Cleaveland have always been immediate, friendly, and helpful.


IMGP3259IMGP3262
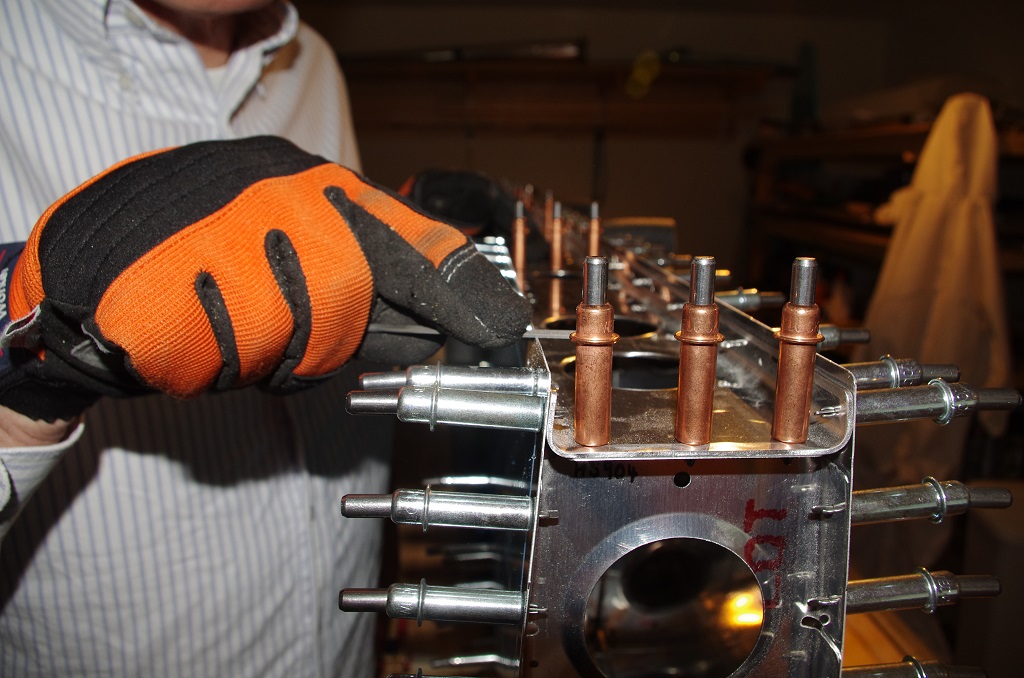
This package was slightly under $3000, but I have subsequently gone over that number as the work has progressed. However, I can confirm what every builder already knows – you can never have too many tools!


IMGP3269IMGP3268IMGP3265


HS Fitting

This past week saw the initial stages of fitting and match drilling the horizontal stabilizer parts.

IMGP4137Front HS Spar Doubler and Attachment Brackets clecoed ready for match drilling.


IMGP4141Front spar completely match drilled with #30 bit.


IMGP4142Tracing the outline of spar ribs as a template for the cradles.


IMGP4144Completed cradles.  I used 1/2″ copper pipe insulation foam to cover the 5/8″ plywood cradles.  The wood is USA-made birch plywood of high grade.  It came from a throw-away set of shelves, the board were scavenged from the good pieces.


IMGP4150Skins inserted in the cradles after removing vinyl strips on the outside, completely removed vinyl on the inside. Note how the cradles are held with clamps – I wanted the ability to position as needed on first fitting.  This allowed the cradles to fit between ribs to allow easy access.


IMGP4156Forward spar and ribs ready for insertion…


IMGP4157Inserting the spar assembly into the skins.


IMGP4163Clecoes being applied.


IMGP4170Ready for deburring the skin edges and match drilling the holes.


IMGP4171Another angle showing everything lined up.


IMGP4172I manually prep the skin edges with a flat needle file before using a 1″ diameter Scotchbrite wheel in an electric drill to finish off the smoothing.  It could be done on the raw sheets, but I prefer having the skins stabilized with spars and ribs clecoed in place.  My confidence in not bending or kinking an edge is much greater with this setup.


IMGP4175All done, next steps are with alodine / priming.