Category Archives: Section 08, Horizontal Stabilizer

VS Attach and Misc.

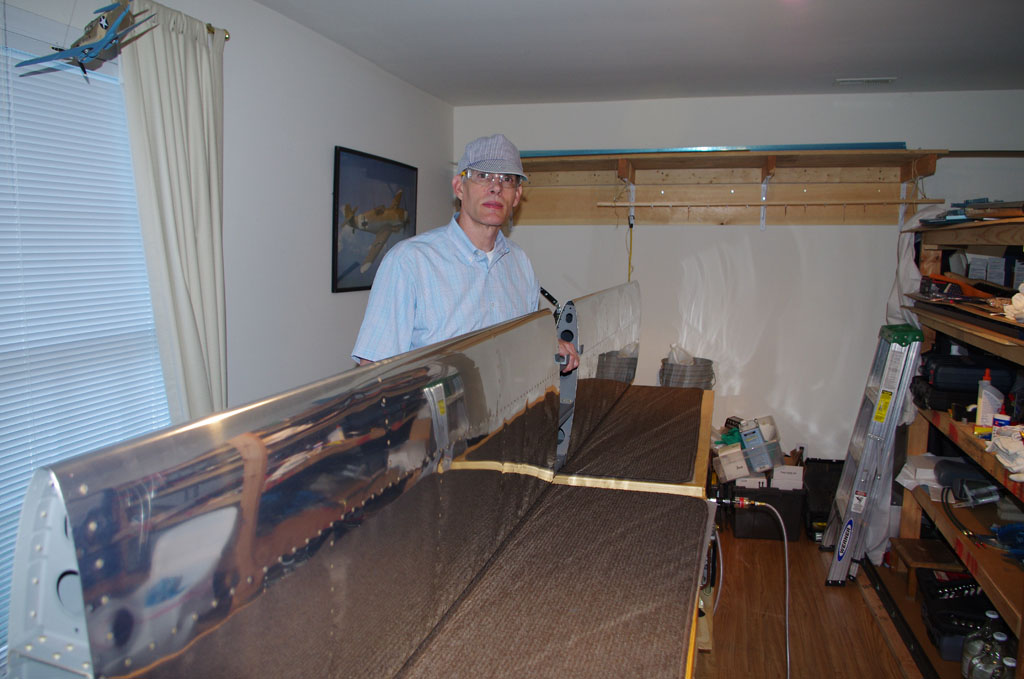
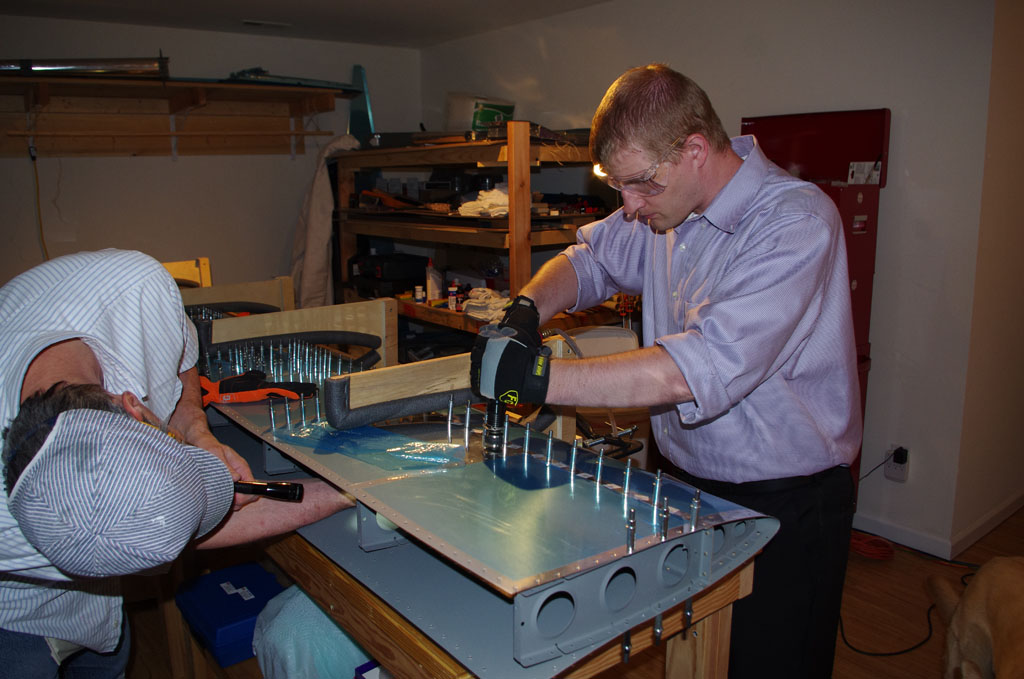
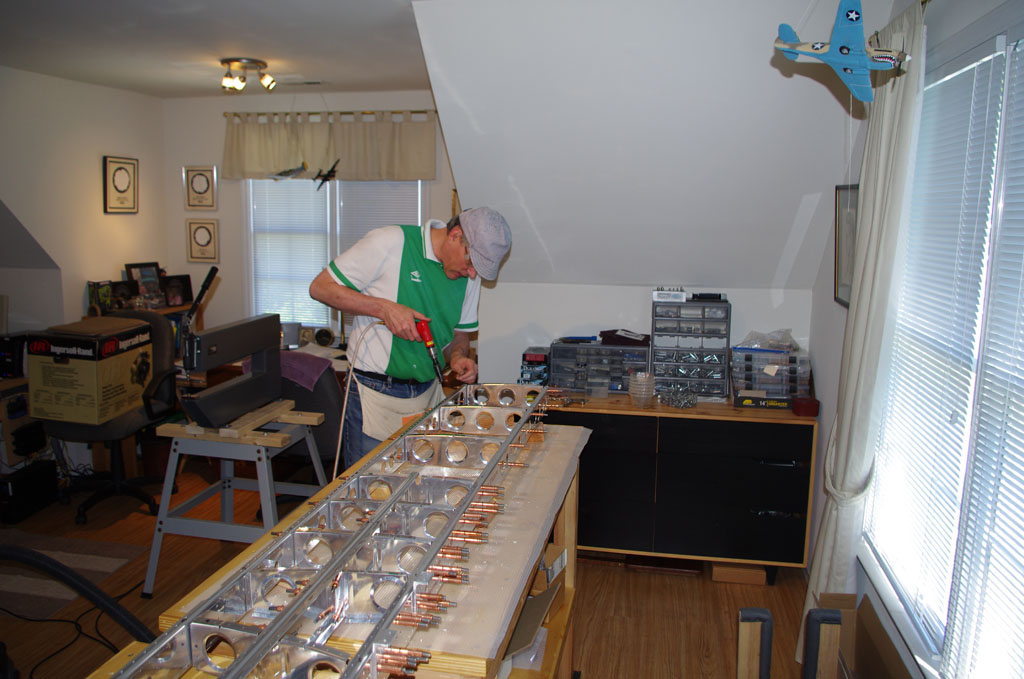
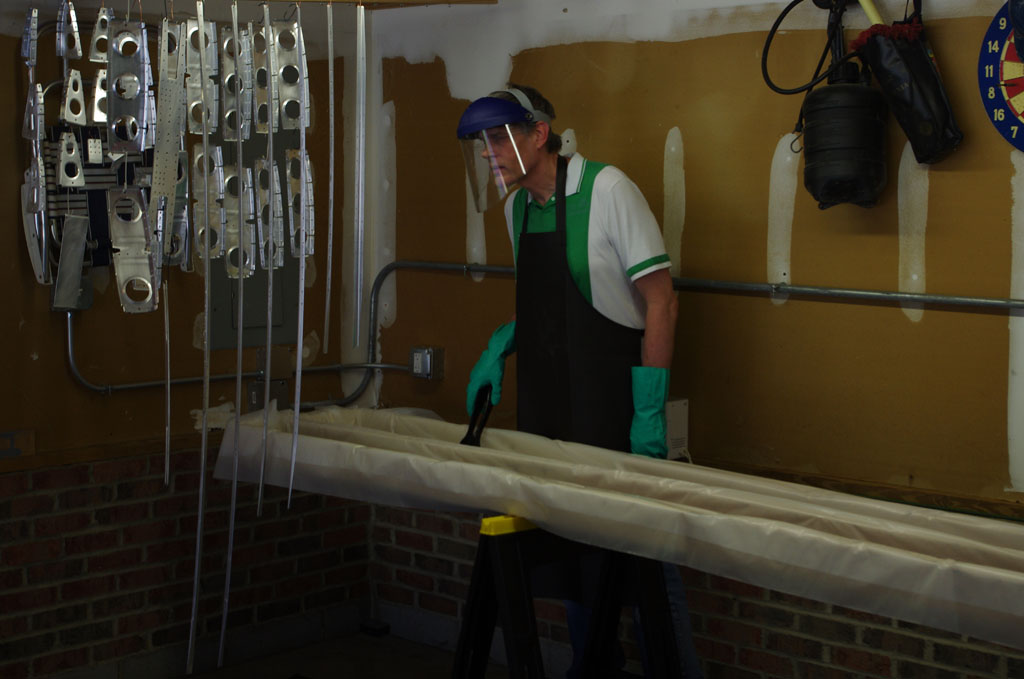
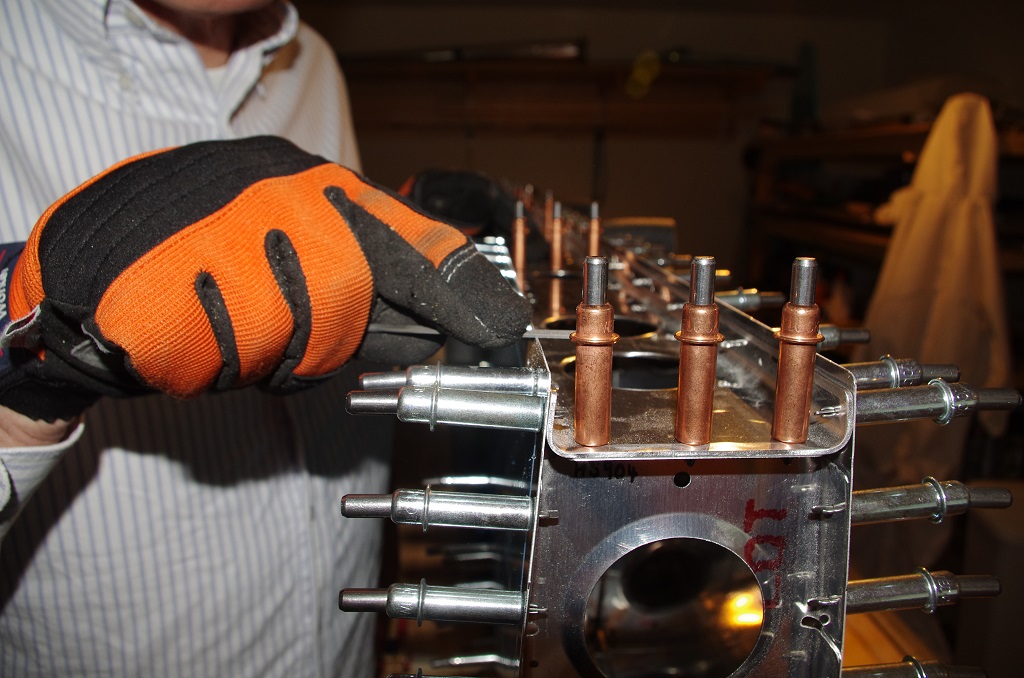
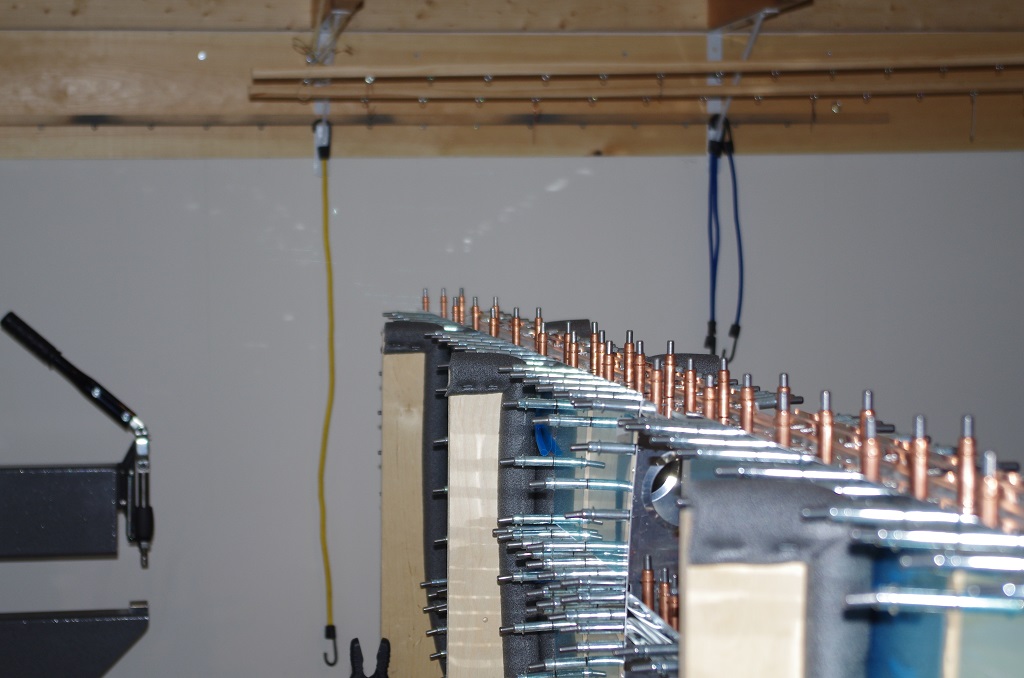
Much of the finalized assembly was not photographed in-progress, as fabrication of the parts was generally covered in previous posts.  Plus I really wanted to get done without taking further time on the website. A greater reliance on video content was made as the build headed for completion.

VERTICAL STABILIZER

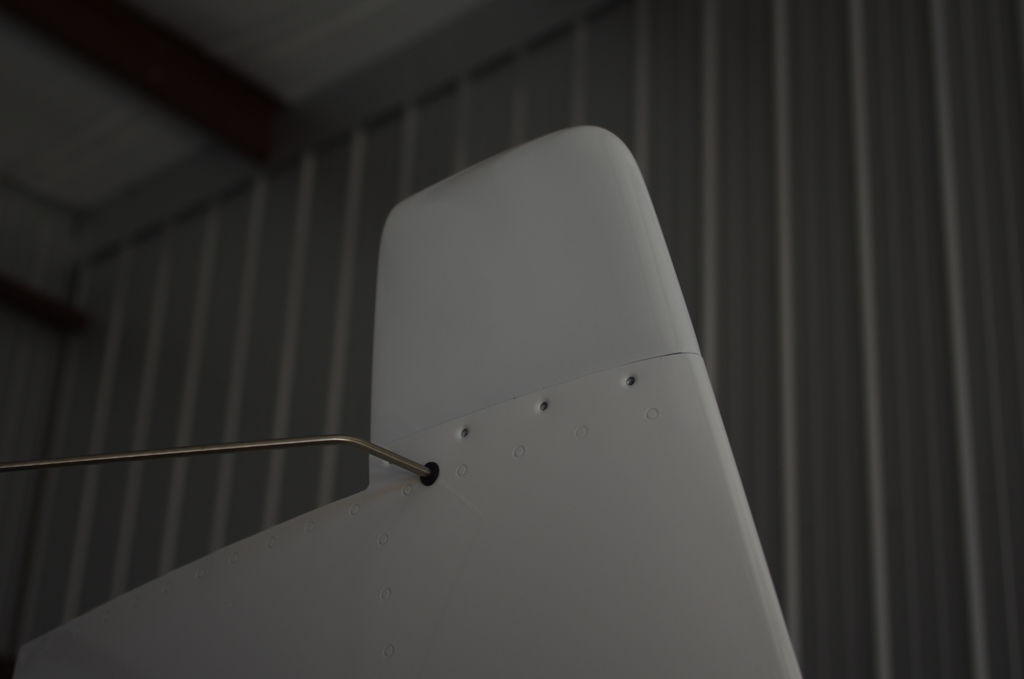
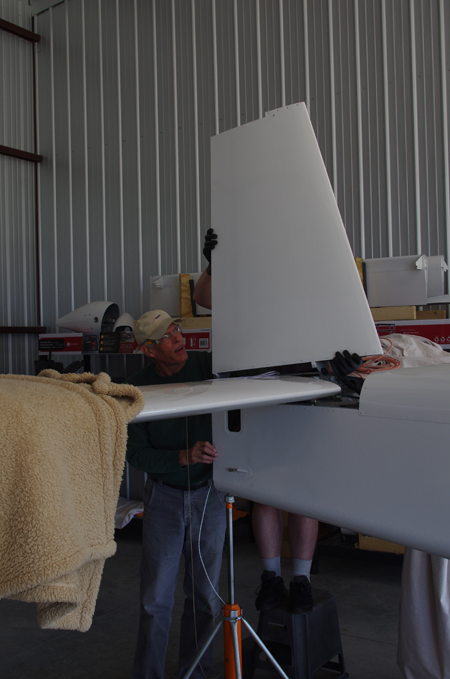
Here the vertical stabilizer was being attached to the empennage – hopefully for the last time.


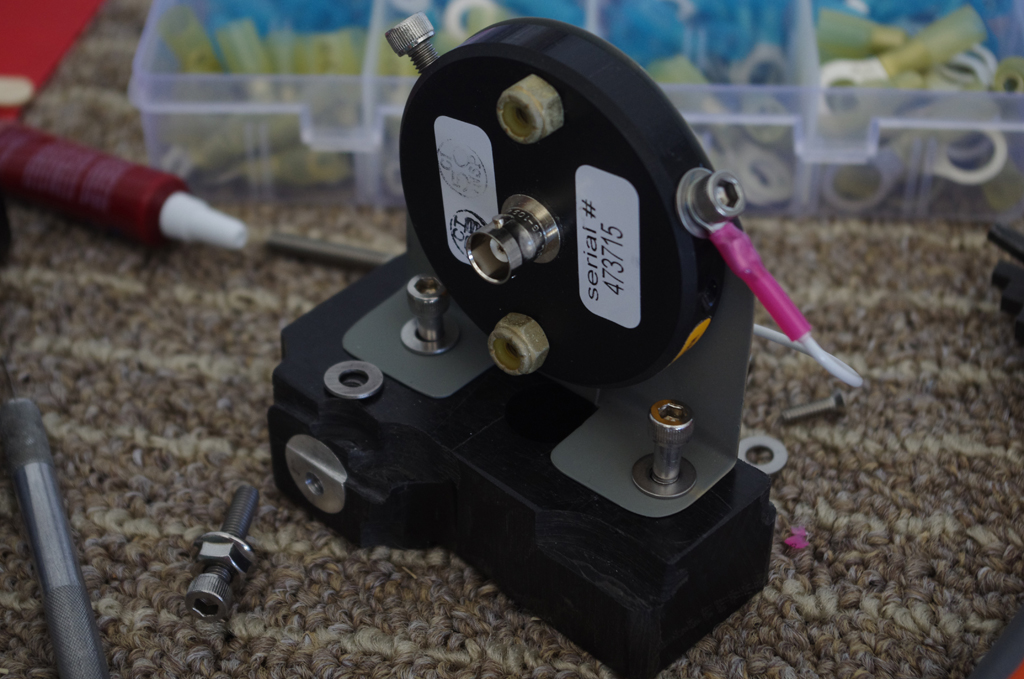
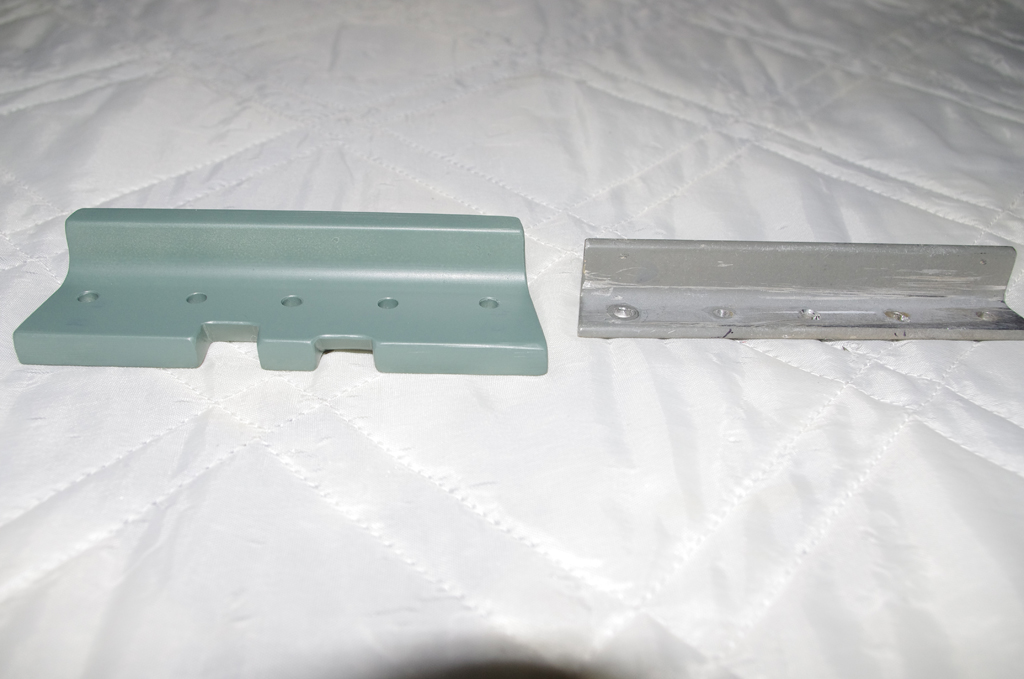
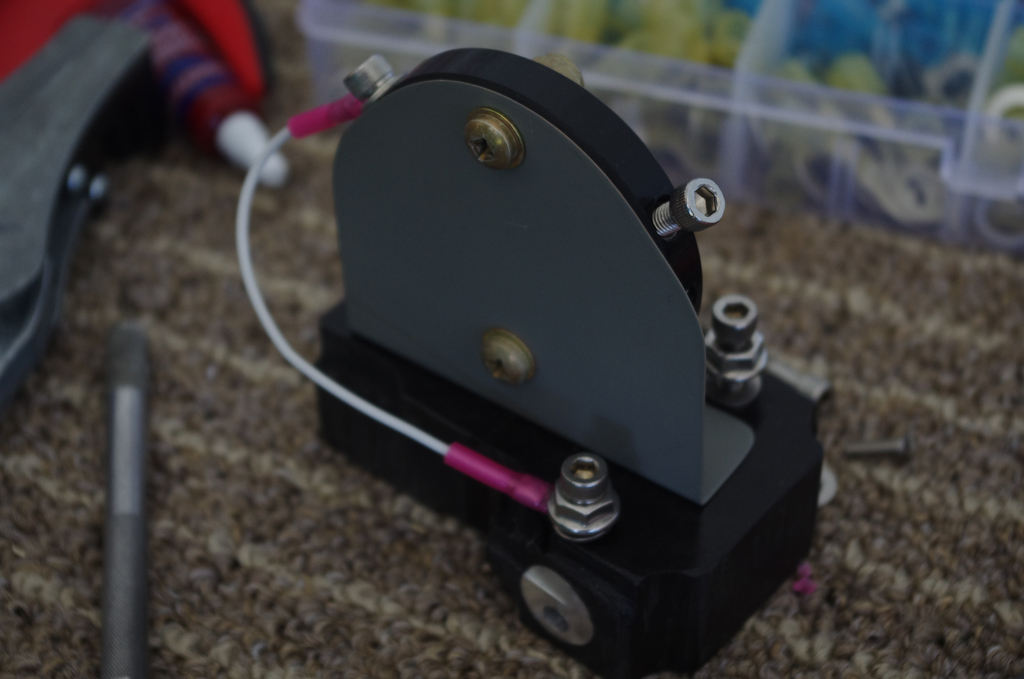
I made this custom NAV antenna bracket many moons ago. In retrospect, I would probably forgo this bracket and mount the antenna directly under the fuselage.


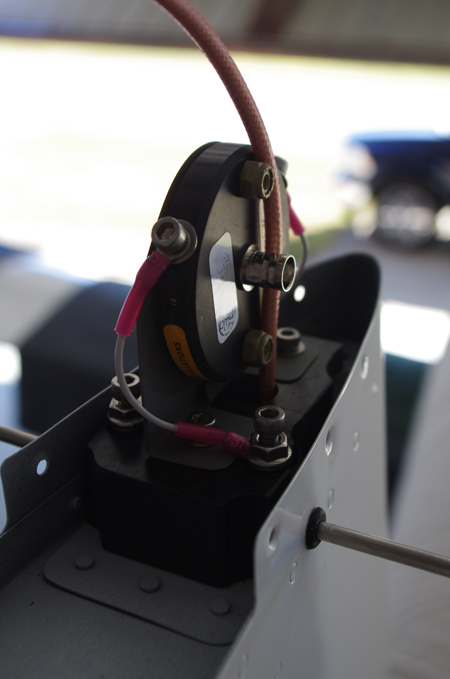
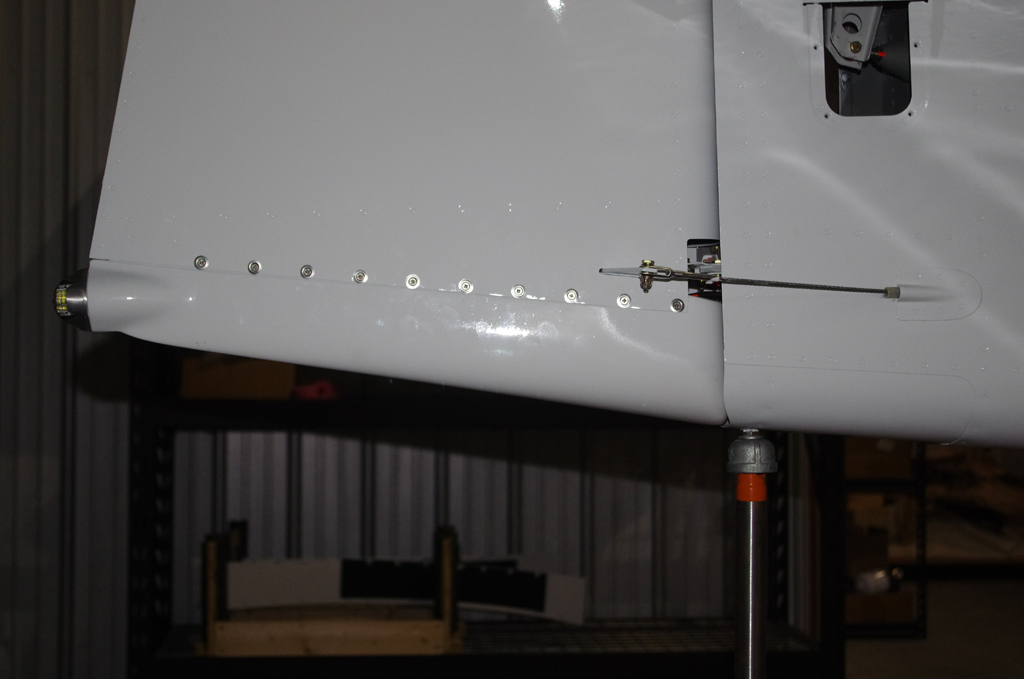
Anyway – here was the final connection and covering by the VS cap.


The left photo shows the Suntail Strobe/Nav wiring exit between the rear fuselage and the rudder bottom.  On the right is the original elevator stop replaced with a much heavier and larger alternate means to comply with Service Bulletin SB18-03-30 from Vans. This modification prevents over-rotation of UP elevator.


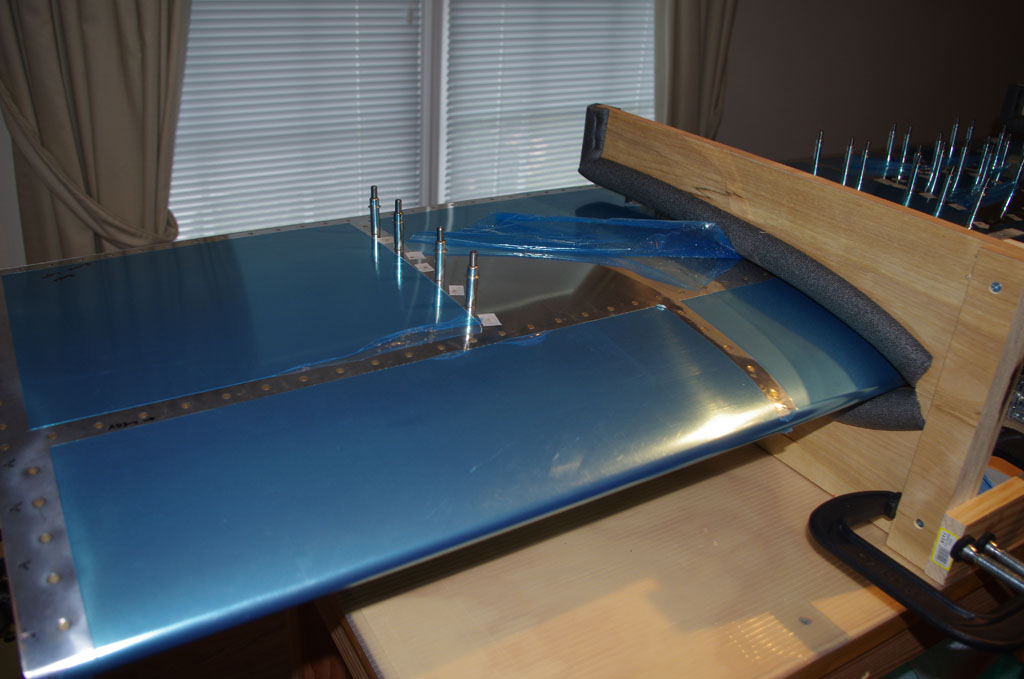
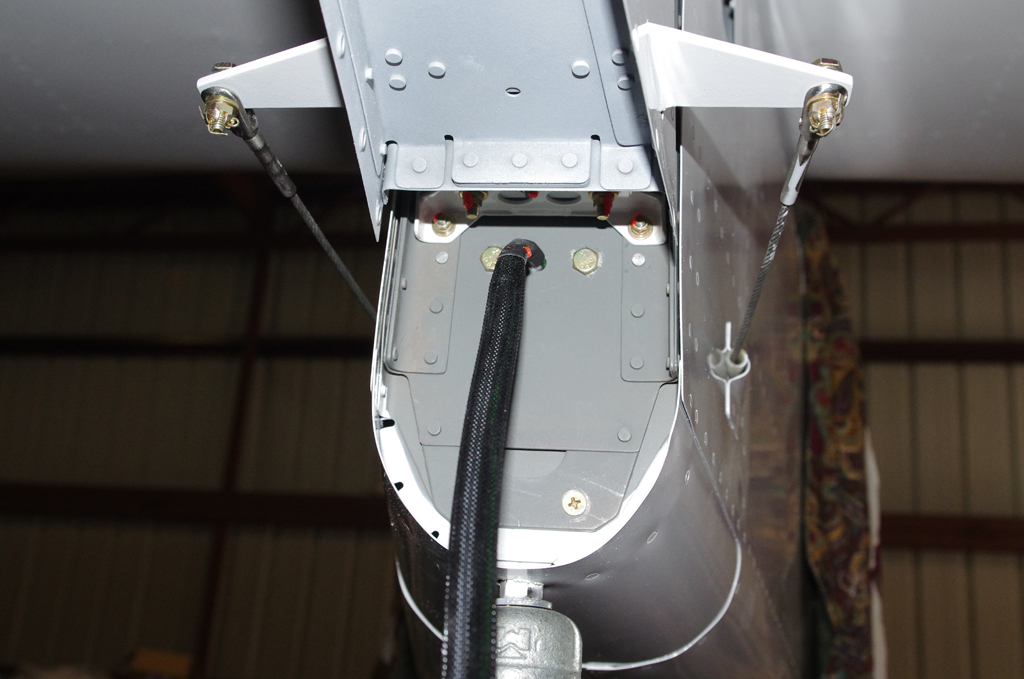
Following attachment of the rudder bottom, intersection fairings around the VS and HS were installed. Thin rubber edging protects the HS paint from the elevator trim covering. Note the elevator horn to elevator push rod assembly in the upper right of the first photo.


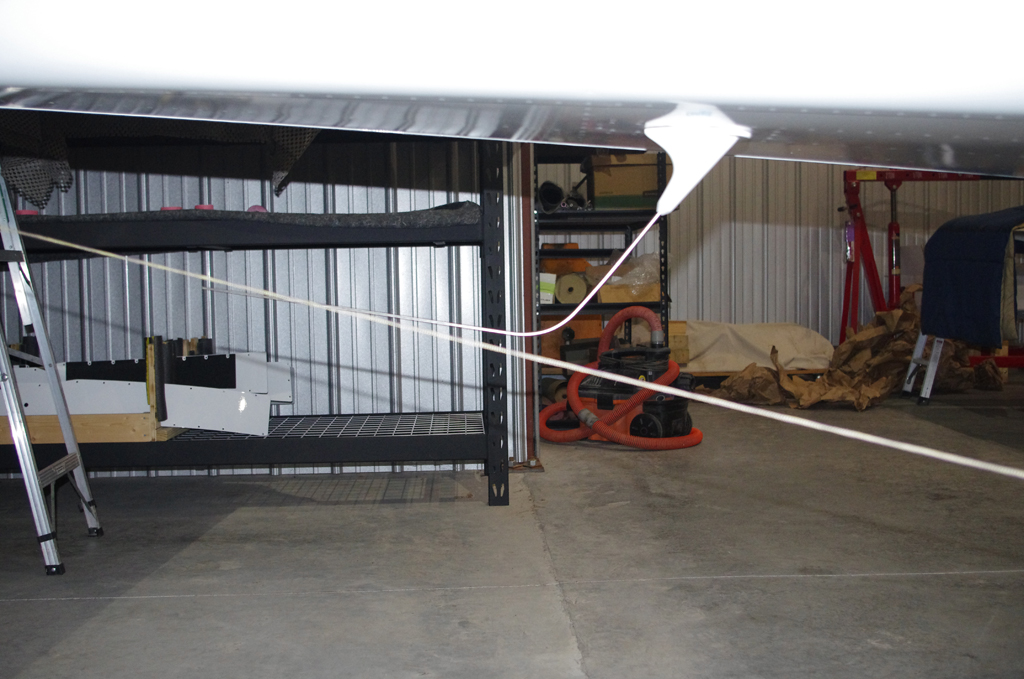
This photo shows a taut line extending from the main wheels at ground level to the rear tie down point.  This confirms the COM1 antenna will not scrape on the runway during takeoffs or landings.


BATTERY BOXES

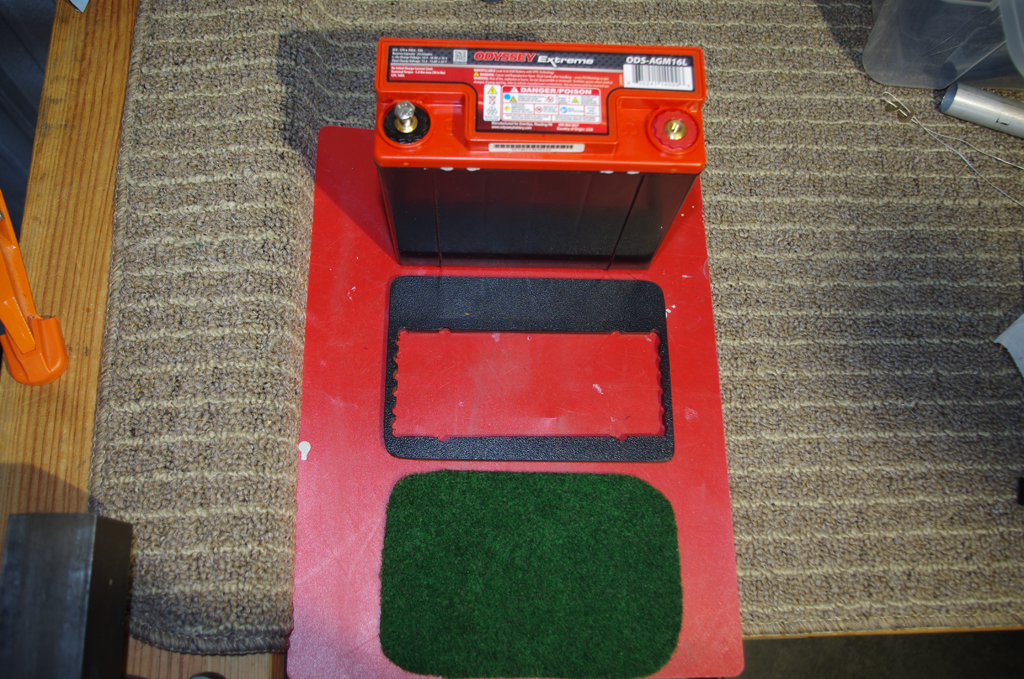
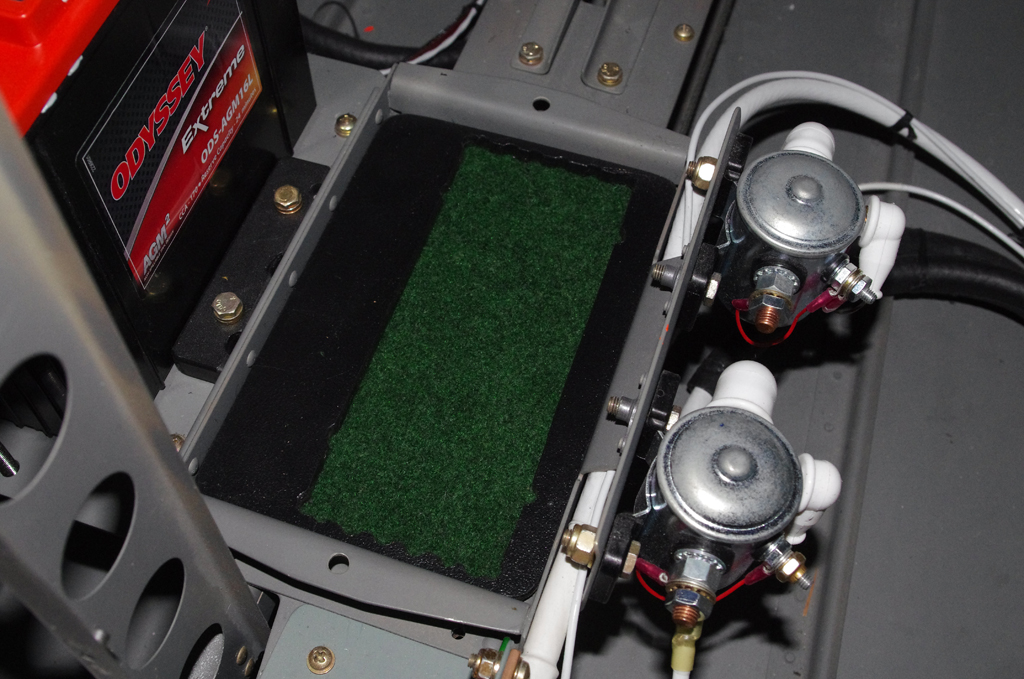
The Odessey 680 batteries were secured with a Delrin-like polymer frame with a felt underlayment for protection.  Here are the components before assembly.


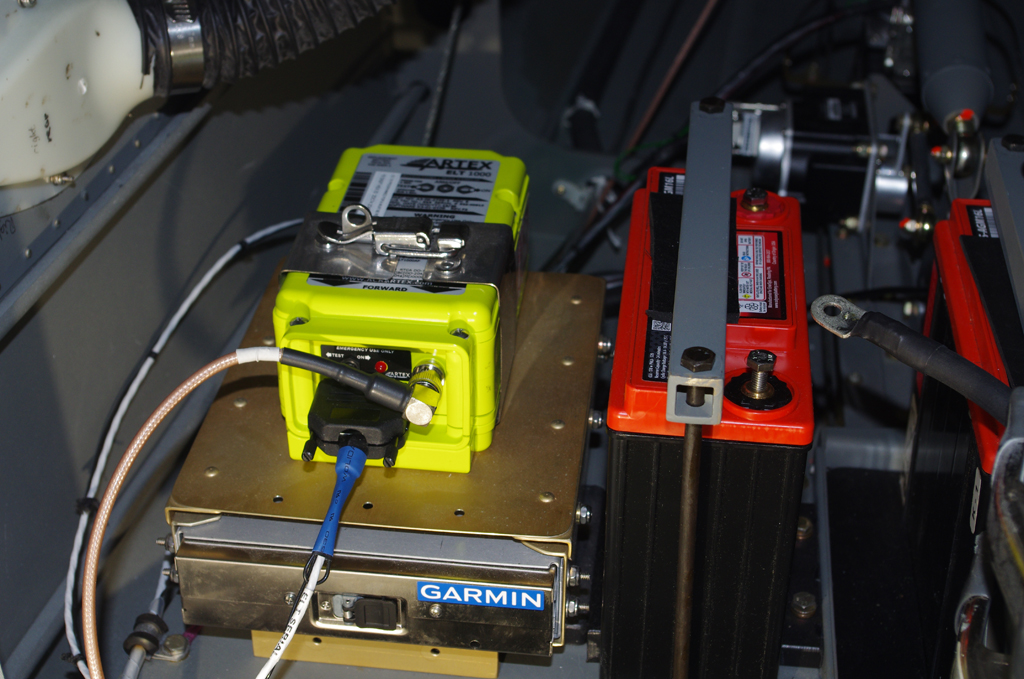
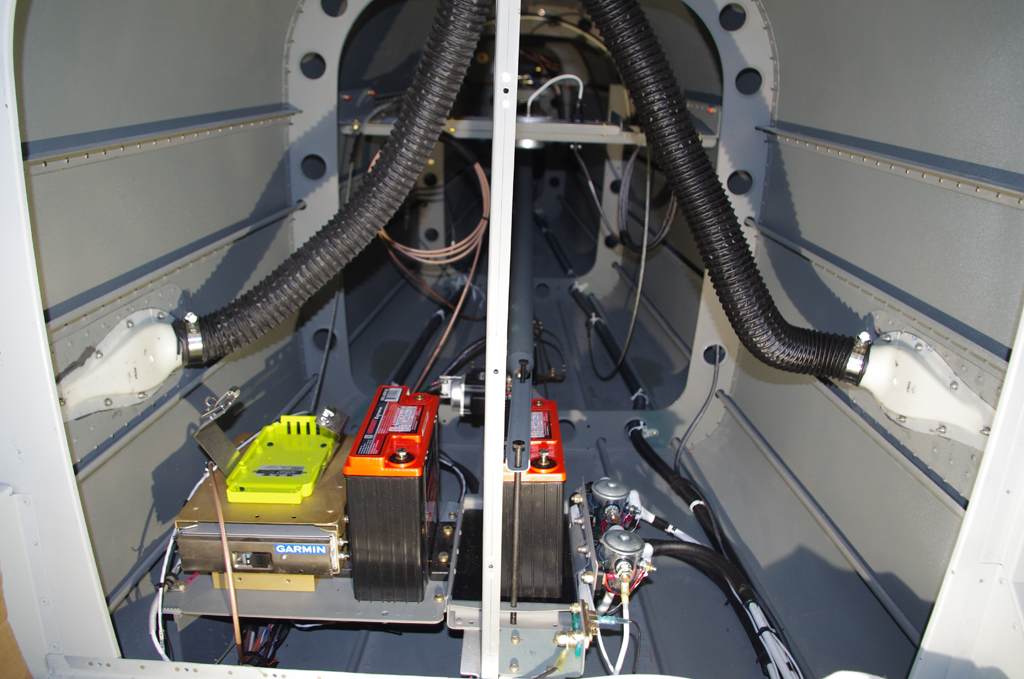
The final configurations of the battery boxes, Artex 1000 ELT, and the Garmin GTX45R transponder/ADSB behind the baggage bulkhead is show here.


HS Completion

This week I finished squeezing all the spar rivets, which concluded the standard build portion of the horizontal stabilizer.  My technical counselor suggest 5 drill-outs on the inner spar sections, so these have also been completed.

IMGP4331Squeezing the spar rivets is a one-man job, so these were completed alone.


IMGP4335Eric did stop by for bucking the inner spar rivets and setting the final 25 inch/pound torque on the center hinge bracket bolts.


IMGP4339The final product is good, but not as clean as I would have liked. A few minor optical dents and dings, but should be safe otherwise.


IMGP4342All the finished parts so far (rudder, VS, HS) are stored on the overhead shelf to avoid “shop rash” from being bumped during the processing of other parts.  I used 18″ bubble wrap between the parts, and eventually covered all with thin plastic to keep out dust and dirt.  The nice part is being in the bonus room, temperature controls and humidity are not a problem.


IMGP4345Done with Section 8 of the manual.

HS Riveting

This week was all about riveting the horizontal stabilizer parts together.  The whole job is not yet complete, but good progress was made on bucking the nose, spars and some inboard ribs.  I had help from both Eric and Rich during the period.

IMGP4299Oops. Notice the small, but still visible blemish near the most forward rivet.  This came from the tungsten bucking bar pounding the reverse side of what we were processing.  The bar as I held it was wide enough to span from one skin side to another. Drats.  For later rivets I rearranged holding the bar parallel to the rib, not perpendicular to it as in this case.  Hopefully this can be smoothed away with filler before painting.  The only saving grace is this appears on the underside of the horizontal stabilizer.  People will have to bend over and look from beneath to see it.


IMGP4300During the week and after doing the nose ribs, I prepped for riveting along the spars.  AN426AD3-4 rivets are used for the outer section, AN426AD3-4.5 for the inner parts where the spar caps are located.


IMGP4310Eric comes over after work most nights for dinner.  On this occasion I pressed him into service for a few hours doing the outer skin-to-forward spar rivets.


IMGP4314Here are the prep stages for the inner spar riveting.


IMGP4317Rich came over on Saturday to help me complete the upper skin riveting in its entirety. The small cells between the stringers, inboard ribs and spar are quite tight for my big hands.  It takes lots of repositioning of the bucking bar to see well into those cavities.


IMGP4319Here’s what it looks like on the outside as of Sunday morning.  All the upper skin rivets are set (actually the bottom on this photo), the lower skins have been riveted to the forward spar.   The inner rivets and placing the rear spar up for next week.


IMGP4324Upon inspection I found a number of scratch marks where the bucking bar had rubbed against the spar during rivet setting. This happened despite putting duck tape on the forward spar and the bucking bar for protection. My plan is to get a small Preval brand sprayer to prime over this spots before closing off with the rear spar.


IMGP4326Another trick employed was fitting a felt chair leg cushion to the end of the bucking bar. When used in conjunction with duck tape against the spar, this seemed to eliminate any scratching.  Another prime example of live, innovate and learn.


HS Prep and Assembly

Although I have not posted in a few weeks, much activity has been occurring on the horizontal stabilizer.  Three long weekends in a row have gone into drilling, scuffing, washing, brightening, alodine, priming and assembly.

IMGP4242May 24 – final stages of jigging and match drilling complete.


IMGP4247May 25 – Rita, the not-yet Riveter. Here she is helping me dimple the HS skins with the DRDT-2 machine.


IMGP4255May 26 – mixing the DP401LF catalyst with the DP40LF priming for the HS skins.  First the skins were washed with Pre-kote, then dried in the shed.


IMGP4258May 26 – suited and ready for skin priming.  Not much can be seen inside the shed once priming starts.


IMGP4271May 31 – dunk tank extended to 12′ to hold the HS spars.


IMGP4272May 31 – brightening underway. This was the first time I used the garage for corrosion treatments.


IMGP4280May 31 – another view of the extended dunk tank.  One of the spars is bubbling in the phosphoric acid brightener on the right, a rinse tank is on the left.


IMGP4287May 31 – the alodine is on the right, rinse on the left.


IMGP4289June 7 – all parts are primed and ready for riveting.


IMGP4290June 7 – Rich came over to help rivet on hinges, attachment brackets, spar doublers, caps and stringers. We squeezed as many rivets as possible, only had to buck 6 rivets on the custom made attachment brackets.  Turns out the bracket, spar flange, and doubler combination is too thick for my Main Squeeze 3″ yoke (takes a 4-10


IMGP4292June 8 – the internal parts of the stingers and ribs must be riveted together before attaching the skins, because afterwards there is no access.

HS Fitting

This past week saw the initial stages of fitting and match drilling the horizontal stabilizer parts.

IMGP4137Front HS Spar Doubler and Attachment Brackets clecoed ready for match drilling.


IMGP4141Front spar completely match drilled with #30 bit.


IMGP4142Tracing the outline of spar ribs as a template for the cradles.


IMGP4144Completed cradles.  I used 1/2″ copper pipe insulation foam to cover the 5/8″ plywood cradles.  The wood is USA-made birch plywood of high grade.  It came from a throw-away set of shelves, the board were scavenged from the good pieces.


IMGP4150Skins inserted in the cradles after removing vinyl strips on the outside, completely removed vinyl on the inside. Note how the cradles are held with clamps – I wanted the ability to position as needed on first fitting.  This allowed the cradles to fit between ribs to allow easy access.


IMGP4156Forward spar and ribs ready for insertion…


IMGP4157Inserting the spar assembly into the skins.


IMGP4163Clecoes being applied.


IMGP4170Ready for deburring the skin edges and match drilling the holes.


IMGP4171Another angle showing everything lined up.


IMGP4172I manually prep the skin edges with a flat needle file before using a 1″ diameter Scotchbrite wheel in an electric drill to finish off the smoothing.  It could be done on the raw sheets, but I prefer having the skins stabilized with spars and ribs clecoed in place.  My confidence in not bending or kinking an edge is much greater with this setup.


IMGP4175All done, next steps are with alodine / priming.


HS Drilling

Much of the metal preparation work on the horizontal stabilizer was done before I primed and assembled the rudder and VS.  This weekend saw the start of jigging and match drilling on the rear spar of the HS.

IMGP4117As usual, all the parts are laid out and checked before any alterations are started.


IMGP4124An initial task is riveting a flange bearing between two powder coated pieces to construct the inboard hinge brackets.


IMGP4125Looks just right.


IMGP4126Match drilling the hinge brackets and the rear spar doubler is the first order of business.


HS Preparation – cont.

This week I finished the deburr and Scotchbrite treatment of most horizontal stabilizer parts. In addition, I ordered a 2hp, 7.2 cfm Sears Professional air compressor, a Bosch JS470E hand jig saw, and the final set of parts/accessories for priming.

IMGP3796With earlier work on smoothing edges, I had tried various combinations of Dremel sanding bits, 400 grit Emory cloth, and Vixen files.  The best results so far are obtained using a fine bastard file on the really rough sections, followed with a very fine needle file, then a deburr tool to round over the sharp corners and finally smoothing on a 6″ Scotchbrite wheel mounted in the drill press. It takes quite some time per piece, but the results are very good.


IMGP3801This photo shows me using a medium file to shape the end of a HS spar cap rough trimmed with a band saw.


IMGP3798The deburr tool run 2-3 times over the edge of the spar cap will take off the sharpest corners (which are the result of Van’s manufacturing process of high-pressure water jet cutting, then bending in special jigs at the factory). Here the spar cap is clamped to the angle iron jig I originally made to hold the rudder trailing edge section.  This jig has been handy for a number of other operations as well.


IMGP3806My EAA technical counselor, Terry Gardner, was kind enough to spend an evening in his shop with me producing the HS attachment brackets from raw angle aluminum stock.  An earlier post showed my rough measurements, Terry was able with his Bridgeport milling machine to achieve 0.0025 or better tolerances on all the holes.  On the left is the final milled piece coated with the blue dye used for accurate scribing, the right bracket has been cleaned and polished.  These are results I could never have achieved by myself with hand tools. Thanks Terry!

HS Preparation – cont.

Spent about 7 hours this week deburring the ribs on the horizontal stabilizer.  This is tedious, but necessary work.

IMGP3788


IMGP3792

HS Part Mods

In addition to the start of deburring all the horizontal stabilizer parts, I have also begun marking those pieces to be trimmed or created from angle aluminum.

IMGP3775Two of the spar ribs require parts of the tabs to be removed.  Here the particular portions are noted with a Sharpie.


IMGP3790Manufacturing two attachment brackets from 2″ x 2.5″ angle aluminum is going to be a real challenge.  I do not have precision equipment to get the holes drilled to the tolerances laid out in the plans.  I will probably ask my technical counselor on some much needed advice before moving forward.


IMGP3781Here is my markup of the angle aluminum used for the attachment brackets.

HS Preparation

This weekend I started organizing the pieces for the horizontal stabilizer.  This included laying out most of the metal parts, removing vinyl, and starting the deburr process. This section has the most elements, so metal preparation for all the ribs, doublers, and spars will take some time.

IMGP3762Horizontal stabilizer pieces ready to start preparing.


This is the third section I have started without setting a single rivet.  Right now I have all the logistics ready for alodining for corrosion protection, but do not yet have a suitable air compressor for priming.  The shed is almost ready to go now that the paint booth filter has arrived.  I just need to setup the exhaust fan configuration prior to buying the compressor. (a post on the shed configuration will come later).