Although I have not posted in a few weeks, much activity has been occurring on the horizontal stabilizer. Three long weekends in a row have gone into drilling, scuffing, washing, brightening, alodine, priming and assembly.
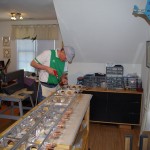 May 24 – final stages of jigging and match drilling complete.
 May 25 – Rita, the not-yet Riveter. Here she is helping me dimple the HS skins with the DRDT-2 machine.
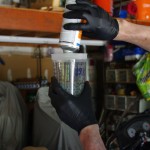 May 26 – mixing the DP401LF catalyst with the DP40LF priming for the HS skins. First the skins were washed with Pre-kote, then dried in the shed.
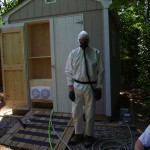 May 26 – suited and ready for skin priming. Not much can be seen inside the shed once priming starts.
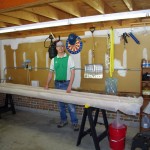 May 31 – dunk tank extended to 12′ to hold the HS spars.
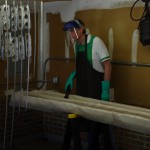 May 31 – brightening underway. This was the first time I used the garage for corrosion treatments.
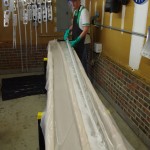 May 31 – another view of the extended dunk tank. One of the spars is bubbling in the phosphoric acid brightener on the right, a rinse tank is on the left.
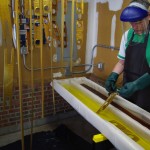 May 31 – the alodine is on the right, rinse on the left.
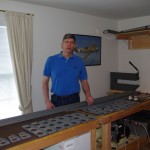 June 7 – all parts are primed and ready for riveting.
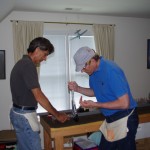 June 7 – Rich came over to help rivet on hinges, attachment brackets, spar doublers, caps and stringers. We squeezed as many rivets as possible, only had to buck 6 rivets on the custom made attachment brackets. Turns out the bracket, spar flange, and doubler combination is too thick for my Main Squeeze 3″ yoke (takes a 4-10
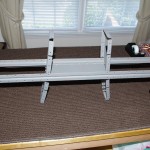 June 8 – the internal parts of the stingers and ribs must be riveted together before attaching the skins, because afterwards there is no access.