Monthly Archives: July 2015

You are browsing the site archives by month.

Christmas in July

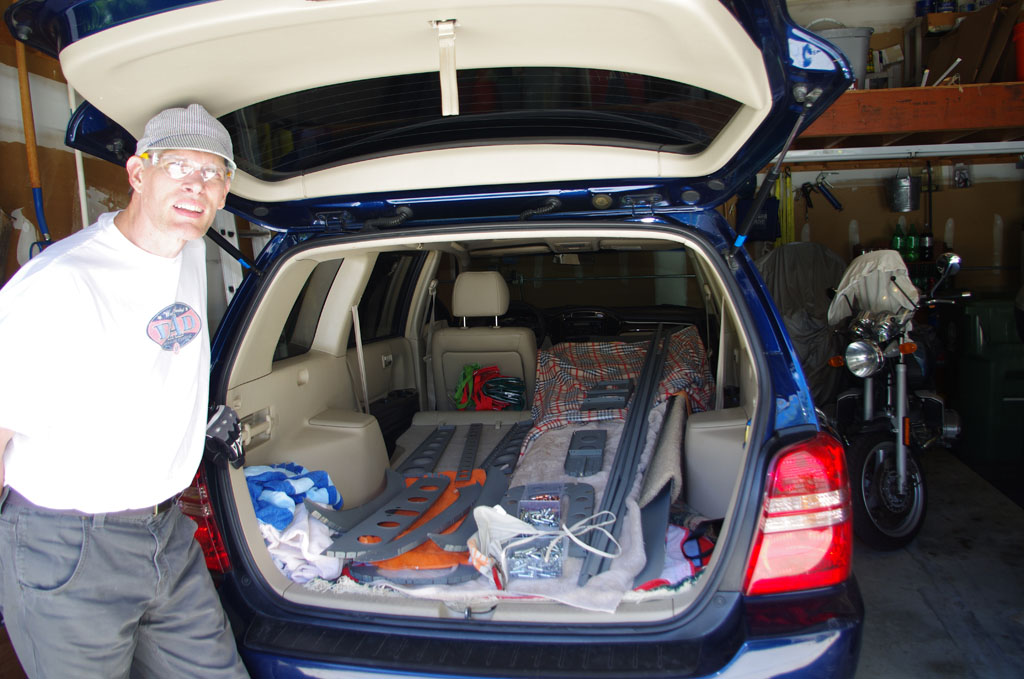
July 22 – I was in LA on a business trip when the quickbuild kits for wings and fuselage got delivered.  Fortunately I have two strapping sons to provide the brawn needed to unload the parts.  The driver, Mike, from P+M Express out of Bend, OR transported my parts together with identical QB kits for a fellow builder on the same trip – saved freight costs for both of us.

The pictures speak for themselves, as the well packed items came out of the trailer.  Upon returning home, I did a quick evaluation for damage or problems.  So far everything looks good, but the detailed inventory starts this weekend.  I  have 30 days from delivery to report any issues back to Van’s.

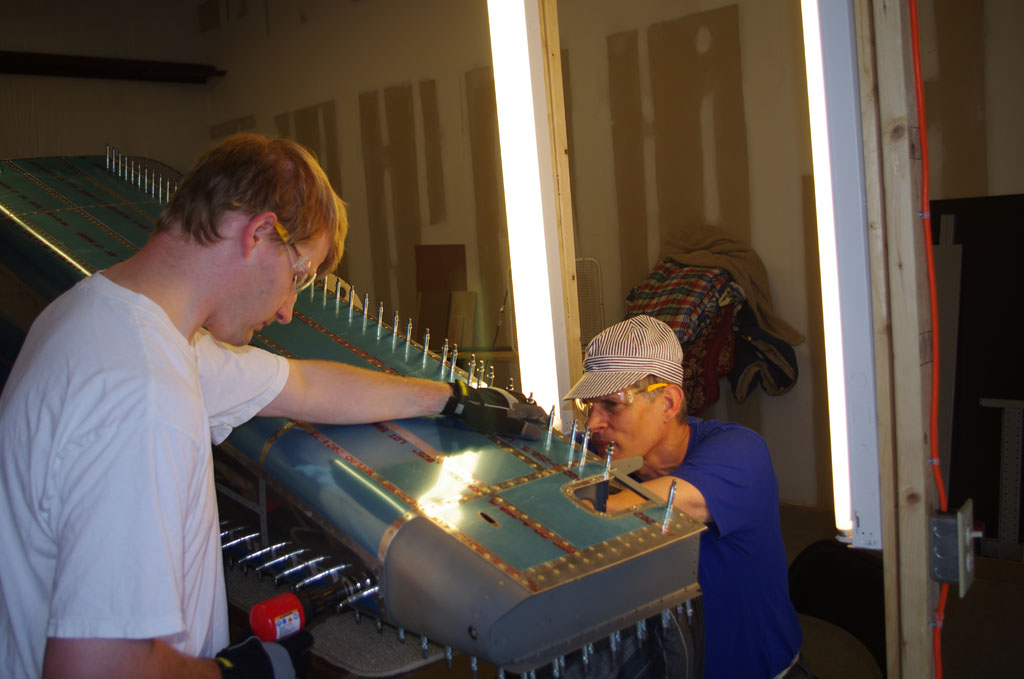
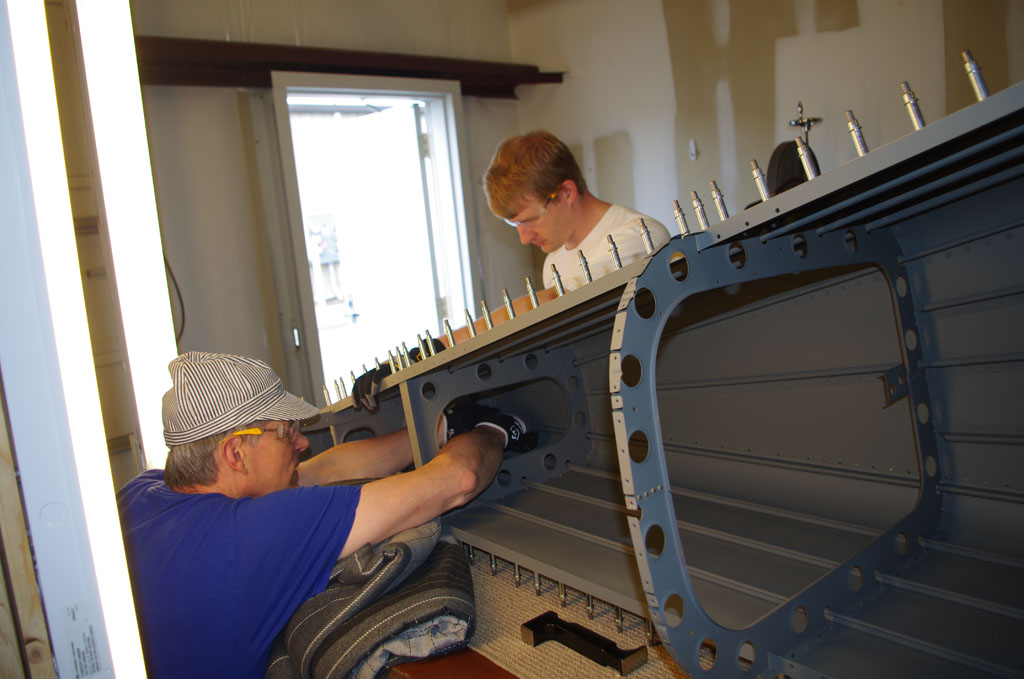
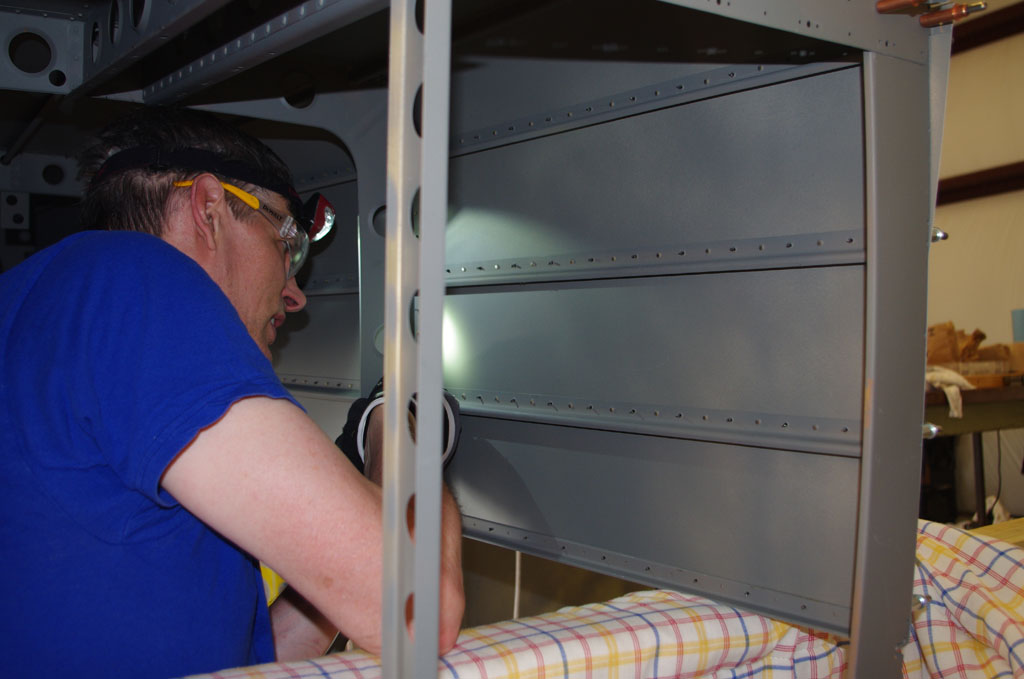
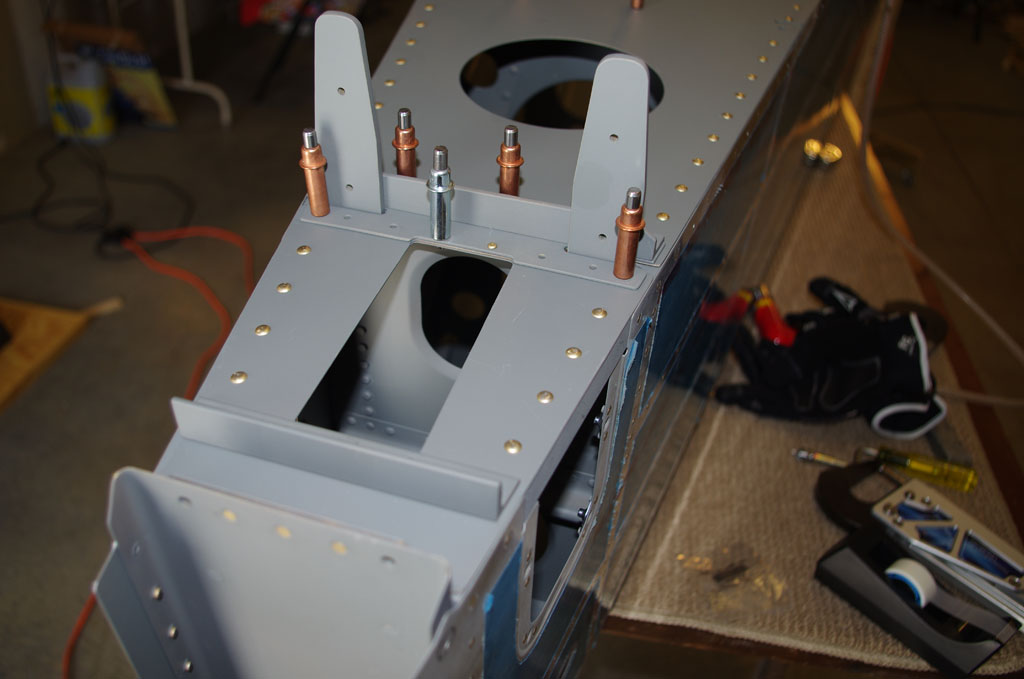
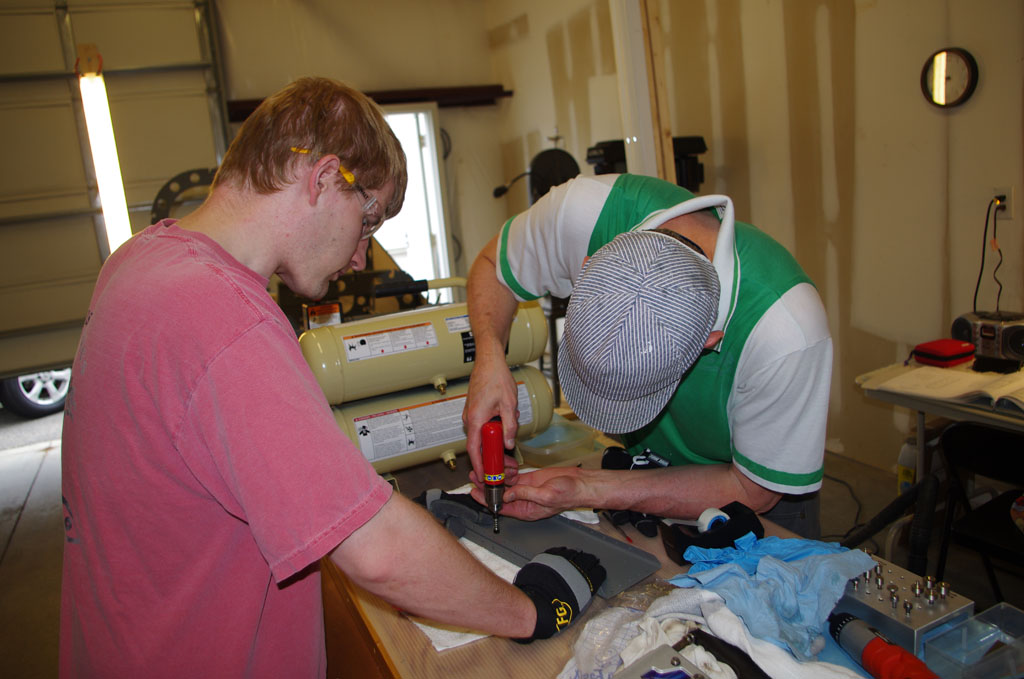
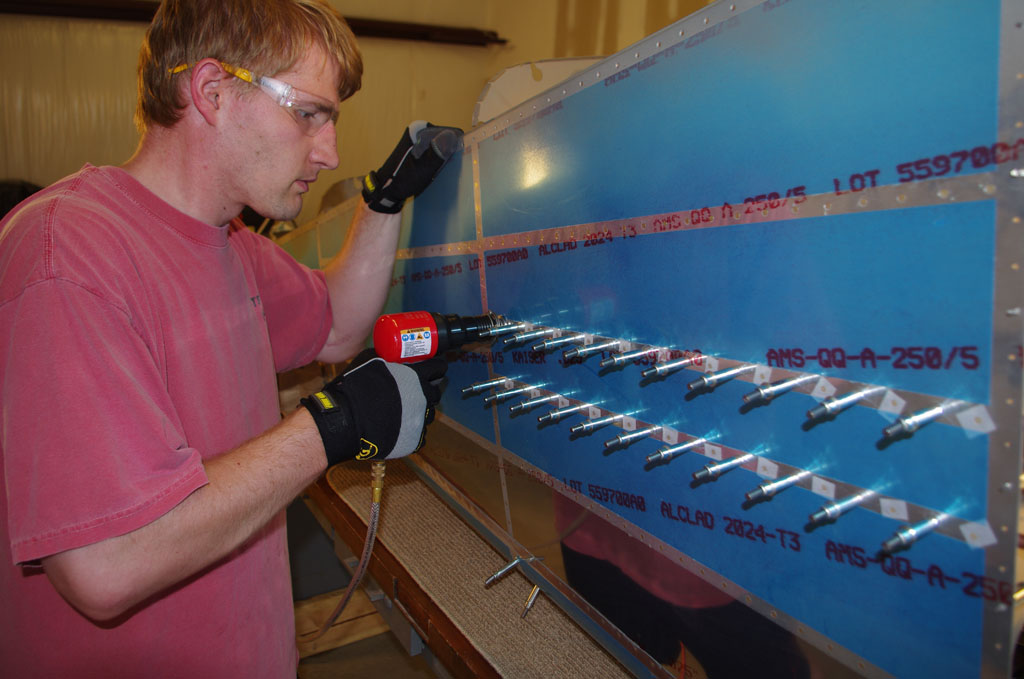
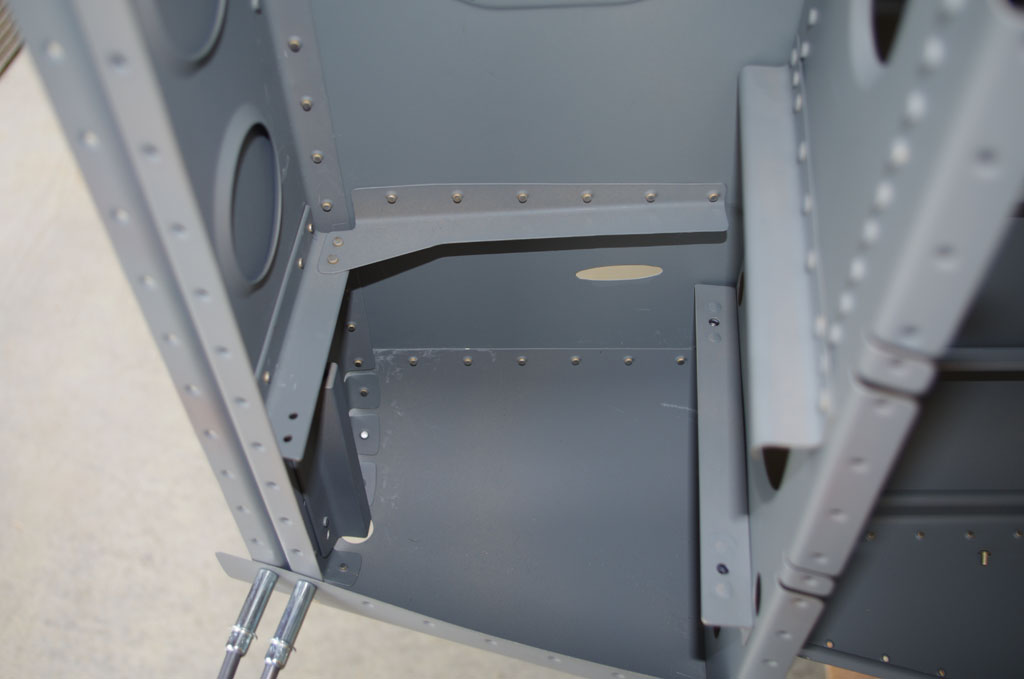
Eric and I have also done quick inspections of the professional workmanship provided by the factory against our own efforts.  While certainly there are items I would like to redo, most of our work compares favorably.  From a quality perspective I will not be ashamed to bolt my tailcone onto the Van’s fuselage base.

IMGP5373Here the truck is parked outside our rented shop space. Apparently the temperature was still in the high 90’s after 6:00pm when unloading occurred.


IMGP5376IMGP5378
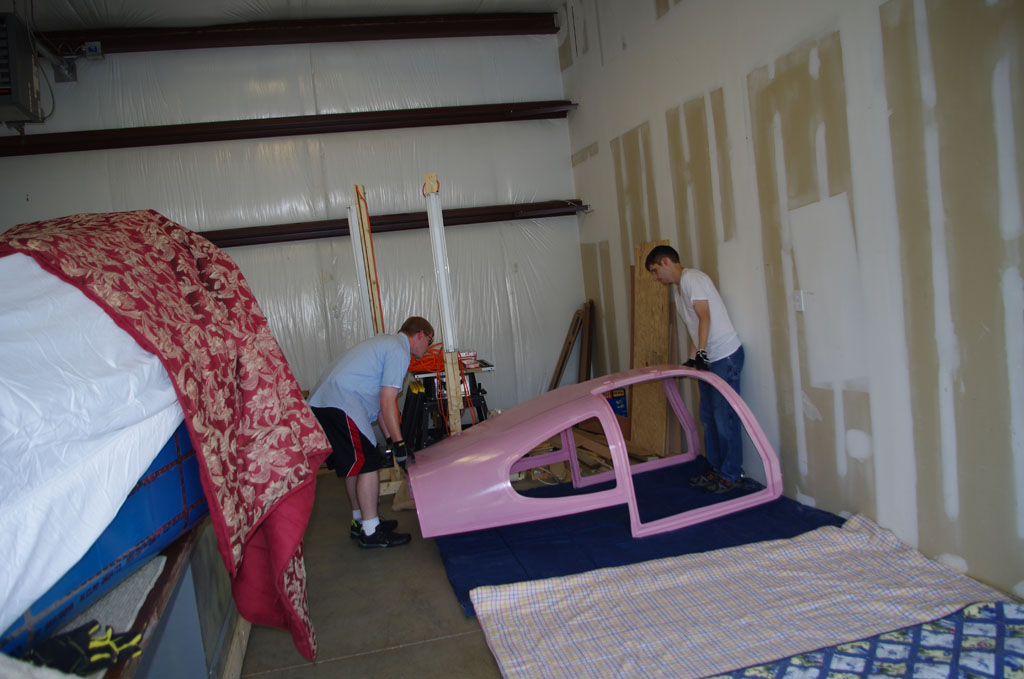
First item out is the cabin canopy.


IMGP5379IMGP5385
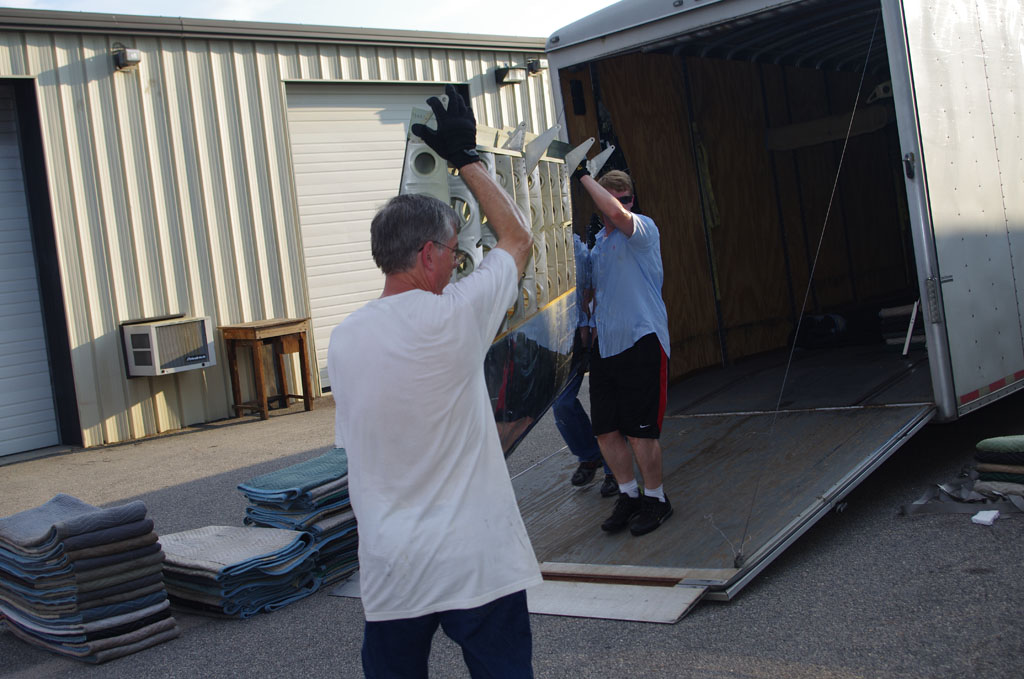
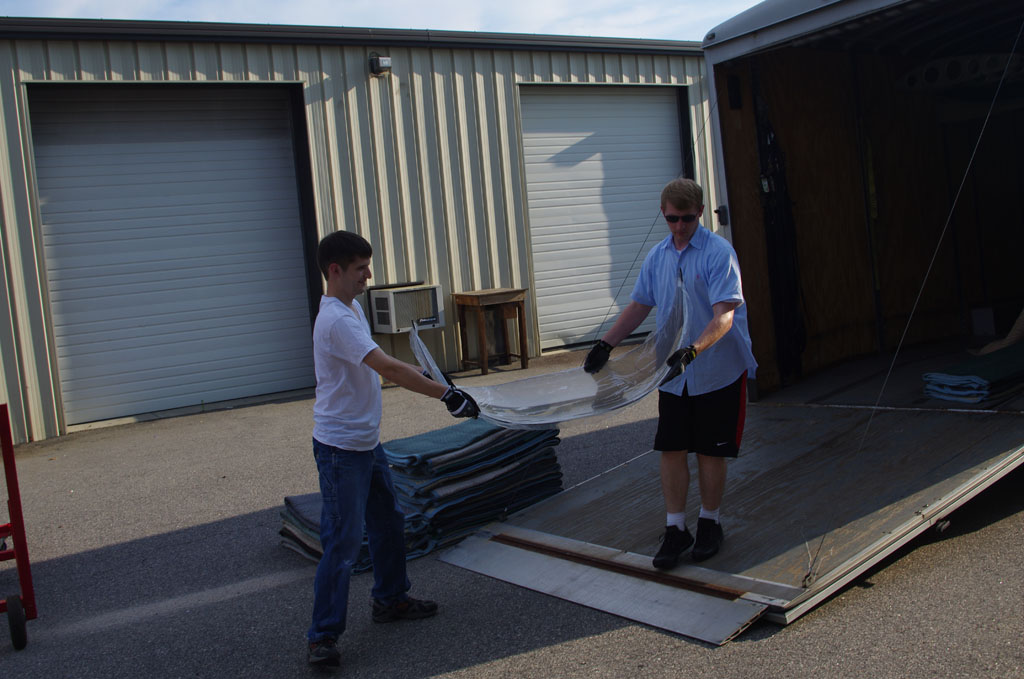
Next the Lexan windscreen.


IMGP5395IMGP5399
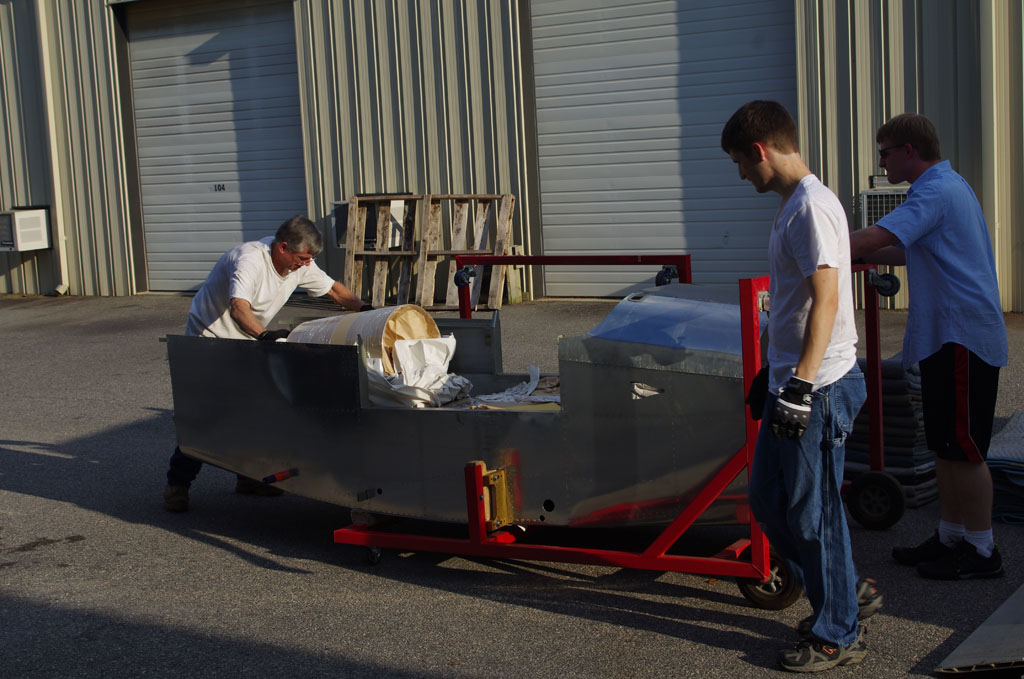
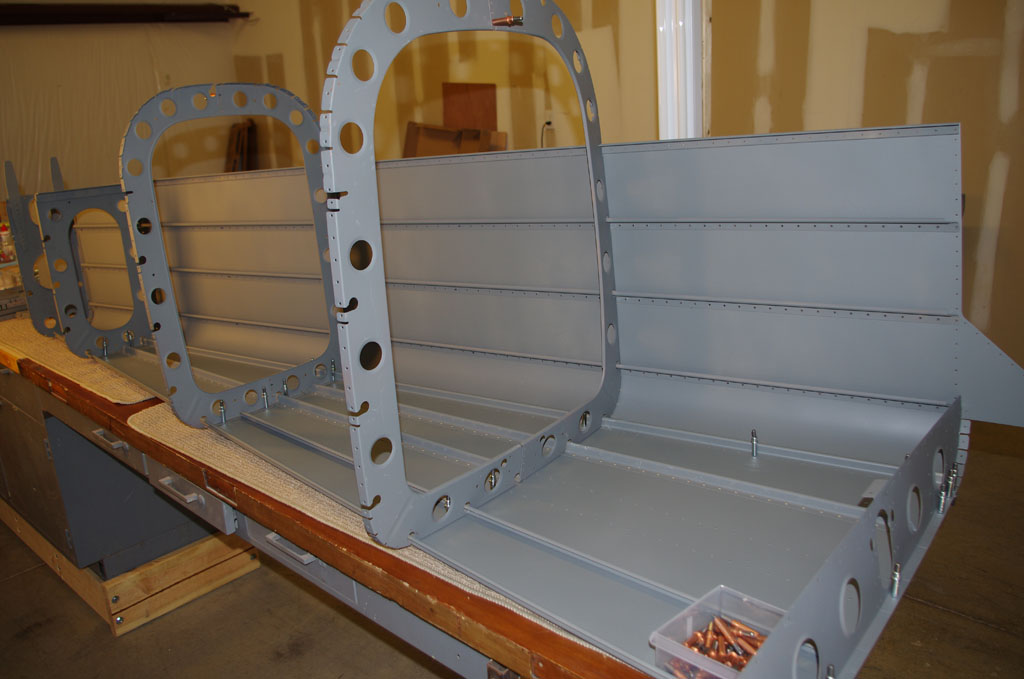
The fuselage section rolls out on a Van’s jig. After inventory is complete, I will build a similar jig out of wood.


IMGP5401I thought the shop was big, but these parts started to take up space quickly.


IMGP5406Wings stored overhead in the trailer.


IMGP5410IMGP5412
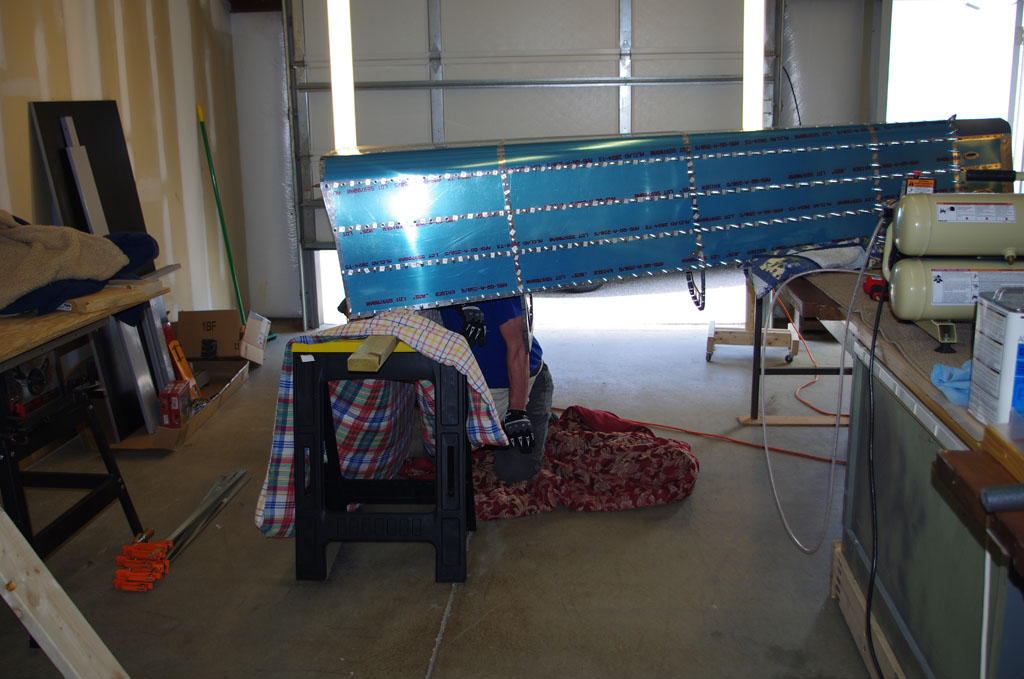
Out come the wings – heavy and bulky.  This required at least three people to man-handle without dropping.


IMGP5415IMGP5419
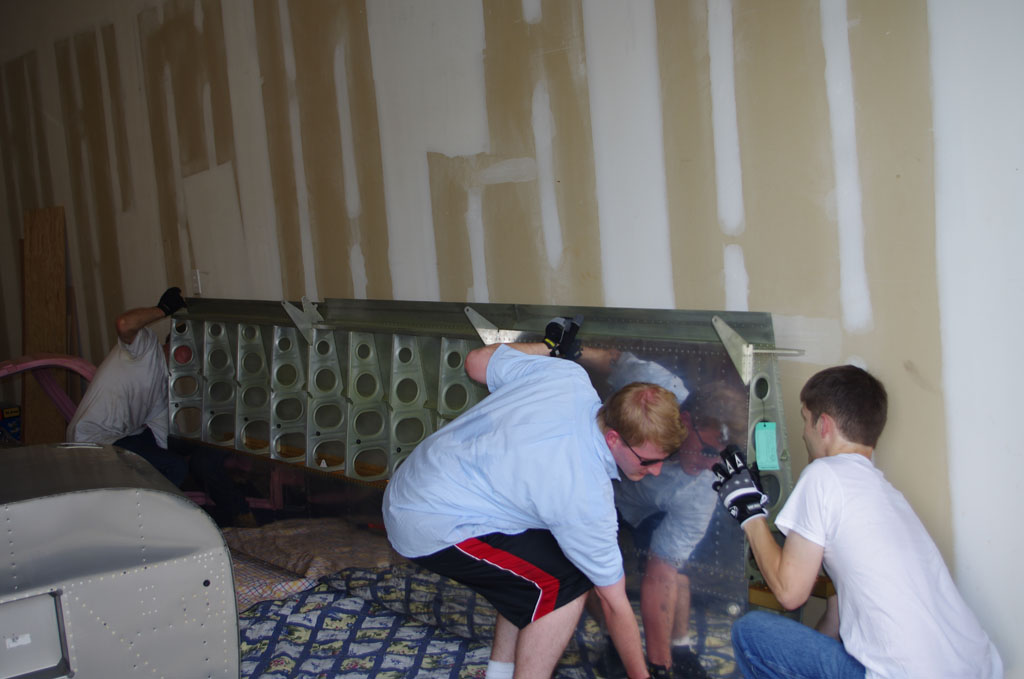
Either jigs or a rotisserie will be constructed to hold the wings as well.

Tailcone Assembly (3)

Over the weekend Eric and I finished off riveting the tailcone side skins, frames, stiffeners, and lower pans together.

IMGP5357First order of business was the rearmost tail section.  With both left and right skins attached, space for bucking rivets is greatly reduce, thus requiring bodily gyrations to get a clear view of the rivet head and bucking bar.


IMGP5360Here is another view of the cramped space available in the last two sections.


IMGP5361Because the J-channel stiffeners point upward when the tailcone section rests on the pan, the rivet heads are not visible when bucking.  My solution – turn the tailcone upside-down, then buck the stiffeners and frames from below.  In this shot the tail rests on the regular workbench, the front section on a 2×4 laid between two sawhorses and covered by a spare bed comforter. Not bad, and the visibility is good.


IMGP5363See, even from this angle the rivet heads over the J-channels are clearly visible.


IMGP5365This view shows the extent I can reach from inside the overturned tail section.  This approach reduces blind riveting to about 10-15 rivets on the next to last section. The results were excellent!  Eric is really getting quite accomplished with driving the rivets and our teamwork is very good. Two drillouts during the whole exercise, and even these turned out good.


IMGP5367Attaching the aft deck rivets used a combination of squeezing those reachable with my 3.5″ yoke, and bucking the rest.


IMGP5369      So far so good.

Tailcone Assembly (2)

The 4th of July weekend marked a milestone in the plane build. Final assembly of the tailcone signaled moving the primary shop from the bonus room to the rented garage space.  The combined parts are now just to big to get out of the bonus room.  So except for small parts prep, the main work will be in the new shop.  I will miss the convenience and climate controlled comfort of the bonus room, but this move is a good indicator that progress on the build is steadily moving forward.

I also got word this week from Van’s that the quickbuild wing and fuselage parts will be delivered in two weeks.  The logistics are near perfect, as I anticipate being finished with the tailcone about that same time.


IMGP5320Moving day.  Fortunately the roughly 9′ longerons and skins fit just perfectly in Rita’s Highlander with the front seat down. The new shop is only about a mile from the house, but still layers of blankets were used to prevent banging and chipping on the short trip.


IMGP5323Here the bottom pan and left skin are clecoed together ready for riveting.


IMGP5328(Friday, July 3) Sometimes things don’t go just right, despite reading the plans 2-3 times before executing a step. Here we are drilling out a misaligned rudder stop brace for repair.


IMGP5340IMGP5334These parts really require two people to process.  While a one-man rivet job attaching the skins may theoretically be possible, I cannot imagine the outcome. Here Eric is driving and I am bucking the bottom pan to the bellcrank housing ribs. We completed all the bottom pan rivets for the left side in about 5 hours in the 90 degree heat of the shop.  Even with fans going full blast, the heat and humidity were oppressive.


IMGP5345IMGP5348(Saturday, July 4) Rich came over to drive rivets for the left side skins, stiffeners, and frames. Again a two man job, but the results were very good.  We started early in the morning to avoid the heat later in the day.


IMGP5351This picture shows the rearmost section with the rudder stop brace on the left.  Nice outcome for the repair.  I may go back before attaching the right skin to re-prime the scuffed areas and paint the rivet heads.  This treatment is really not necessary, but once enclosed, this section will be completly inaccessible.  Might as well do it now to avoid concerns about any possible future corrosion.