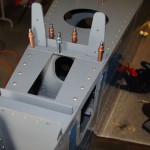
Over the weekend Eric and I finished off riveting the tailcone side skins, frames, stiffeners, and lower pans together.
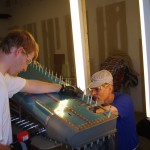 First order of business was the rearmost tail section. With both left and right skins attached, space for bucking rivets is greatly reduce, thus requiring bodily gyrations to get a clear view of the rivet head and bucking bar.
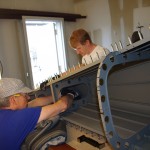 Here is another view of the cramped space available in the last two sections.
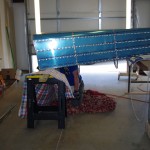 Because the J-channel stiffeners point upward when the tailcone section rests on the pan, the rivet heads are not visible when bucking. My solution – turn the tailcone upside-down, then buck the stiffeners and frames from below. In this shot the tail rests on the regular workbench, the front section on a 2×4 laid between two sawhorses and covered by a spare bed comforter. Not bad, and the visibility is good.
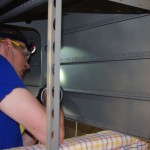 See, even from this angle the rivet heads over the J-channels are clearly visible.
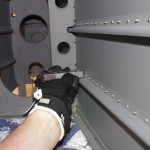 This view shows the extent I can reach from inside the overturned tail section. This approach reduces blind riveting to about 10-15 rivets on the next to last section. The results were excellent! Eric is really getting quite accomplished with driving the rivets and our teamwork is very good. Two drillouts during the whole exercise, and even these turned out good.
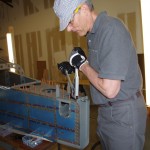 Attaching the aft deck rivets used a combination of squeezing those reachable with my 3.5″ yoke, and bucking the rest.
