This week was about making and fitting the two longerons, plus continuing the alignment of skins.
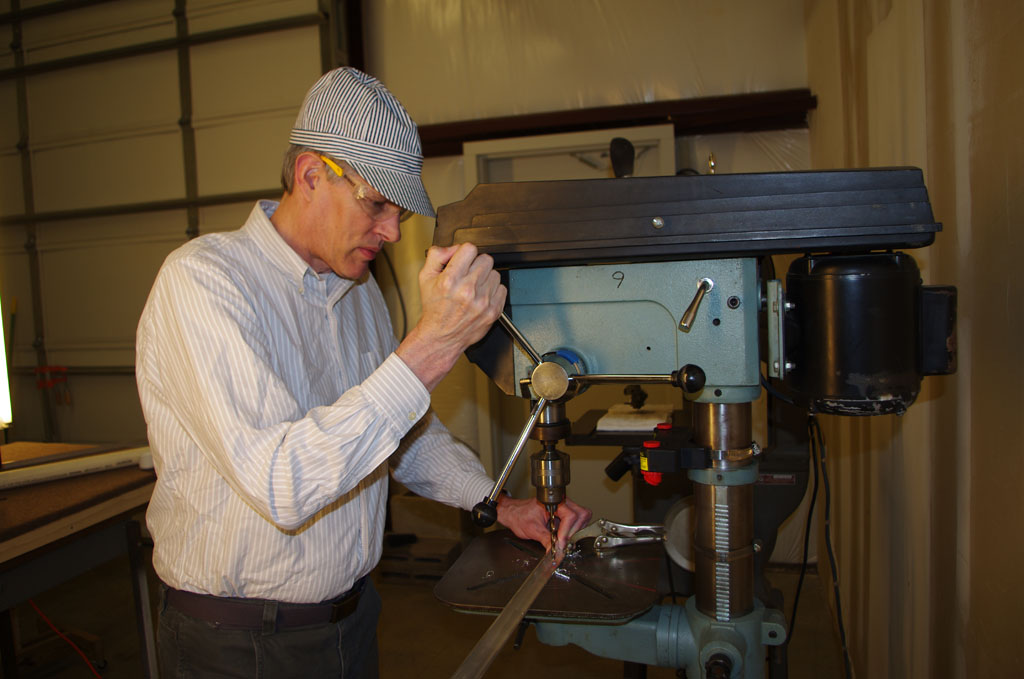
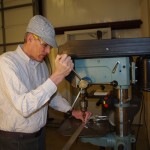 First two 98 1/8″ longerons must be cut to length, and drilled properly from a long piece of AA125-3/4×3/4 angle aluminum. This is the easy part. The real pucker factor is placing in a vise, then hitting the pre-stressed piece with a rubber hammer until a 2degree bend is achieved. Any over-hit means the piece will be stressed wrong. Because the bend mates to the aft deck precisely where the horizontal stabilizer attaches to the tailcone, getting it right is essential. Despite my concerns, the bends turned out according to plans. (sorry no picture of the process).
 Prepping a few additional parts is needed before actually fitting the longerons to the tailcone shell.
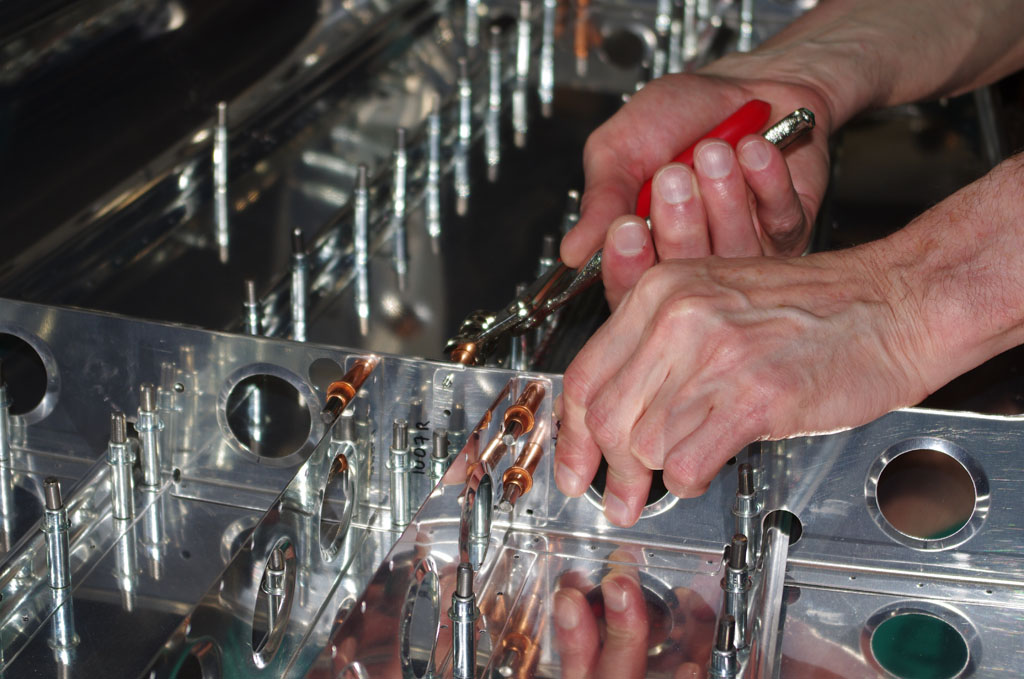
 Longerons are fitted, aligned and match drilled to 3/32″. After all the skins are attached, these same holes will later be drilled out with a #40 bit and countersunk. Getting the holes perpendicular to the skin surface is very important to prevent ’round over’ of the rivets at a later stage.
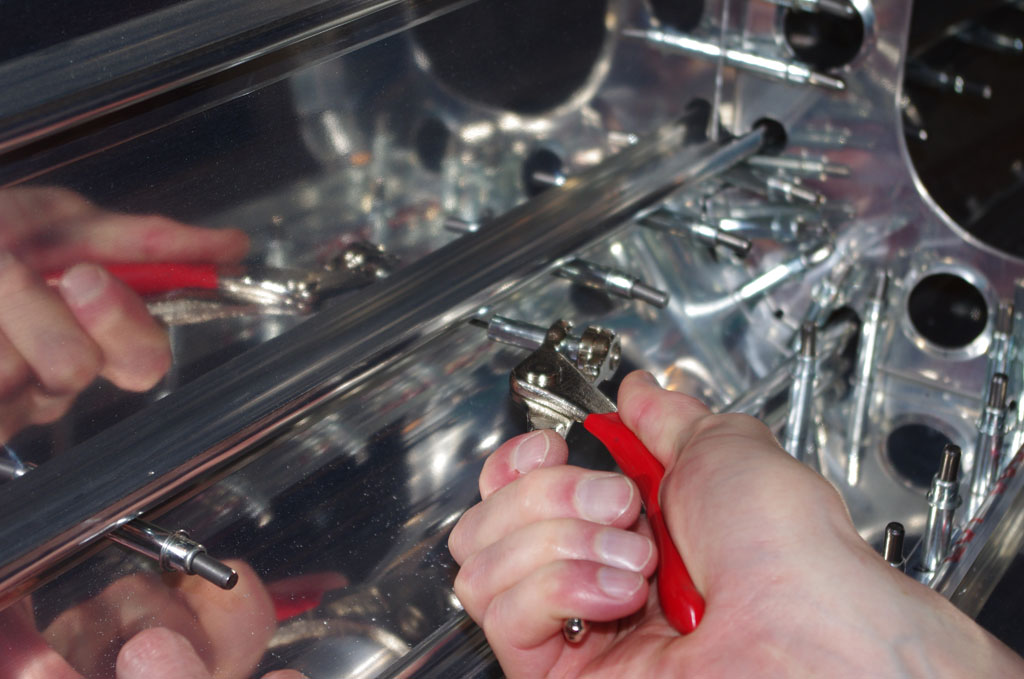
 This close-up shows the left side longeron drilled and clecoed into position. The two pieces sticking straight up through the aft deck are the main attachment points for the horizontal stabilizer.
 Here the rear frame is clecoed to the aft deck, and the middle stiffener is clamped into place.
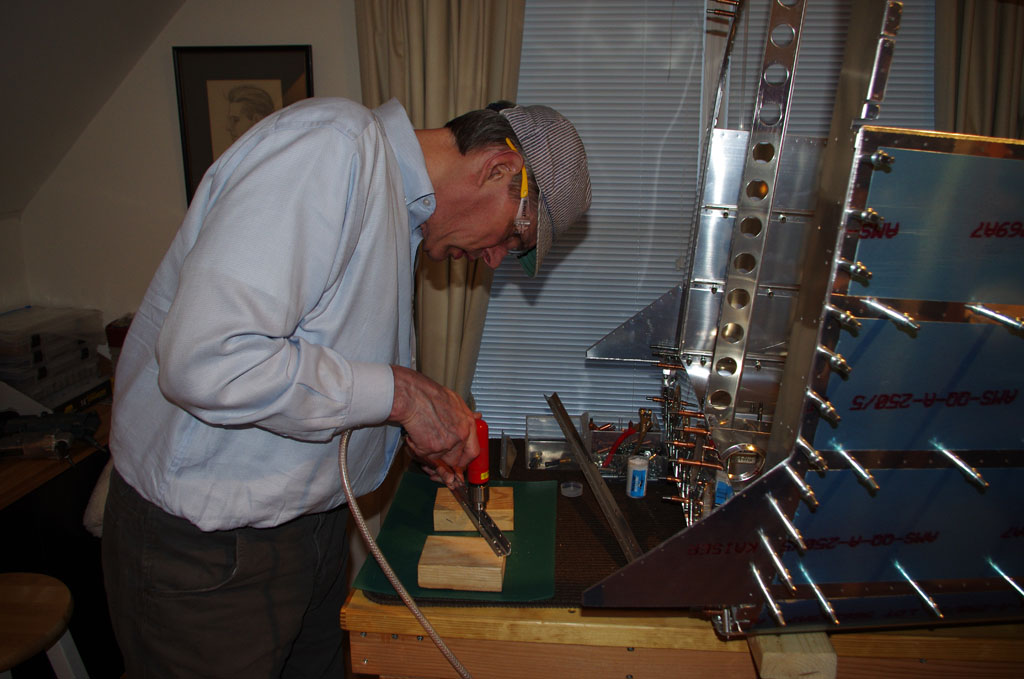
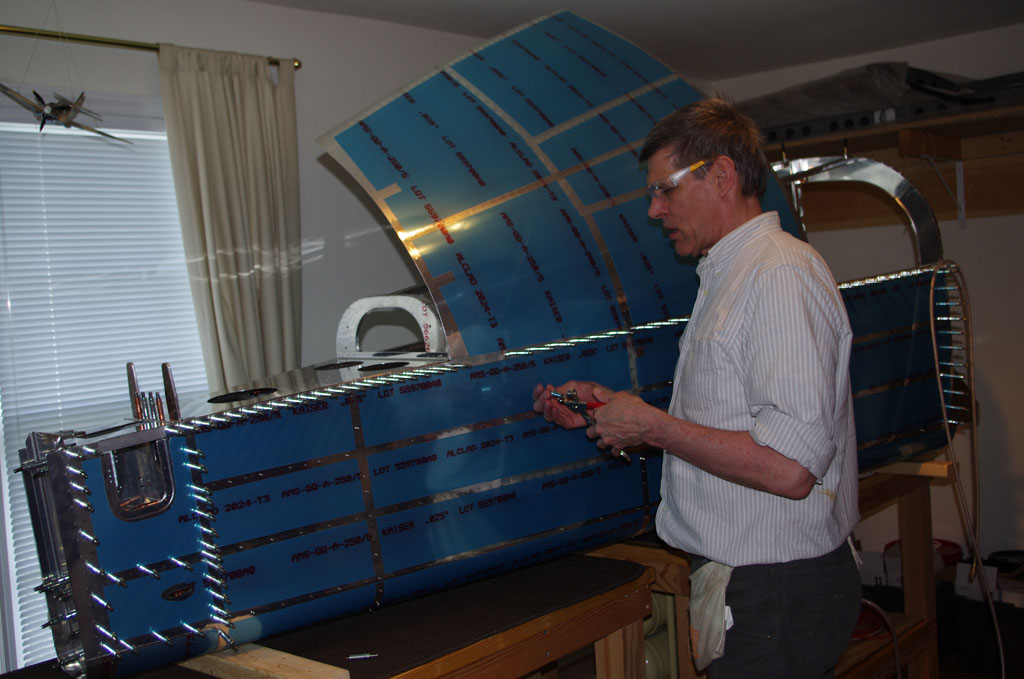
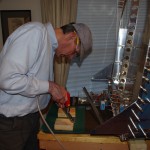
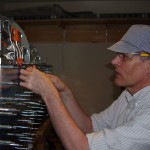
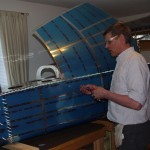 The upper aft skin comes from the factory as a flat piece. The plans indicate clecoe one side and walk towards the other side bending and applying clecoes along the way. The idea is provide a gradual stress application and final bend to the skin metal.
 The upper aft skin is fully fitted into place. I thought the tail was rigid before, but WOW – after the longerons and upper skins are installed the whole unit is rock solid. This inspires a great deal more confidence about the overall strength of the tail section.
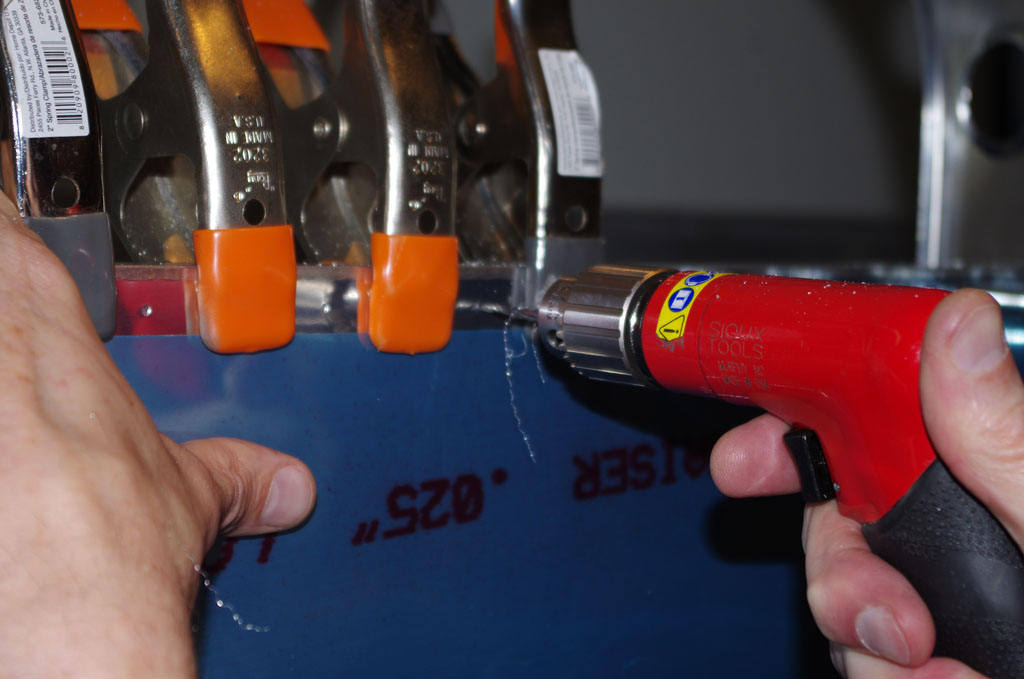
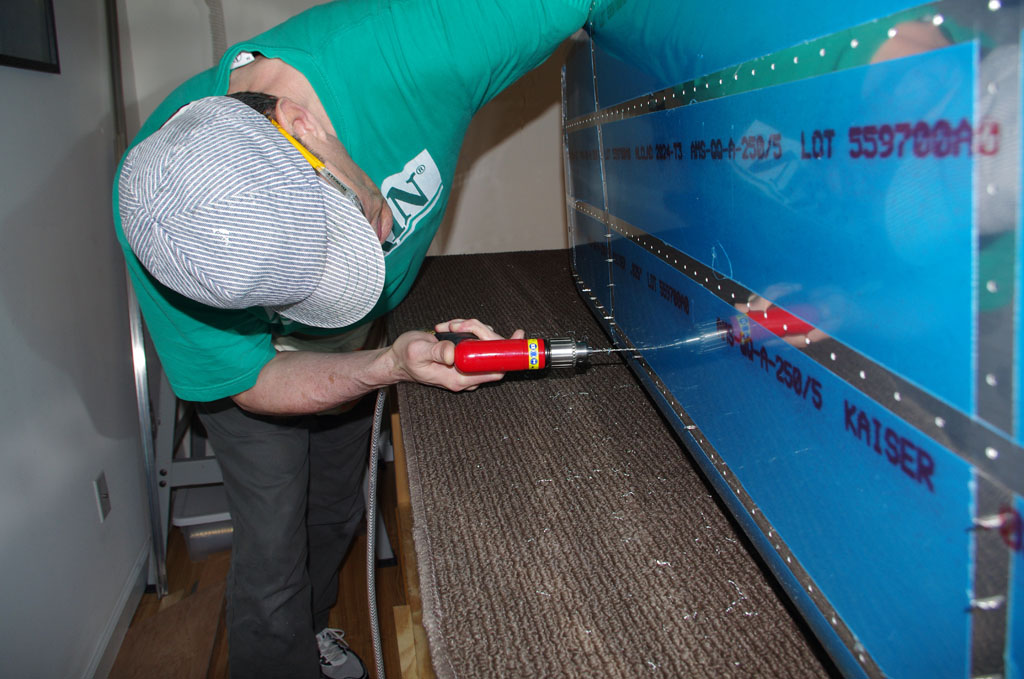
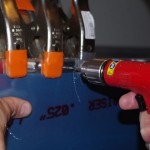
 Here drilling the aft top skin to the stiffeners.
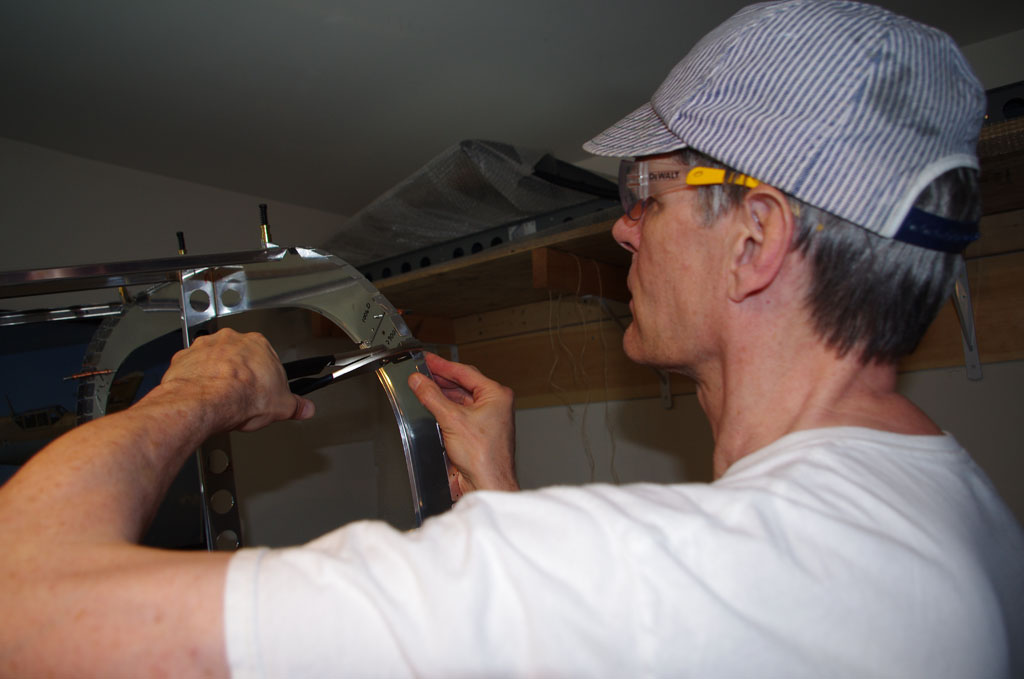 Fluting the frames is required to get a smooth curve on the skins.
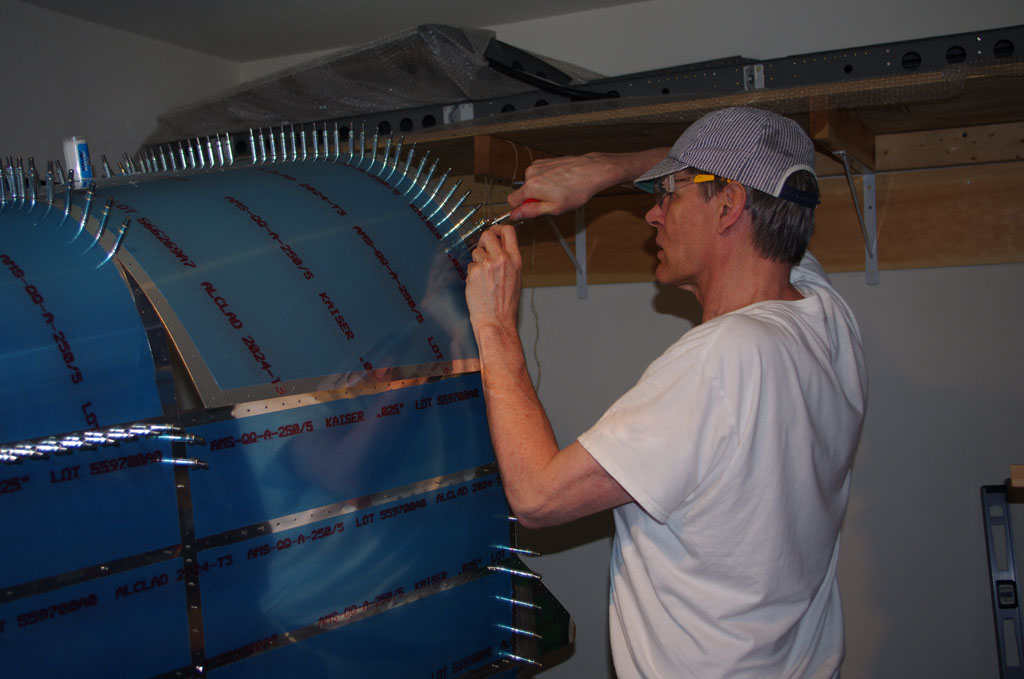
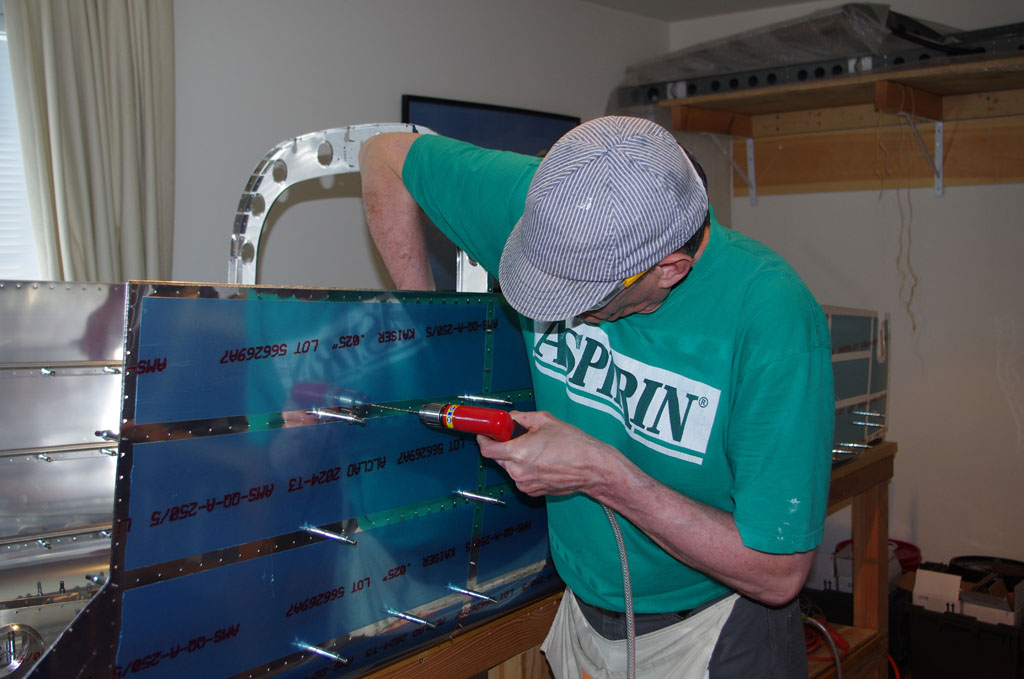
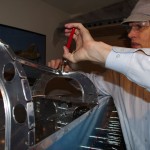
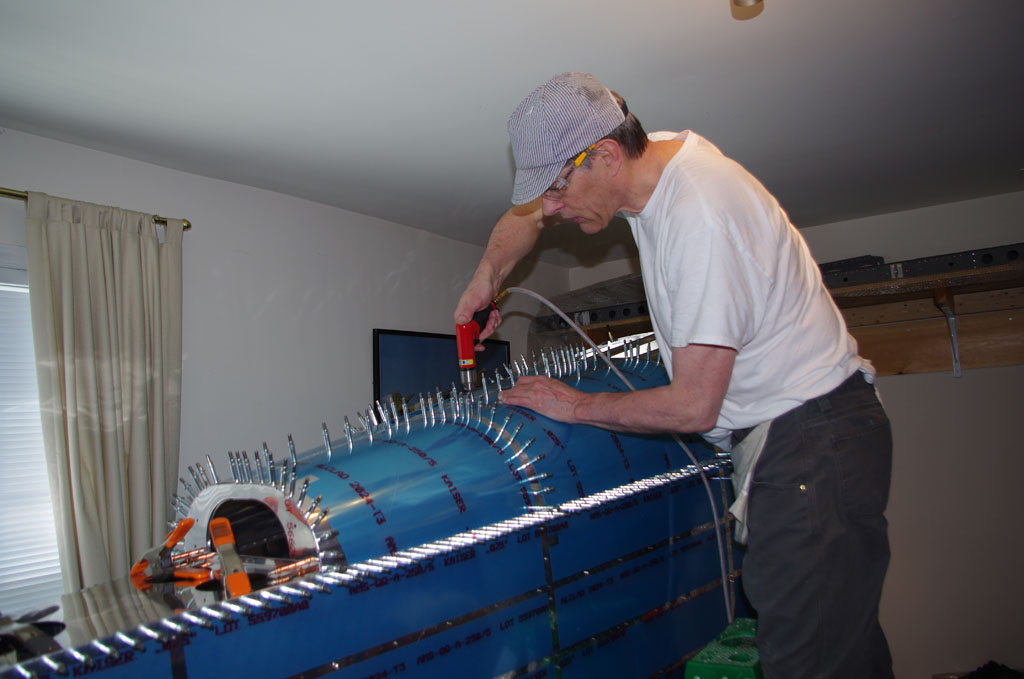
 Walking the forward top skin to the frames. This time I started at the top and moved downward.
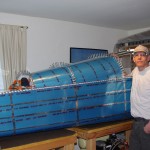
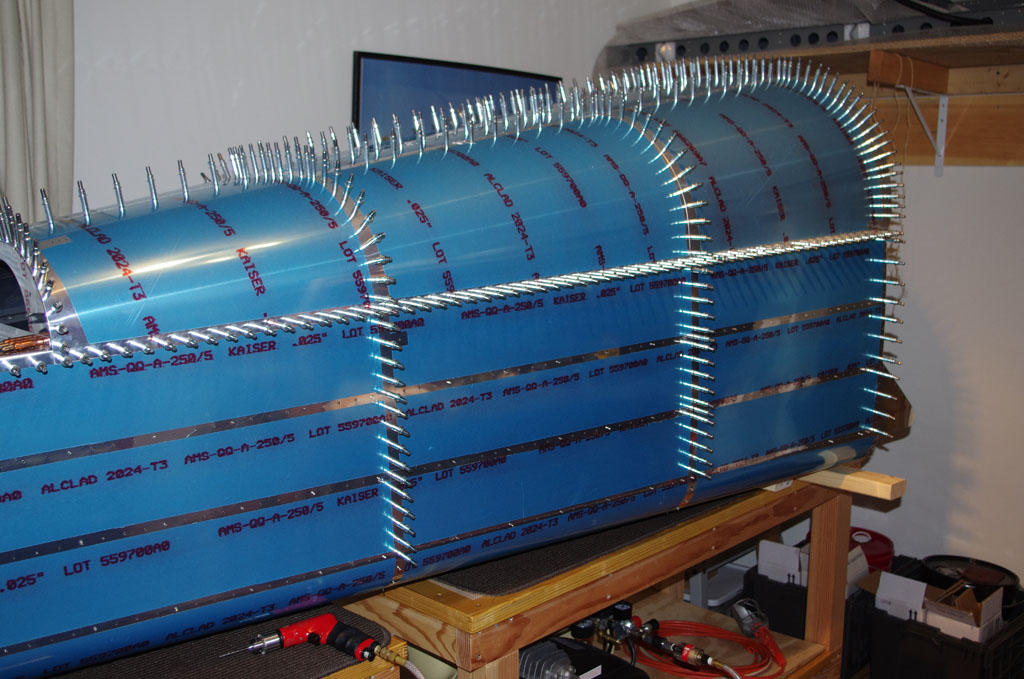 Rita says it looks like a porcupine. I think it looks great.
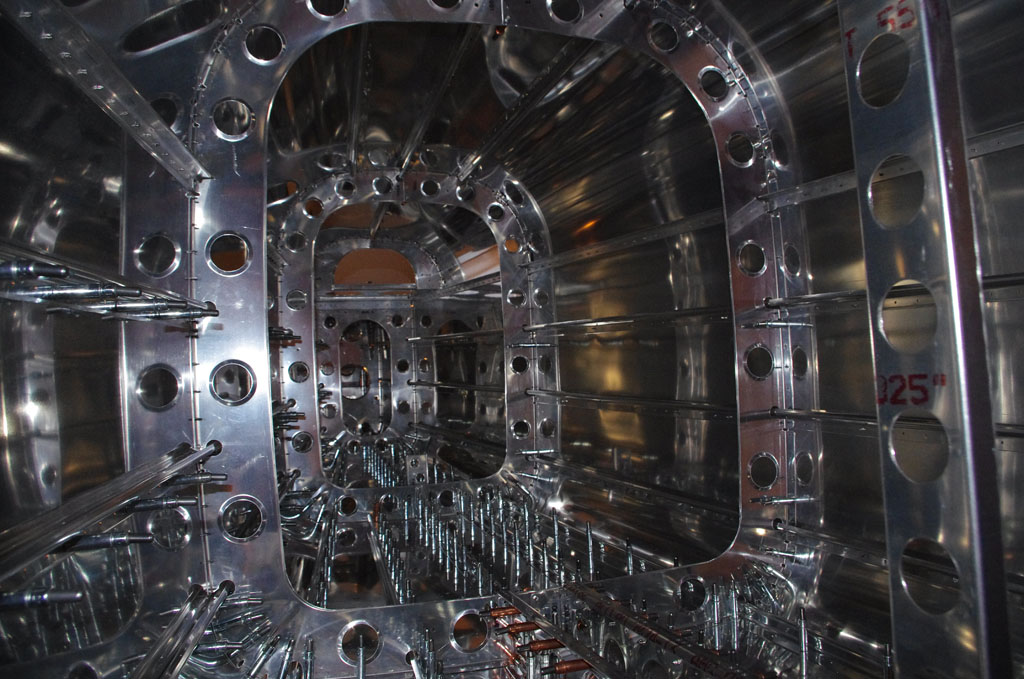 Fully enclosed tail section!
 Next day I drilled and clecoed all the aft deck parts.
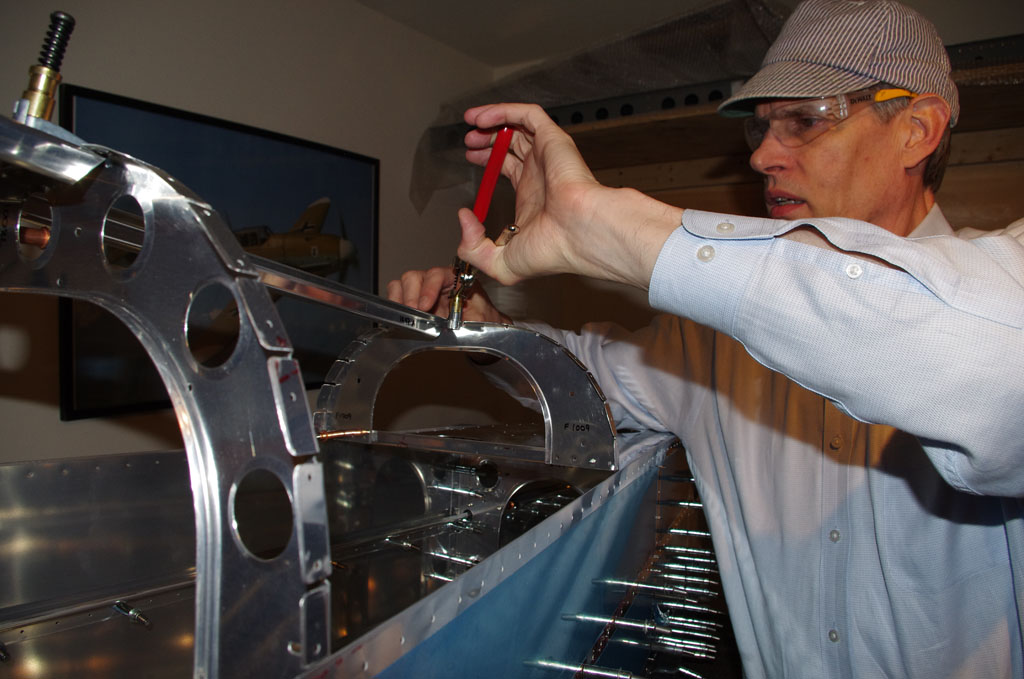
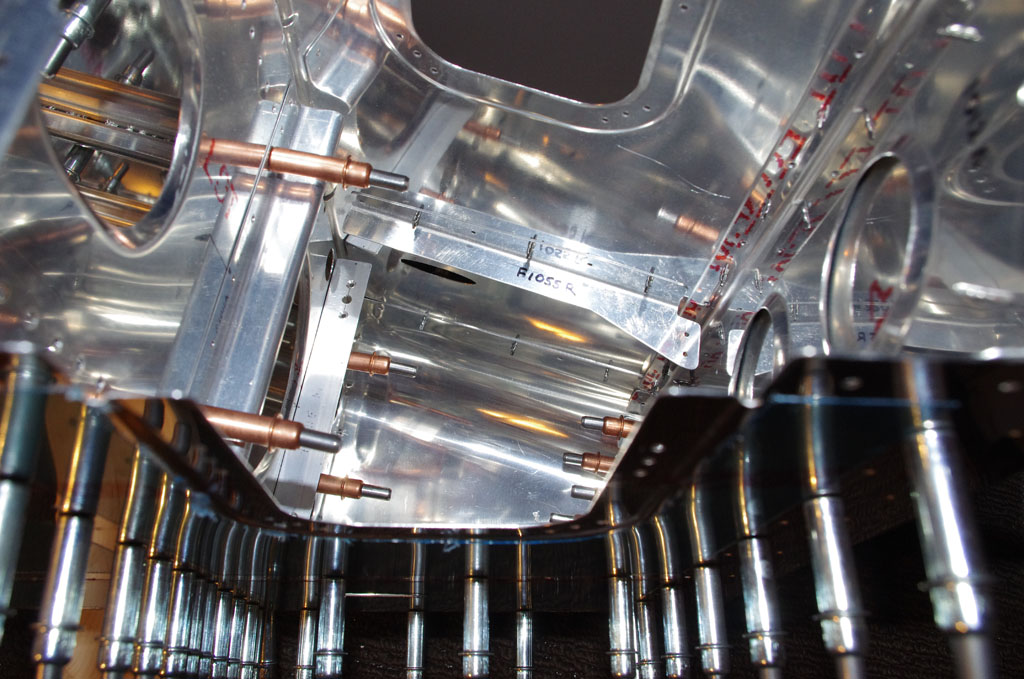
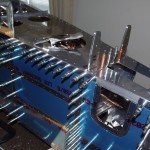
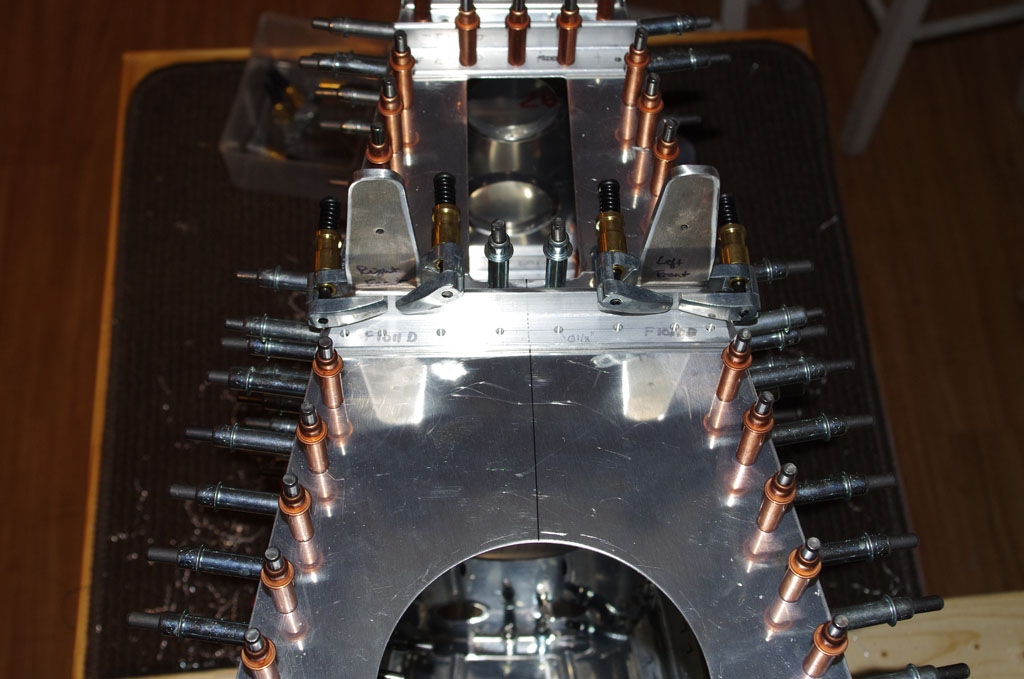 The horizontal stabilizer attachment points are reinforced with 3-4 extra pieces of fabricated aluminum. This photo from above shows the alignments along the center line.
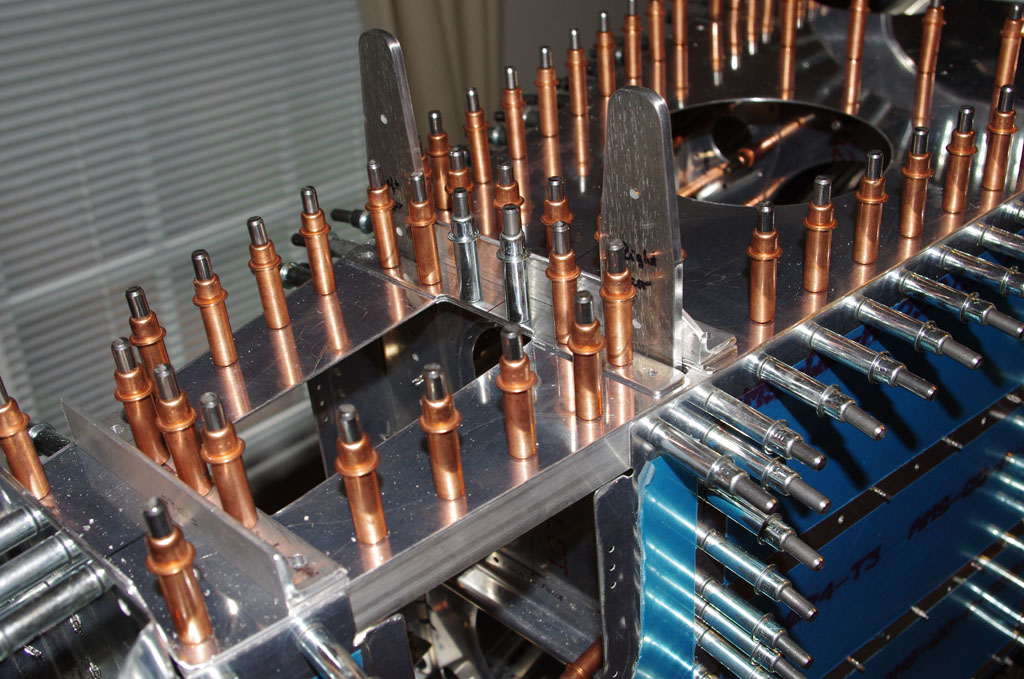 Close-up of the clamped, then final attachment brackets.
 Here is the aft deck fully drilled and clecoed.