International travel to visit family (first time in two years), supply chain issues and the Thanksgiving holidays have slowed the progress towards mounting the engine. Many of the jobs performed before the engine was mounted would have been nearly impossible with restricted access from the motor mount and in close proximity to the firewall. Advice to any builder – attach as many components as possible while the engine is still not mounted! Also pay attention to the sequence of attaching oil filter base, magneto work, tachometer port adjustments, and vacuum pad alternator.

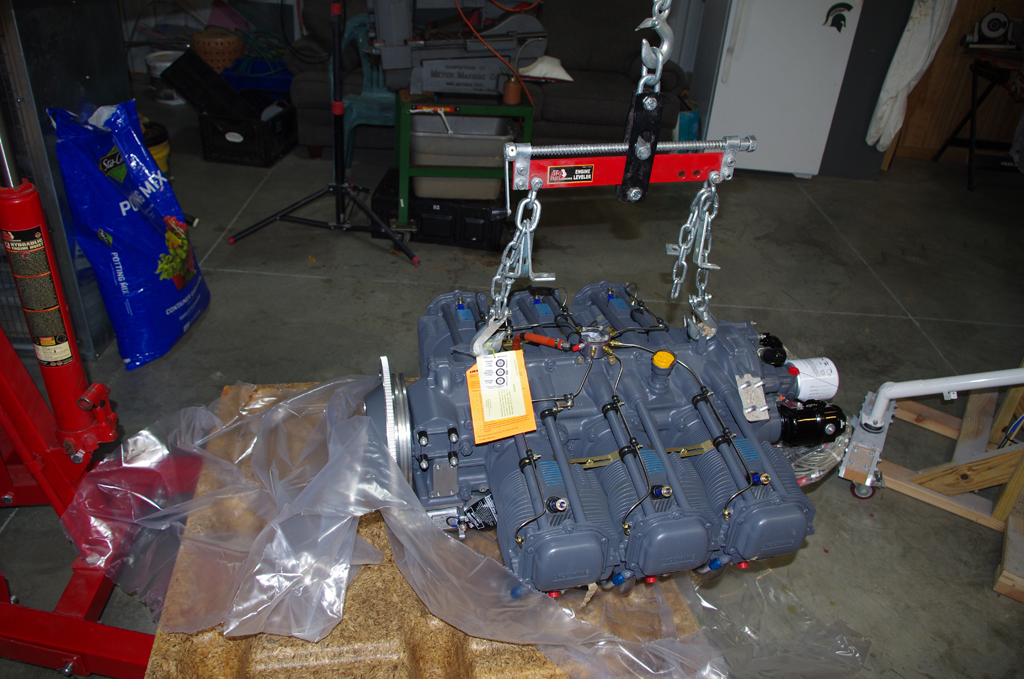
 After three years of storage in my garage, it was finally time to move the Lycoming YIO-540-D4A5 engine to the shop for installation. My sons helped me load and unload the palleted engine onto Tal’s trailer for transport.

 My biggest fear from the whole storage period was corrosion of the camshaft due to moisture exposure over time. This proved not to be the case, as Lycoming had done an excellent job of sealing the engine in the crate. The dessicant indicators looked just like new when the protective plastic was unsealed!
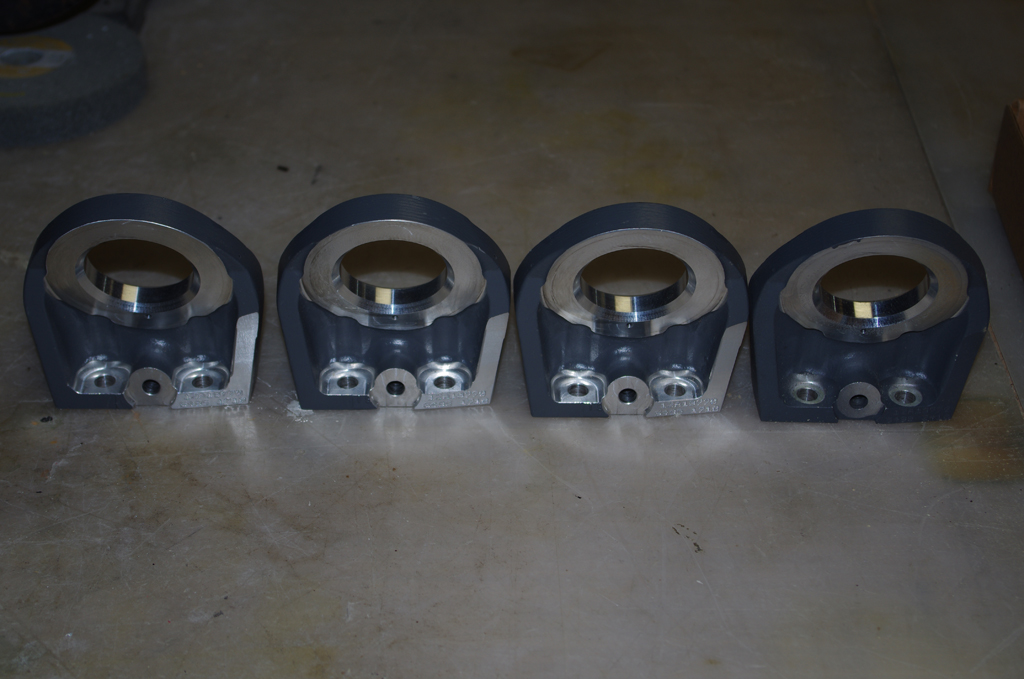
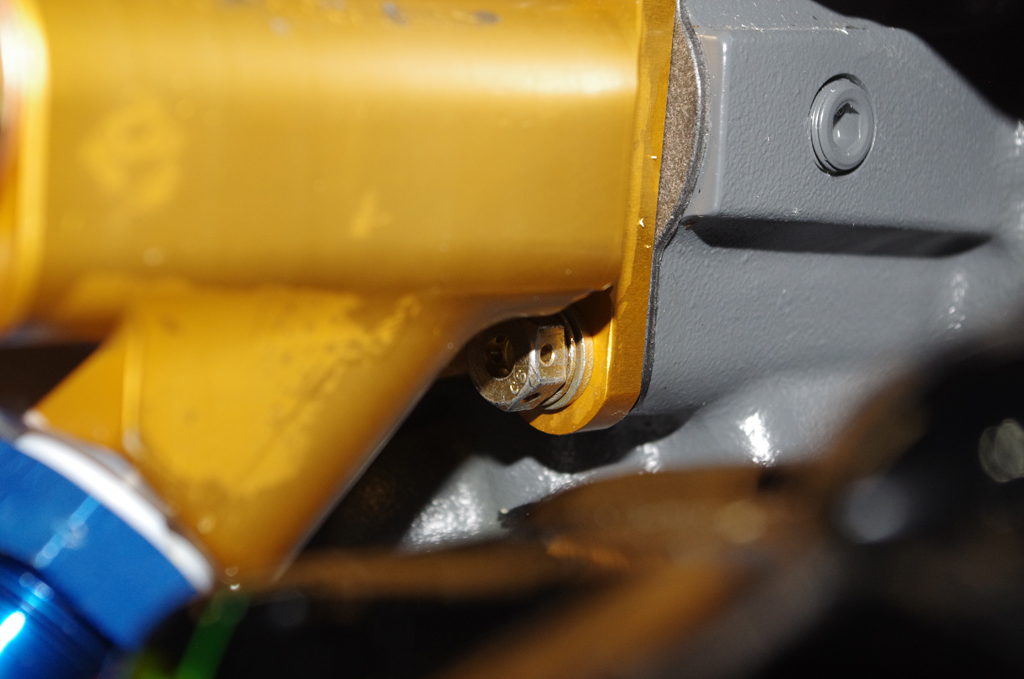
 One glitch in the process was Lycoming had sent incorrect 19770 mounting brackets (2″diameter hole) packaged inside the plastic seal instead of the correct 70456 (1.25″ diameter) intended for the Dynafocal mount on an RV10. Because of holiday staffing at the factory, it took over two weeks to receive the proper brackets. The time was used to connect as many items as possible on the firewall side of the engine. At right are the fittings to the engine-mounted fuel pump.

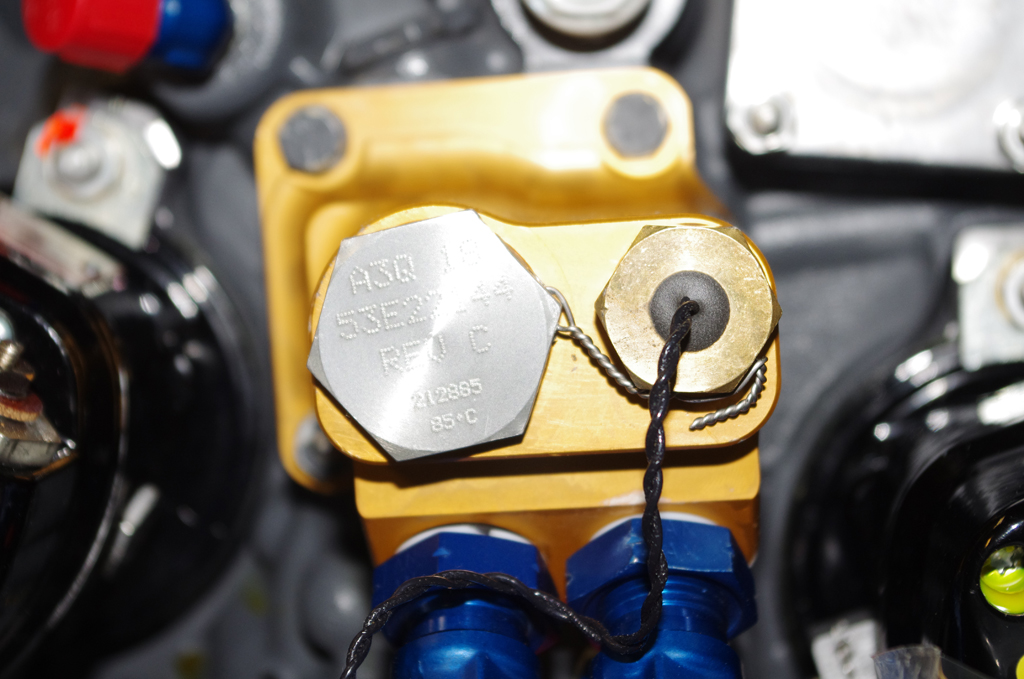
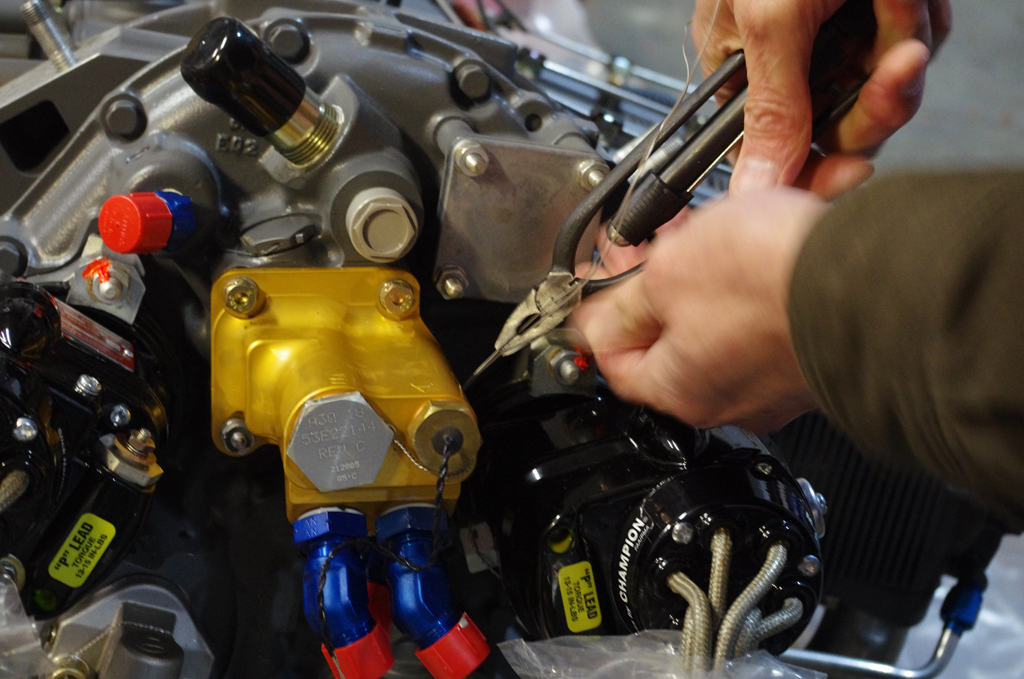
 Additional fittings were installed for the oil cooler lines, manifold pressure and tachometer port. I decided to use a magneto mounted Hall Effect RPM sensor instead of a mechanical tachometer converter simply because of eliminating moving parts where possible.
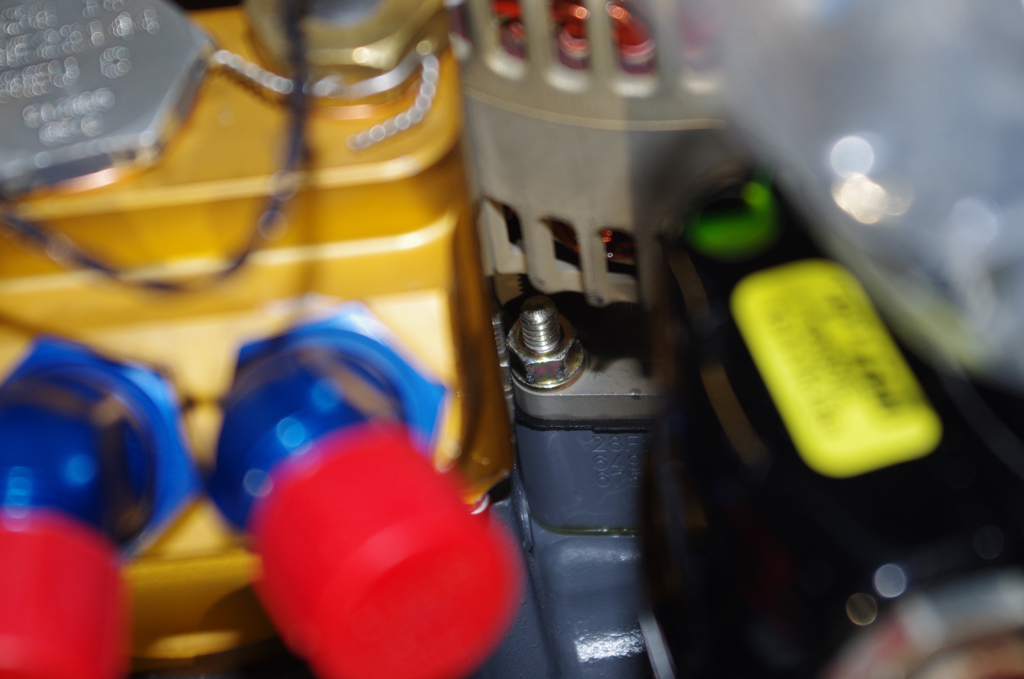
 Oil thermostat and temperature sensor on the left. The Airwolf remote oil filter base adapter in the right photo proved difficult to mount. The lower right bolt required a special crows foot wrench and many 1/6 increment turns to get attached, then torqued properly.
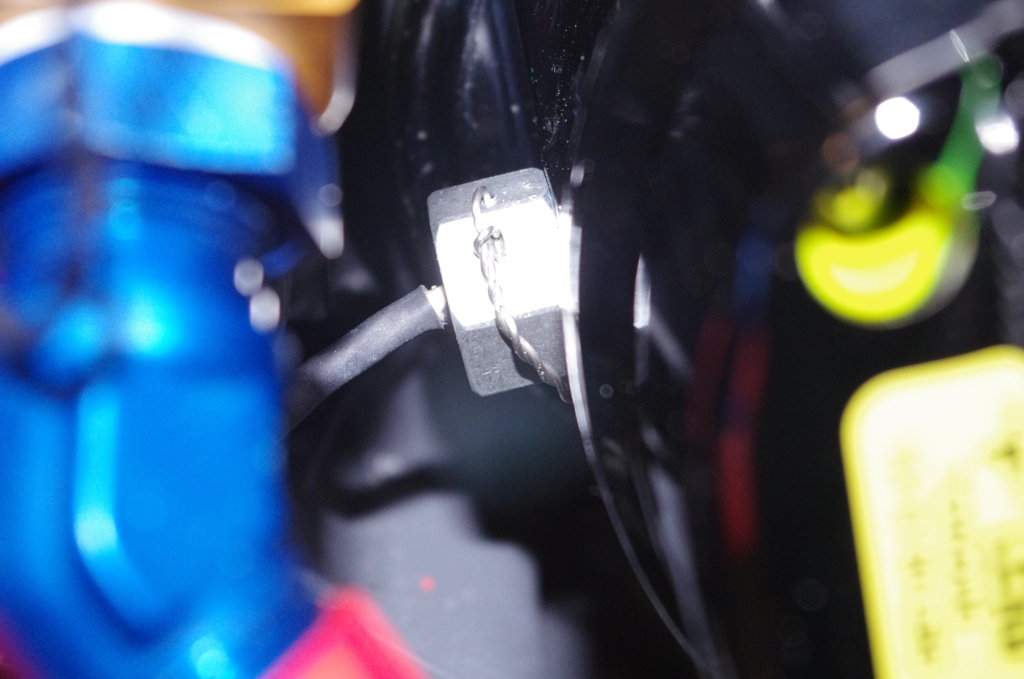
 Safety wiring the oil base adapter was also a challenge – mostly because of my inexperience with the process, but also because of confined geometry.
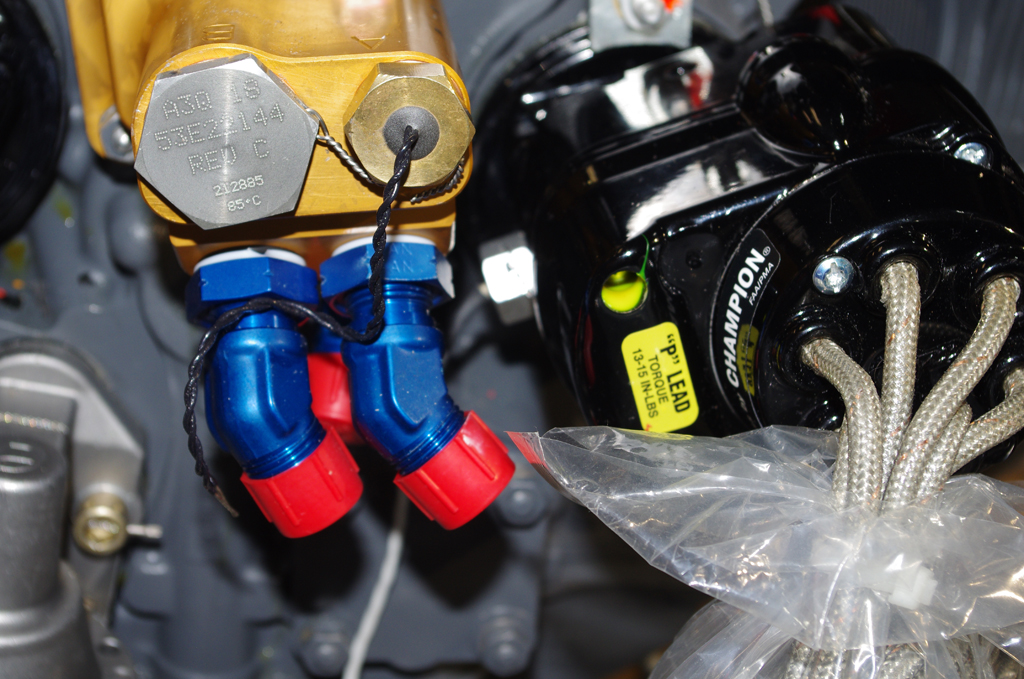
 The remote oil cooler fittings were attached and clocked to point towards the direction of the remote housing. Next was installing the RPM sensor on the right magneto, then fastening with safety wire.

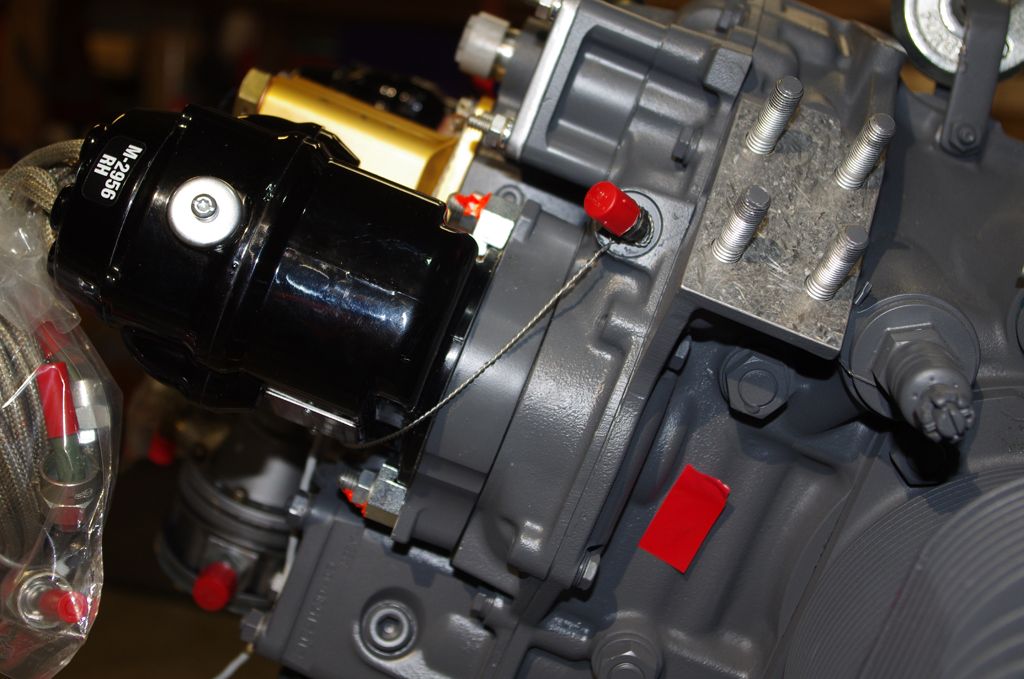
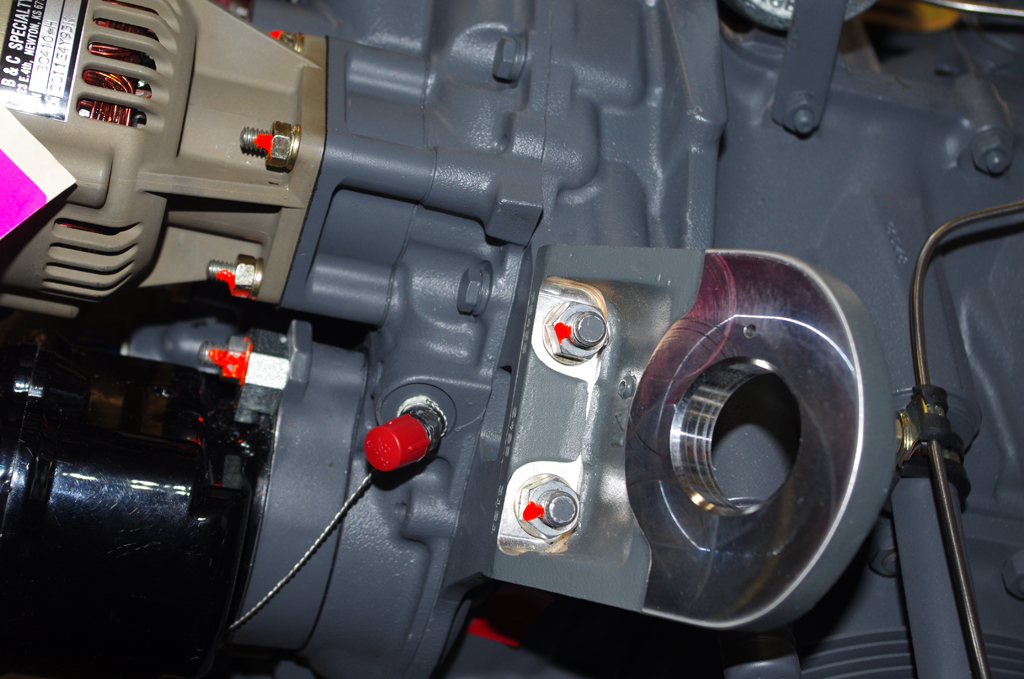
 Originally I wanted to install a 60amp backup generator (BC462-H), but the diameter of the main housing was about 1/8″ too big. It bumped up against the Airwolf base adapter just enough to prevent a clean insertion of the spline and flat attachment against the pad. The smaller 40amp BC410-H fit perfectly. The space to access the lower left stud is very cramped.
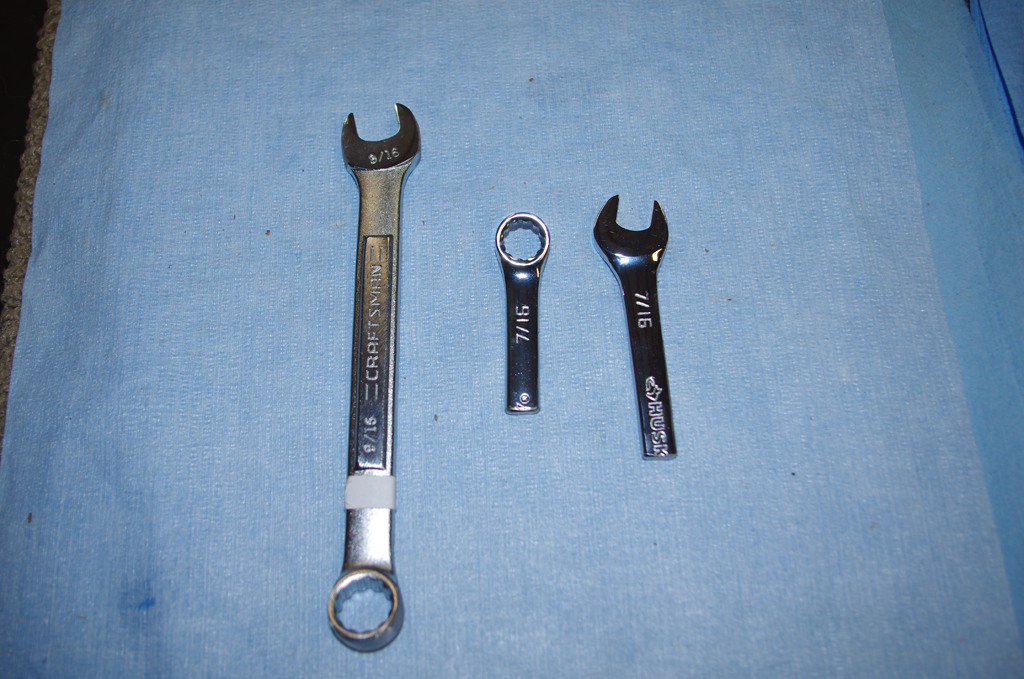
 Tools were modified to achieve some attachments. A normal 9/16″ box wrench was ground to gain access to the back nuts on the engine dog ears, especially the lower ones. A 7/16″ wrench was cut to 3″ to allow the open ended portion to tighten the backup alternator lower left nut. This was the most difficult task of all.
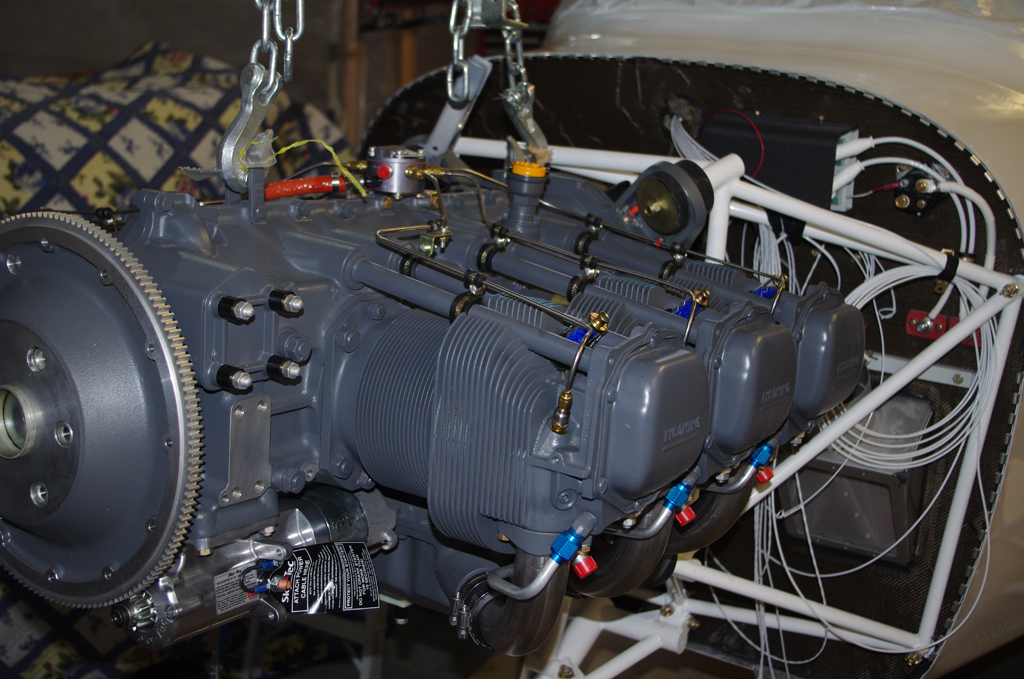
 The engine is shown on the hoist ready for attachment. The Lord J3804-20 isolators were taped into place to facilitate the mount process, which I was able to do by myself. The AN7-26A bolts took a bit to align, but eventually slide into place. The actual mounting task lasted about one hour.
 Here is the engine installed after so many years of preparation. Quite a satisfying accomplishment.
Other builders have suggested allowing about a month before the cowling should be fit. This time allows the rubber isolators and engine to settle into their final configurations. Next up will be baffle configurations and more painting.
MISCELLANEOUS
 Custom brackets were fabricated to hold the aft door open sensors.