Category Archives: Section 44, Wing Attachment

Wing Attachment (3) and Misc

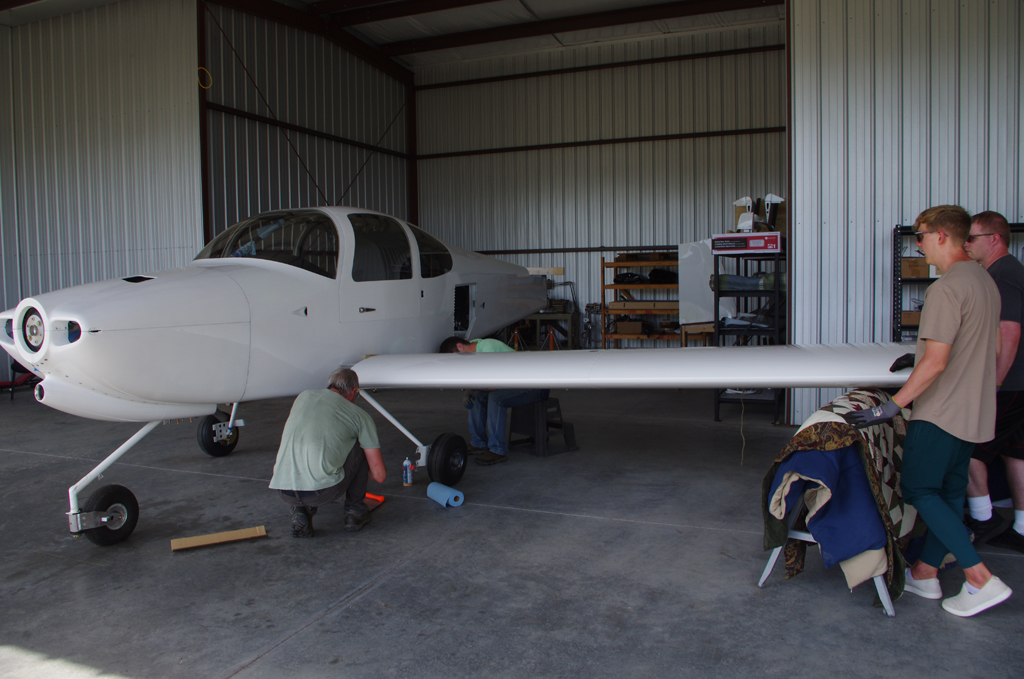
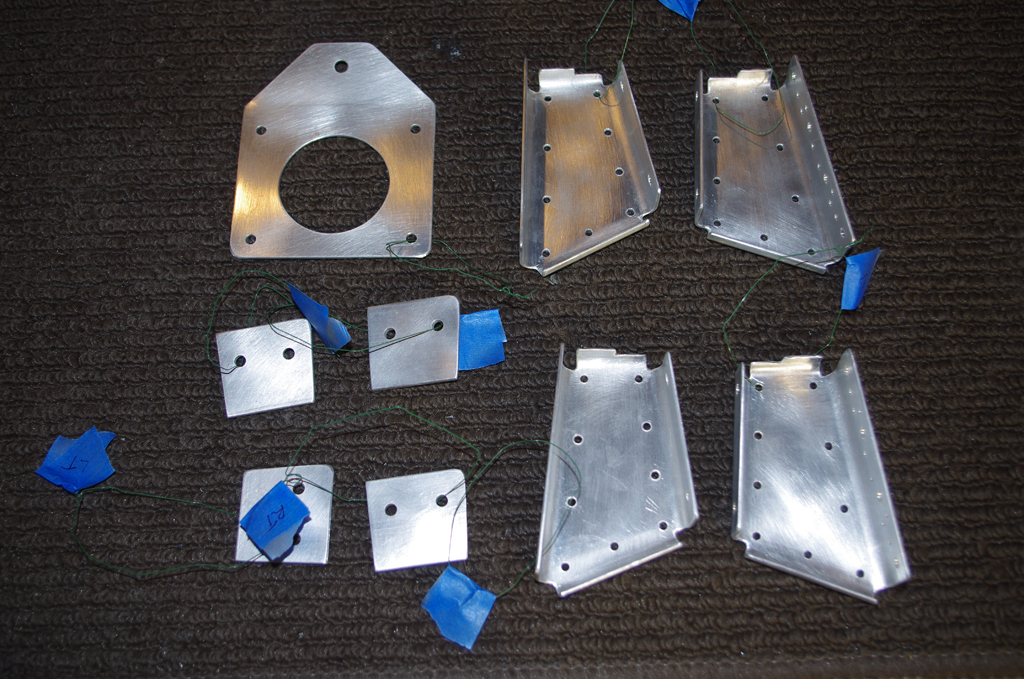
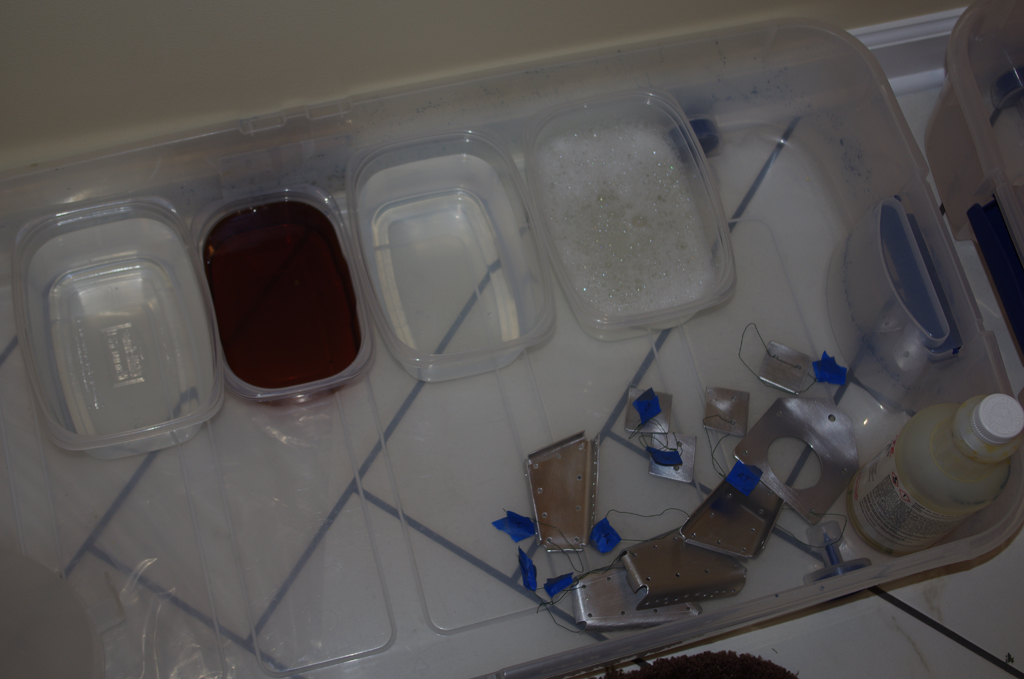
Finish configuration of wing root covers required installation of a few system components.

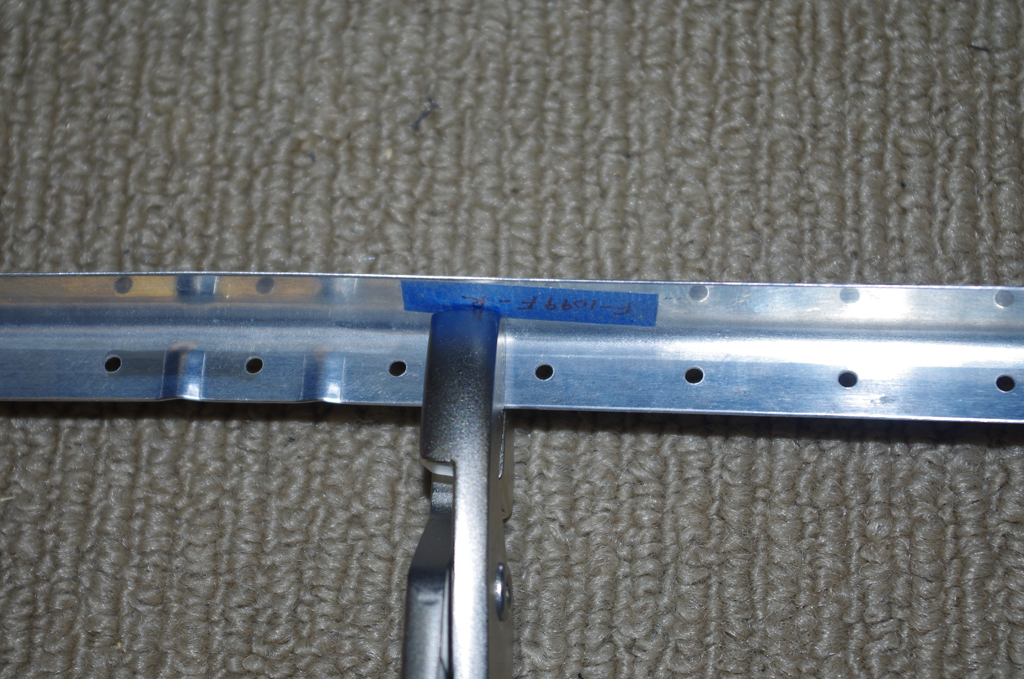
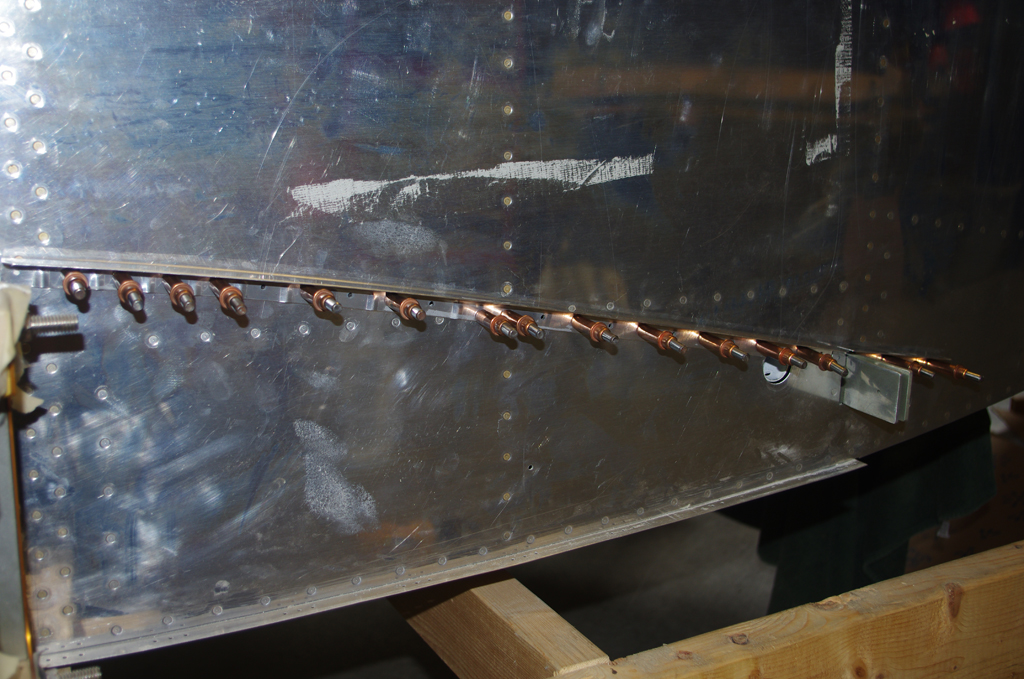
The rear spar bolt was an AN6-11, anchor nut and cotter pin. The wing root fairing supports are held primarily by LP4-3 pull rivets.


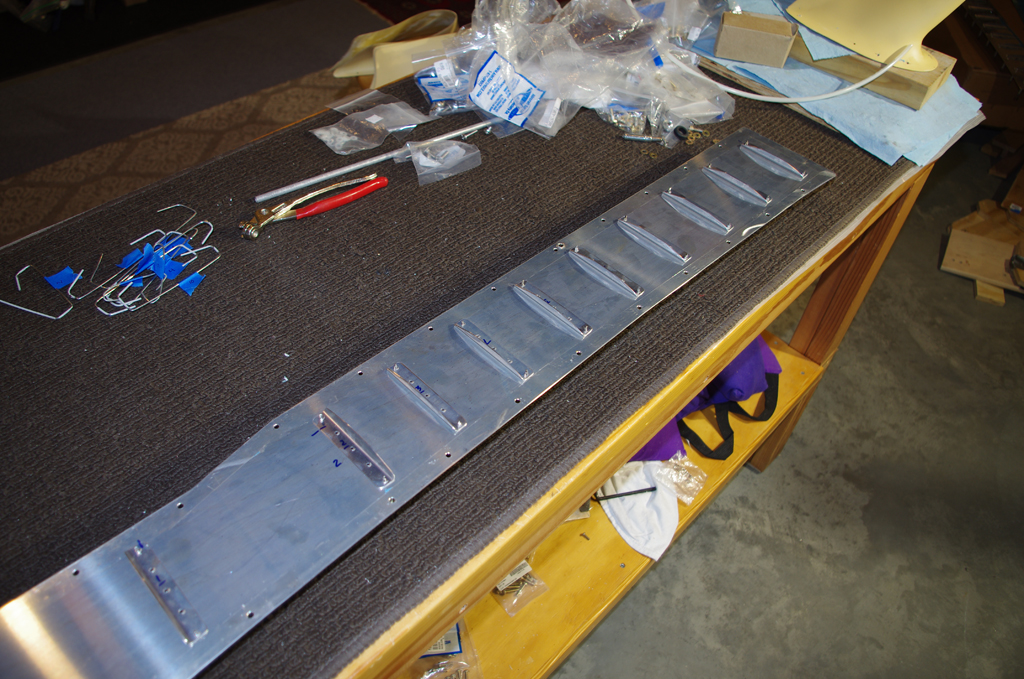
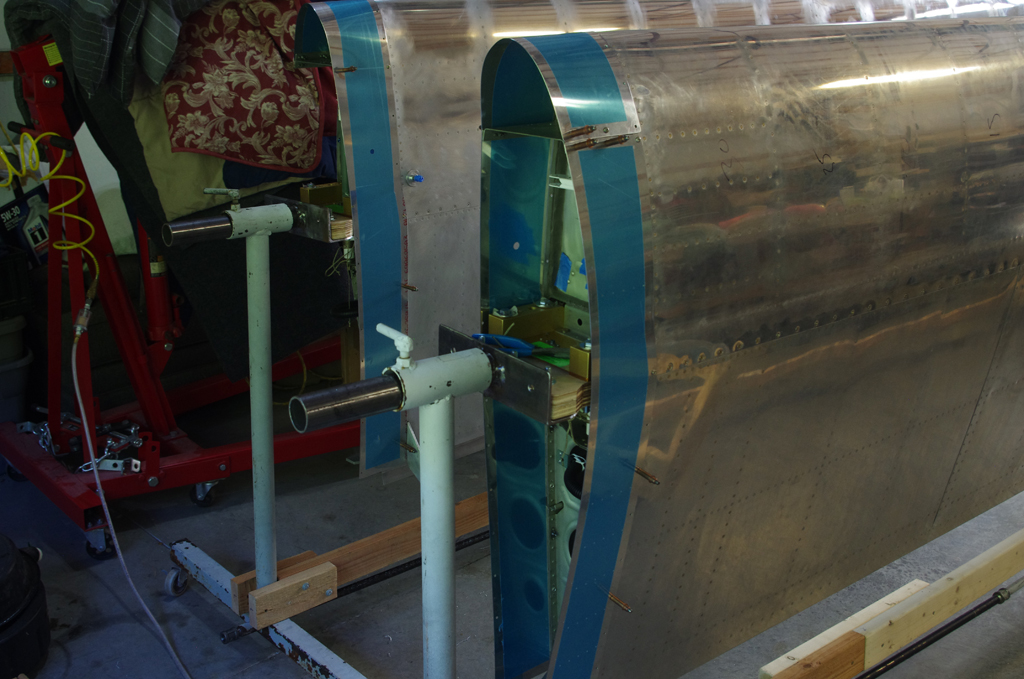
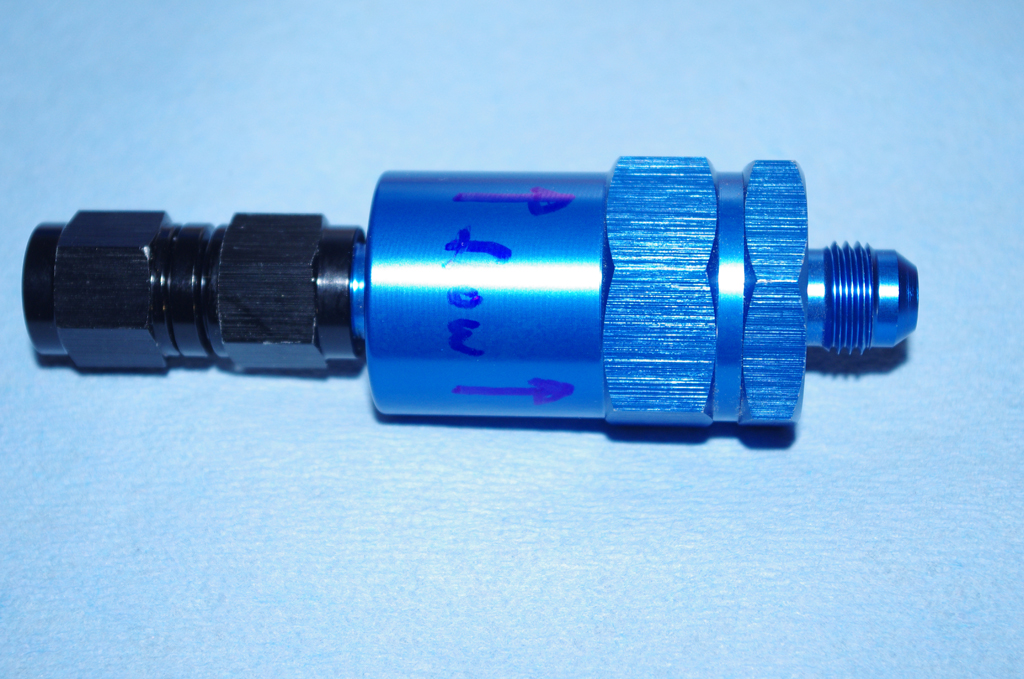
A custom fuel line, filter and shut-off valve from TSFlightline was installed.  This configuration should allow the filter to be removed for annual inspection without the need to completely drain the tanks.


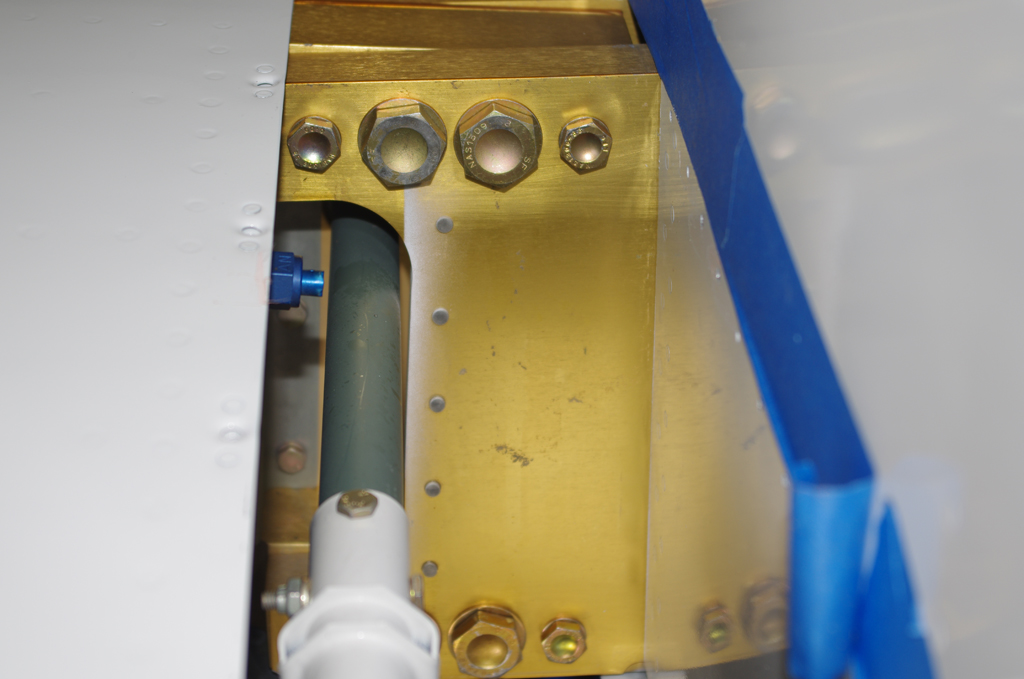
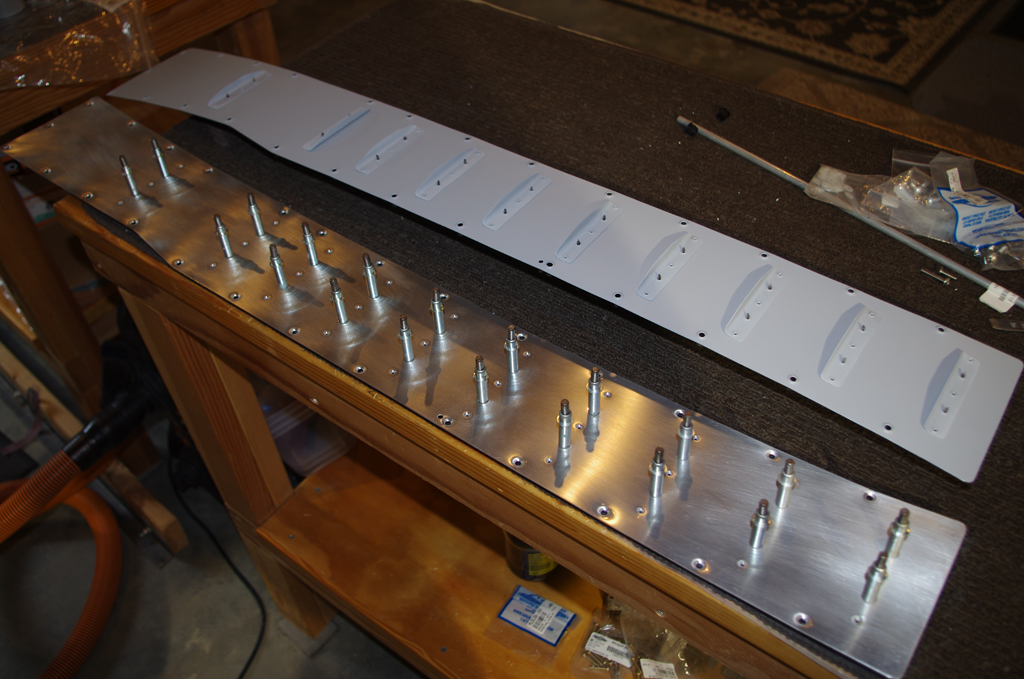
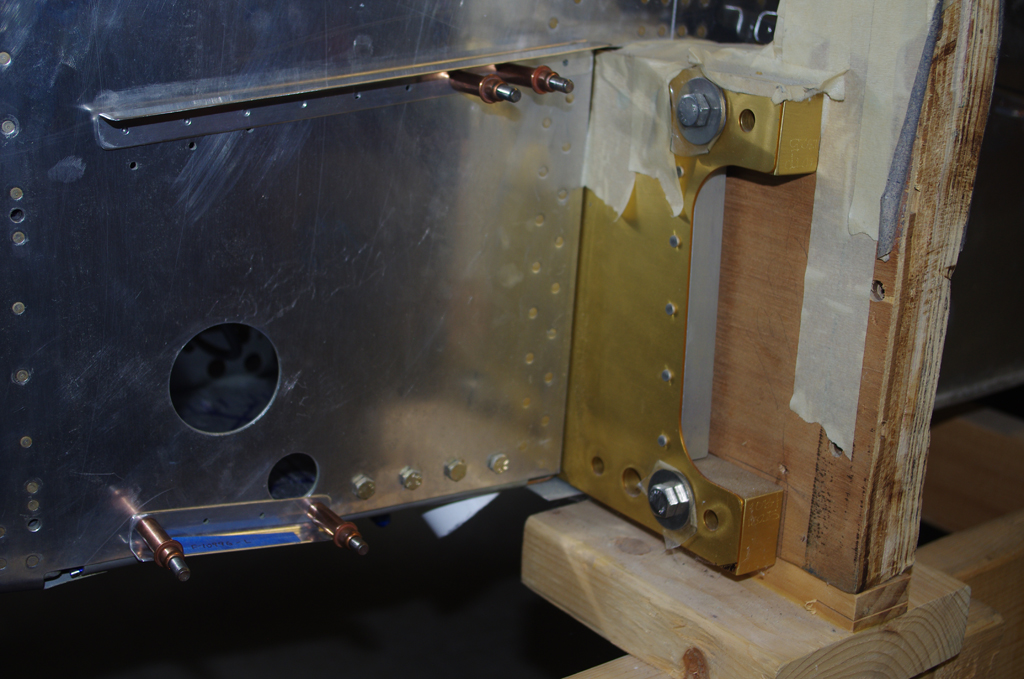
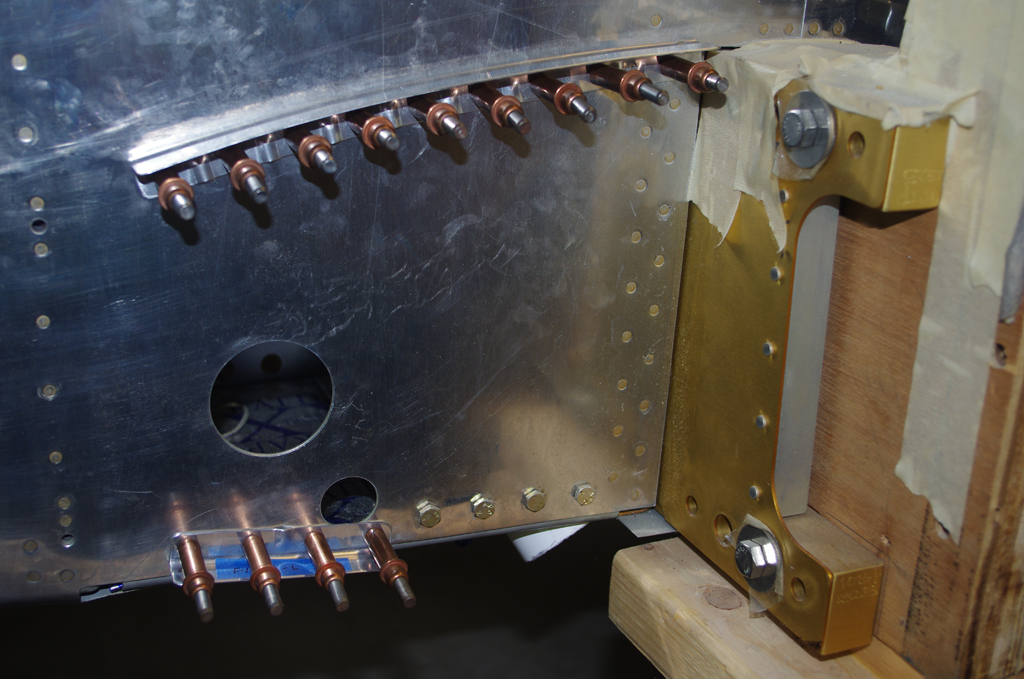
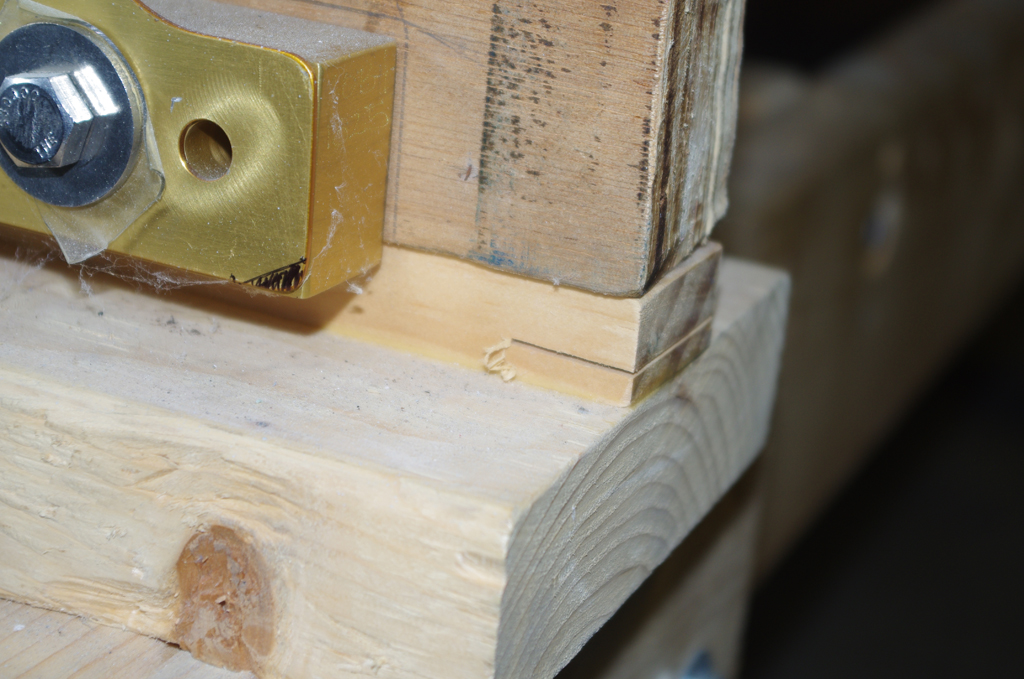
The massive and high precision bolts (NAS1309-58 and NAS1306-58) were tightened with the nylon insert (AN365-918 and AN365-624) lock nuts and regular/thin washers to expose sufficient bolt threads.  The torques were 100 lb-ft and 20 lb-ft respectively


The Stewart-Warner IE-F-385C (right) fuel sender was attached with NAS180-2-0808 (8-32) hex head bolts and Permatex Aviation Forma-Gasket sealer compound.


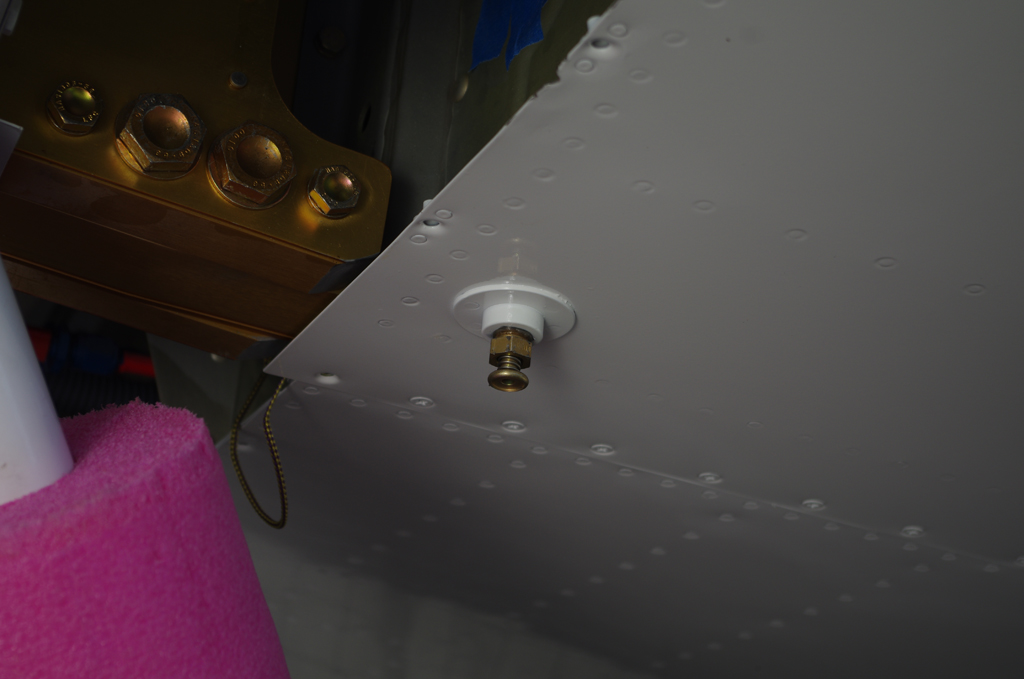
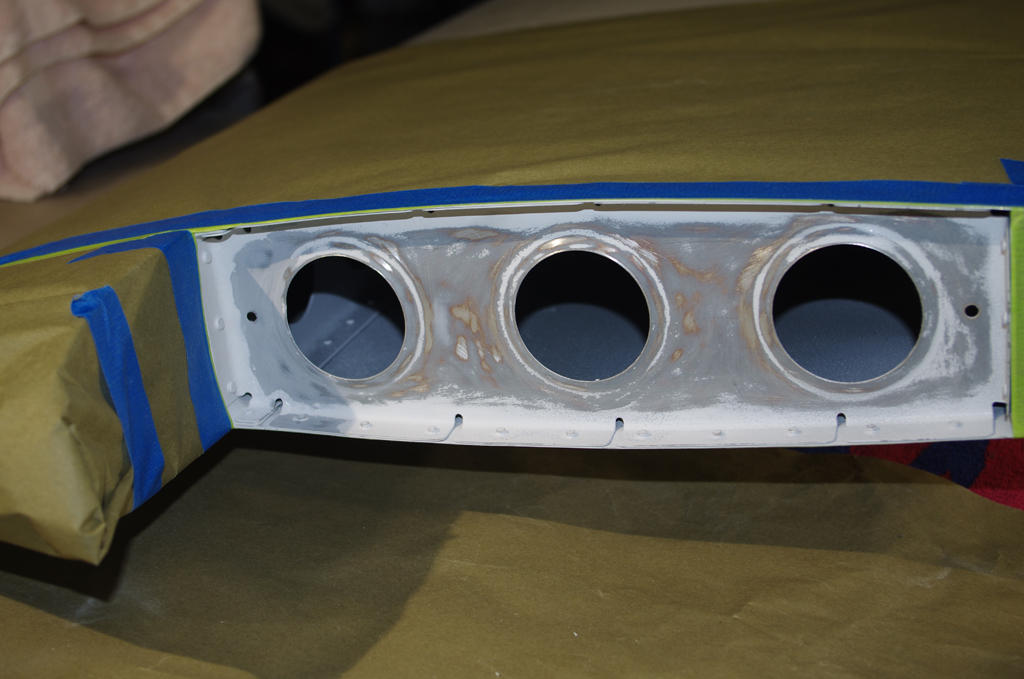
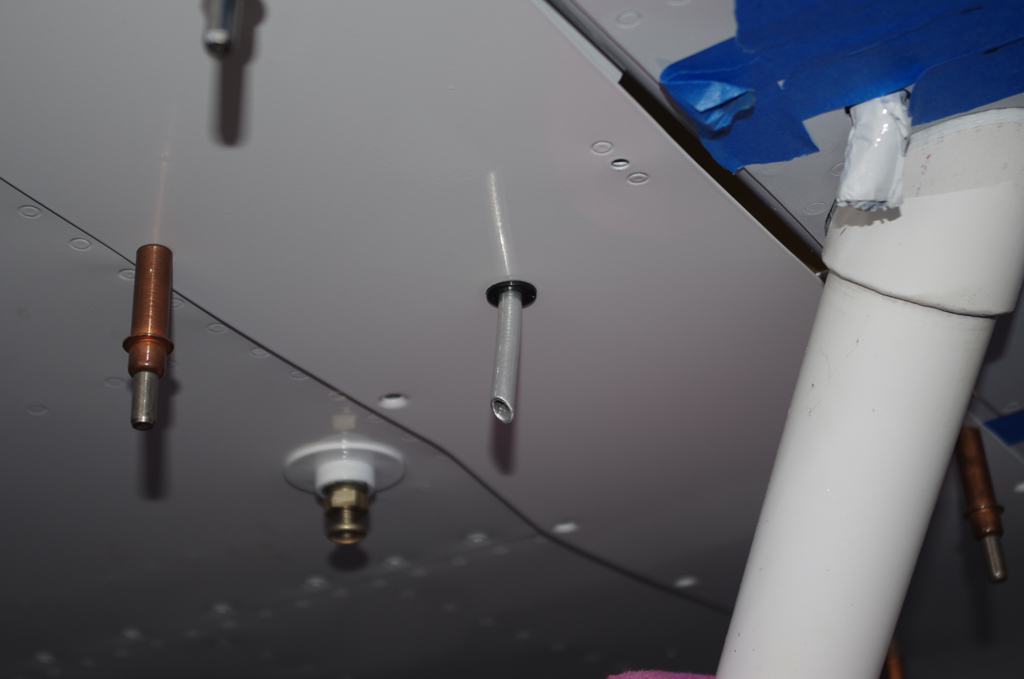
Fuel sumping valves were installed and fuel vent lines were fabricated from 1/4″ stainless tube.


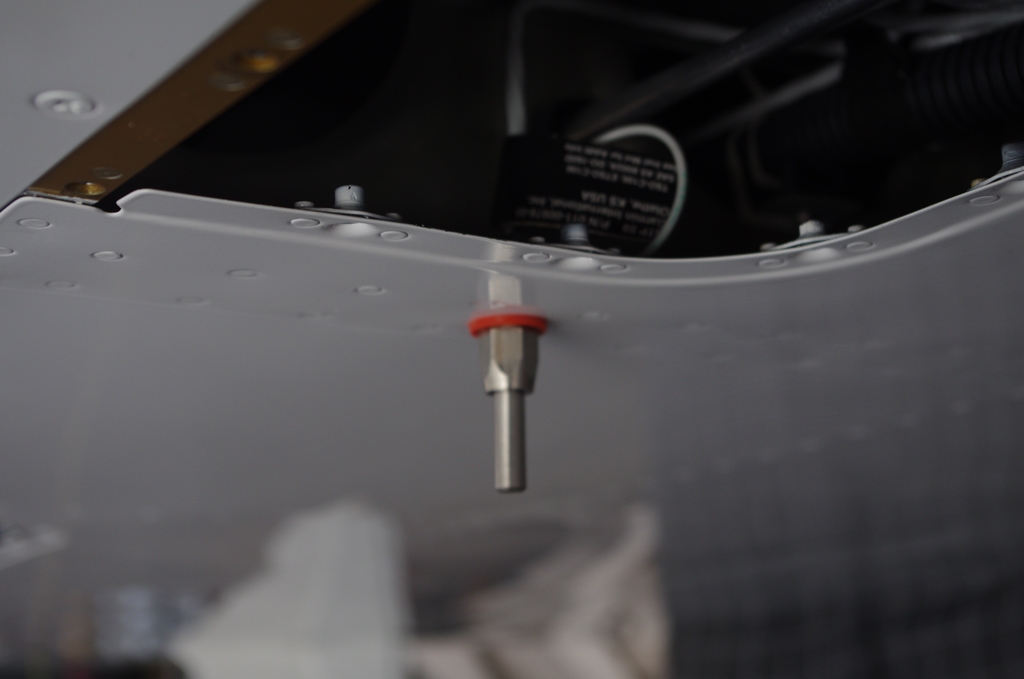
Lastly a Garmin GTP59 air temperature probe was installed near the first inspection port.  This last run allowed the wire bundles to be consolidated and attached via CPC-24 connector to the fuselage.

Wing Attachment (2)

The same day as ‘the big move’, we attached the wings with provisional fasteners, then began work fitting the wing root fairings.

Following the Van’s instructions, the wings were first pinned into place with drift pins and hardware store 3/8″ bolts. These bolts have much looser tolerances (~.010 “) as compared to the high precision NAS1309-58 and NAS1306-58 bolts called for final insertions (done at a later date).


Both wings were provisionally attached with just a few main bolts. Thanks to Eric, Peter and Aaron for help during the wing transport and attachment activities.


The wing root fairings were trimmed to match the contour of the fuselage. This left about a 3/16″ gap between the fairing and fuselage. This gap will be filled with black rubber edge molding as some vibration and flexing of the wing will be expected during flight.  On the right stiffeners, upon which people will stand when entering the cabin, are clecoed then riveted onto the upper fairing panels.


The inner sides of the fairings were scuffed, washed and then sprayed with SEM Self-etching primer (grey 39683). The outer sides were scuffed, treated with Prekote, then primed with DesoPrime followed by application of Snow White Desothane CA8800 paint. Wheel pants and fairings were painted at the same time.

Wing Attachment (1) (Paint)

Painting the wings required about three weeks of preparation, surface treatment, and priming prior to paint application.

Custom wing rotisseries were created by Terry G. specifically for RV wings.  I created some special attach plates to directly accommodate the RV10 wing bolt patterns. Here the wings are mounted, scuffed with maroon Scotchbrite pads, and treated with Prekote before priming with DesoPrime Grey.


Prior to scuffing the wings I fitted the outboard side of the wing root fairings, but made a mistake by dimpling one of the nutplate holes in the wrong location. The nutplate still went on fine, but did not align perfectly with the pre-drilled holes in the Vans cover piece.  In the long term this is not a big issue, especially since this area will be covered by wing walk material anyway.  However, it was aggravating not to have paid close enough attention to the plans.


Fastener holes for the flaps and ailerons are filled with ear plugs or electrical tape to prevent covering with primer or paint.


After initial prime and paint a few runs and poor coverage were discovered.  As a result the wings were wet sanded with 600 grit, then repainted.  The final results were very good.


Here the wings were ready for the move to the airport.  They had been painted 2 weeks before and were allowed to cure completely before being taken on the highway.


HS RESPRAY

The original quality of the HS tip bulkhead paint did not meet expectations.  So while there was extra paint available from repeat covering the wings, I decided to redo the ends.  Here the ends are shown sanded and ready for another coat of primer and paint.

Wing Root Fairings (1) and Seat Brackets

Bending metal for the wing root fairings and making brackets for the seats were the tasks for this week.

To achieve the correct bend of the fairing attach brackets, they must first be clecoed at one end.  Flute pliers are used to align the pre-drilled locations in the fuselage mid-skins with the brackets.


The fluting/bending process continues until all brackets align.  The holes are then match drilled to final dimensions. These photos are show the forward brackets.


Here is the rear bracket.  Another task prior to wing attachment is relieve the main spars where the bottom skins attach.  Note the amount to be removed marked with a black Sharpie. The removal was by hand with Pferd files.


SEAT BRACKETS

The forward seats require additional brackets (not included in the quickbuild kit).  The standard process for file, deburr, scotchbrite, brightener, alodine, prime, paint, and rivet was applied.