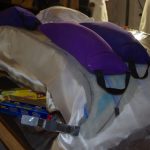
The oil door on the upper cowling will be modified from the original vans plans to accommodate a hidden hinge and camlock latches. Also work on miscellaneous components of for the cockpit were started.
 The first step was trim the fiberglass door part to fit snugly into the preformed pocket on the upper cowling piece. This involved initial shaping with a Dremel cutting wheel, followed by hand sanding. As with all the fiberglass work done so far, the default fits were just approximations – nothing was square, smooth or level. While I tried to get the door as square as possible, a bit of distortion remained.
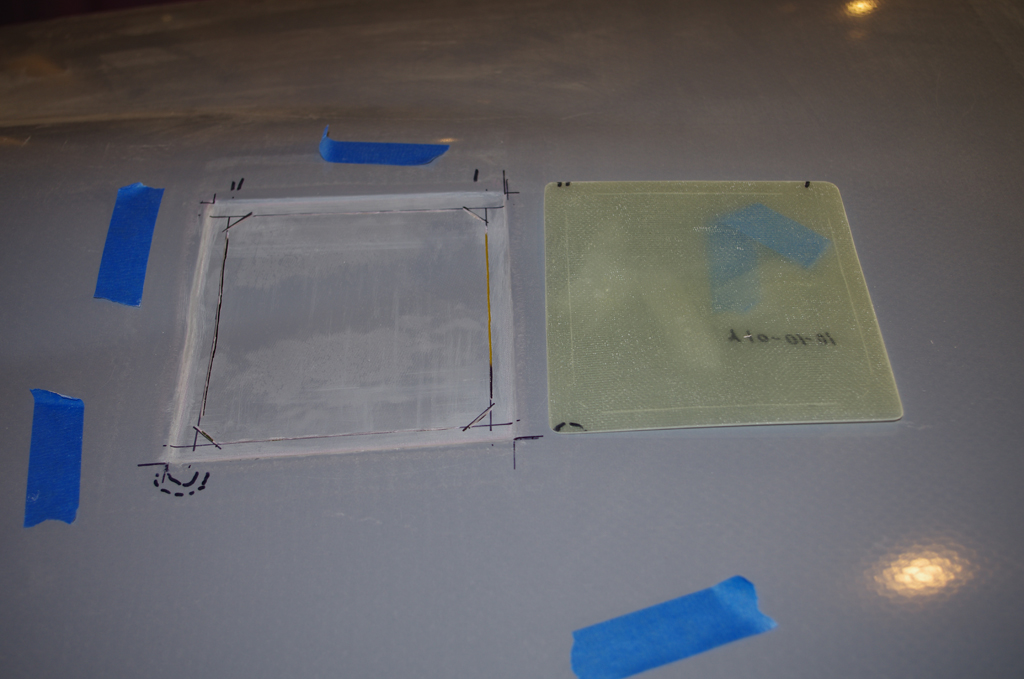
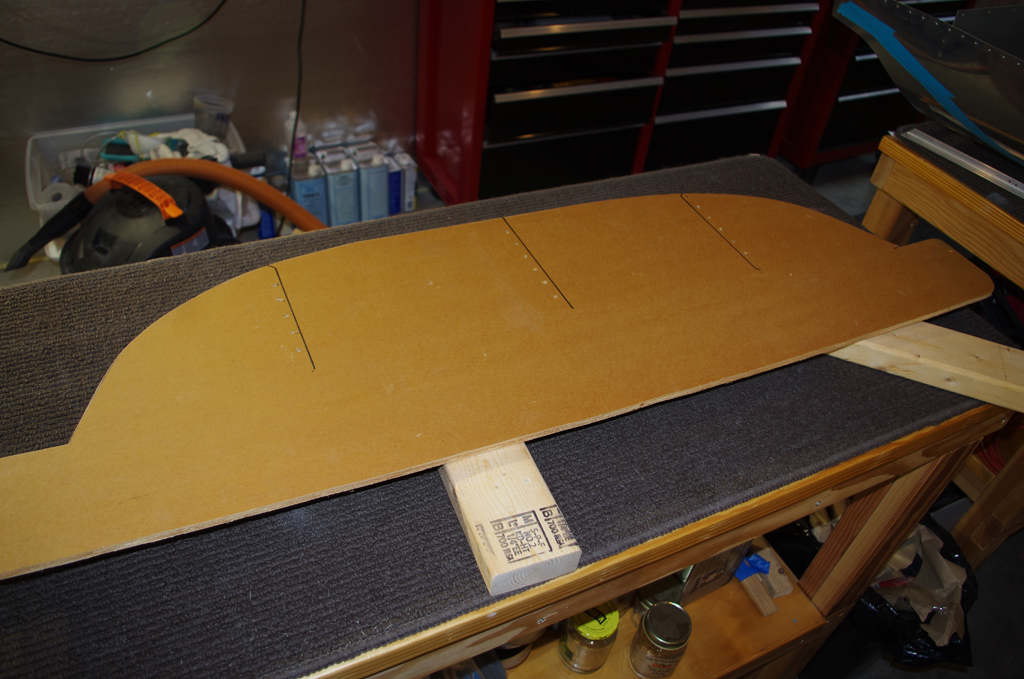
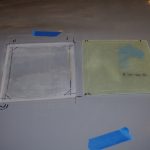 Next was measure the inner opening to the engine compartment. I wanted the cut line as thin as possible, so the removed piece could be used to reinforce the outer door itself. At left are the trim lines, at right are the first cuts with the Dremel tool.
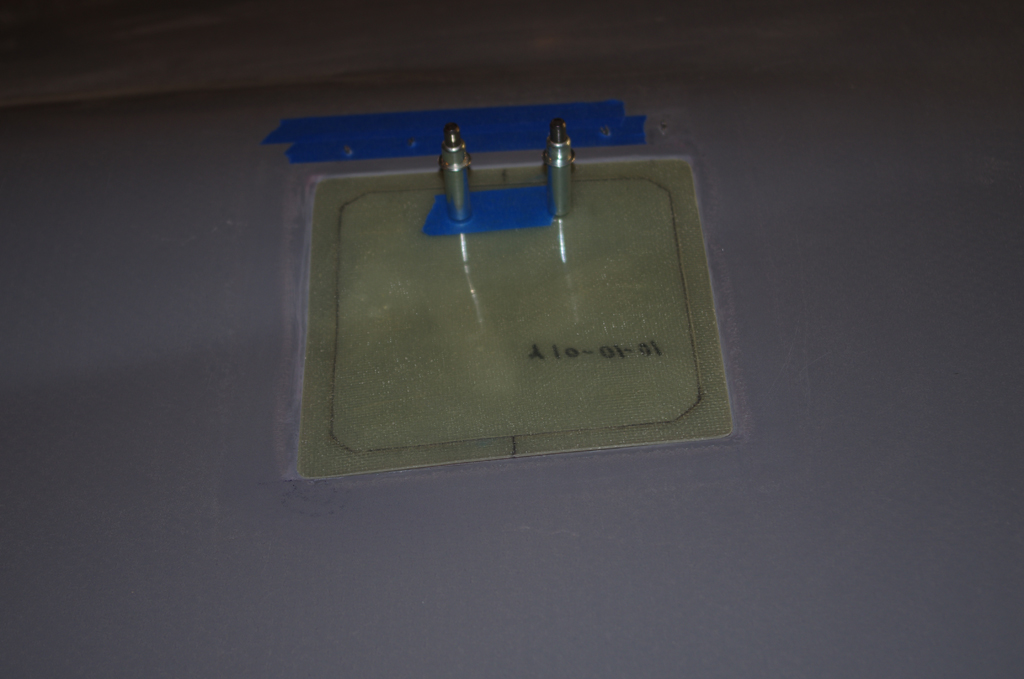
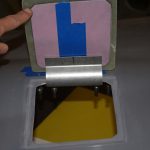 After the inner cuts, the hidden hinge was aligned and drilled. The initial fit was good. Note the pink inner piece attached to the door.
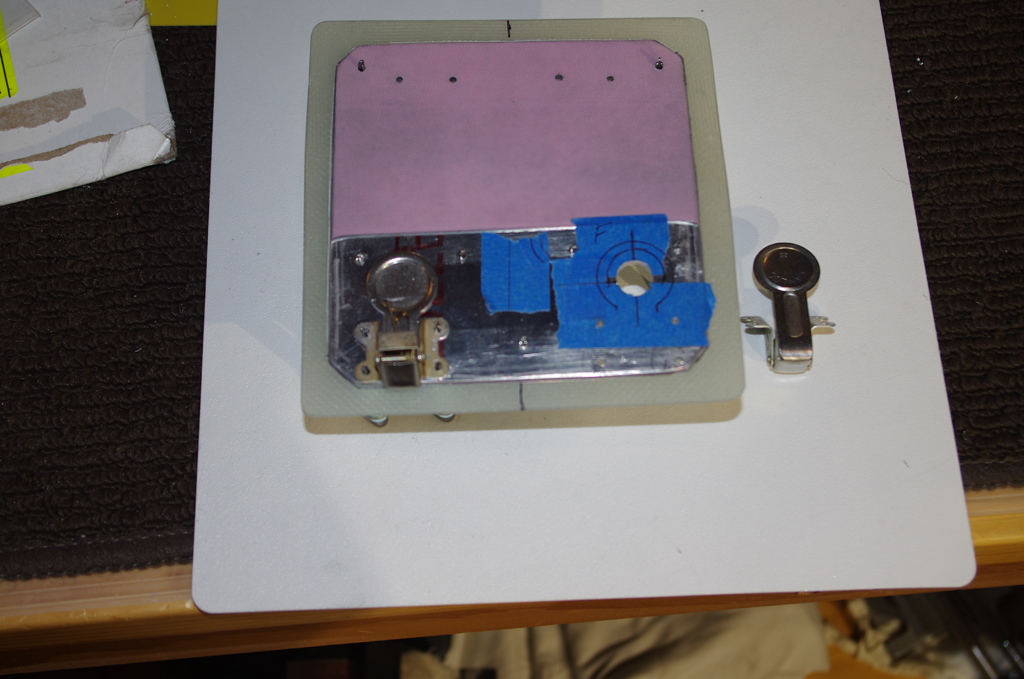
 The trickiest part of this build was aligning the camlock latches to get proper clearance with the cowling, while still being tight enough to firmly fasten the door when closed. The left photo shows a backing plate made to strengthen the door from pressure applied by the latch spring. At right is an outer view of the finished latches.

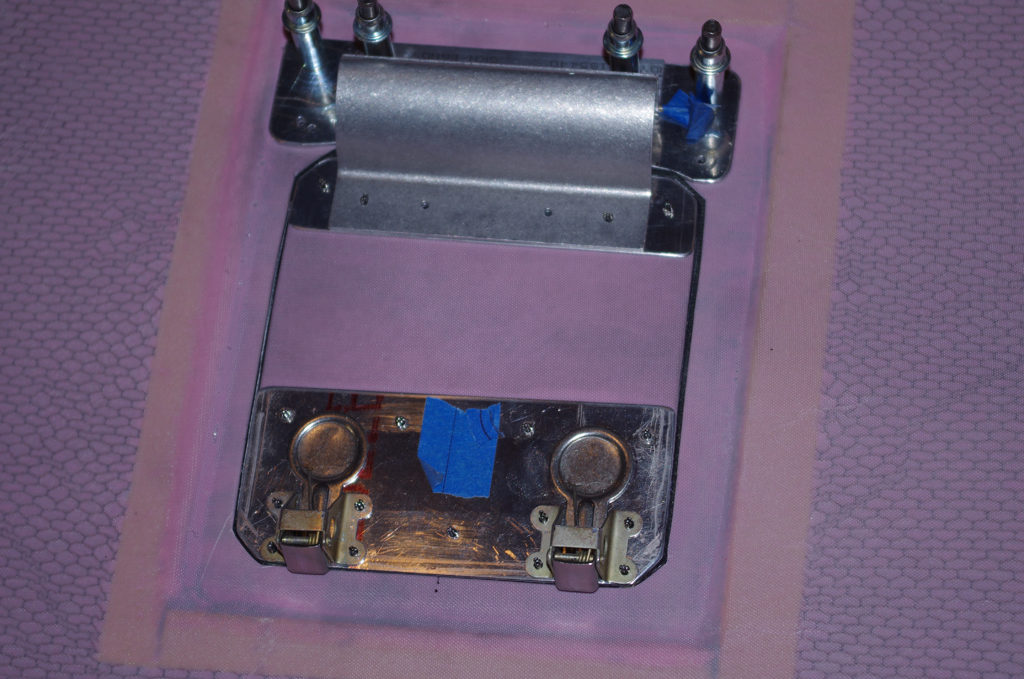
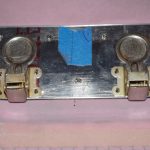 Two more views of the camlock latches. Next to complete is a steel strike plate at the latch lever locations to keep the fiberglass rim from cracking or splitting.
INSTRUMENT PANEL
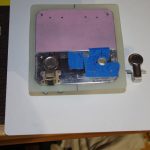
 Holding the upper dashboard while fitting the instrument panel and electrical system can be a problem. A jig to hold the panel in either vertical or horizontal position was created.
 Here is the finished jig ready for work on the panel.
DASHBOARD GLARE SHIELD
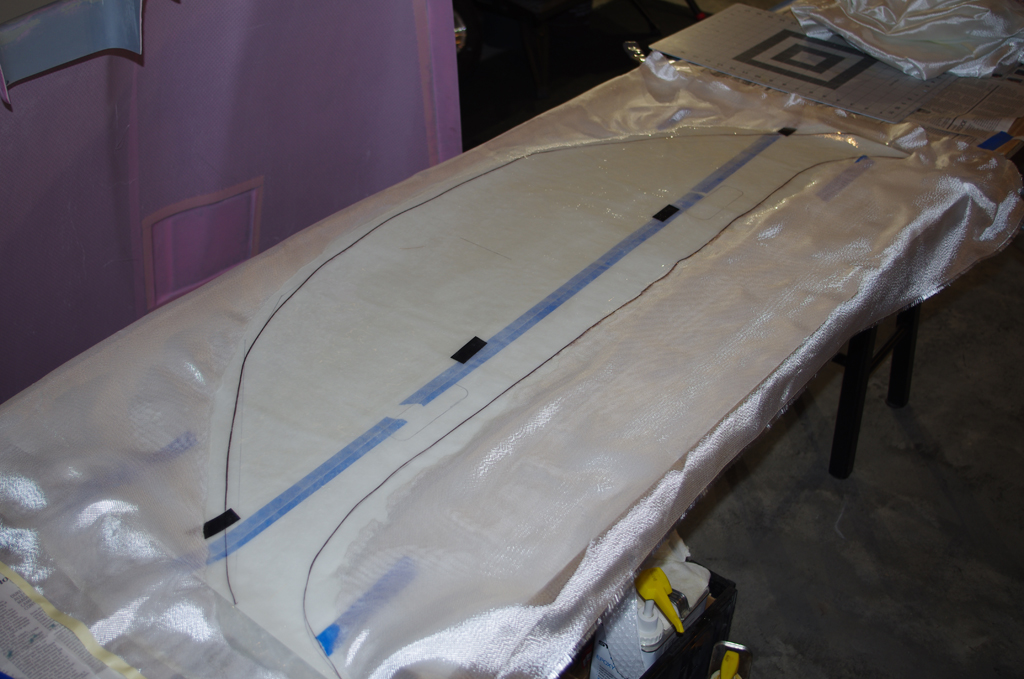
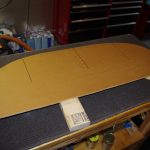
 A template for the upper dashboard area was created on a sheet of construction paper. This was then covered in wax paper (for release purposes) and covered with West Marine resin and two layers of fiberglass.
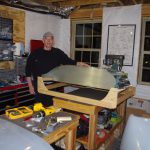
 After the template has set for a few hours, but definitely before the resin hardens completely, the sheet was placed on the dashboard and sheet pressed into shape to match the curve. Later the hardened sheet will be covered with trunk liner to provide an anti-reflective surface. More on that in later posts.
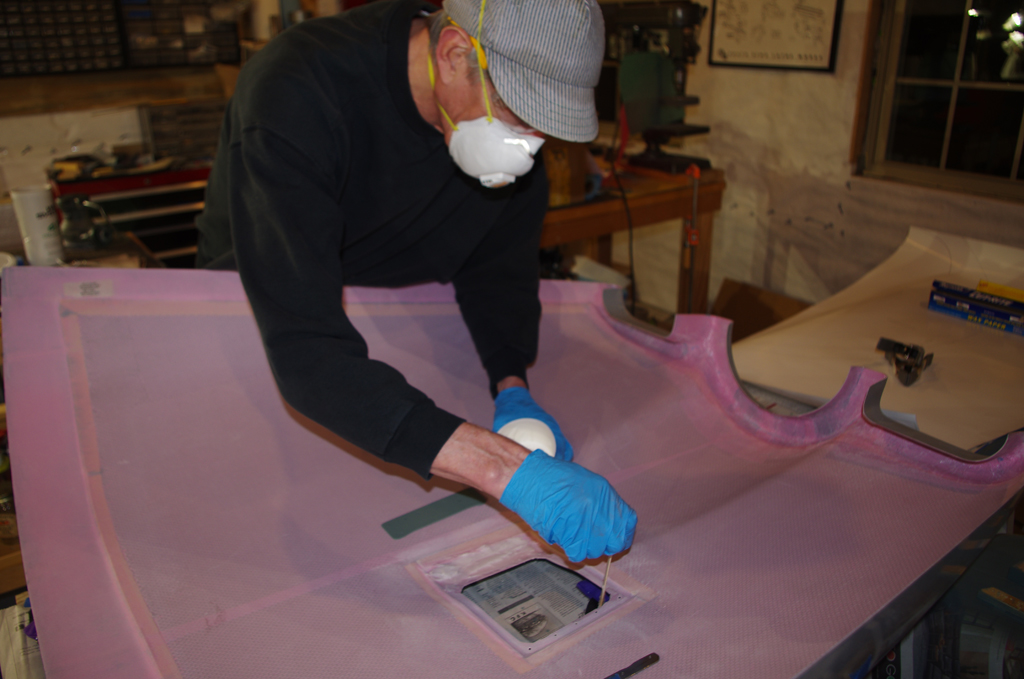
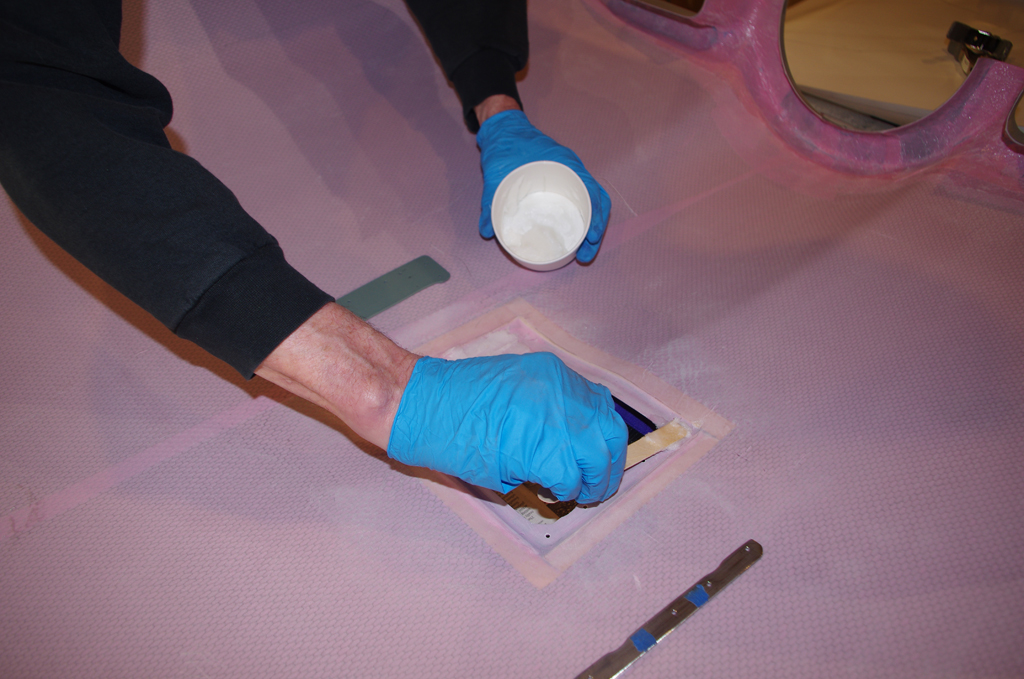 These photos show the application of West Marine resin / colloidal silica mixture to the upper cowl in preparation for riveting the hinges and oil door in-place.
 Backing plates for the oil door hinges and the latches were also fabricated from .032″ aluminum pieces. The plates were bonded to the fiberglass substrate with resin adhesive, followed by cleces in place during the curing process. The whole door was then sprayed with heat resistant aluminum paint. Finally all the parts were fastened together with AN426A (soft) rivets.
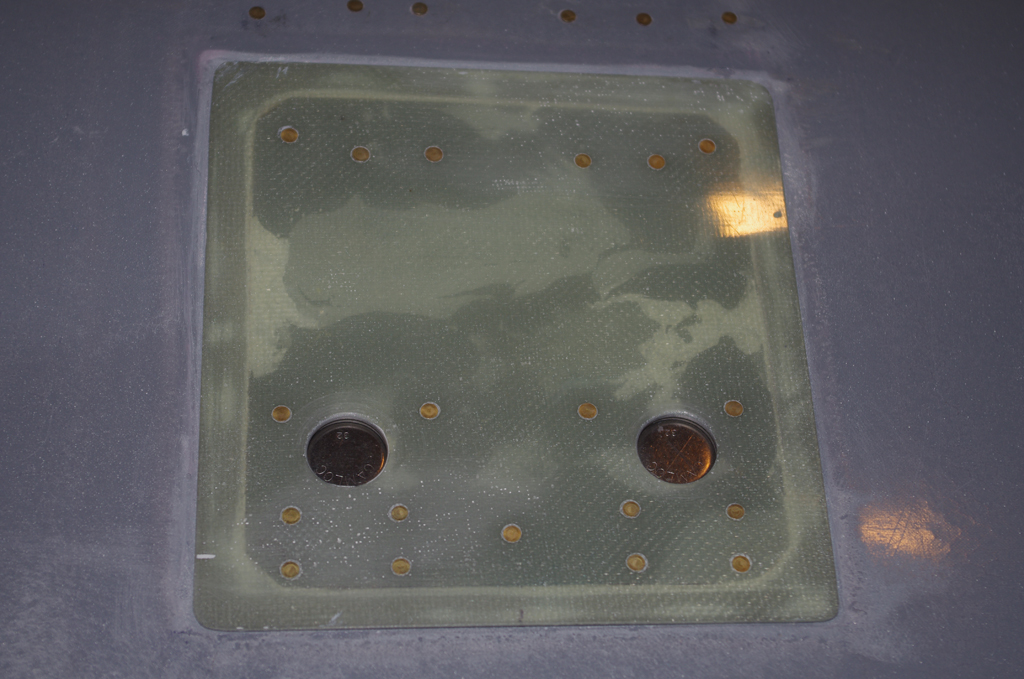
 Here the oil door is dry fit in cowl opening.
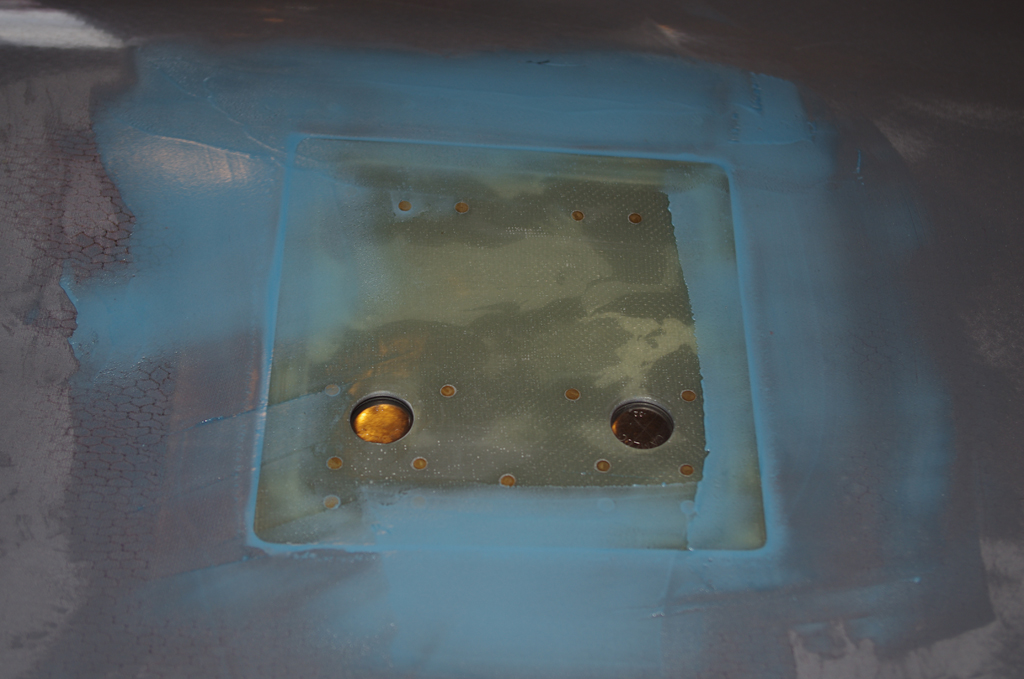
 SuperFil was applied to even the profile differences between the cowl and the door itself. After this dries, all parts will be sanded smooth and prepared for further process of cowl fitting.
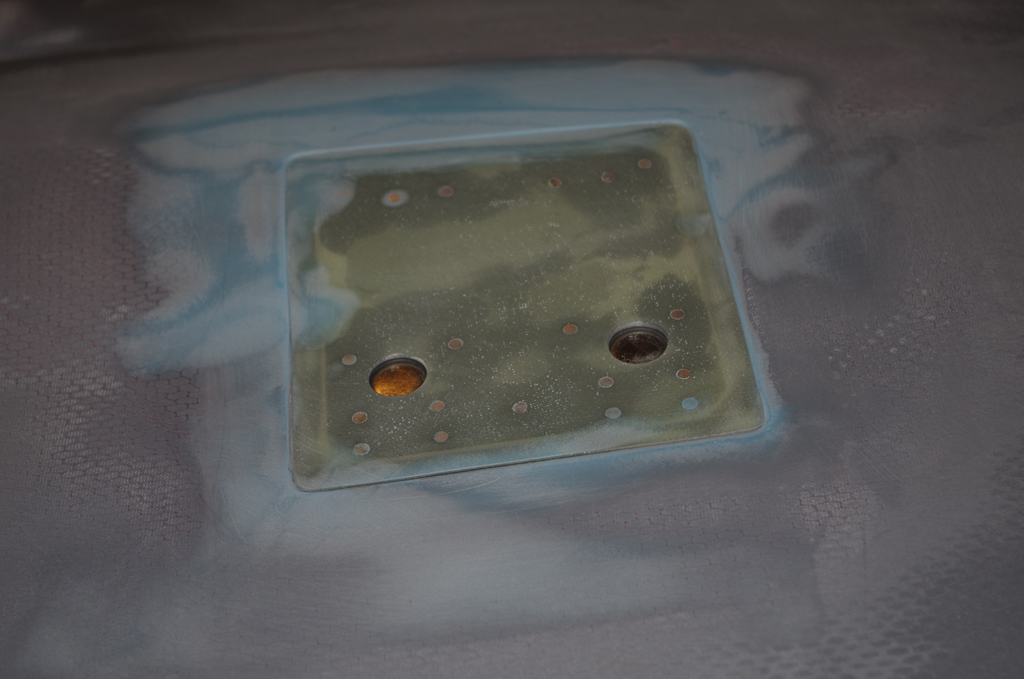 Here is the interim result ready for prime/paint. Note the push buttons are slightly recessed. Depending on the final paint job, I may address making these more flush with the surface.