After completion of business travel and a few weeks with some health issues, I finally got back in the swing of some consistent shop time. In addition, Rich arrived for a two week stint of helping drive the process forward.
First up – alodine and prime a series of parts previously prepared (antenna brackets, reinforcement plates, AHARS platform, etc.) No pictures of this process are attached here, as the process has been covered in many other posts before. Now for some fitting and riveting.
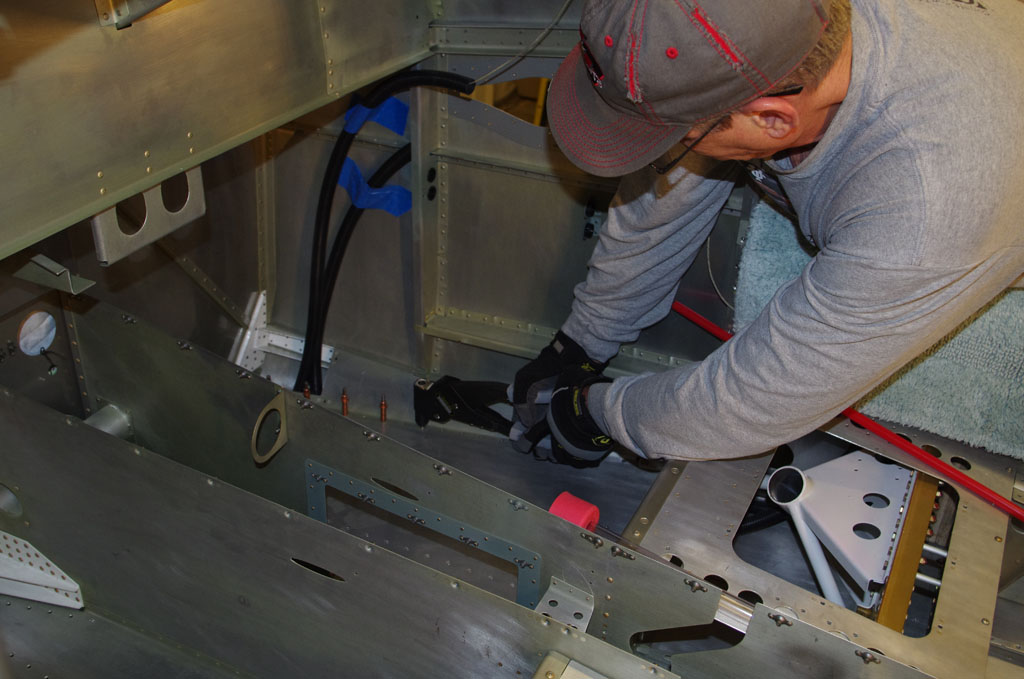
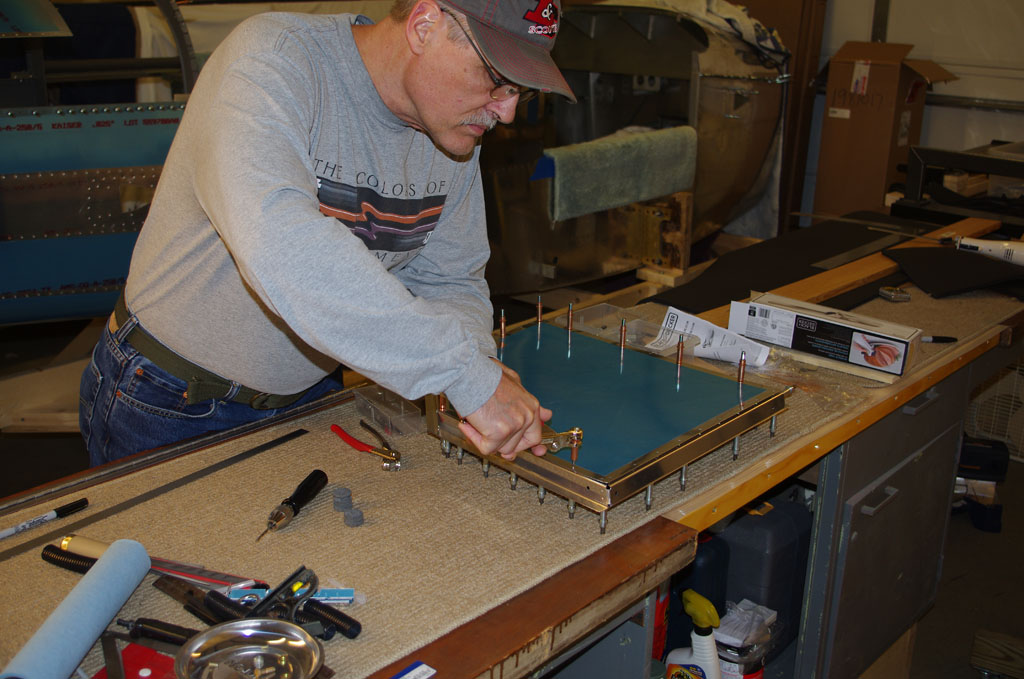
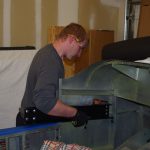
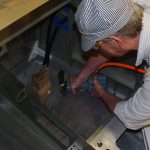
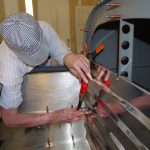
 The transponder and ADSB antenna backing plates were covered with a thin coat of ProSeal, then clecoed into place to cure over night. Next day Rich drove the rivets while I bucked. This photo just shows me positioning the plates.
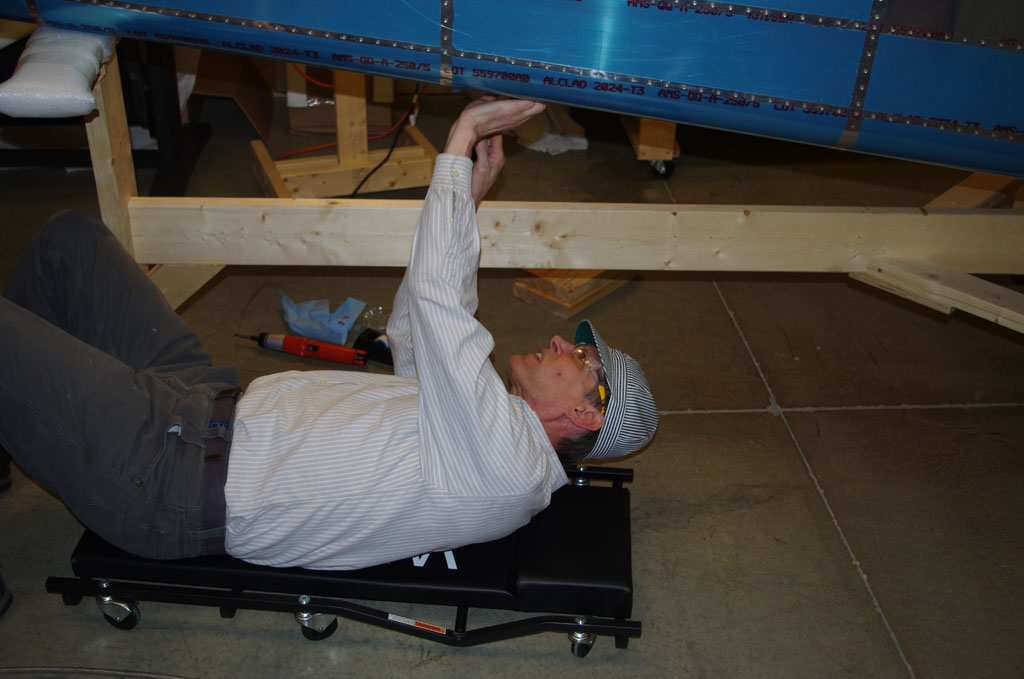
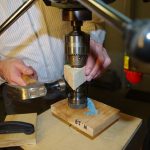
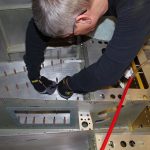
 In preparing for attaching the NACA plates, we found a few of the #4 screw holes were not reachable for dimpling with a regular yoke on the main squeezer. The improvisation here was use the C-frame, then hit the male dimple die with a hammer. While the fixture was a bit heavy for Eric to hold, the results were very good.

Simultaneous to what Eric and I were doing, Rich was custom measuring 3/8″ closed cell foam for sound damping under the baggage and rear seat floors. A $13 Black/Decker electric carving knife provided excellent results and was easy to use single-handed.
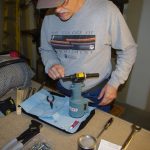
 In between work on the plane, a few adjustments for tools were performed. At left – Rich prepares the CherryMAX H704B riveter obtained from Raybourn’s estate sale. At right, I remove the J33 Arbor from a very nice Albrecht C130 chuck getting ready for installation in my refurbished Delta 17-900 drill press.
 Oops! We tried using the CherryMAX riveter on some cheap pop rivets on the forward floor boards. Big mistake. I had tested round head pop rivets on some scrap stock with acceptable results, but failed to do the same test off-plane with countersunk rivets. The result – the CherryMAX is so powerful, it sheered off the countersink portion of the rivet and ingested the stem deep into the pull mechanism causing a jam. Okay, take everything apart, but not so easy after using blue Loctite on the threads. The double nut approach on the collet finally worked, so back in business again.
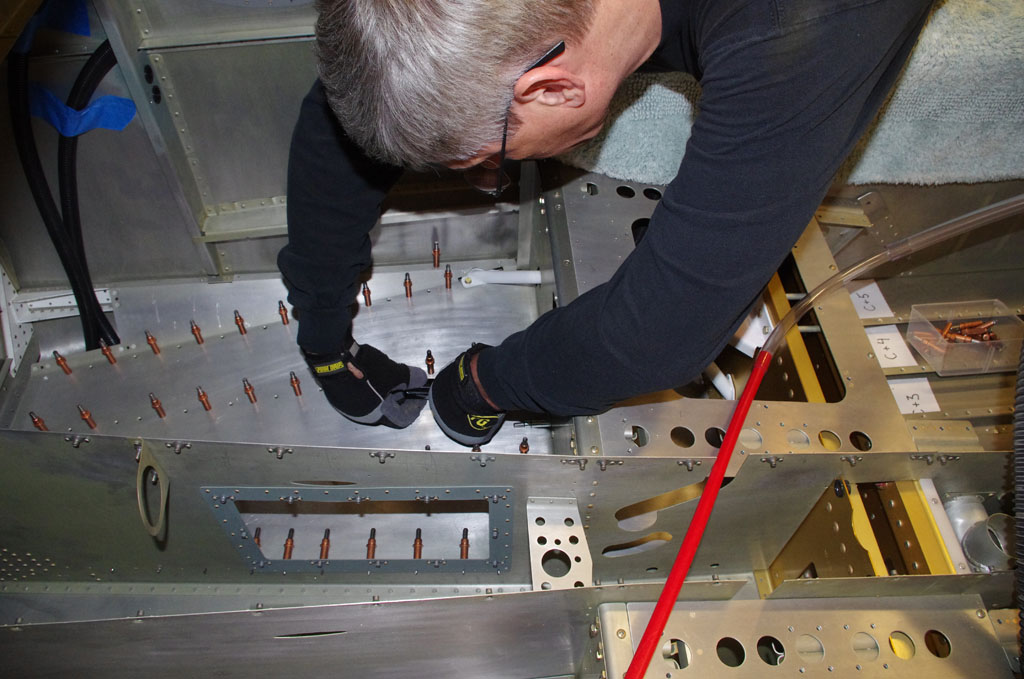
 In the meantime, Rich continued on the floor panel prep and pulled most of the floor rivets by hand. The offset head of the CherryMAX will be used with special rivets in hard to reach locations.
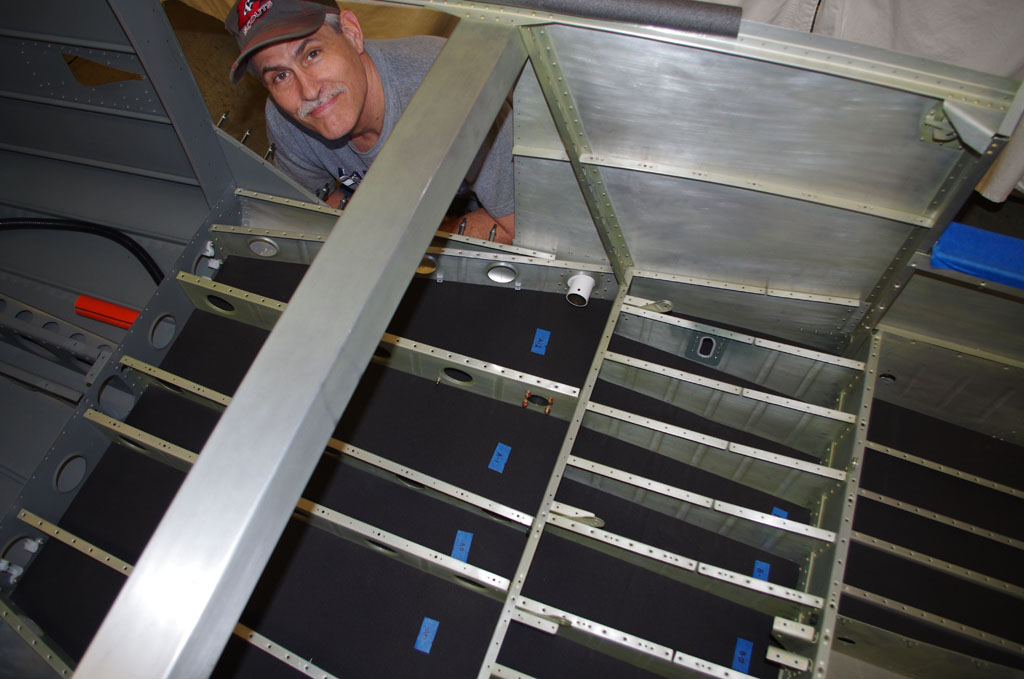
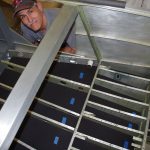
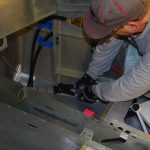
 Here I am fitting the corrugated baggage wall (left) for match drilling into the baggage bulkhead (right) already installed with the tailcone attachment.

 After drilling the appropriate holes are dimpled, and nutplates for #8 screws are riveted in place with 3/32 rivets.
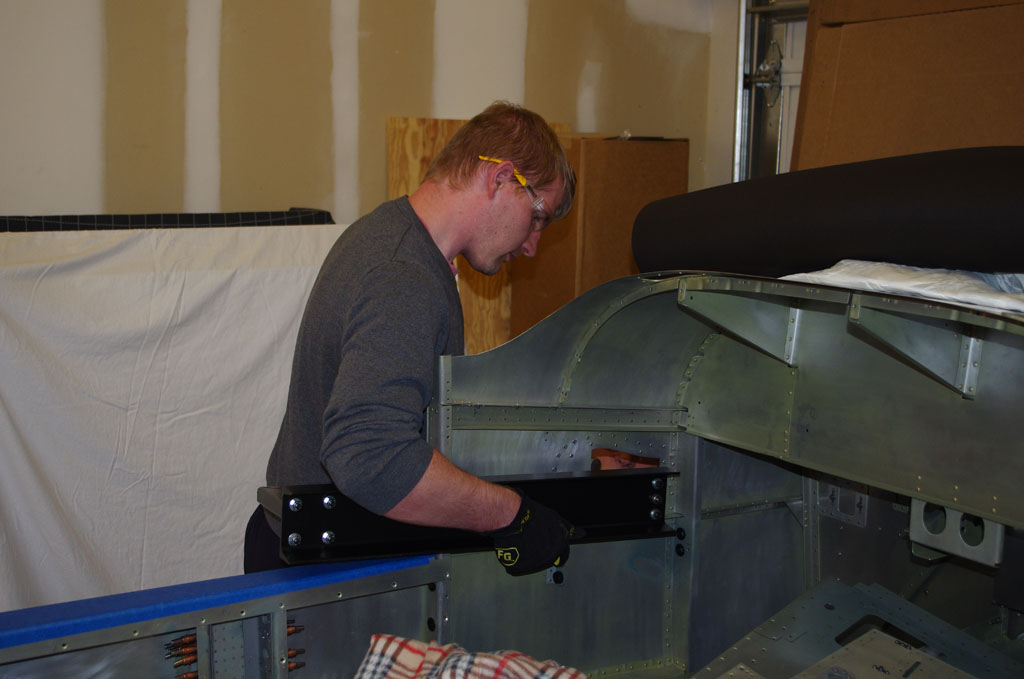
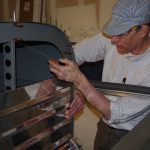
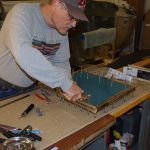 Here Rich gets started on fitting the baggage door components together. Next steps will be to make hinges and fit into the mid-skins for alignment and match drilling.
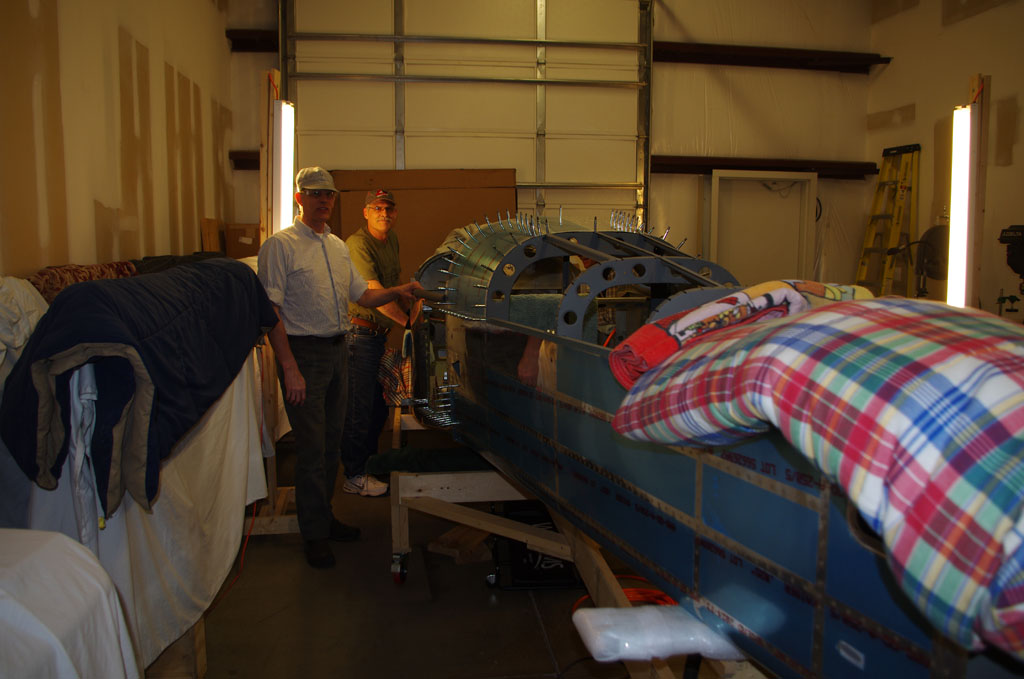
 A successful two week visit from Rich with much “progress” achieved. The term “work” should not be applied to this project anymore.

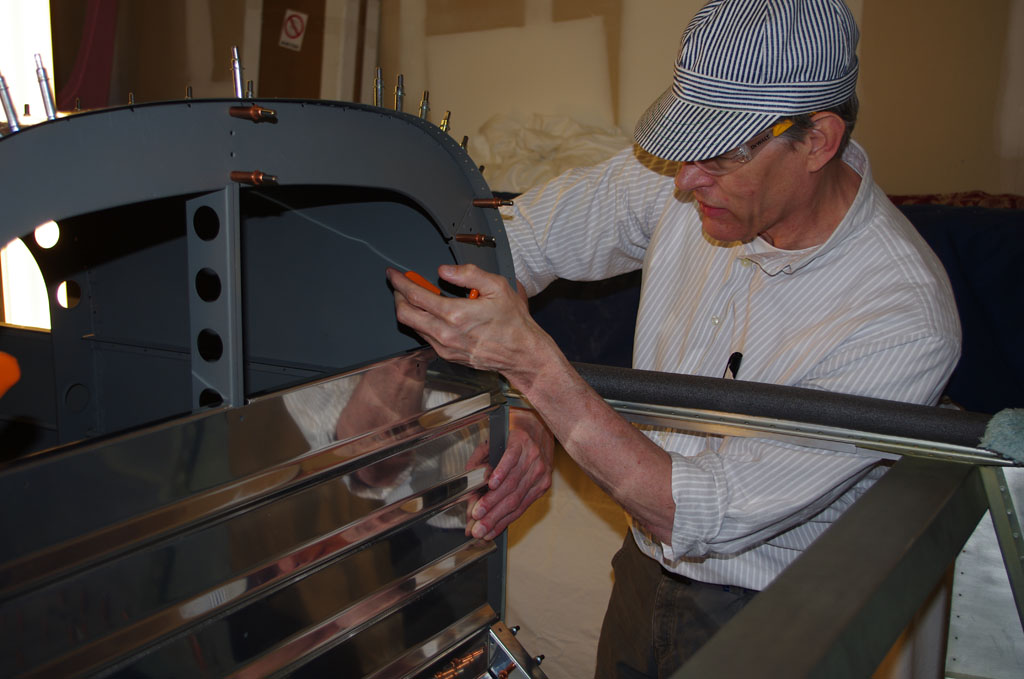
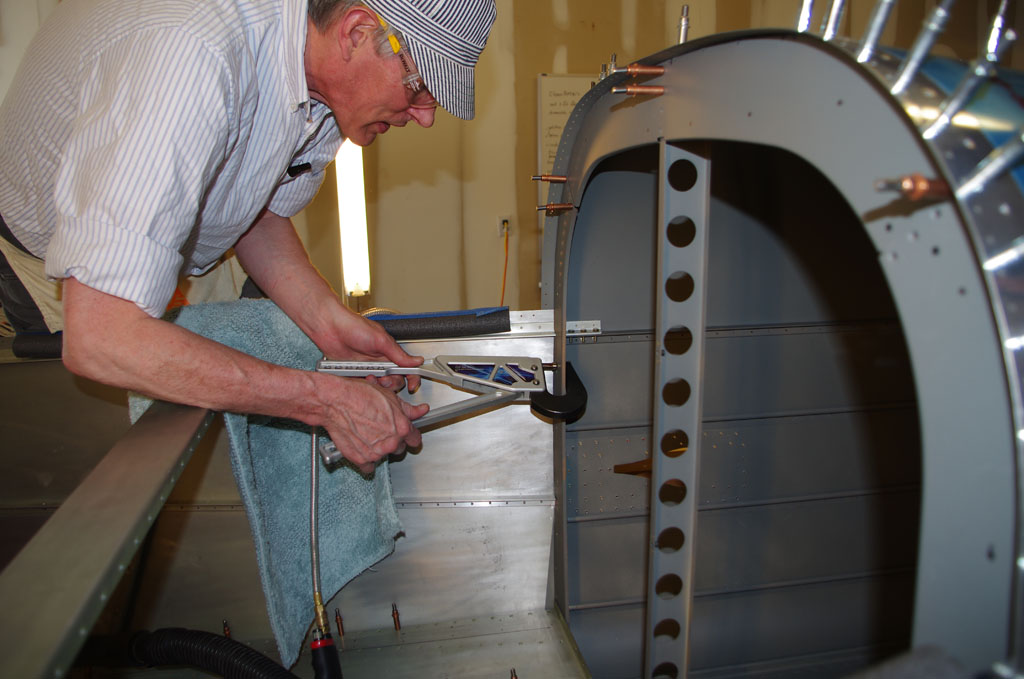
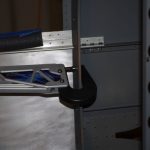
 The NACA holes were punched in the skin some time ago. In the meantime alodine, prime and ProSeal were applied to fastened to the plane. Now the final rivets are squeezed into place for the rear NACA vents. I over-engineered the riveting solution here, but should look okay after prep and paint.
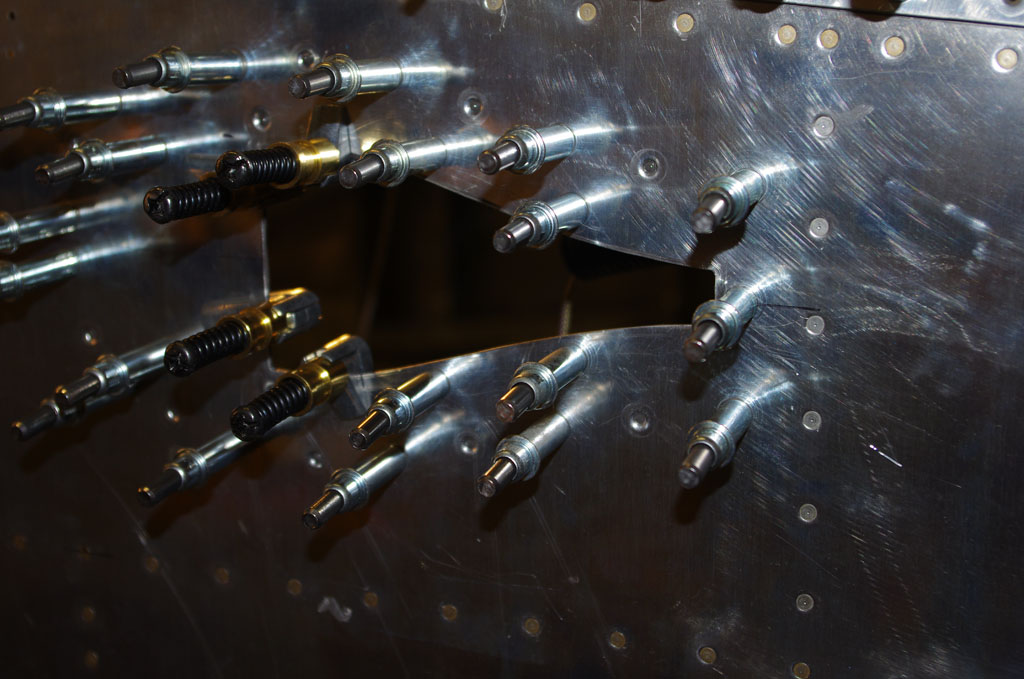 Here is the forward right NACA vent after ProSeal and clecoed into place.
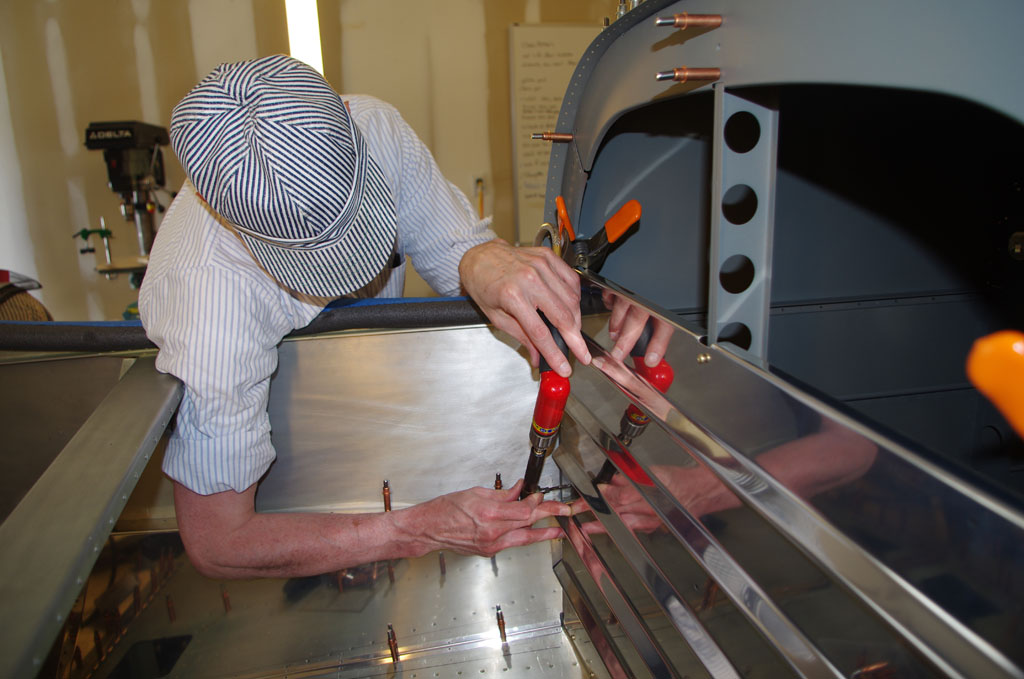
 Next was finish off the last of the forward floor panels using CherryMAX rivets and the G704H rivet gun using an offset head. Very nice.
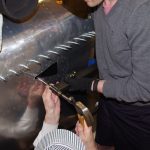
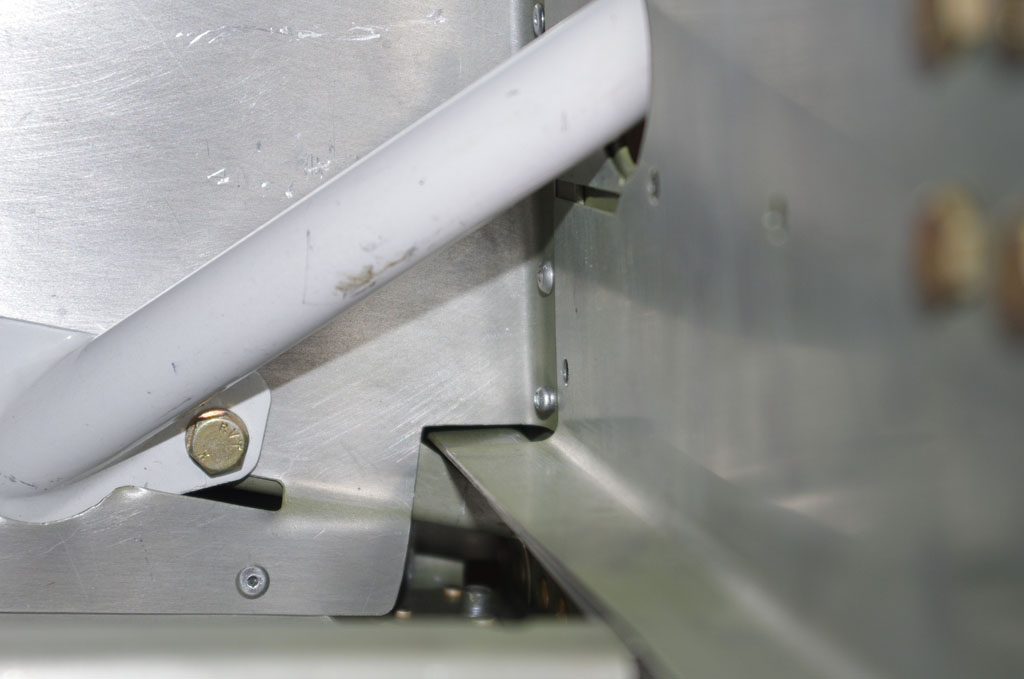 The hole closest the outer skin is buried under the landing gear struct in the QuickBuild kit. I had to come at it from under the pilot’s seat with a hand pop-riveter (thus the backwards direction of the rivet). After many contortions, I finally got it seated and squeezed properly.
 Now for fitting the fiberglass console near the baggage wall and marking a proper location for the air supply tubes.
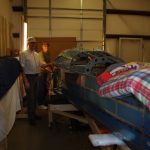
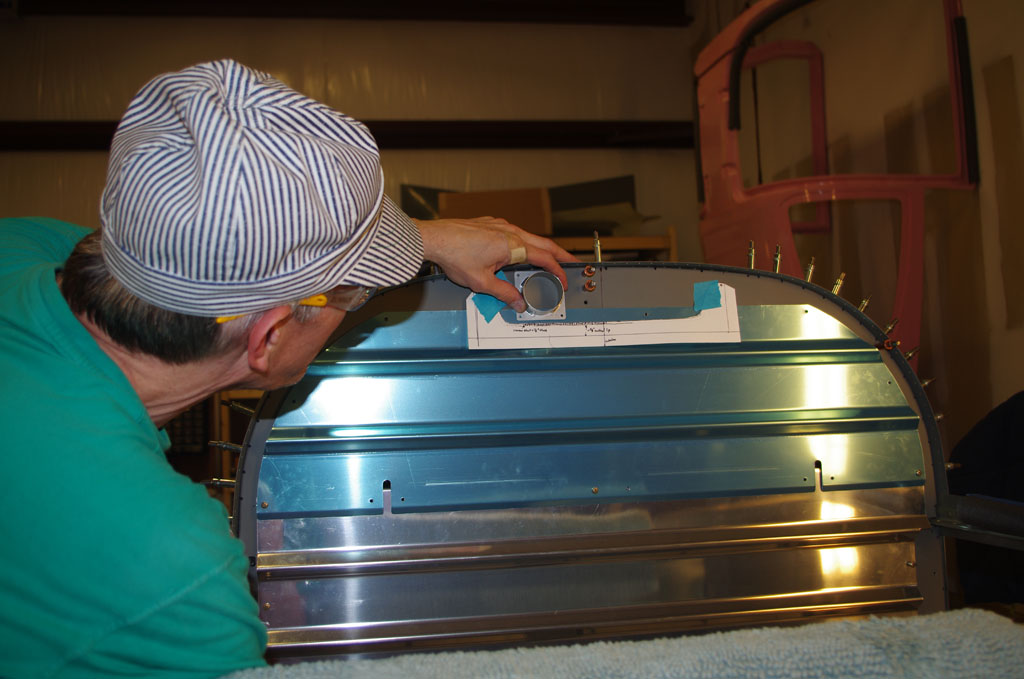 The tricky part will be fitting the console under the fiberglass canopy, but with sufficient room for the (2) two inch air supply vents. Plus the bulkhead should be reinforced somehow for structural purposes. I first made a construction paper mock-up of the console end, then measured centerline on the bulkhead. I will have to think about this a while before any modifications are made.