This week was a clean-up of various activities – from front floor boards, to NACA vents, and fitting baggage panels.
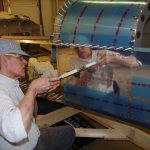
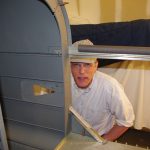 The NACA holes were punched in the skin some time ago. In the meantime alodine, prime and ProSeal were applied to fastened to the plane. Now the final rivets are squeezed into place for the rear NACA vents. I over-engineered the riveting solution here, but should look okay after prep and paint.
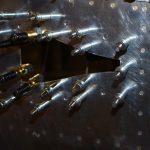 Here is the forward right NACA vent after ProSeal and clecoed into place.
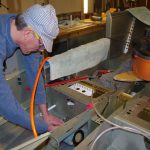 Next was finish off the last of the forward floor panels using CherryMAX rivets and the G704H rivet gun using an offset head. Very nice.
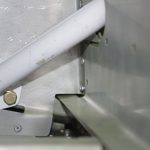 The hole closest the outer skin is buried under the landing gear struct in the QuickBuild kit. I had to come at it from under the pilot’s seat with a hand pop-riveter (thus the backwards direction of the rivet). After many contortions, I finally got it seated and squeezed properly.
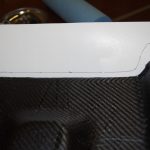 Now for fitting the fiberglass console near the baggage wall and marking a proper location for the air supply tubes.
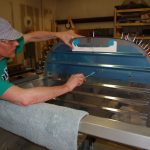
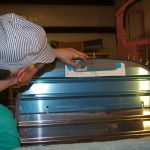 The tricky part will be fitting the console under the fiberglass canopy, but with sufficient room for the (2) two inch air supply vents. Plus the bulkhead should be reinforced somehow for structural purposes. I first made a construction paper mock-up of the console end, then measured centerline on the bulkhead. I will have to think about this a while before any modifications are made.