Interim activities include preparing the trim tab, spars, and skins by fitting, match drilling, deburring and smoothing. My original post was lost with some server hosting issues, so I will recreate as time allows. In the meantime here are some quick pictures (comments to be added later)
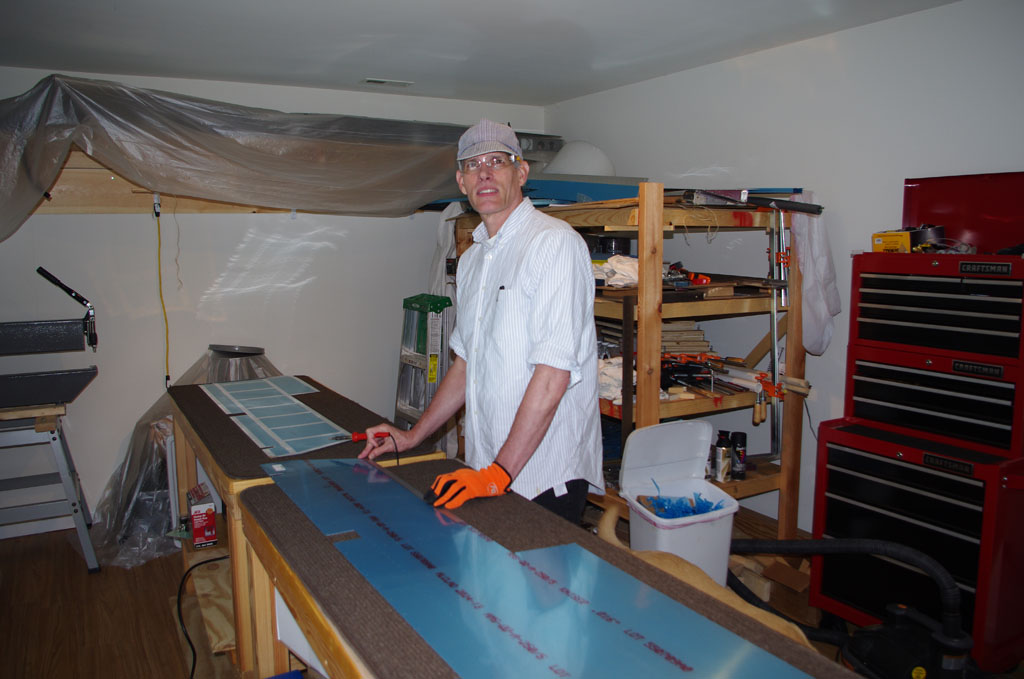
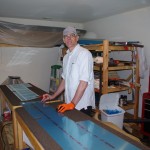 One of the big challenges with this build is the logistics necessary due to the space contraints of using the bonus room as a shop. Some folks have the luxury of setting up their dunk tank and leaving in place until the next use. I have to setup and breakdown after every operation. As a result, batching as many parts together as possible is highly desirable, even if this requires jumping through steps not in sequence as outlined in the plans.
The elevator tip ribs were the first to be fitted together. These were then match drill as indicated in the plans.
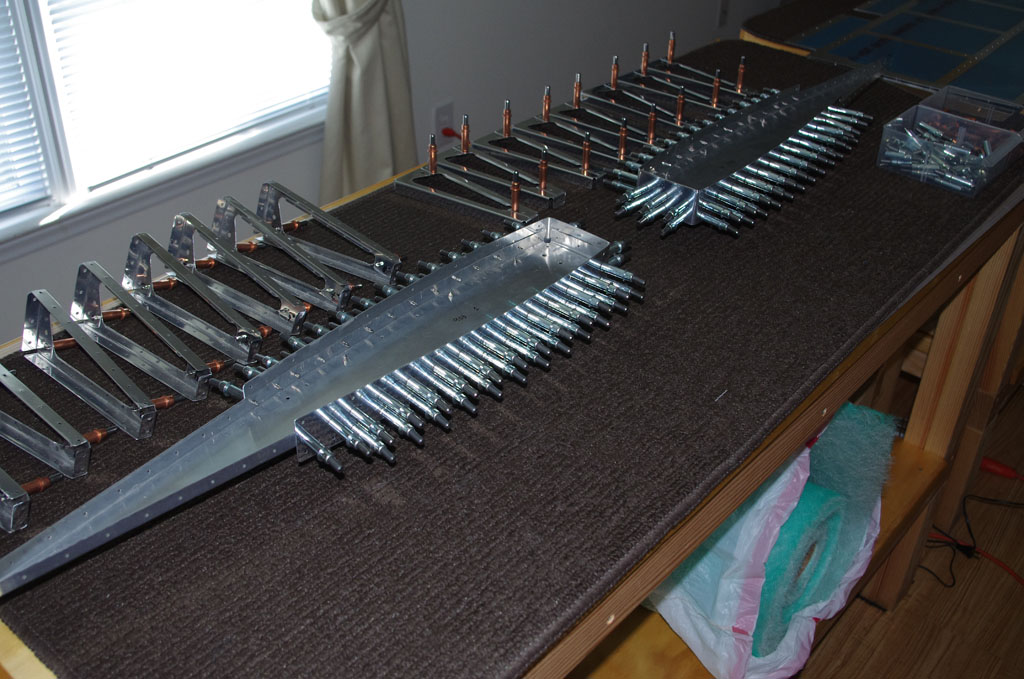
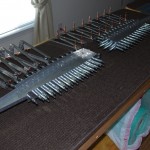
There are 16 pairs of internal ribs between the front and rear elevator spars. Fitting and drilling these was the next order of business.
Keeping track of each rib location will be tricky, as there are so many which look exactly alike. A recent “Mistake Proofing” course from ASQ recommends parts configured for assembly in only one way – certainly not true here. I eventually used floral wire and tags to identify positions 1-8 on the left side, A-H on the right side. This scheme was retained through priming, where I finally labeled each part with a Sharpie.
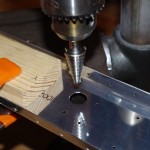
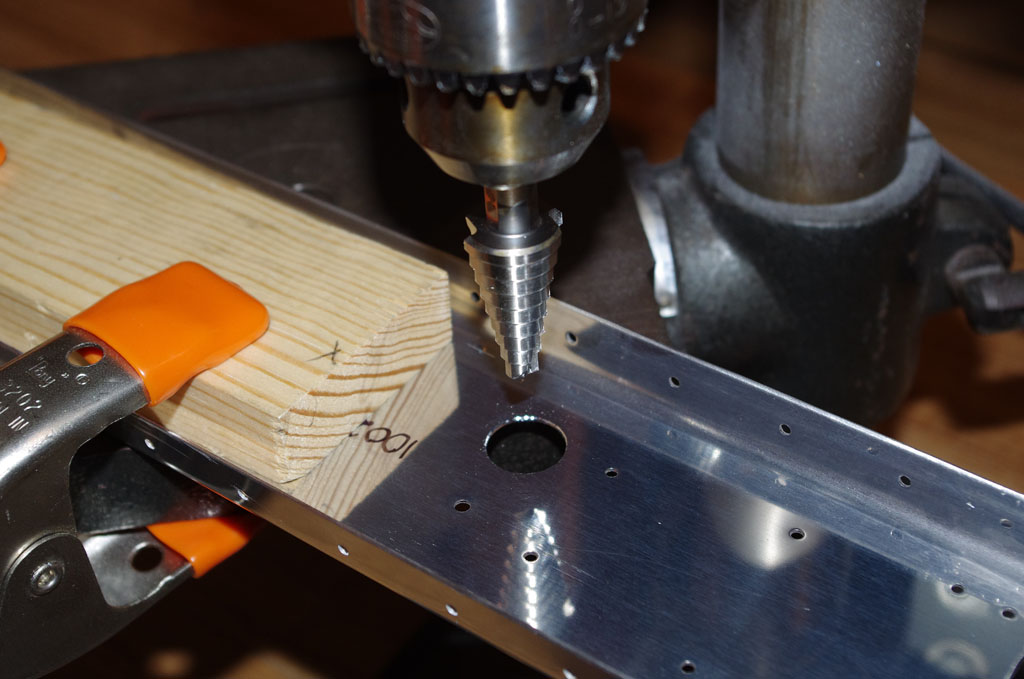
A 5/8″ Unibit in the drill press created the proper diameter for the elevator cable grommets. Once the holes are drilled in the appropriate locations, the previously identical spars now only work one way. This fits the “mistake proofing” model and allowed subsequent operations without special markings or handling procedures.
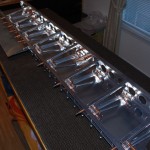
Left side spars and ribs are clecoed to the bottom skins ready for match drilling.
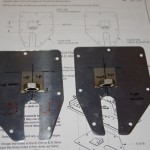
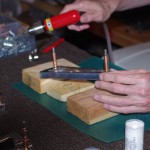
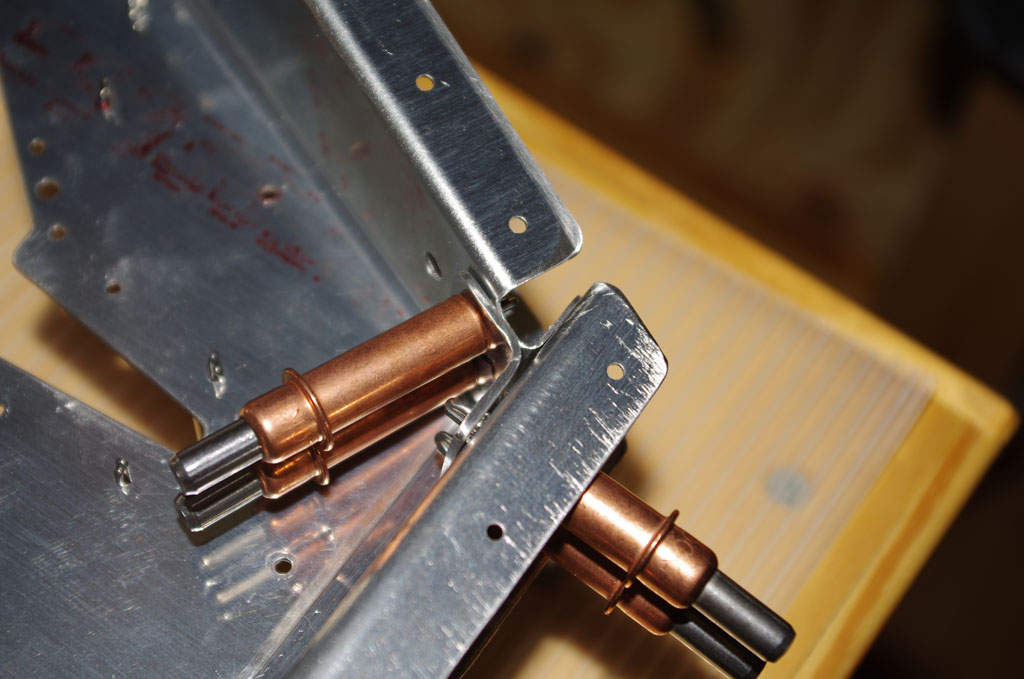
The Cable Anchor Attachment Brackets are measured for alignment prior to drilling for rivet holes. The nuts/plates welded together appear to be steel. These will be primed with SEM self-etching primer before assembly with the aluminum alloy backing plates.
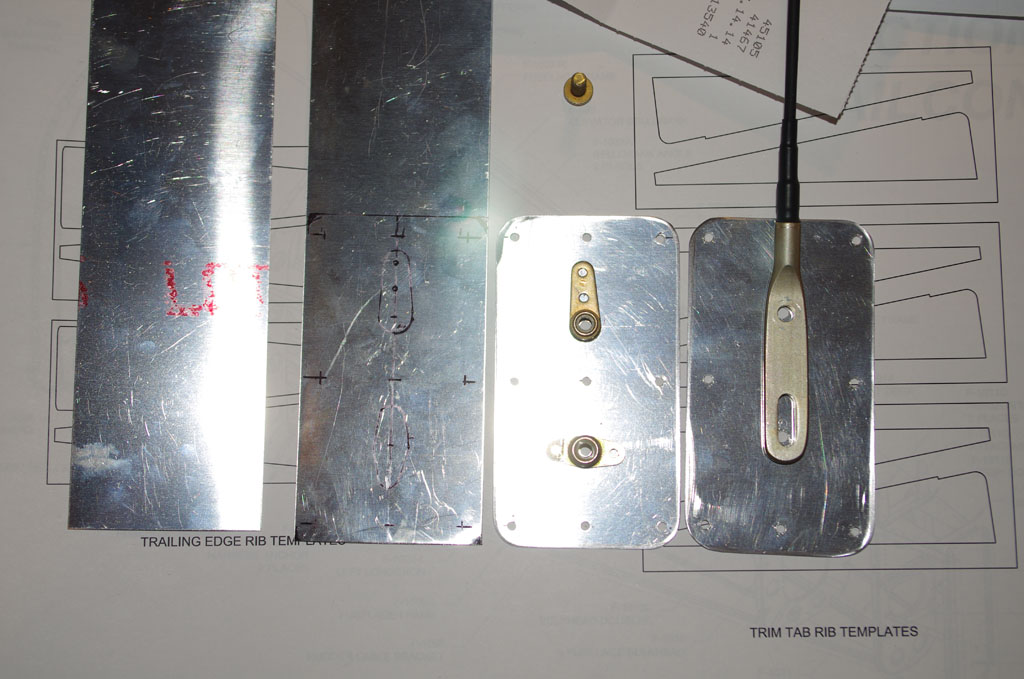
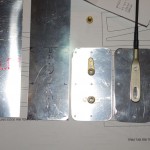 Here are the static wick reinforcement plates from raw material through to the final product.
 The gusset pieces in the corners reinforce the elevator at the rear spar and root rib junction. After the skin were clecoed in place, this whole assembly was very rigid, amazing for being made from such thin parts.
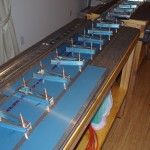
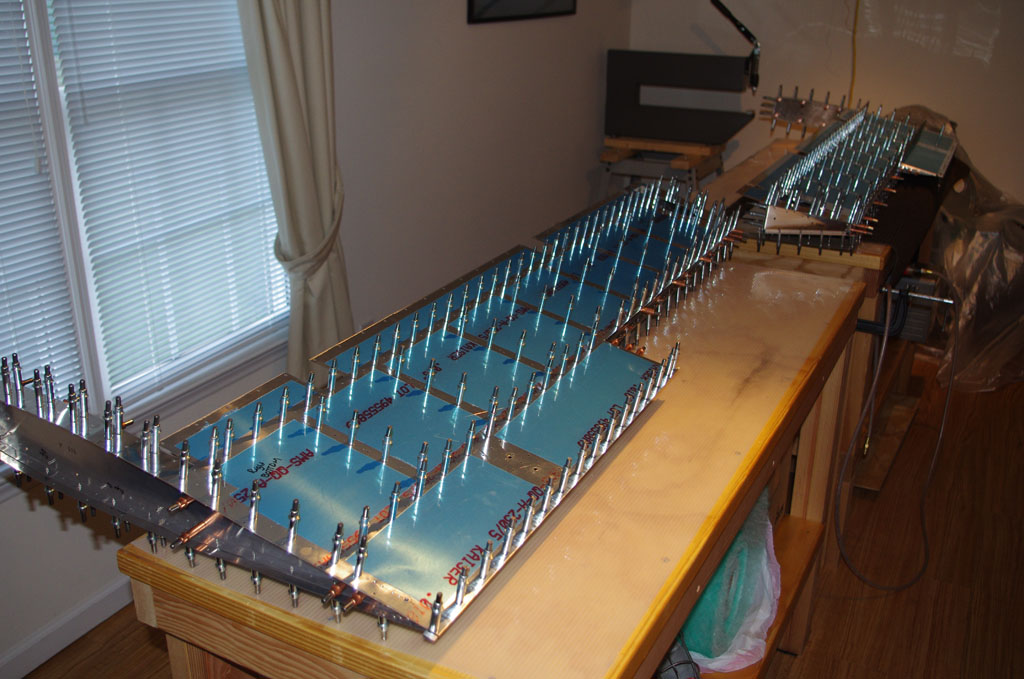 Here everything is clecoed together, ready for the evenings of match drilling of the skins to spars and ribs. Eric helped on all these.
 The trim tab has foam blocks attached with ProSeal compound instead of ribs/rivets like the rest of the elevator. The wooden blocks will be used to hold the skins in place against the foam ribs while the adhesive drys.
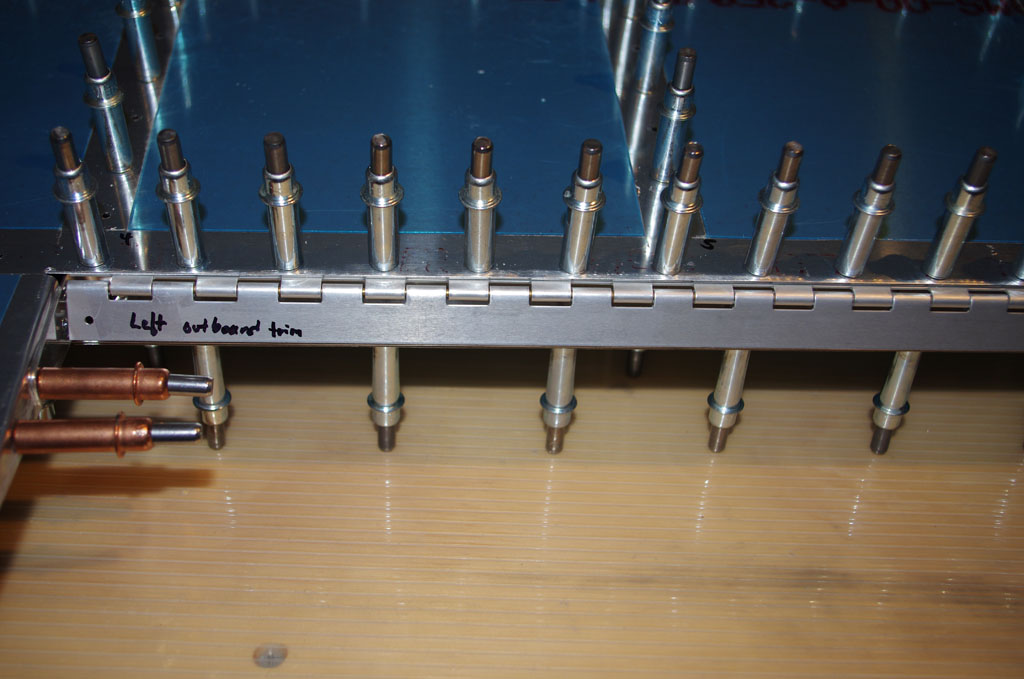
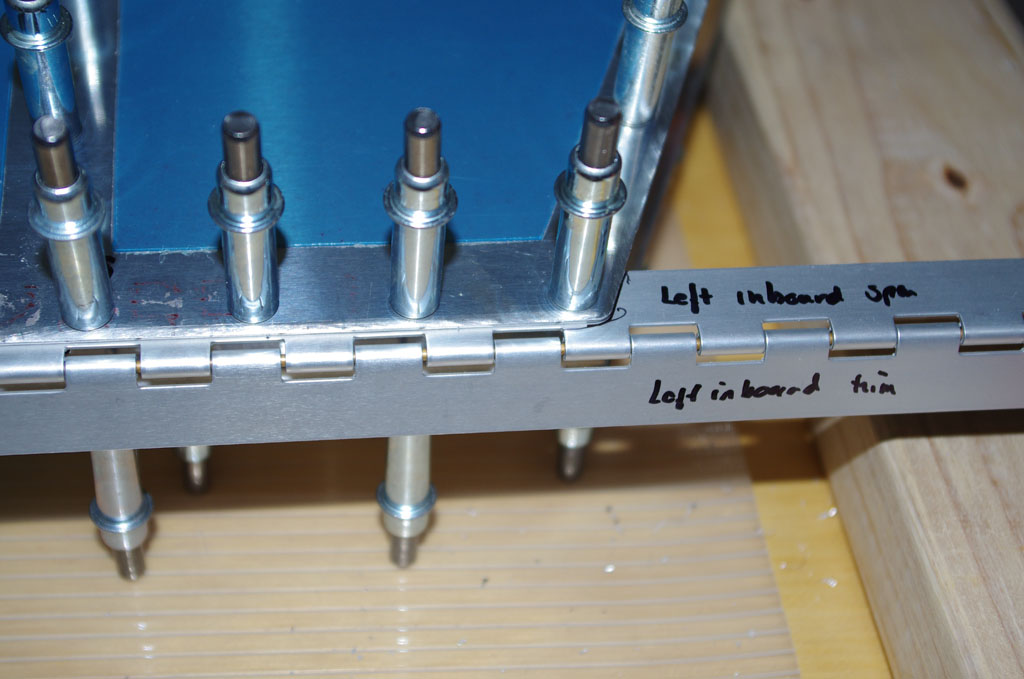 Here the hinge for the trim tabs are fitted and drilled to the upper rear spar flange. Eventually the excess length will be removed, but the extra pin length will be secured with safety wire.