This Labor Day weekend, Eric and I spent about 16 hours working on spars and skins. This took most of the time, but a few other activities showed progress as well.
 Scuffing the insides of the trim tab skins is necessary for a good bond with ProSeal at final assembly.
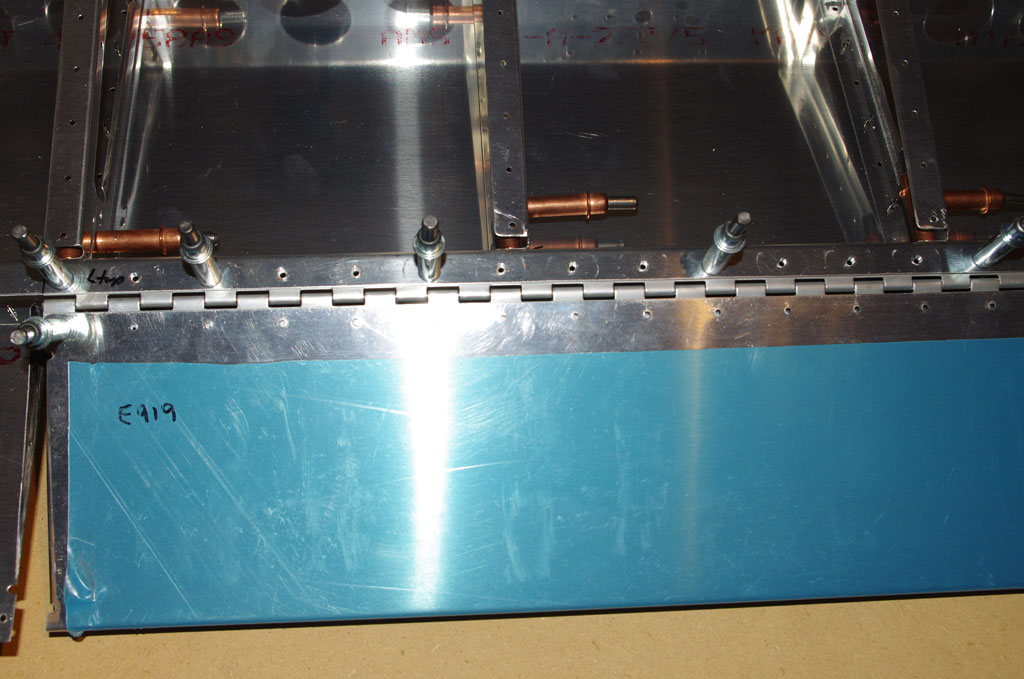
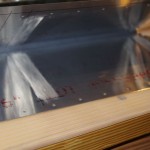
 Plans call for bare metal, but I feel a good alodine coat will help prevent any unwanted corrosion under the foam blocks. My approach was alodine the bonding areas, mask off these areas, and prime the rest. The primer should be sprayed on before the skins are bent to the 10degree final angle needed for attaching to the spar. (The bluish tint on part of the alodine is from the Sharpie marking lines.)
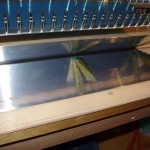
 Here a SEM product (self-etching primer) is applied to the insides of the trim tab skins. Note the skins are still fairly far apart at this point.
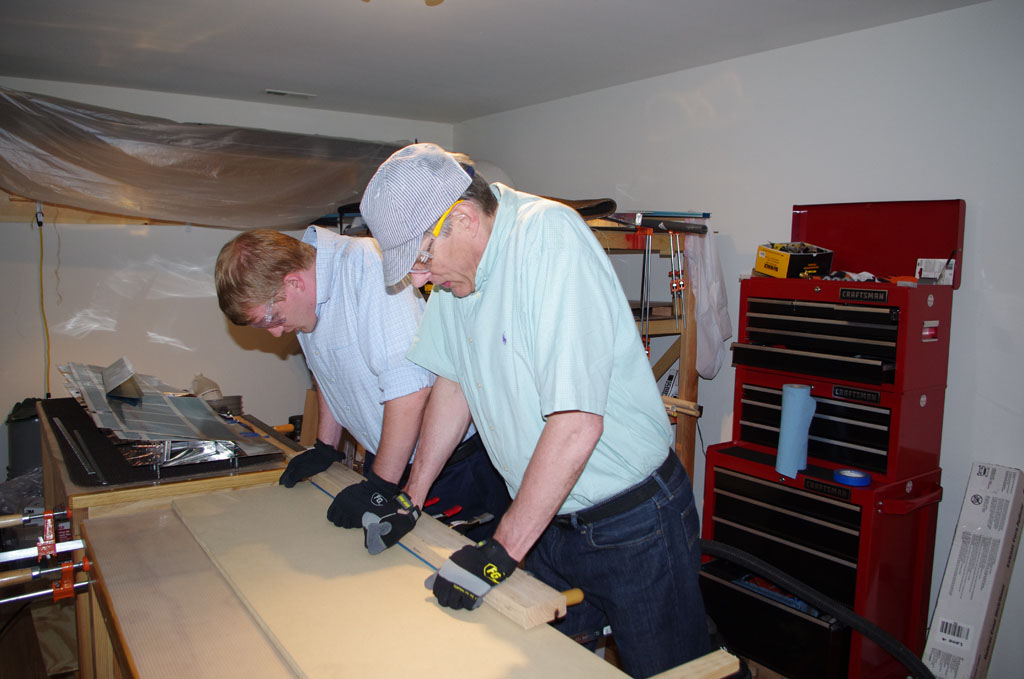
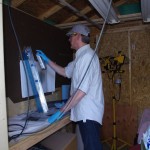
 After priming is when the final bending occurs. Eric helps me apply hand pressure with a 2×4 on the trailing edge. We had to do this 10-12 times as the skins wanted to rebound back to their original shape. I had been advised by my technical counsellor not to be to aggressive with an acute bend – else the edges would crack. Gentle, repeated, and steady pressure did the trick.
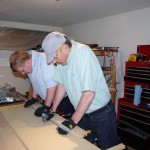
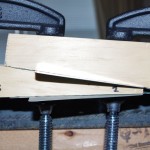 Bending the end tabs is also an adventure. In retrospect, I would cut two oak boards and a 10degree angle for the bends. In addition a 1/32″ round could be applied properly to the oak wedges. This would dispense with the two sided tape, forward-backward slipping, and sharper than desired tab bend radius which occurred with these blocks.
 After the bends, we fit and drilled the hinges to the trim tabs.
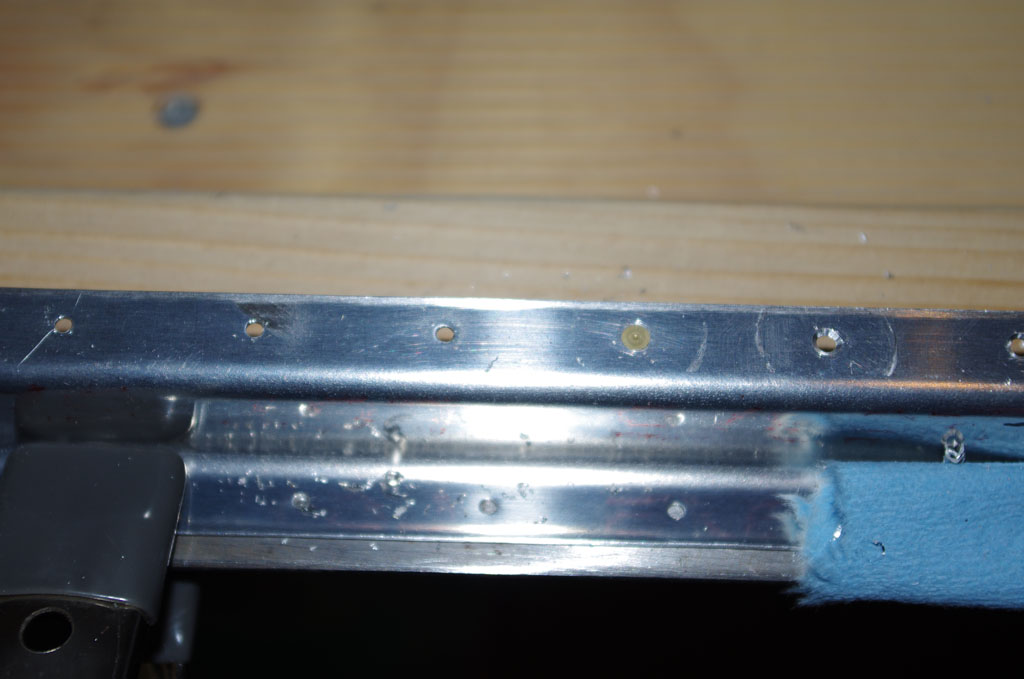
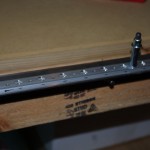
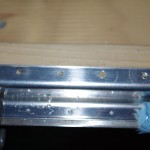 Countersinks are performed against the upper trim tab spar to accommodate a flush finish with the skin.
 Here I use the Main Squeeze to dimple the trim tab skin.
 Even using hand methods the results on the trim tab ends are not bad.
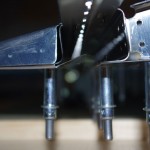
 Here the angle iron jig is being used to hold the elevator trailing edges for countersinking. I used this technique before on the rudder.
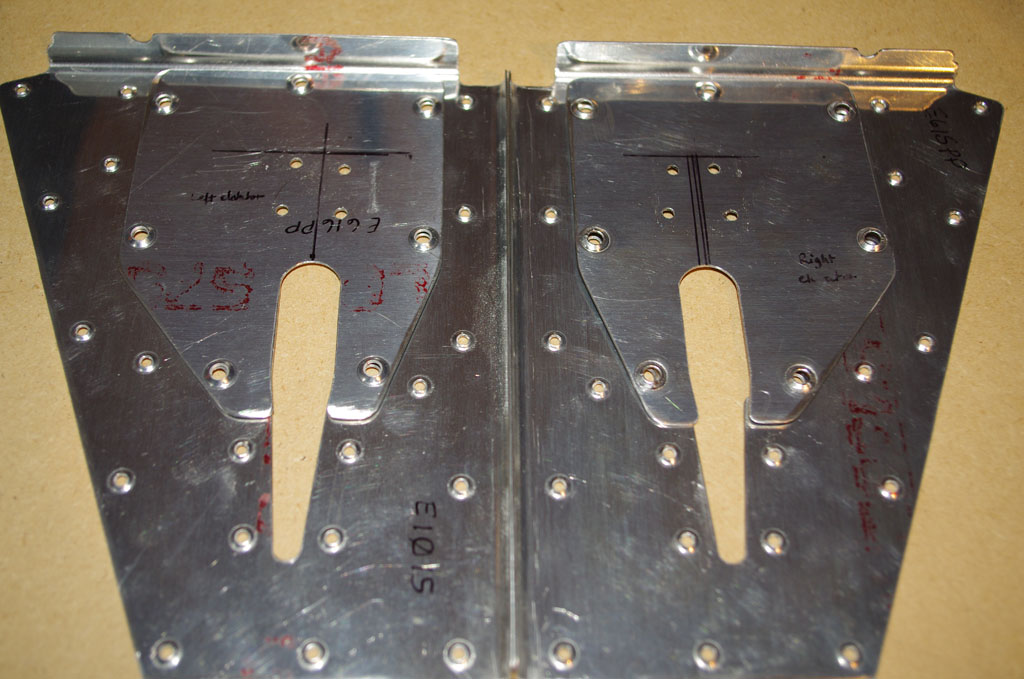
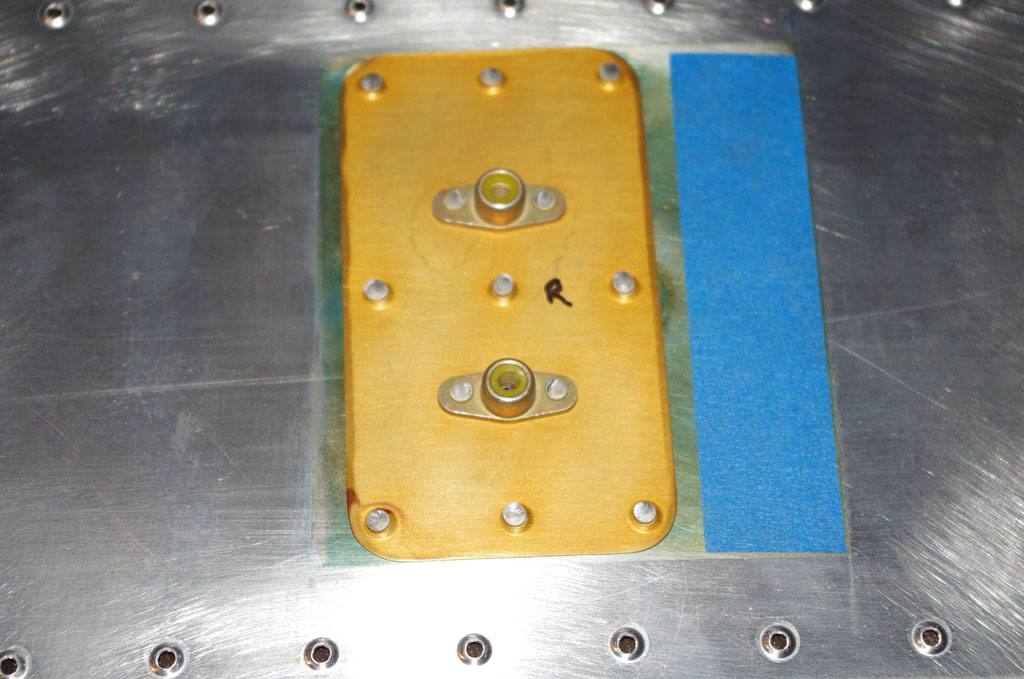
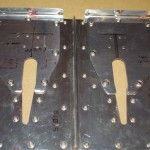 One of the trim cable anchor brackets turned out fine after dimpling. The first reinforcement plate (right) was seriously misshaped by not aligning the DRDT machine correctly. I have ordered a replacement part from Van’s, as all the pressure on the elevator cables is on these two pieces. Live and learn…
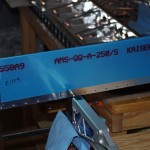
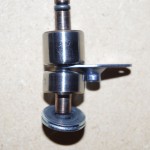 The trim cable anchor brackets also have K1100-06 nut plates to accept the #6 screws holding the reinforcement plates. Unfortunately the nut plates themselves need to be dimpled for the flush rivets. The default die set is too wide, and deforms the screw recepticle. Cleveland Tools does sell for $19 a special low profile female die for exactly this function. My order should arrive this week.
 Ready for primer…
 Done. Next step is rivet assembly.
 All the elevator parts primed and staged for assembly. Rita and I are taking vacation in the NC mountains this coming week, so maybe a few rivets will get set over the weekend when we get back.