The last eight weeks or so have been all about preparing for the initial base coat of paint on the fuselage. This includes sand, prime, sand, fill, prime, sand, sand, sand… and more sand to get the Desoprime surface ready. The prepped surface was scuffed with maroon Scotchbrite and/or 320 grit paper as indicated in the PPG specifications.

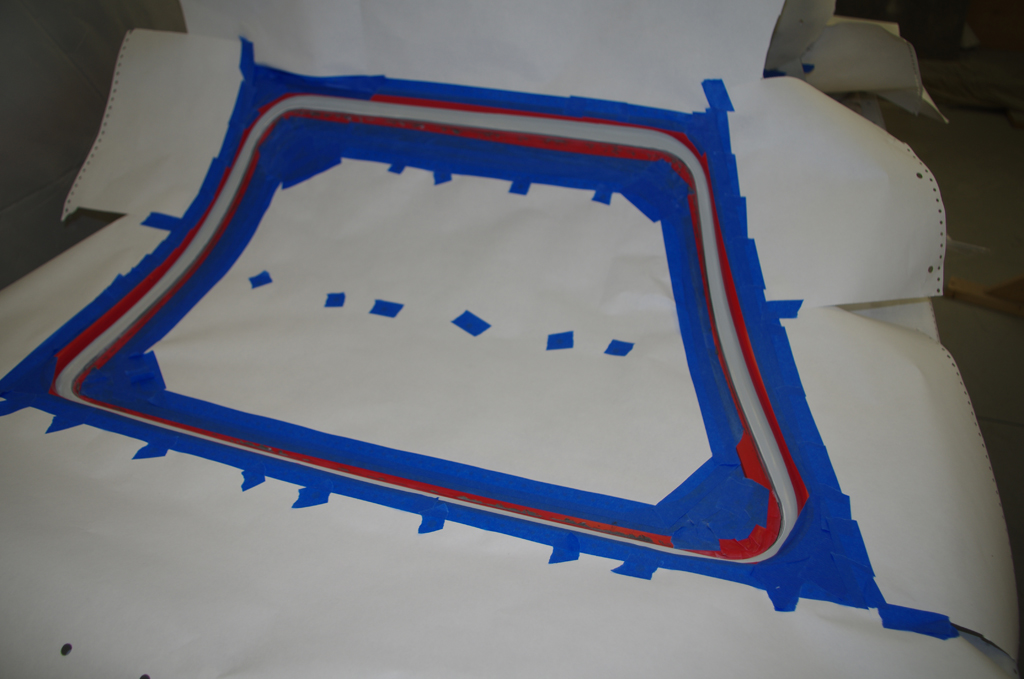 The door windows had some small gaps between the fiberglass frame, the Lord adhesive bonding agent, and the actual plexiglass/Lexan (not sure which) panes. These gaps were filled with dye blackened resin infused with glass beads. The cured gaps were then sanded, masked and painted in the same interior Boeing 707 Grey as the rest of the interior.
 The fairing between the upper fuselage and the windscreen was carefully sanded smooth for a nice transition. I spent much time working on this, as from esthetic perspectives this location is generally a focal point of bystander attention. The fiberglass fairing was sanded, primed, filled, sanded and primed again three times in an effort to get this right.
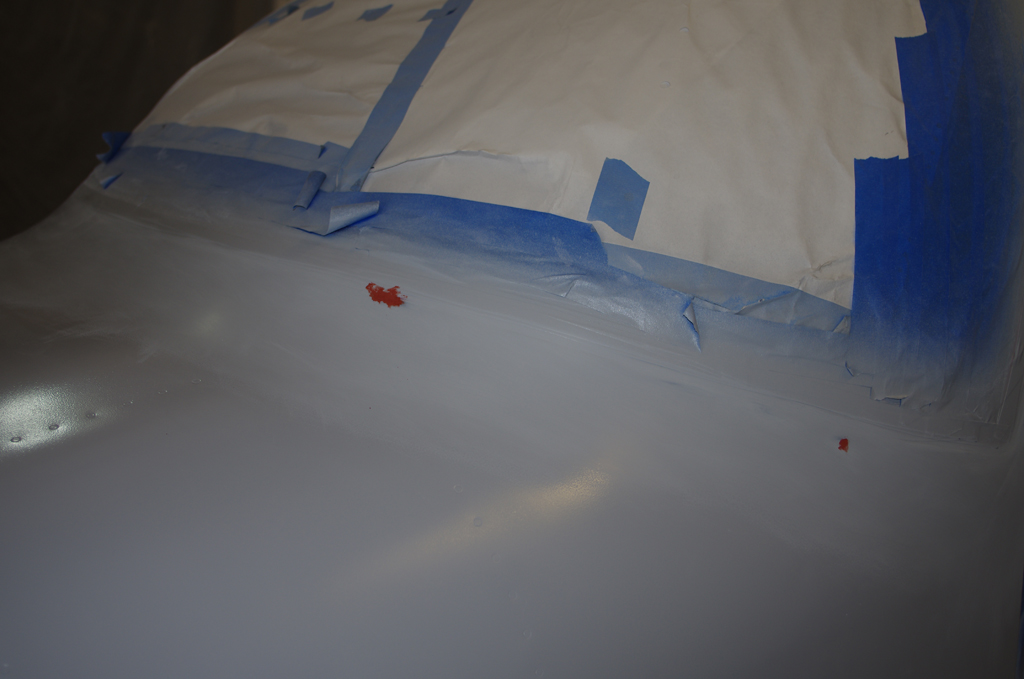
 Even the three prep cycles did not remove all the pinholes and spots in the primer surface. In a few locations spot putty was used to fill small voids. These were airbrushed with primer for coverage before paint was applied.
 Curiosity over how the N numbers would cover the tailcone side wall got the better of me. Here 12″ high sheets simulate the space taken across the panel.
LANDING GEAR
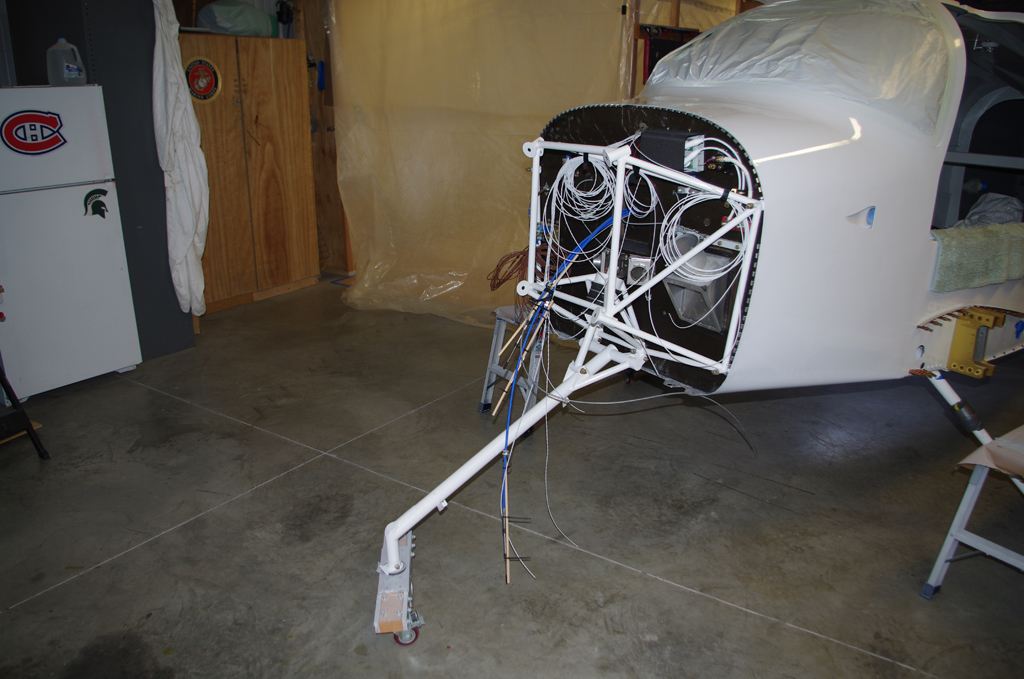
With the body work mostly complete on the stable trolley, it was finally time to mount the fuselage on the landing gear. Custom spar extensions were used to elevate the fuselage to provide clearance for inserting the main gear struts. These are very sturdy and heavy steel legs with machined attach points which must slide into the gear brackets. The original fits were not good, requiring hours of sanding/fitting to get the struts into proper alignment.
 Here the jack stand hold the primary weight of the fuselage, the trolley only serves as a safety block should hydraulic pressure be lost in the jack.

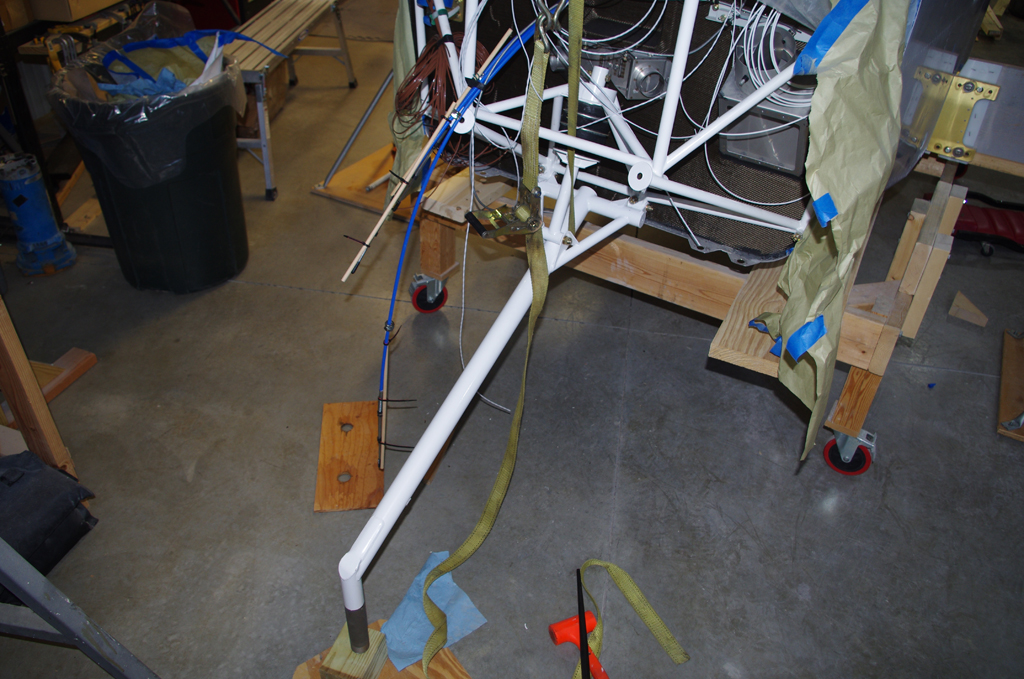 The oleo dampers (nose gear elastomers) are comprised of four rubber discs captured by the nose gear link assembly. New dampers are quite rigid and must be squeezed to get the bolts installed correctly. A 3″ strap clamp wrapped around the motor mount provided the necessary compressive force for this operation.

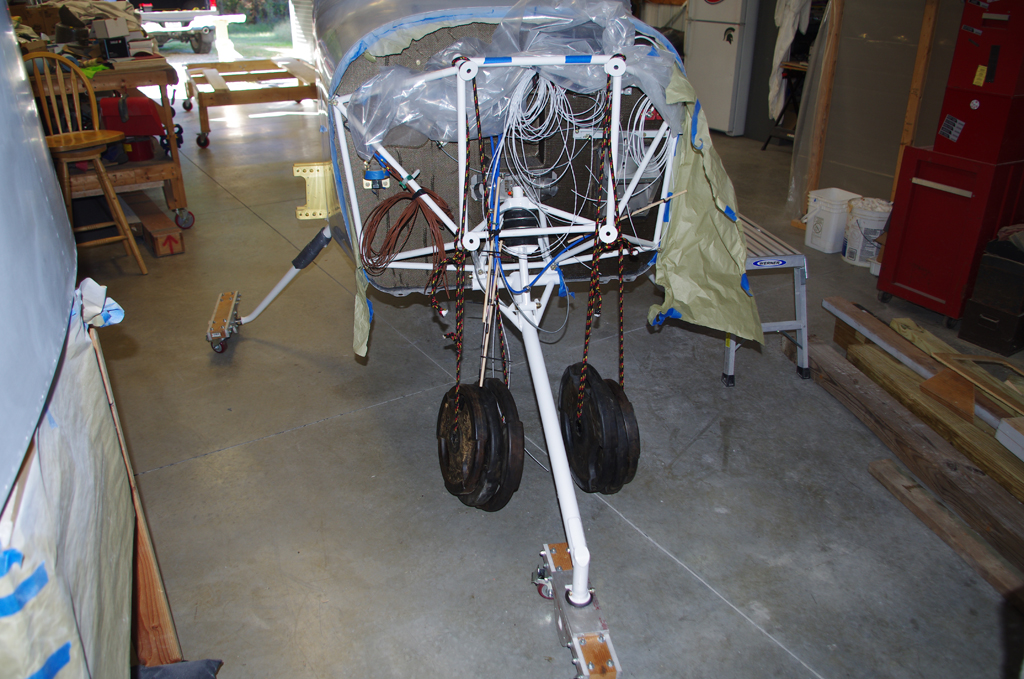
 After almost five years on the trolley, the fuselage finally can stand on it own! With 250 pounds of weight attached to the motor mount, the tail just barely balances to stay off the ground, so a safety block in the tiedown bracket will prevent any tipping which could possibly occur.
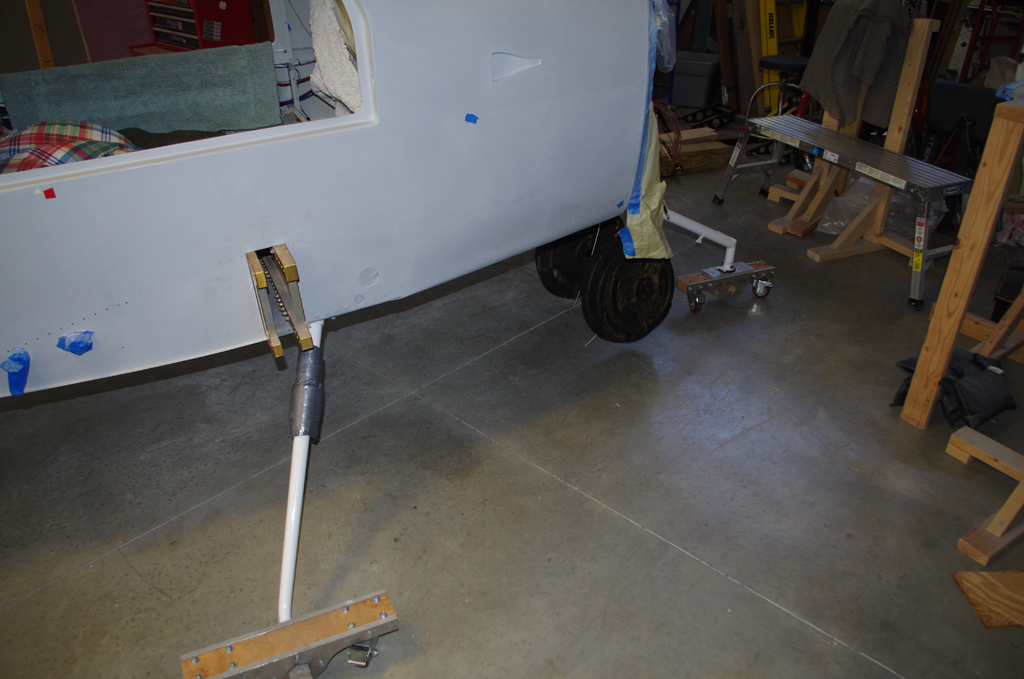
 Here are some views with the trolley removed. To me this is starting to look like a real airplance.
 Attaching nutplates for the wing root fairings was the last mechanical step before the end game on paint preparations.
PAINT
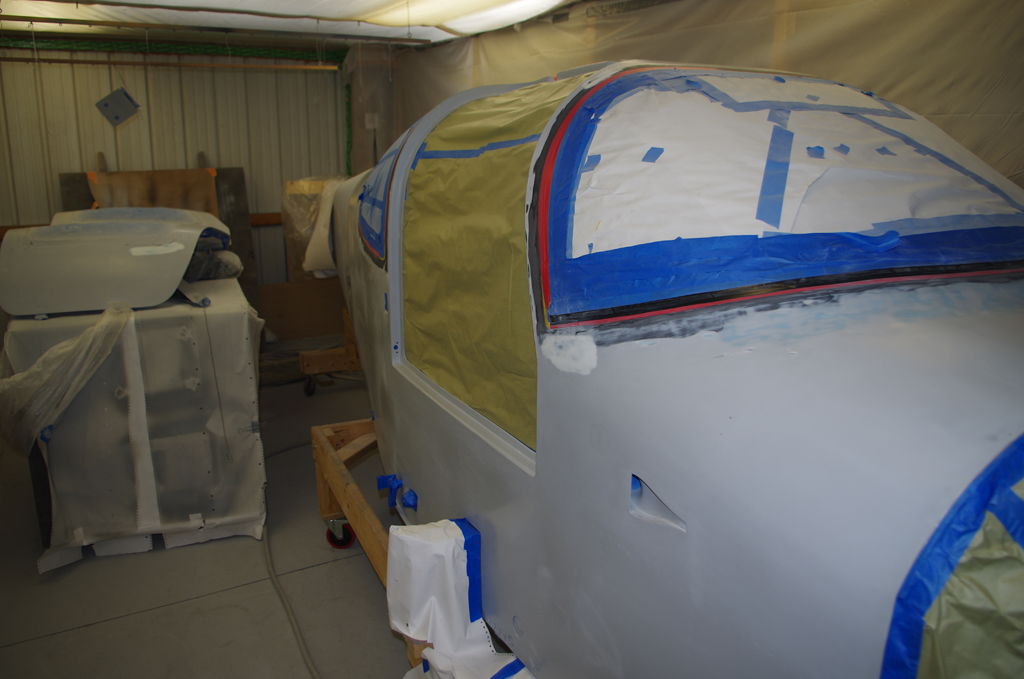
 At the start of this project I had the arrogance to want to the paint the entire plane myself. However, the experience of massive sanding efforts to correct my poor priming results convinced me to engage a professional for this task. Here Mack is inspecting the bottom surfaces before applying paint.

 Six coats of Desothane CA8800 I1222 Snow White paint now provide the base color on the fuselage. The painted surface is excellent (barring the wavy results from my amateur body work skills). Very happy with this outcome and look forward to mounting the engine next.