Monthly Archives: June 2014

You are browsing the site archives by month.

HS Completion

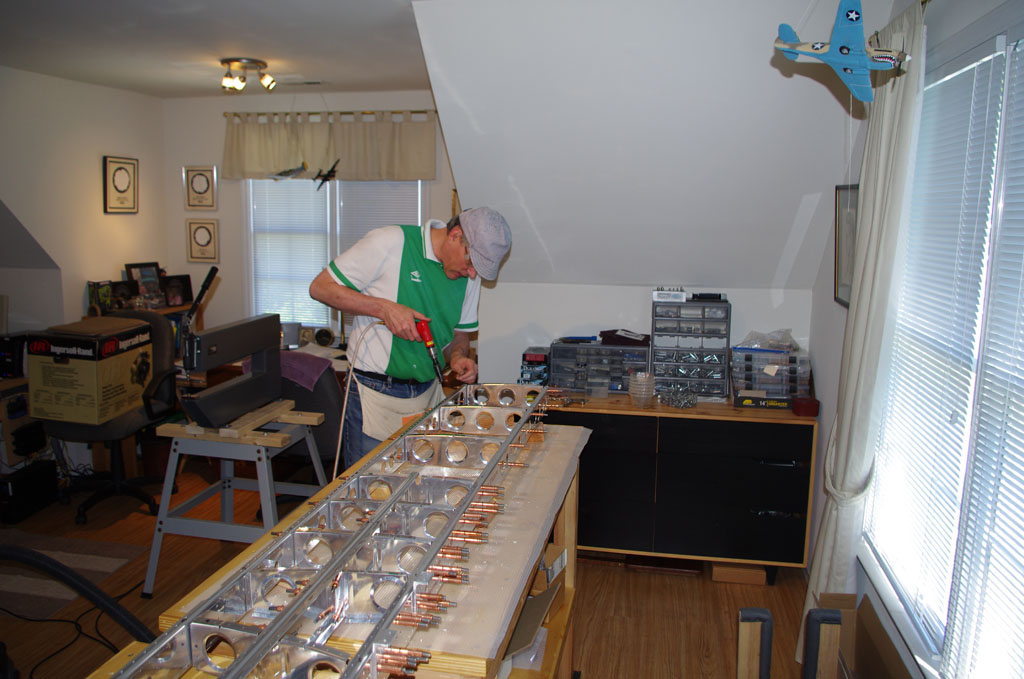
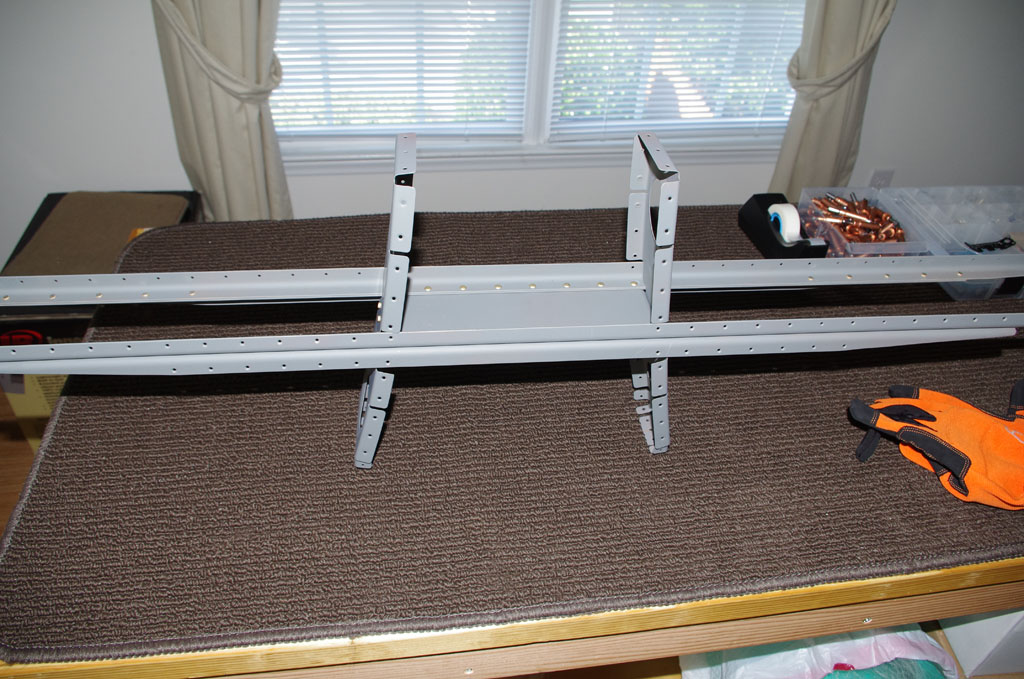
This week I finished squeezing all the spar rivets, which concluded the standard build portion of the horizontal stabilizer.  My technical counselor suggest 5 drill-outs on the inner spar sections, so these have also been completed.

IMGP4331Squeezing the spar rivets is a one-man job, so these were completed alone.


IMGP4335
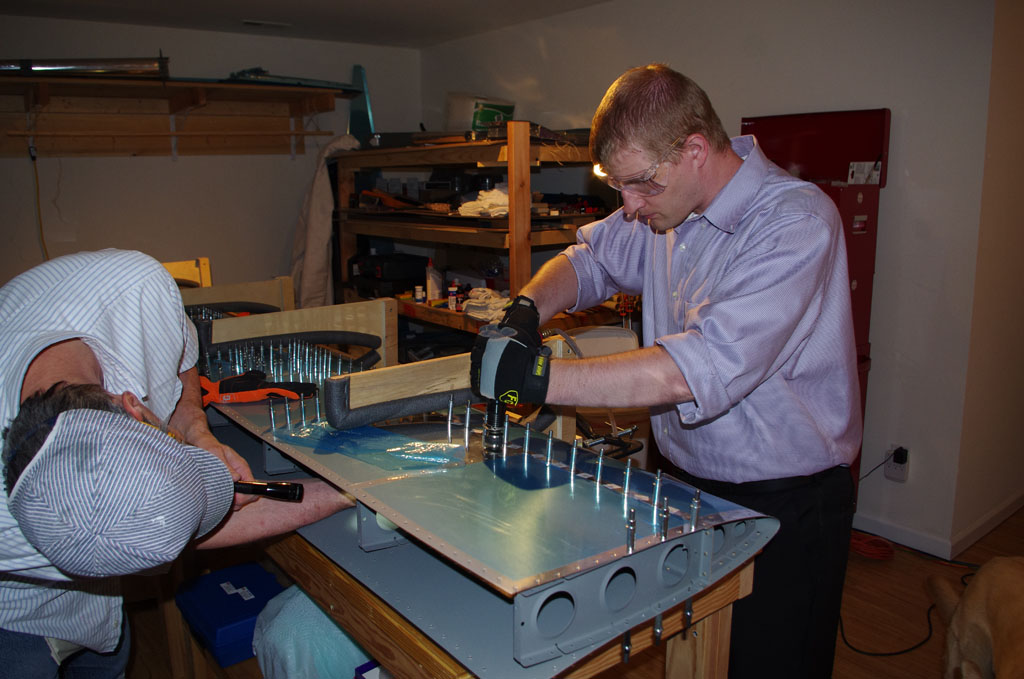
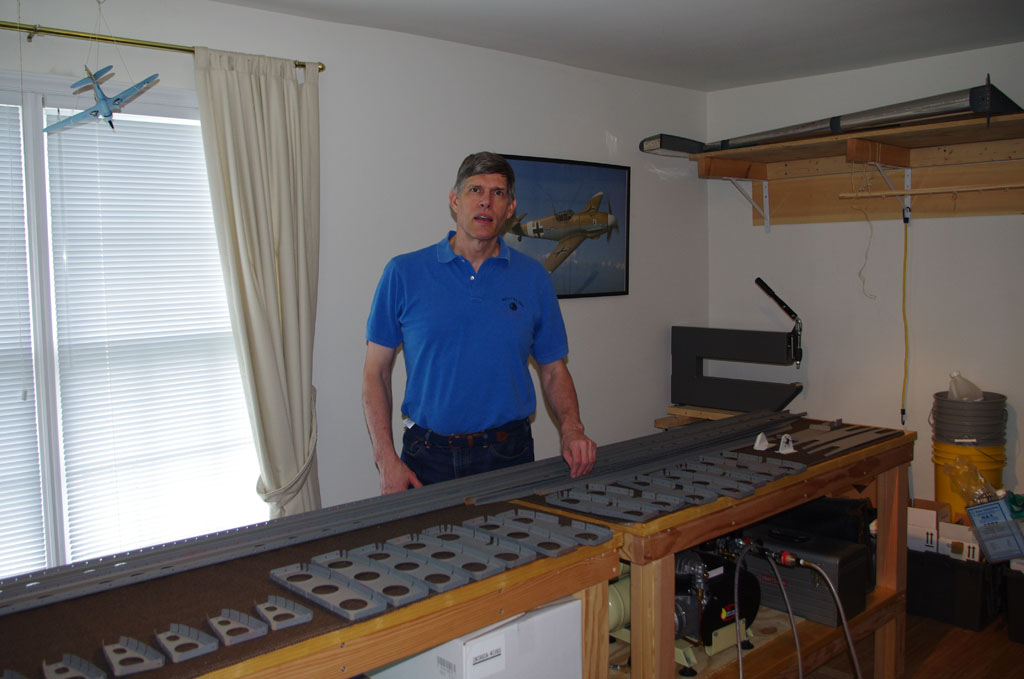
Eric did stop by for bucking the inner spar rivets and setting the final 25 inch/pound torque on the center hinge bracket bolts.


IMGP4339
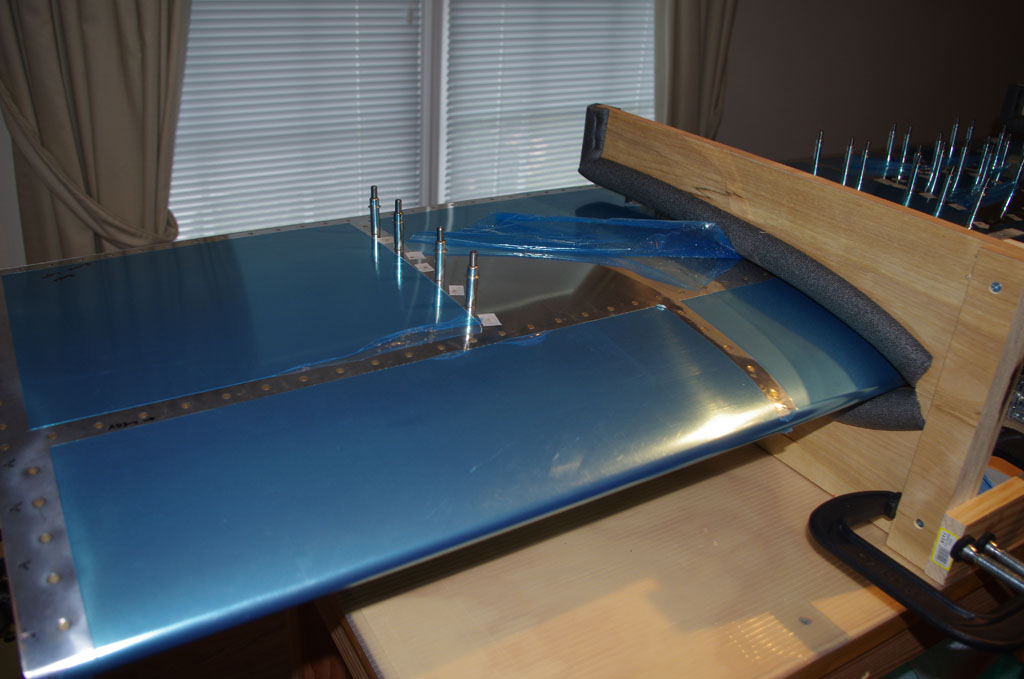
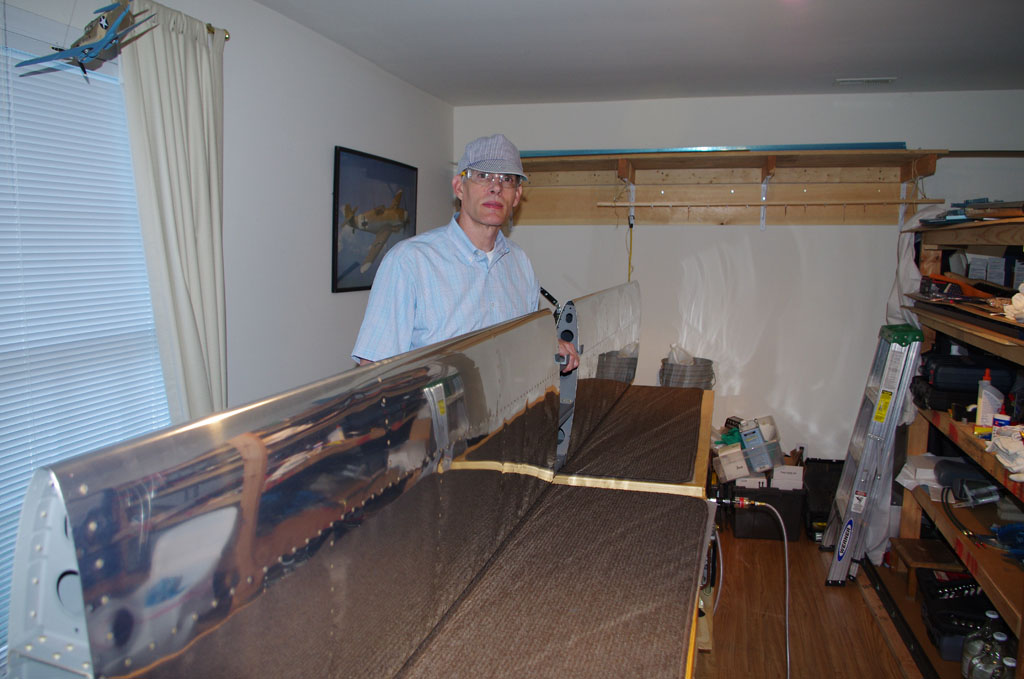
The final product is good, but not as clean as I would have liked. A few minor optical dents and dings, but should be safe otherwise.


IMGP4342
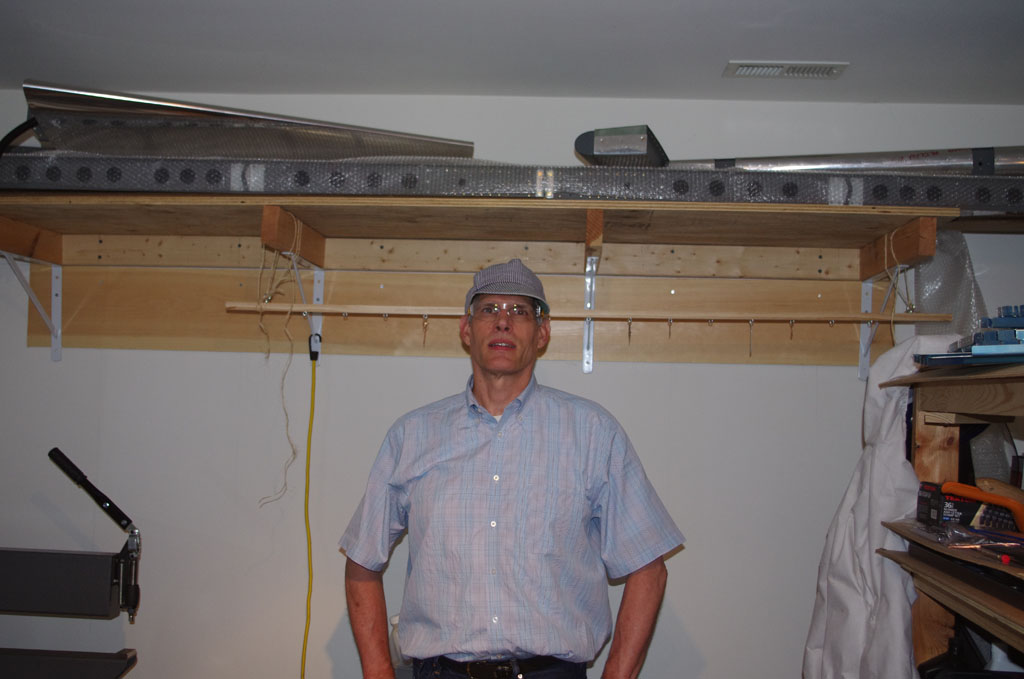
All the finished parts so far (rudder, VS, HS) are stored on the overhead shelf to avoid “shop rash” from being bumped during the processing of other parts.  I used 18″ bubble wrap between the parts, and eventually covered all with thin plastic to keep out dust and dirt.  The nice part is being in the bonus room, temperature controls and humidity are not a problem.


IMGP4345Done with Section 8 of the manual.

HS Riveting

This week was all about riveting the horizontal stabilizer parts together.  The whole job is not yet complete, but good progress was made on bucking the nose, spars and some inboard ribs.  I had help from both Eric and Rich during the period.

IMGP4299Oops. Notice the small, but still visible blemish near the most forward rivet.  This came from the tungsten bucking bar pounding the reverse side of what we were processing.  The bar as I held it was wide enough to span from one skin side to another. Drats.  For later rivets I rearranged holding the bar parallel to the rib, not perpendicular to it as in this case.  Hopefully this can be smoothed away with filler before painting.  The only saving grace is this appears on the underside of the horizontal stabilizer.  People will have to bend over and look from beneath to see it.


IMGP4300During the week and after doing the nose ribs, I prepped for riveting along the spars.  AN426AD3-4 rivets are used for the outer section, AN426AD3-4.5 for the inner parts where the spar caps are located.


IMGP4310Eric comes over after work most nights for dinner.  On this occasion I pressed him into service for a few hours doing the outer skin-to-forward spar rivets.


IMGP4314Here are the prep stages for the inner spar riveting.


IMGP4317Rich came over on Saturday to help me complete the upper skin riveting in its entirety. The small cells between the stringers, inboard ribs and spar are quite tight for my big hands.  It takes lots of repositioning of the bucking bar to see well into those cavities.


IMGP4319Here’s what it looks like on the outside as of Sunday morning.  All the upper skin rivets are set (actually the bottom on this photo), the lower skins have been riveted to the forward spar.   The inner rivets and placing the rear spar up for next week.


IMGP4324Upon inspection I found a number of scratch marks where the bucking bar had rubbed against the spar during rivet setting. This happened despite putting duck tape on the forward spar and the bucking bar for protection. My plan is to get a small Preval brand sprayer to prime over this spots before closing off with the rear spar.


IMGP4326Another trick employed was fitting a felt chair leg cushion to the end of the bucking bar. When used in conjunction with duck tape against the spar, this seemed to eliminate any scratching.  Another prime example of live, innovate and learn.


HS Prep and Assembly

Although I have not posted in a few weeks, much activity has been occurring on the horizontal stabilizer.  Three long weekends in a row have gone into drilling, scuffing, washing, brightening, alodine, priming and assembly.

IMGP4242May 24 – final stages of jigging and match drilling complete.


IMGP4247May 25 – Rita, the not-yet Riveter. Here she is helping me dimple the HS skins with the DRDT-2 machine.


IMGP4255May 26 – mixing the DP401LF catalyst with the DP40LF priming for the HS skins.  First the skins were washed with Pre-kote, then dried in the shed.


IMGP4258May 26 – suited and ready for skin priming.  Not much can be seen inside the shed once priming starts.


IMGP4271May 31 – dunk tank extended to 12′ to hold the HS spars.


IMGP4272May 31 – brightening underway. This was the first time I used the garage for corrosion treatments.


IMGP4280May 31 – another view of the extended dunk tank.  One of the spars is bubbling in the phosphoric acid brightener on the right, a rinse tank is on the left.


IMGP4287May 31 – the alodine is on the right, rinse on the left.


IMGP4289June 7 – all parts are primed and ready for riveting.


IMGP4290June 7 – Rich came over to help rivet on hinges, attachment brackets, spar doublers, caps and stringers. We squeezed as many rivets as possible, only had to buck 6 rivets on the custom made attachment brackets.  Turns out the bracket, spar flange, and doubler combination is too thick for my Main Squeeze 3″ yoke (takes a 4-10


IMGP4292June 8 – the internal parts of the stingers and ribs must be riveted together before attaching the skins, because afterwards there is no access.