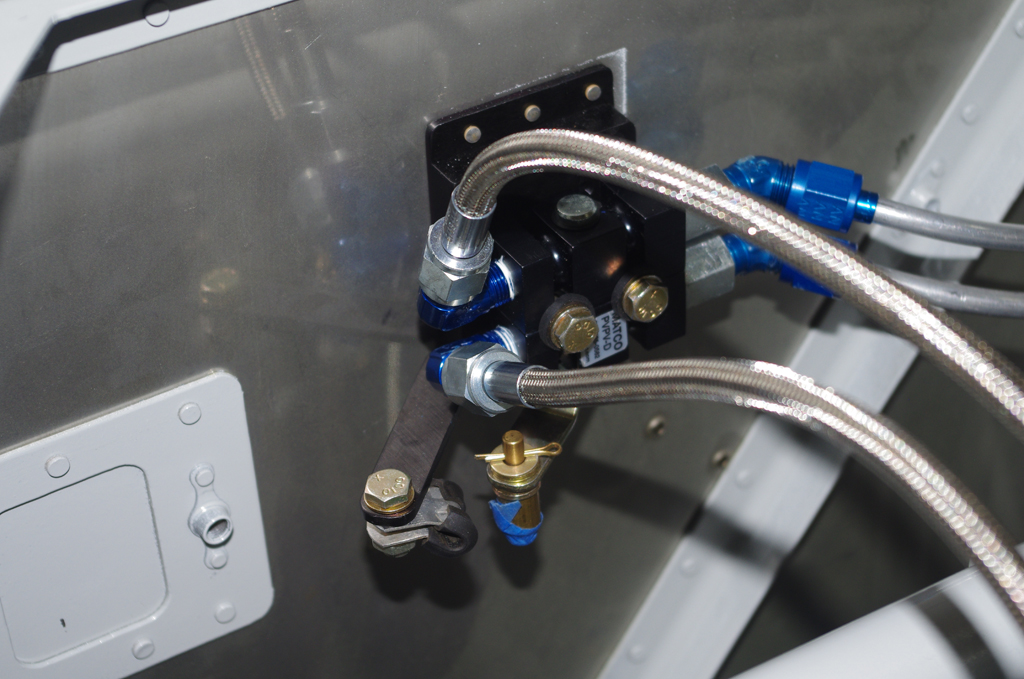
Attachment of the horizontal stabilizer enabled the final configuration of the elevator control rods and elevator stops.
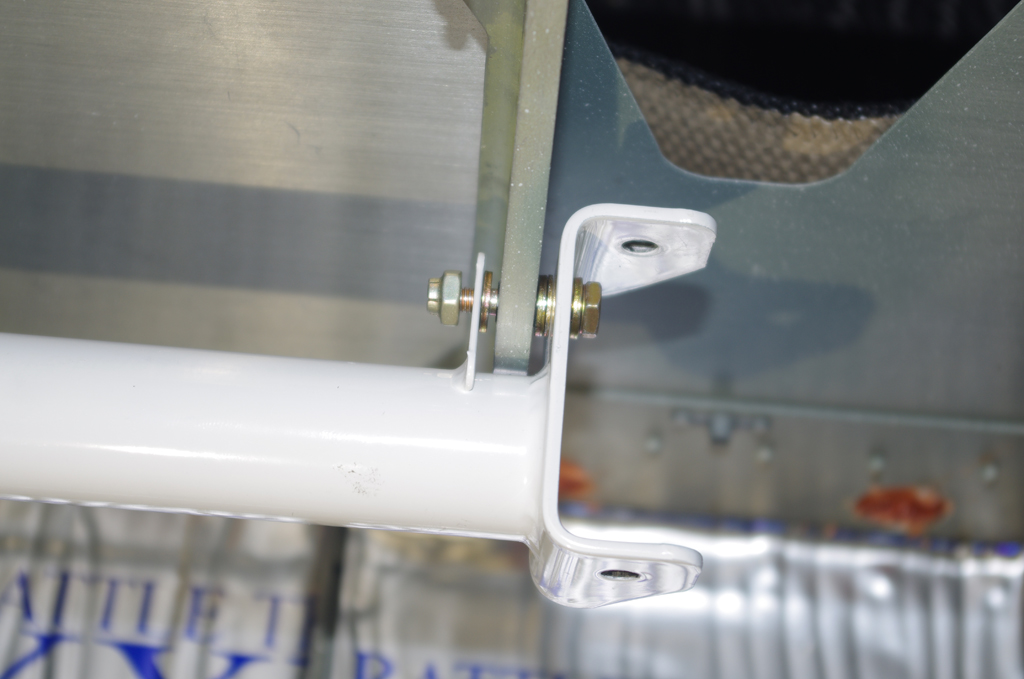
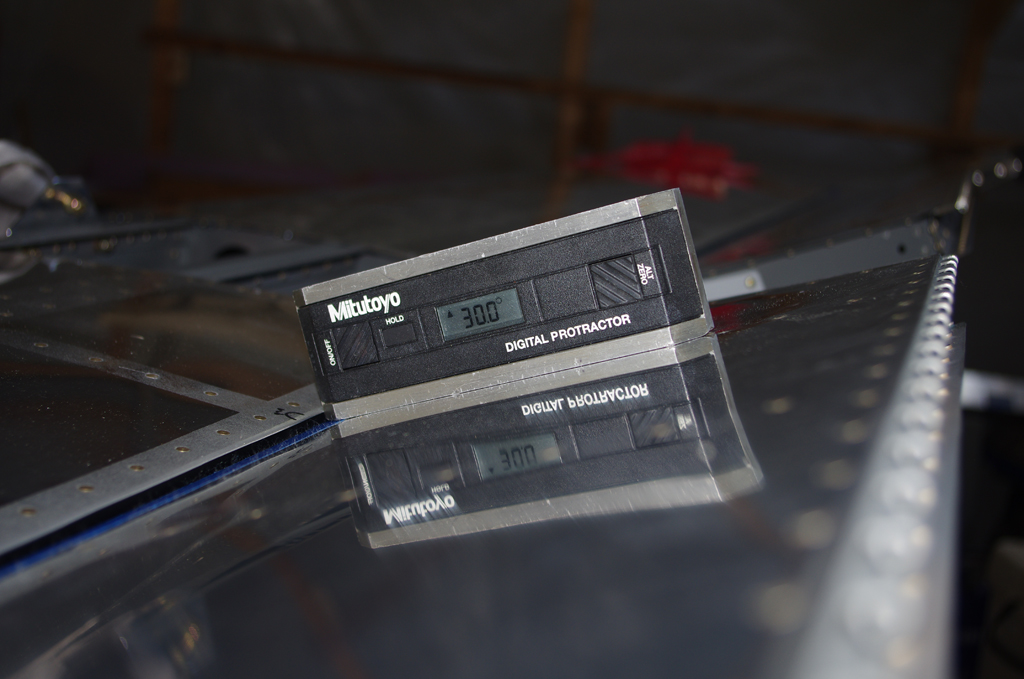 Match drilling the forward spar shims and aft bracket were performed to mount the horizontal stabilizer. The UP position of 30 degrees exactly matches specification. The DOWN angle, even after considerable filing of the stop bracket, was finalized about a degree shy of the expected 25 degrees.
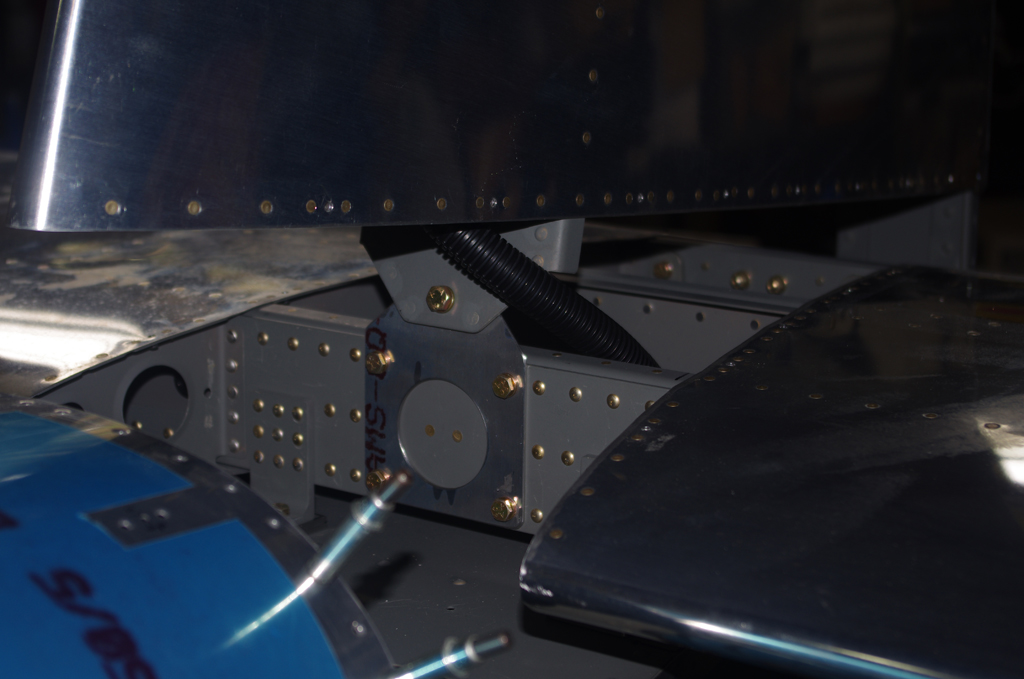
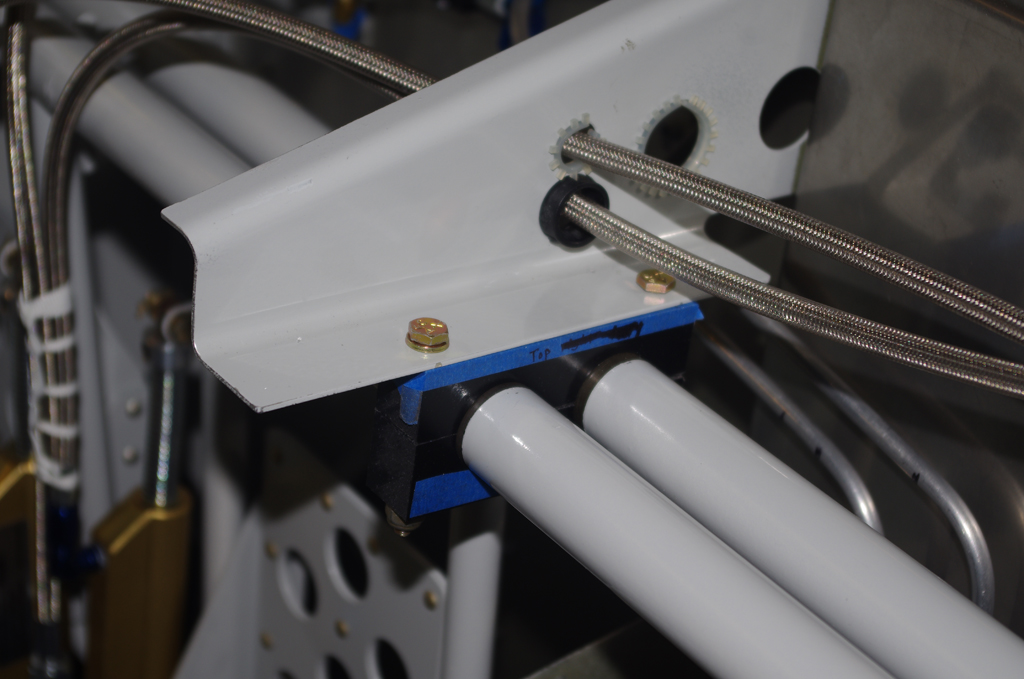
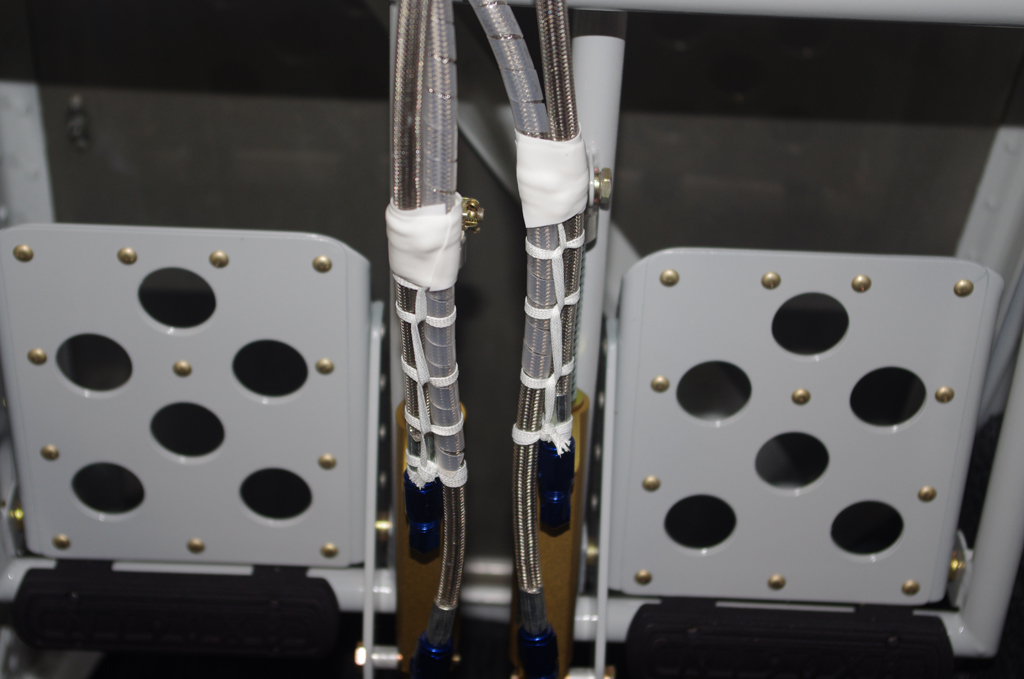
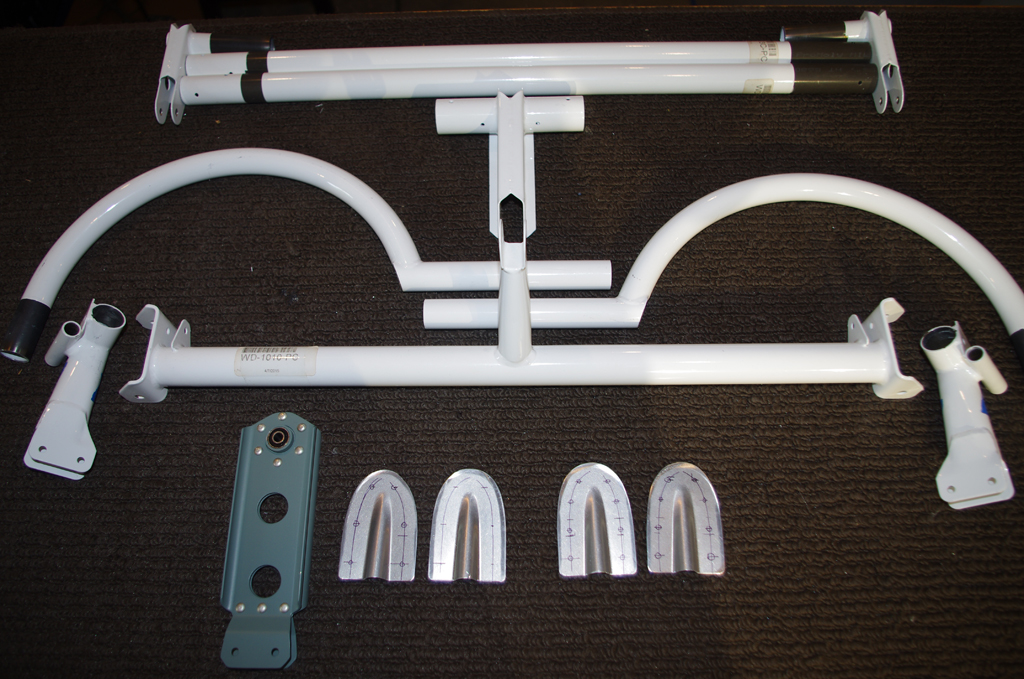
 These pictures show the vertical stabilizer forward and aft attachments after the elevators were removed. Two mounting shims under each forward HS spar attach pad were also match drilled and bolted on before VS install.

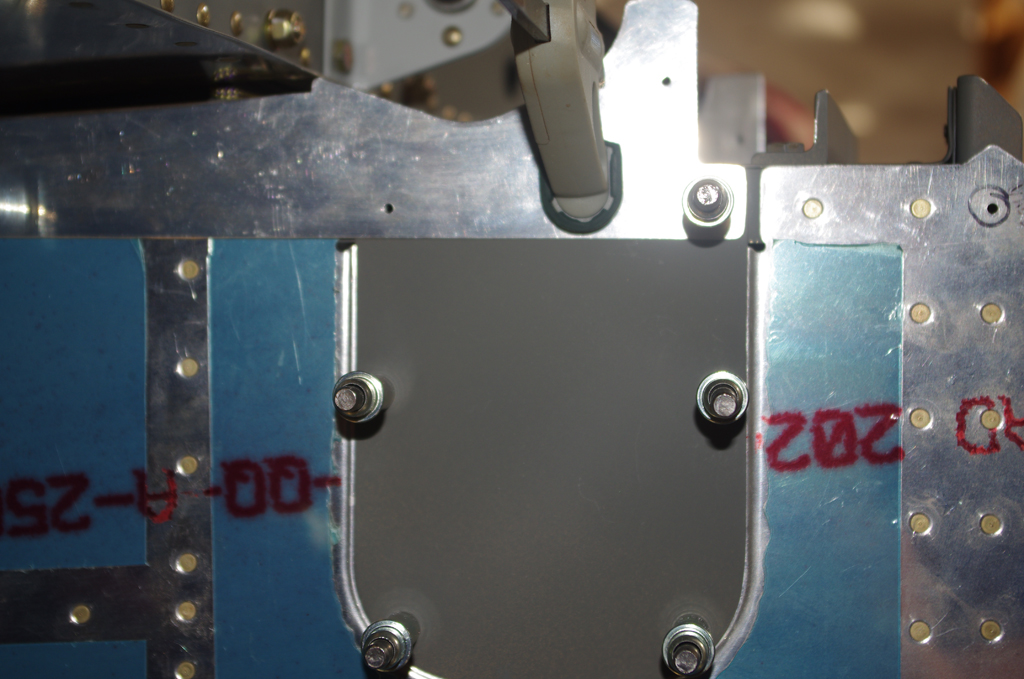 The empennage gap cover under the HS was clecoed into place. The rear section overlaps the inspection port cover. Both are match drilled together through the longeron.
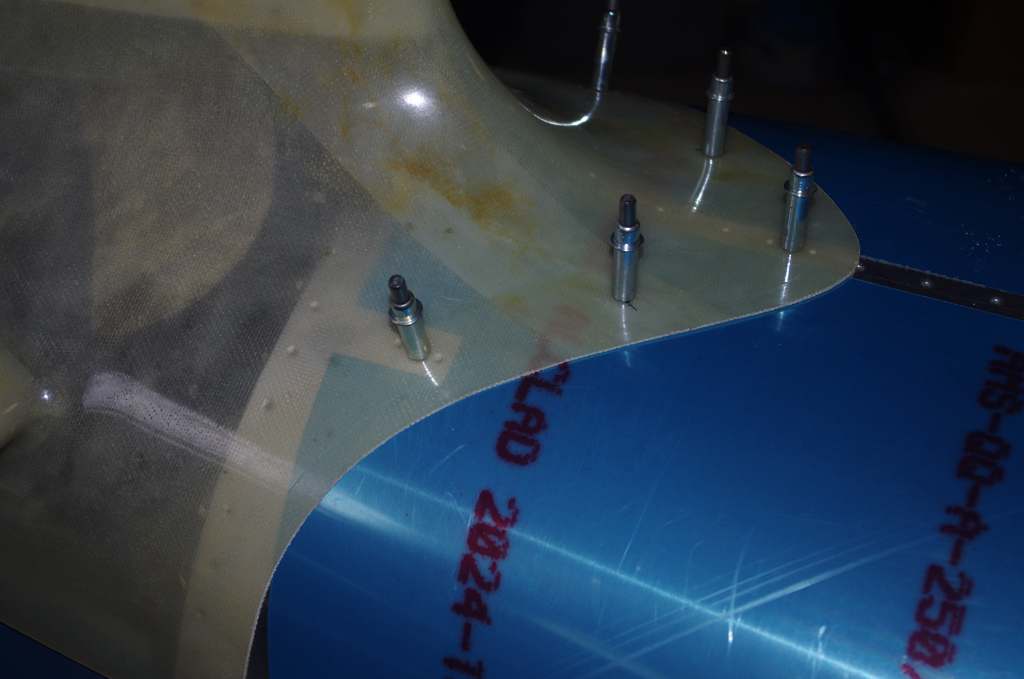 The plans call for only three screws per side to hold the forward section of the empennage fairing. Many pilots have suggested additional fasteners to prevent fiberglass bulging due to air stream pressure over the fuselage. Here intermediate points were drilled midway between the default points. Nutplates for #6 screws will later be added to the upper aft skin.

 Front and rear photos of the match drill screw points on the empennage fairing. The aft points require special care when trimming to not interfere with either the elevator horn or the rudder motions.

 With the main empennage components staged in place, the whole fuselage begins to look like an airplane.
OCTOBER 2020 UPDATE
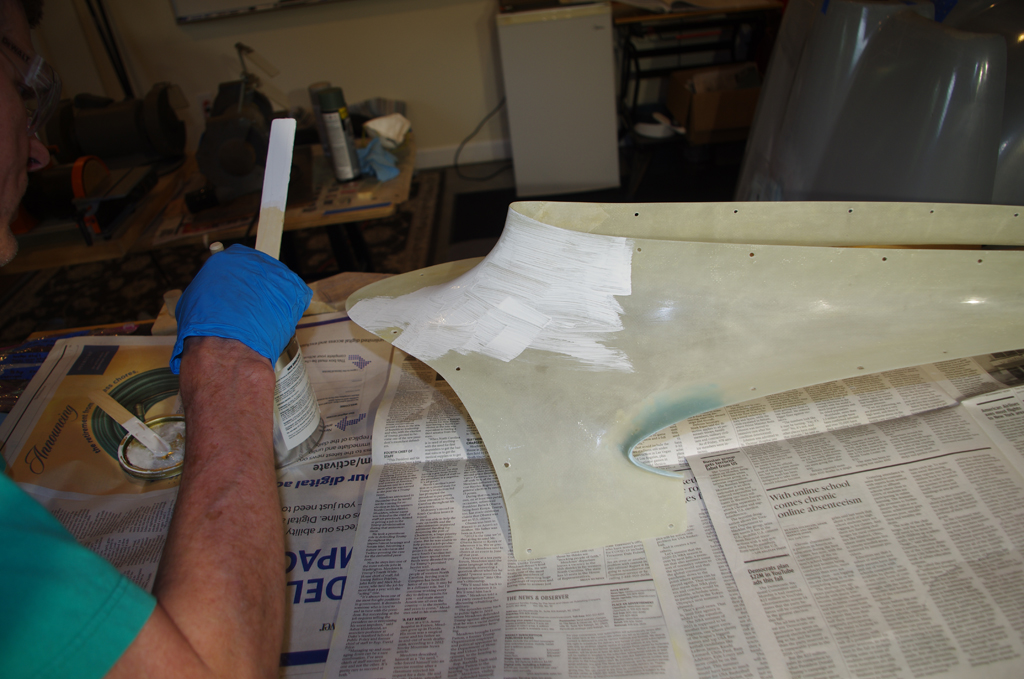
Further trimming and edge preparation has been completed on the fiberglass empennage prior to priming.

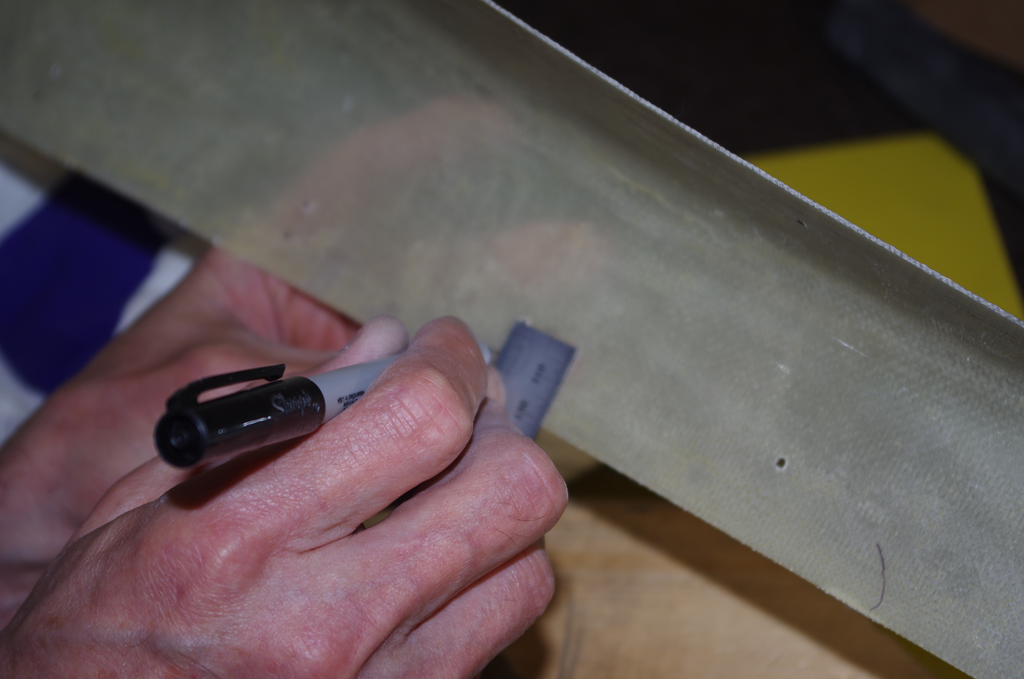 Edges were measured against a scribe line formed into the part. Enough ‘meat’ needed to remain for the attachment screws to have sufficient structure to hold properly.
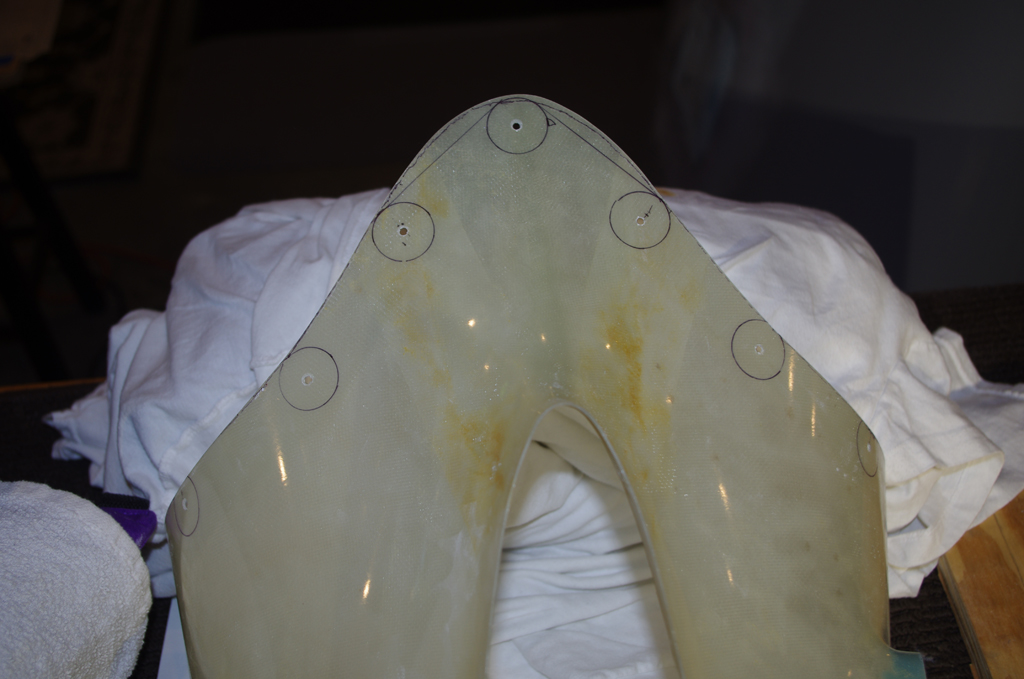
 Because of the extra holes added, smooth curves based on circular patterns were applied. Since fiberglass always seems to have numerous pinholes from the manufacturing process, a coat of Smooth Prime helps with initial underlayment.
MISCELLANEOUS
 The forward and aft NACA air vents were fastened with ProSeal and #4 stainless screws into position. Later SuperFil will be applied to smooth out the backing plate rivets.

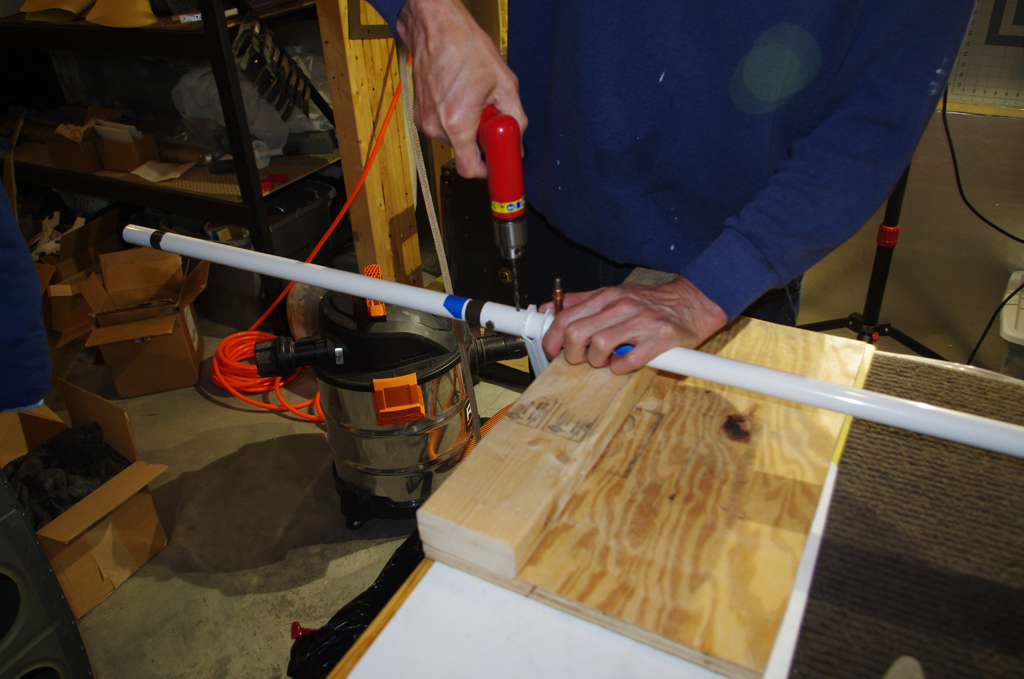


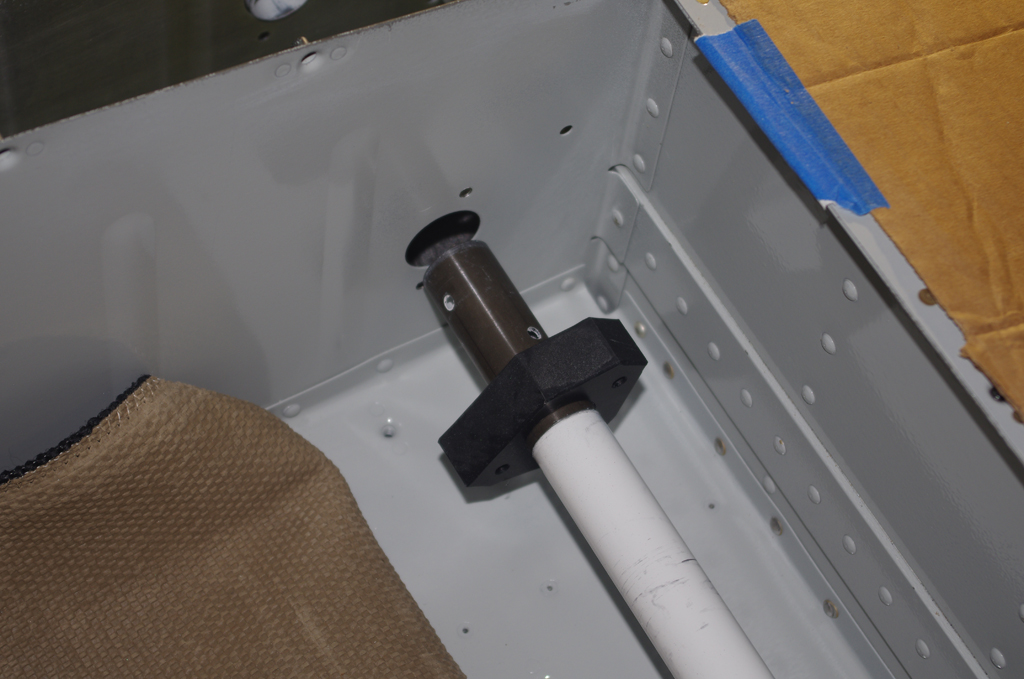

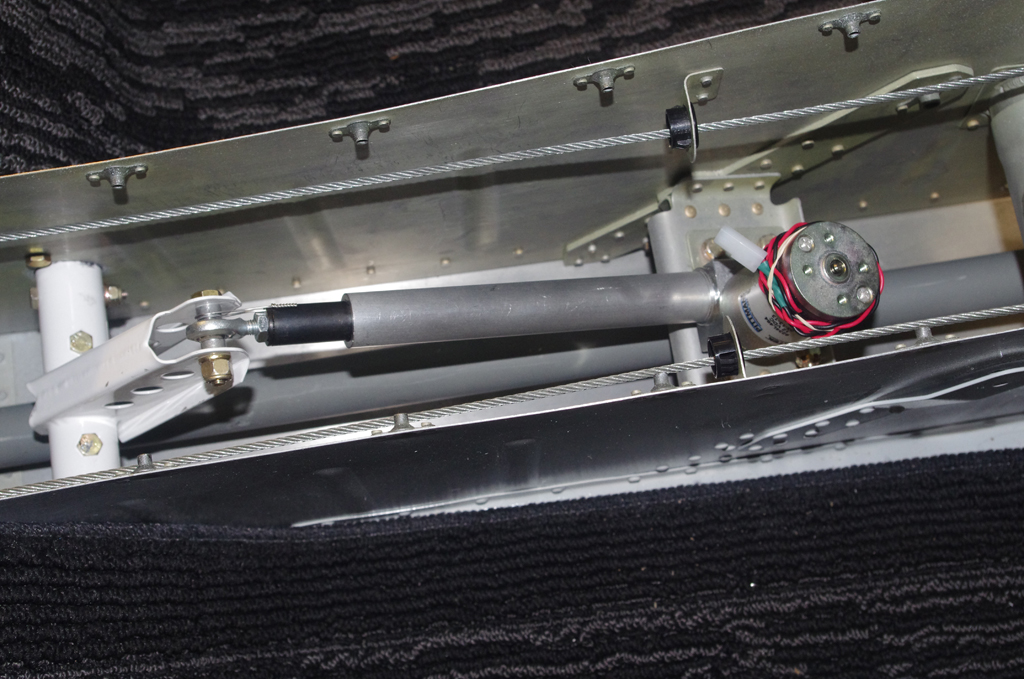


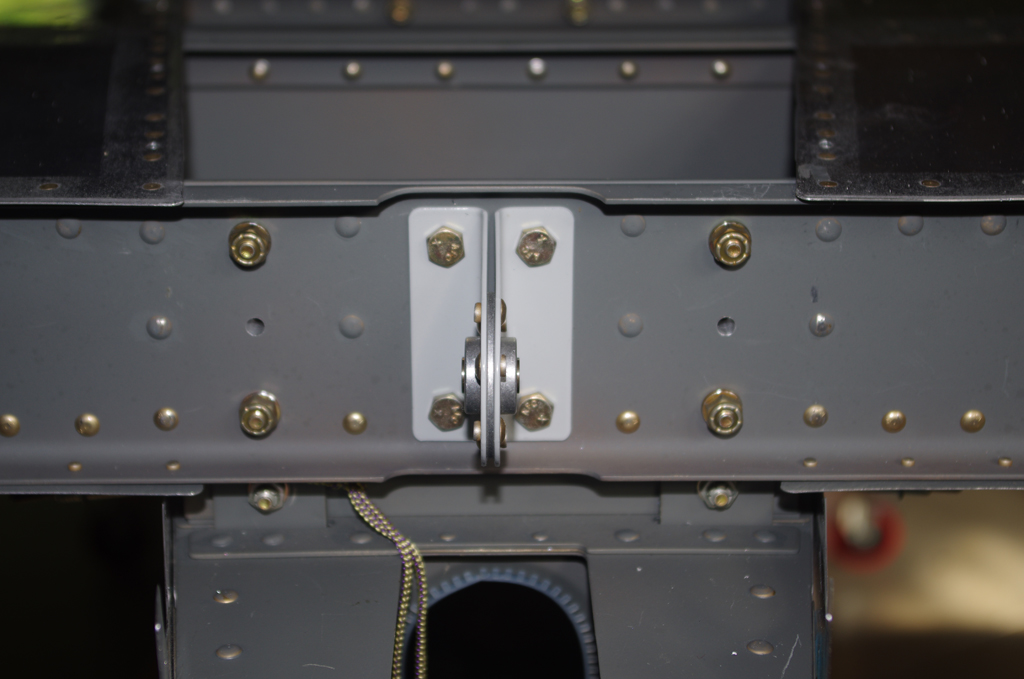
 This jig was created to align the neutral position of the elevators at the bellcrank position. The final configuration was established with later posts on Empennage Attachment.