Monthly Archives: September 2019

You are browsing the site archives by month.

Wing Tips (1)

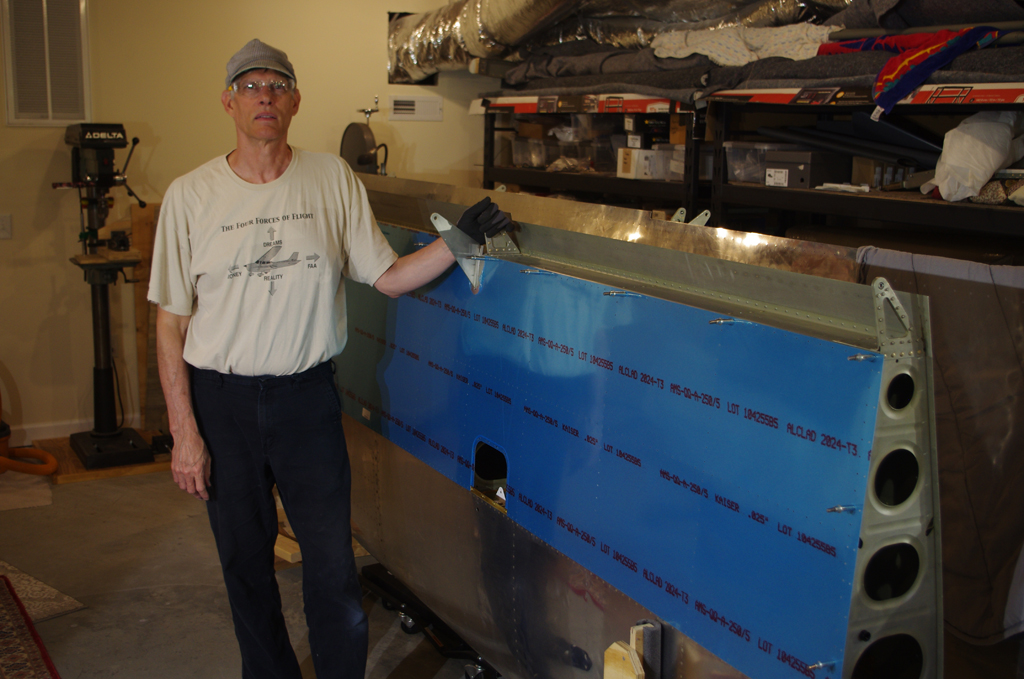
Once the bottom skins are ready for installation, work can begin on the wing tips.

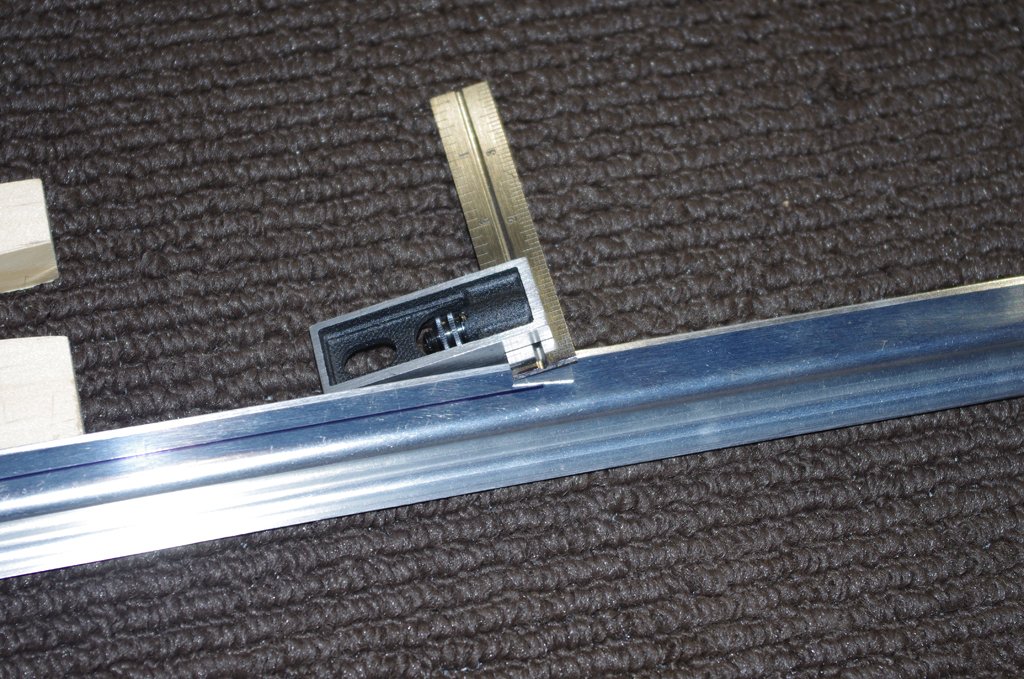
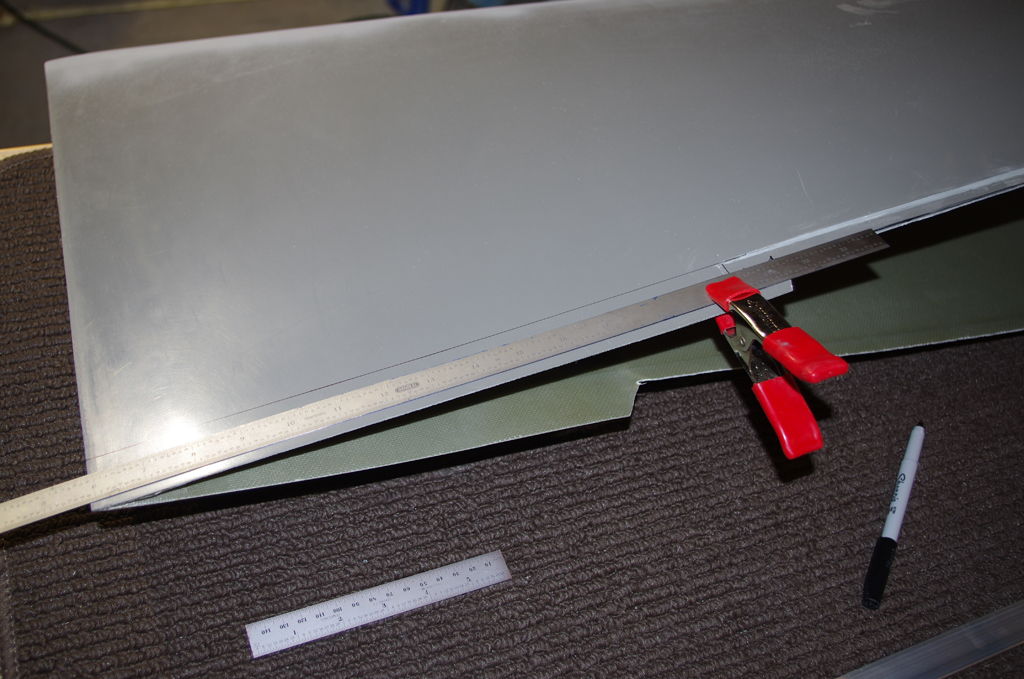
The wing tip edges must be shortened to fit into the roughly 3/16″ (10mm) gap between the last wing rib and the skin edge.


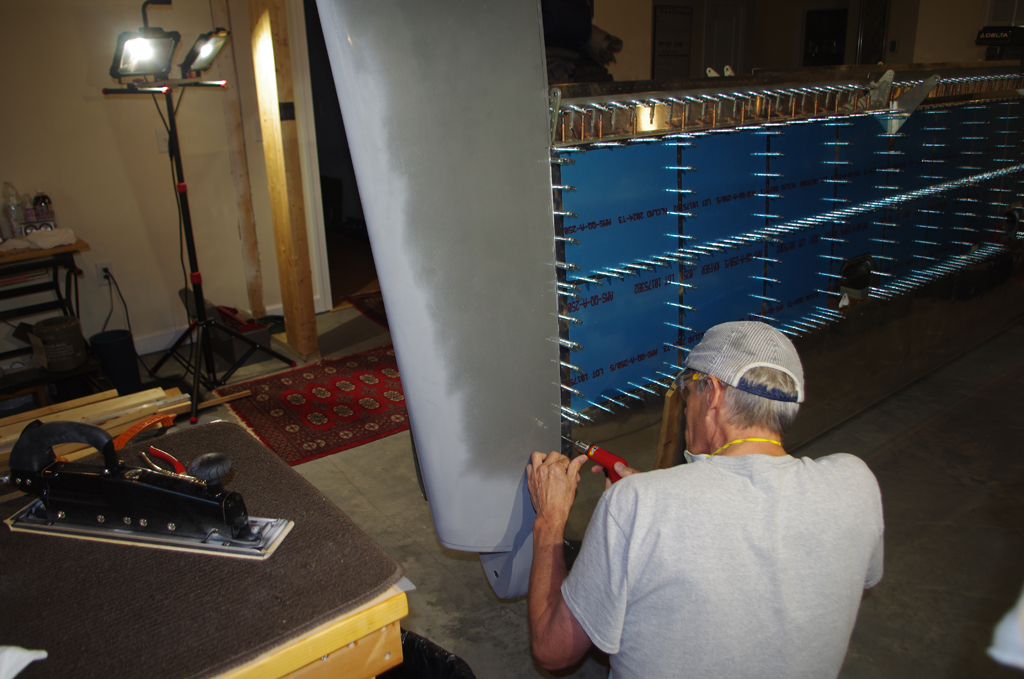
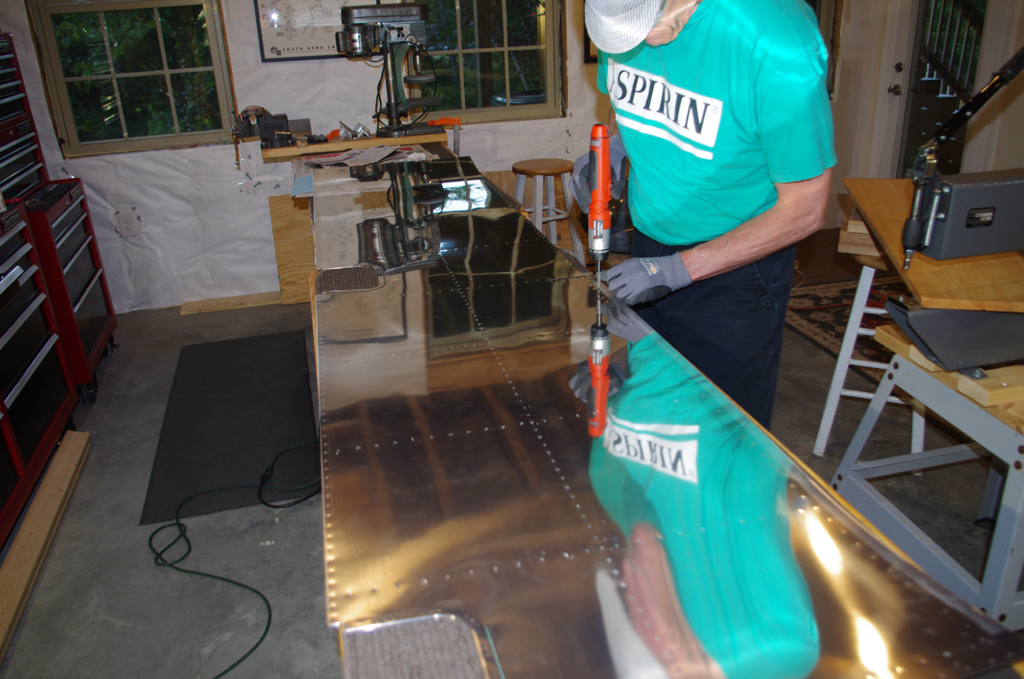
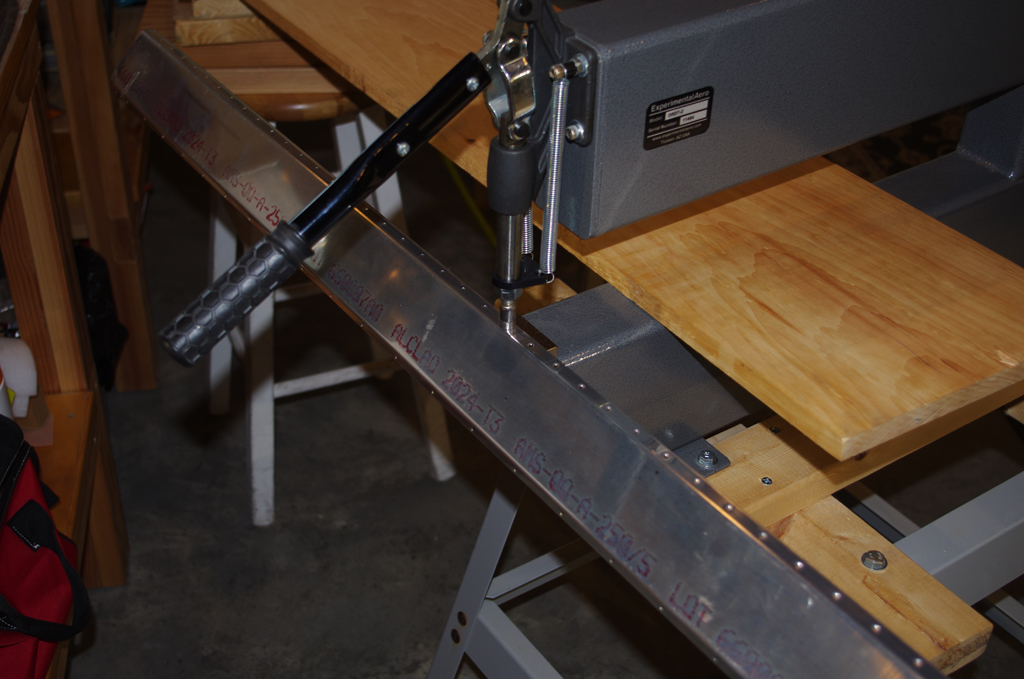
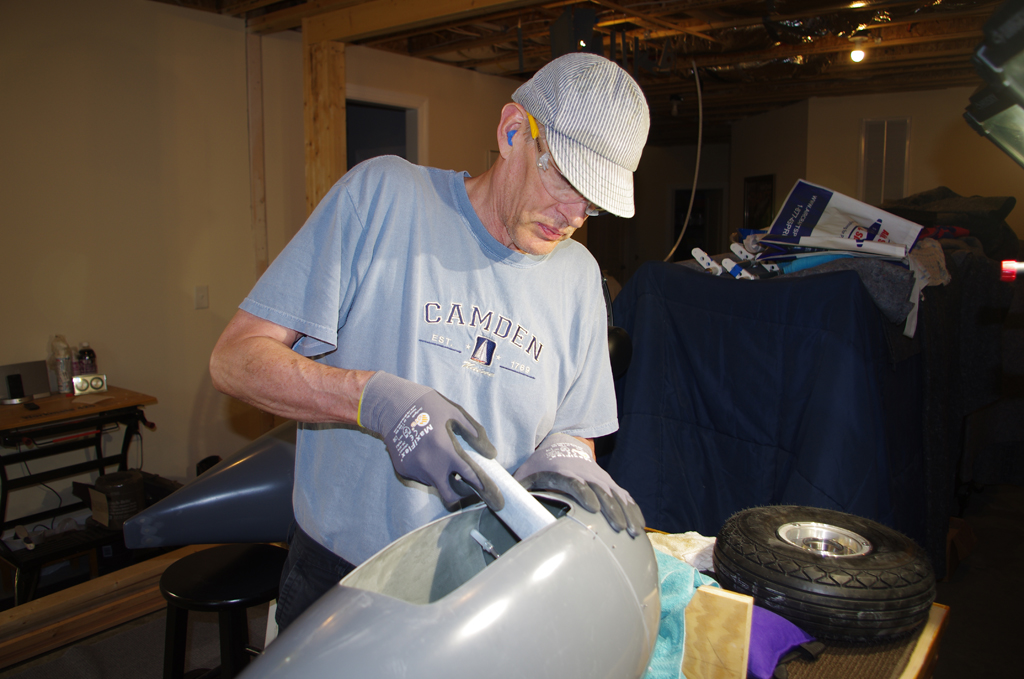
After initial trimming for fit, the wing tip is #40 match drilled with the top and bottom skins.  Start at the forward portion of the wing and work backward (up in the photos).


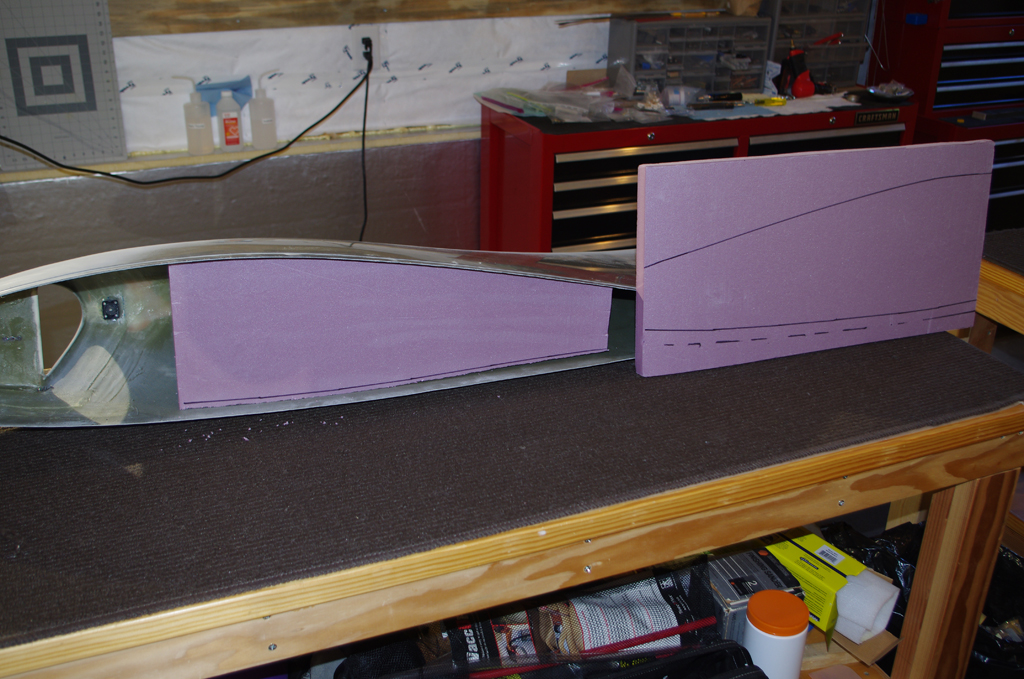
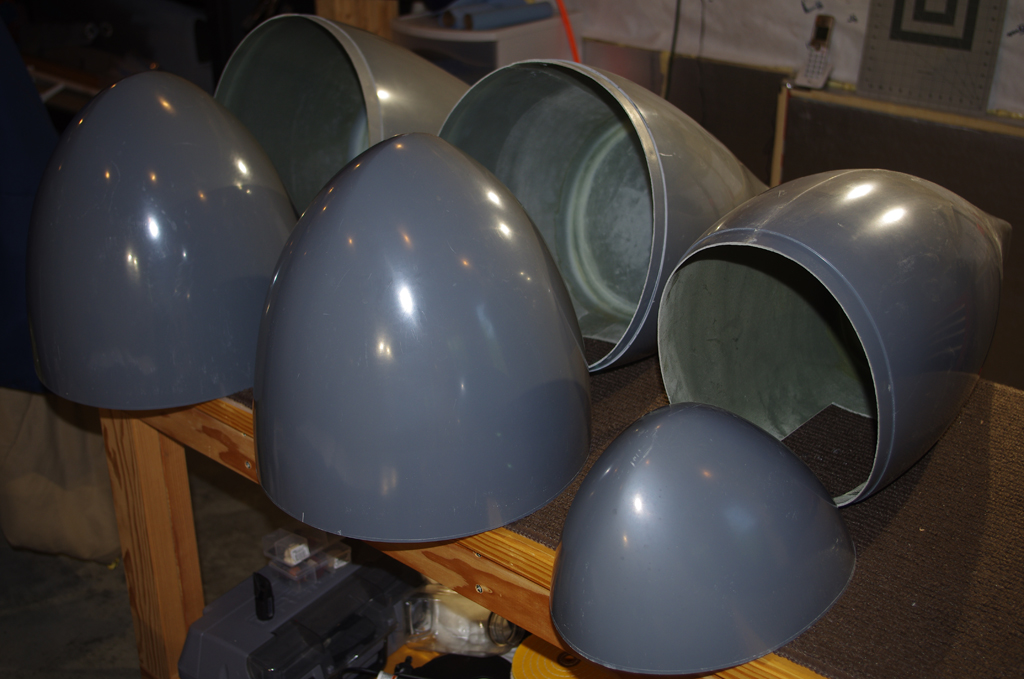
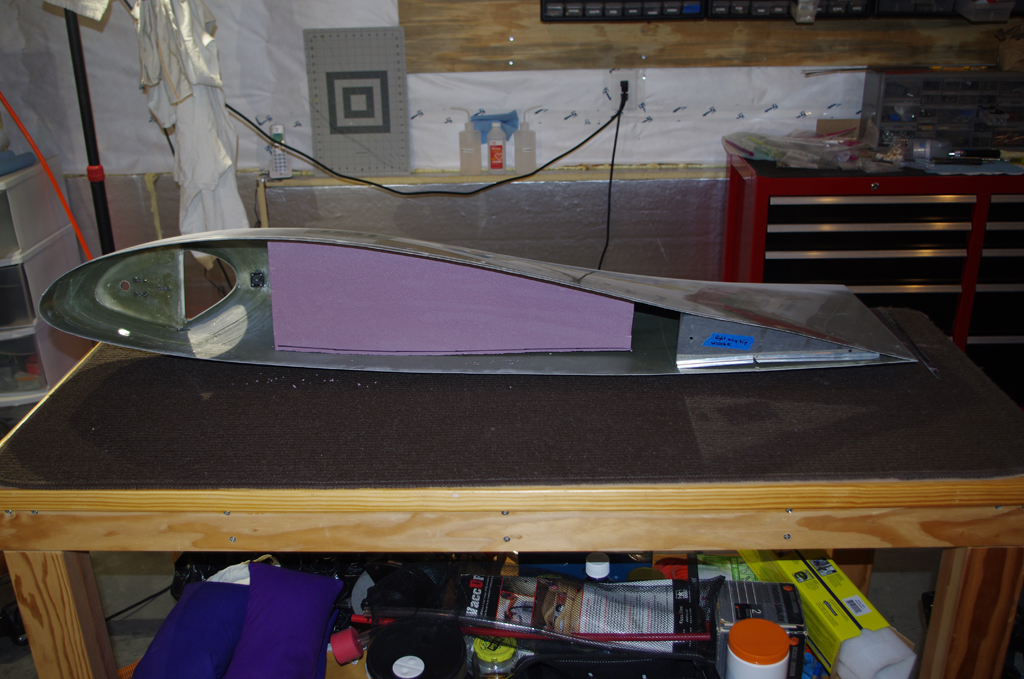
Other builders highly advise reinforcing the very thin fiberglass web in the wing tips to prevent ‘oil canning’ both during flight and on the ground (spectators leaning on your wing).  This shows a provisional fit of 1″ rigid foam, which eventually will be glassed into place mid-section of the wing tip.


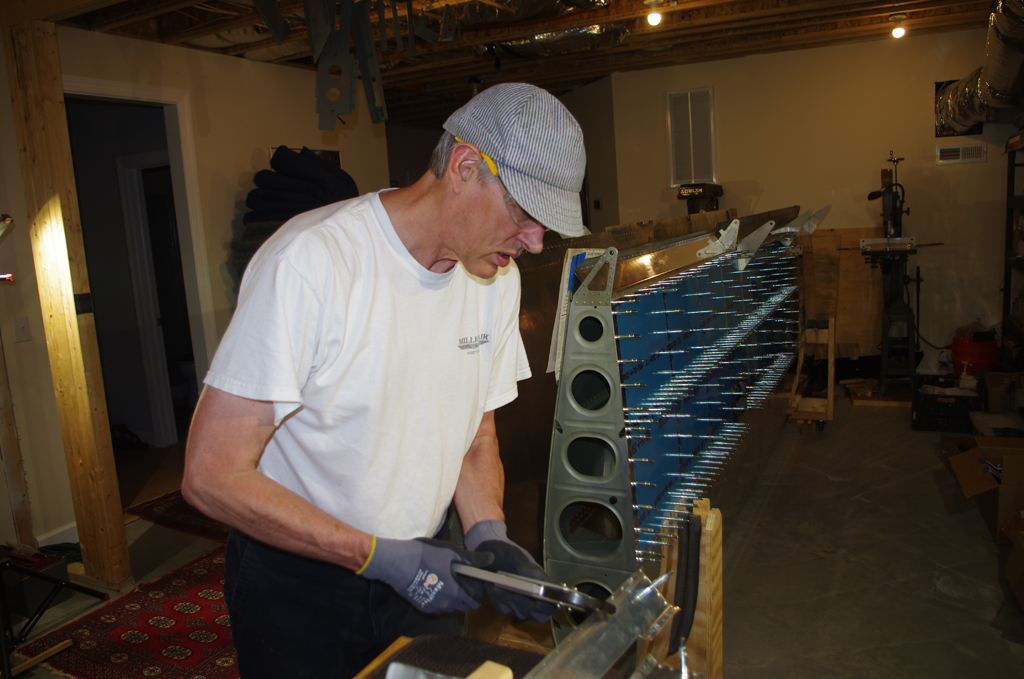
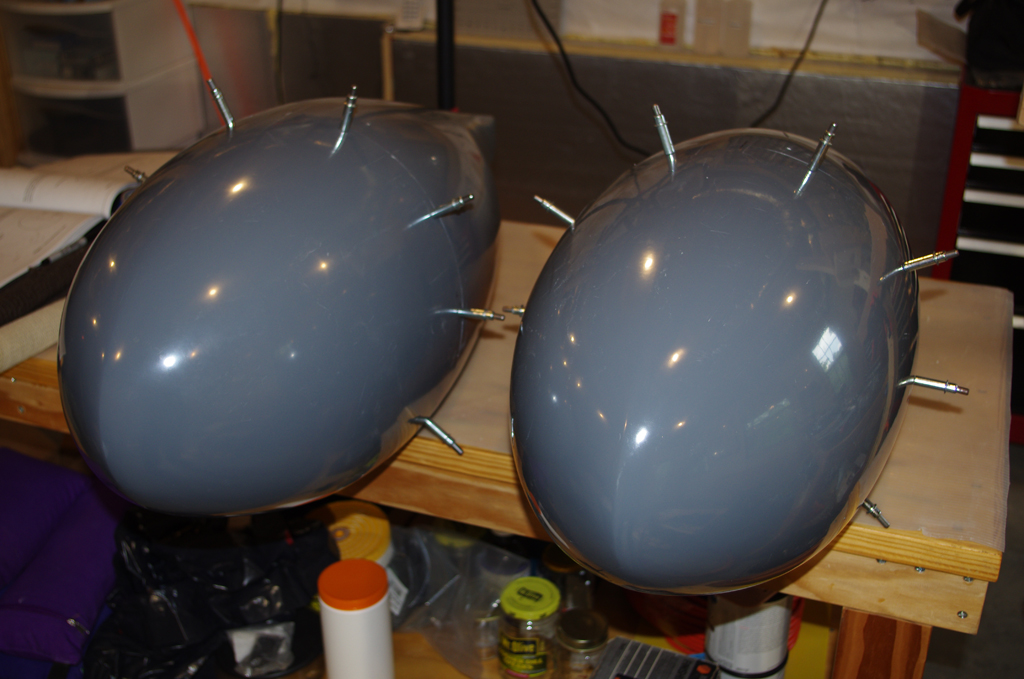
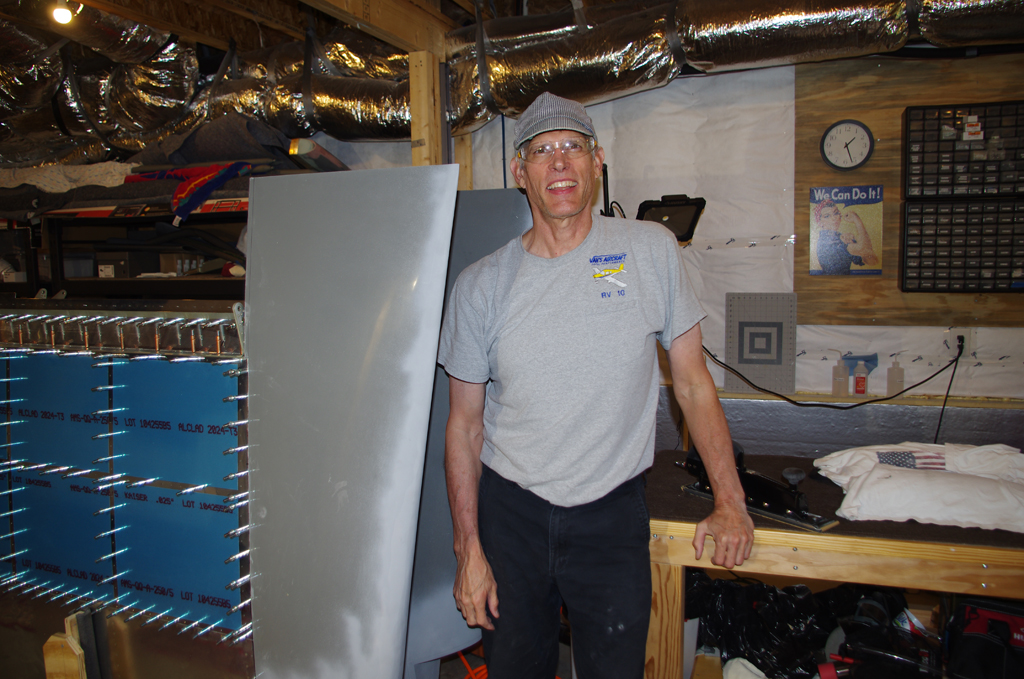
While the wing tips at this point are far from completion, having them provisionally hung on the wings is a great feeling.  The wing components are starting to look like an actual part of the aircraft.

Bottom Wing Skins (1)

The quick build wings come with main spars, tanks, and upper skins prepared.  The bottom skins, wiring, flap and aileron actuation, and pitot/static systems remain to be installed.

The first step for installing the bottom wings is fabricate Wing Box J-Stifferners – Long by cutting a long piece of J-channel to the correct length. Draw a centerline mark, then insert the unfinished piece into the rib cavities and hang the skin.


Next is #40 match drill the bottom skin with the J-channel pieces, aligning the center marks with the skin holes.


Remove the skin to deburr both sides, then dimple for AN426AD3-3.5 rivets.  Using the DRDT-2 dimpler greatly simplifies the task and produces very consistent results.


Dimple the upper skin in preparation for attaching the flap and aileron gap fairings.  I also decided to prime the gap area with PPG DP48LF white primer, as once closed this area will no longer be accessible. The wings will eventually be white in color.


Now dimple the gap fairings for the upper wing skin attachment.  Initially a hand squeezer was used, but quickly I reverted to the DRDT-2 as much quicker and easier to use.


The inward facing side of the gap fairings were also primed.  The photo right shows the primed inner surfaces and the flap gap stiffener riveted into place.


This picture shows riveting the gap fairings onto the upper wing skins.


Wheel Fairings (1)

Progress has been made over the summer in my air conditioned basement workshop, I have just not kept up with routine posts.  A series of updates for actions taken over the last few months should be appearing soon.

The next items after working on the wheels, axles and brakes are the initial rough assembly of the wheel pants.

The shell halves of fiberglass need to be fit together.  As has been the case with all fiberglass parts so far, tolerances from one part to another are just approximations.  Much hand sanding and fitting is needed to align the edges properly.


Once the main shells are close, finding the exact vertical and horizontal alignments of the main sections is needed. The Vans plans describe how to determine this geometry on the parts.


Enlarging the default openings to greater than called for in the plans seems to be required for good operational results.  Friends with RV10s have described wheel pant rubbing, or even fractures in the pant structure as the result of tire expansion contact with the pant on landing.


The strut fairings have fairly complicated shape due to hanging back and out from the fuselage. Fortunately a template is provided in the plans.