The quick build wings come with main spars, tanks, and upper skins prepared. The bottom skins, wiring, flap and aileron actuation, and pitot/static systems remain to be installed.

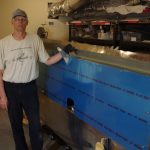 The first step for installing the bottom wings is fabricate Wing Box J-Stifferners – Long by cutting a long piece of J-channel to the correct length. Draw a centerline mark, then insert the unfinished piece into the rib cavities and hang the skin.
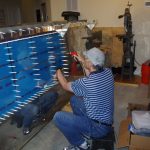
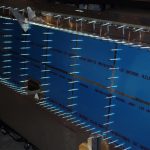 Next is #40 match drill the bottom skin with the J-channel pieces, aligning the center marks with the skin holes.
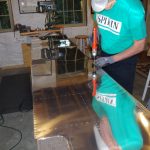
 Remove the skin to deburr both sides, then dimple for AN426AD3-3.5 rivets. Using the DRDT-2 dimpler greatly simplifies the task and produces very consistent results.
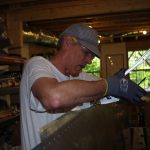
 Dimple the upper skin in preparation for attaching the flap and aileron gap fairings. I also decided to prime the gap area with PPG DP48LF white primer, as once closed this area will no longer be accessible. The wings will eventually be white in color.
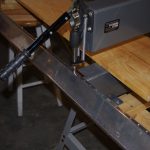 Now dimple the gap fairings for the upper wing skin attachment. Initially a hand squeezer was used, but quickly I reverted to the DRDT-2 as much quicker and easier to use.

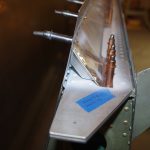 The inward facing side of the gap fairings were also primed. The photo right shows the primed inner surfaces and the flap gap stiffener riveted into place.
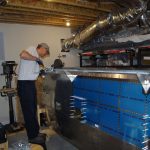 This picture shows riveting the gap fairings onto the upper wing skins.
