Sanding and fitting door to the canopy have been my main activities over the past few weeks. The work has been tedious, but I prefer taking off smaller increments to slowly get the shape down to cabin contours than accidentally removing too much with a power tool.
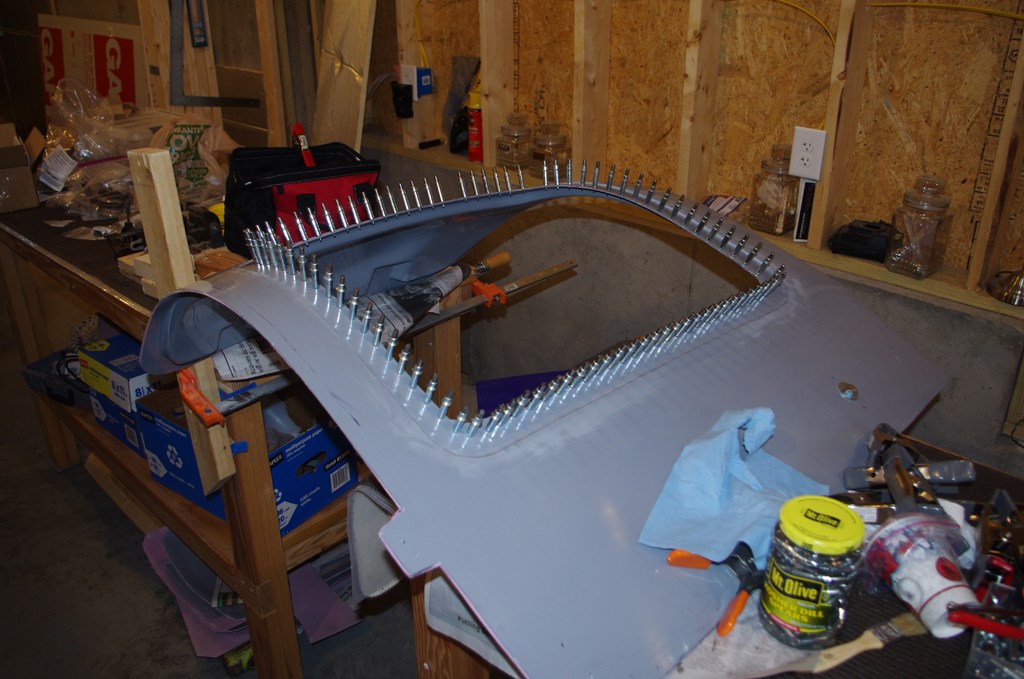
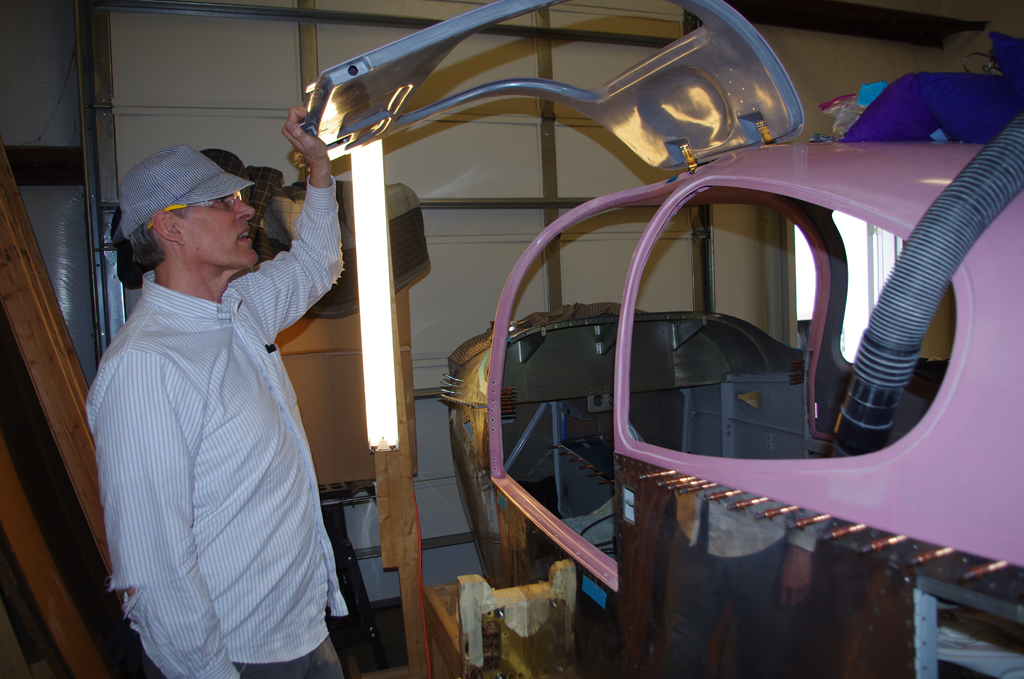
 First up was finish bonding the passenger side door together around the windows and exterior edges. That done, next mount the rough door on the canopy opening. The right picture shows marking a rough cutout line using a special jig tool made by Tal. Worked great!
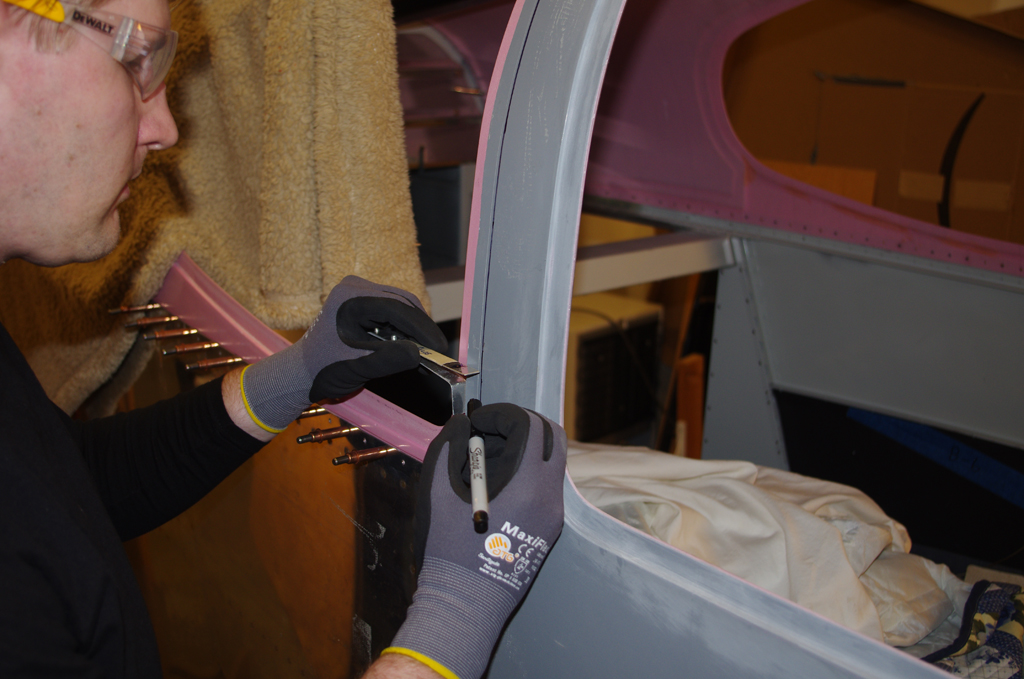
 Here the custom tool with a very fine point Sharpie marks the upper door edges. The Sharpie line roughly equals the scribe line in the fiberglass outer shell, but differs enough to require carefully measuring all around. As usual, the fiberglass mould used for the canopy is just an approximation, nothing precise at all.
 Left picture is a rough trim on the upper door near the hinge. Notice the single alignment tab still the outer edge. The right photo shows a later fit after many, many hours of hand sanding. The last bit of shaping used a folded sheet of sandpaper moved back and forth sandwiched between the door and the canopy frame. Makes for a nice fit.
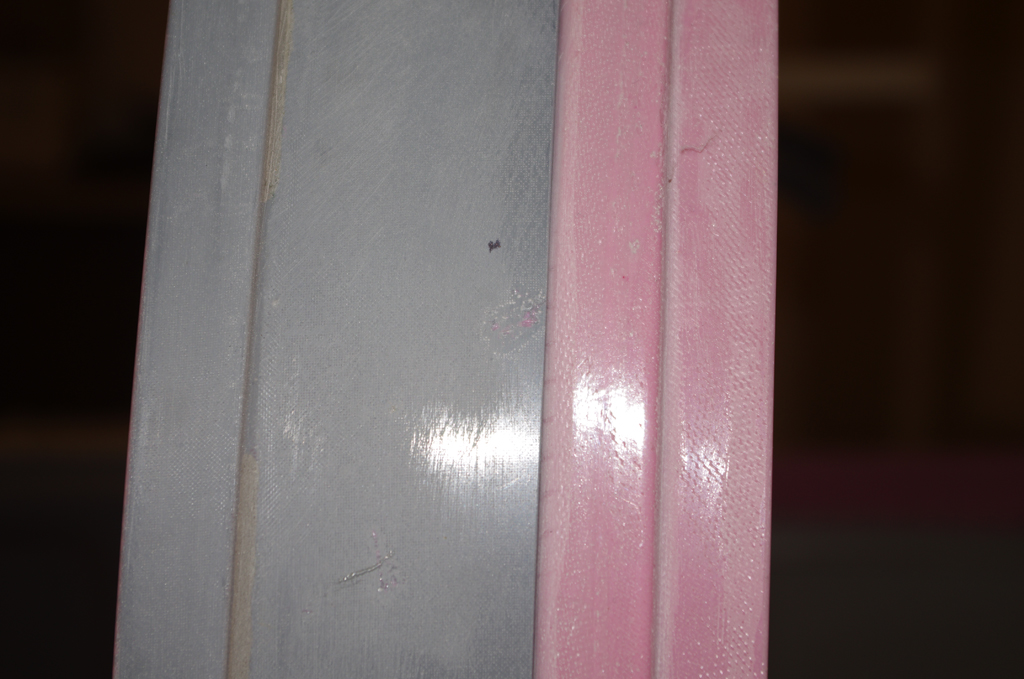
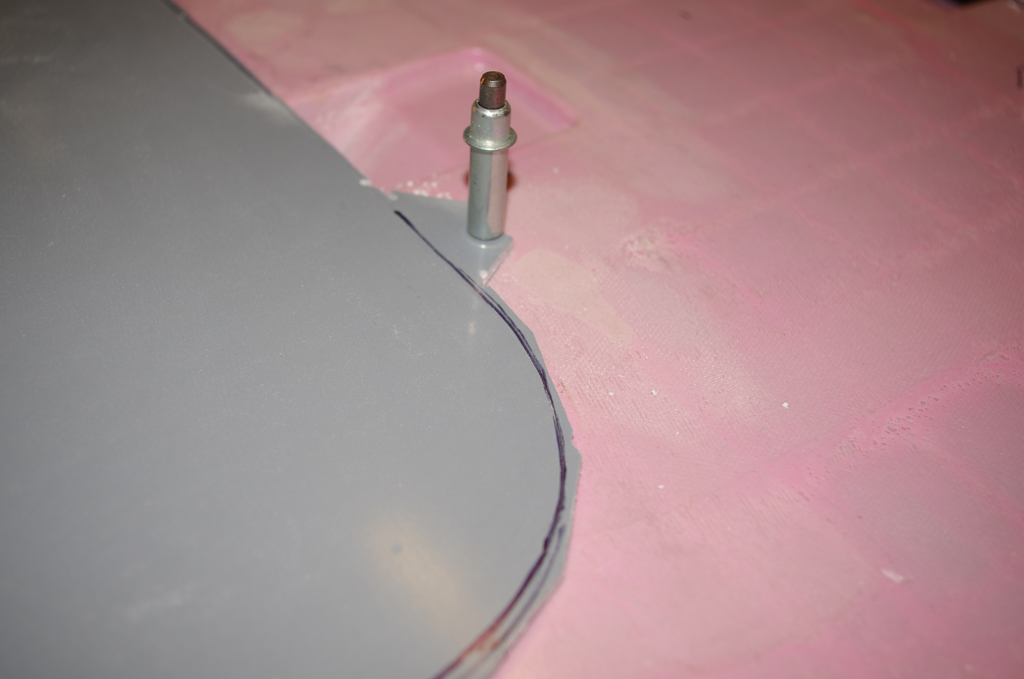
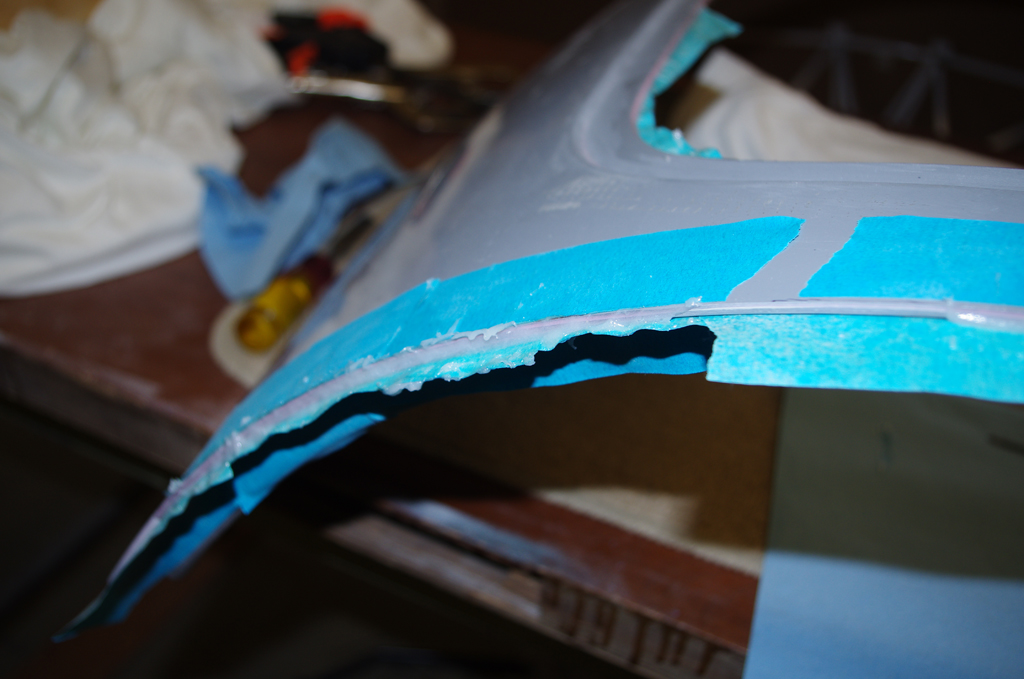
 Here is a closeup of the door against the cabin center column. The next step was tape the roughed in door into position, get ready to install hinges.
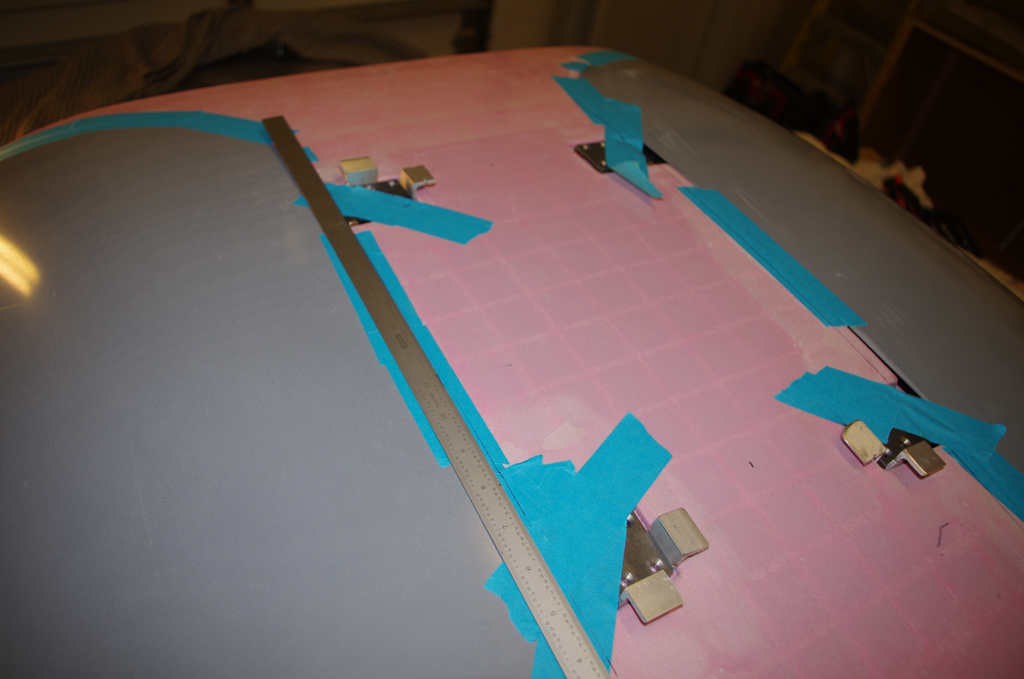
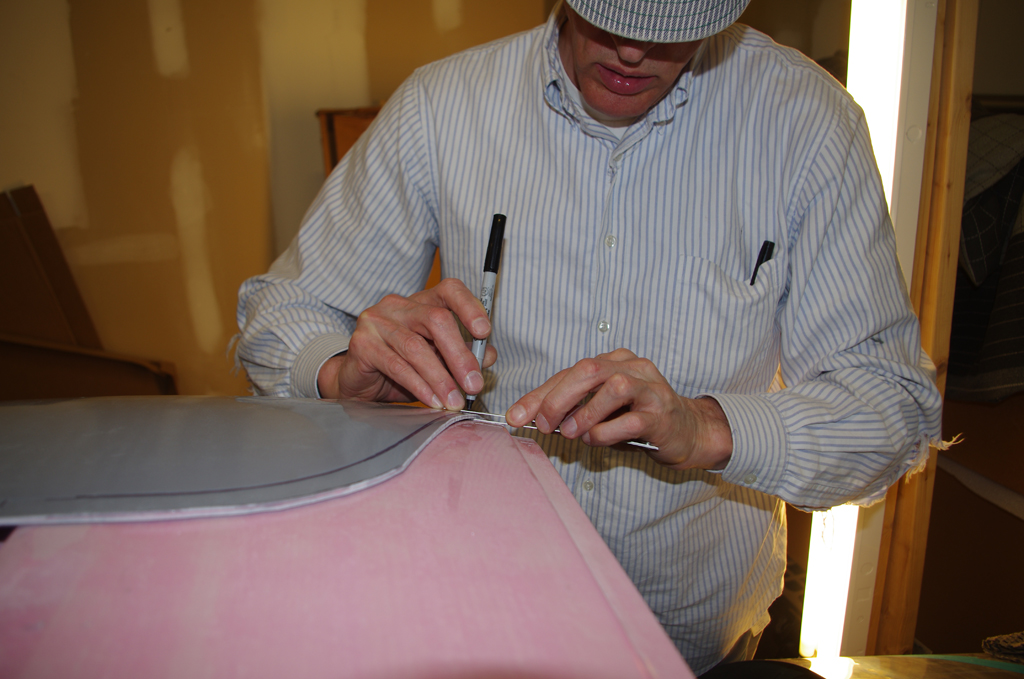
 A two foot straightedge is used to mark the centerlines of the hinges. If the hinges are not aligned just right, they will bind when the door is opened.
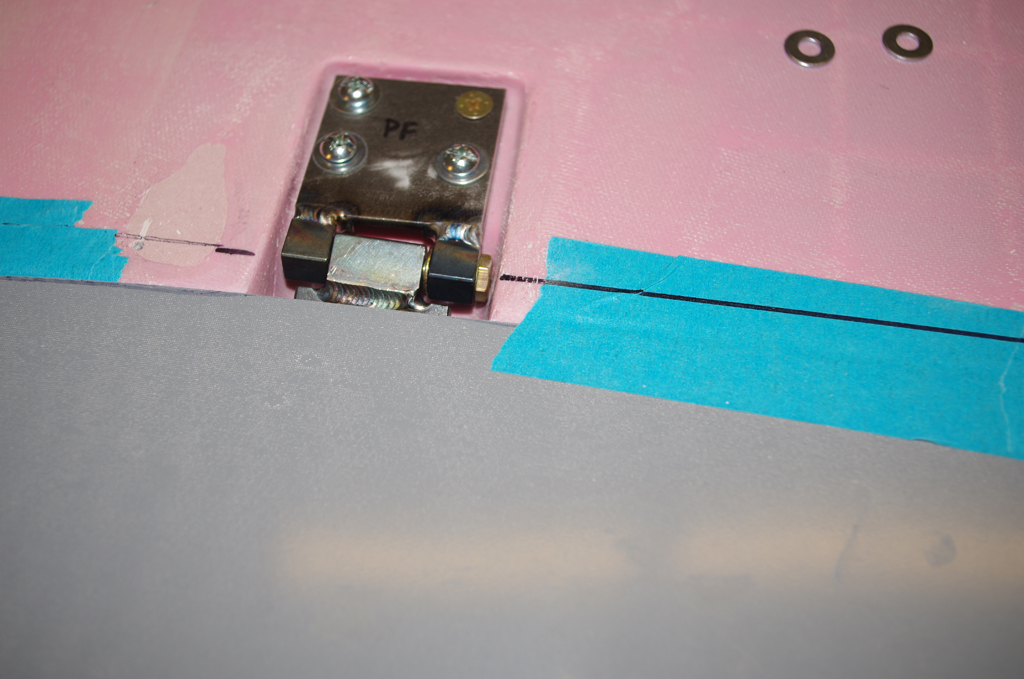
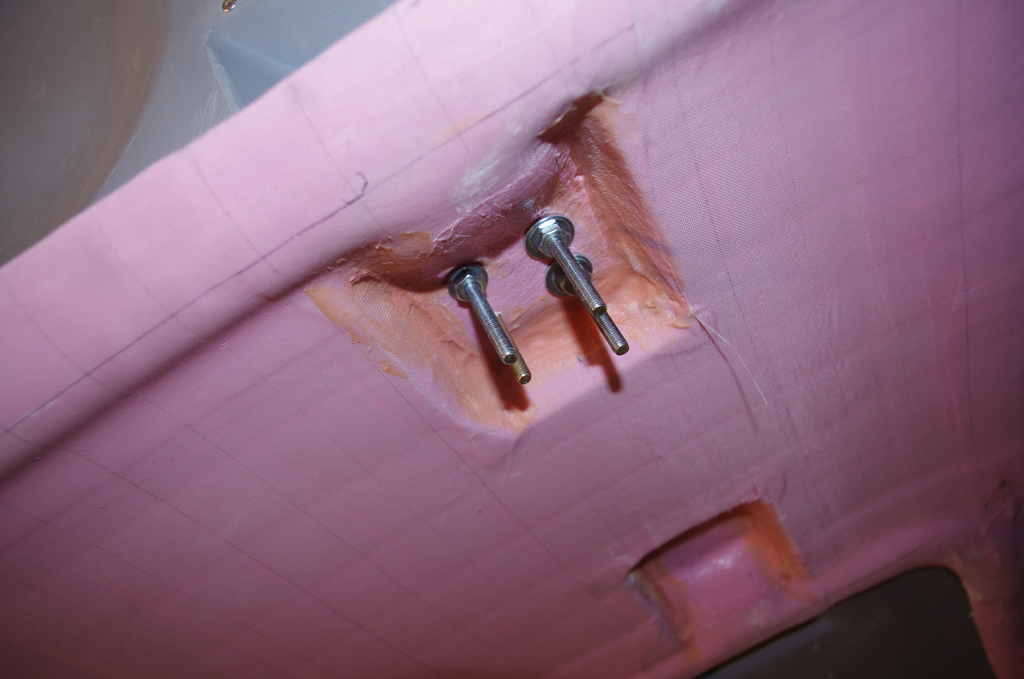 Okay. Drill the canopy hinge first, and install four temporary #10 screws.

Open the door for the first time and check the fit. The edge distances are uniform and the hinge action seems smooth although only two screws hold the door in place.

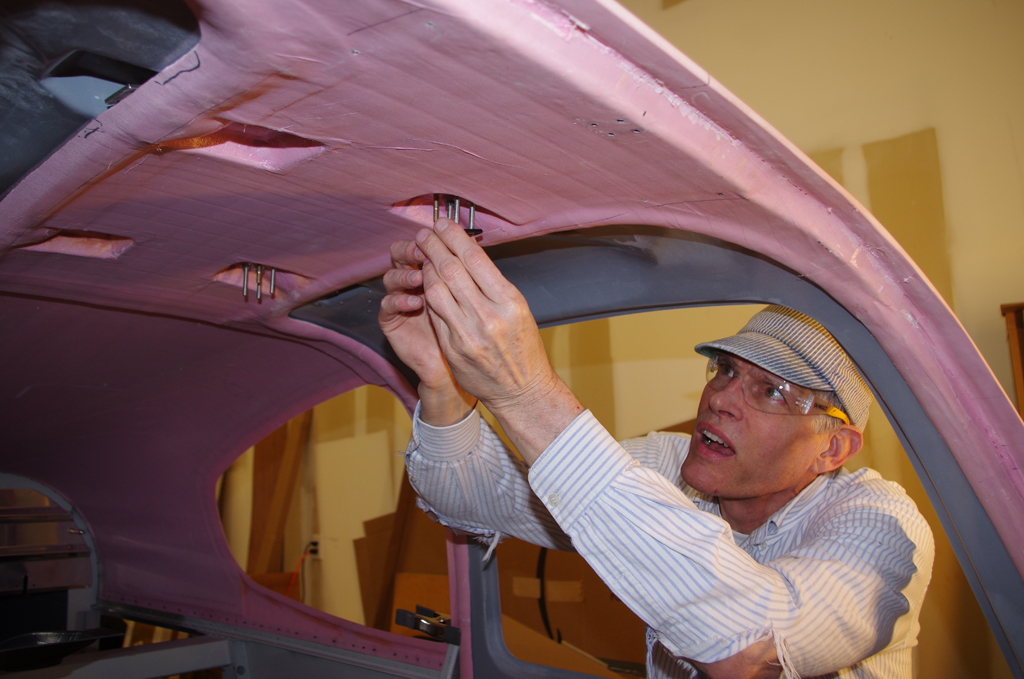
 The remaining door hinge holes are then drilled and screwed. The next major focus of the door build will be contour the canopy gutter edges to the proper geometry for weatherstrip moulding.
 Some touch up of small edge gaps from the previous bonding process remain before moving on.