The Christmas vacation provided opportunity for some significant shop time. The main focus for the 10 days off was fitting the overhead console and fabricating the rear seat backs.

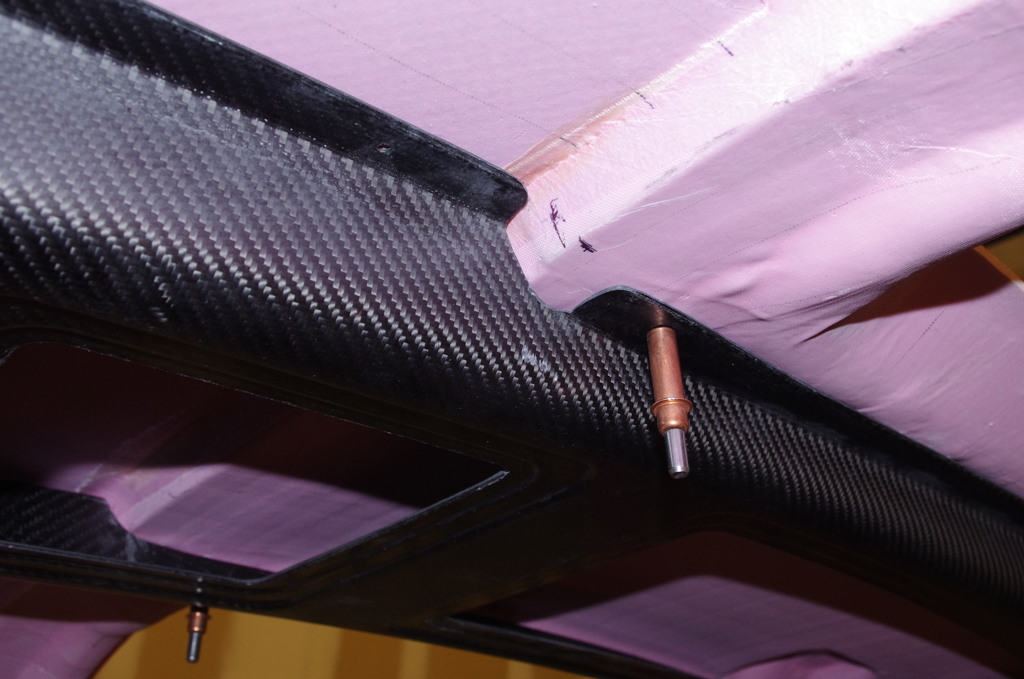
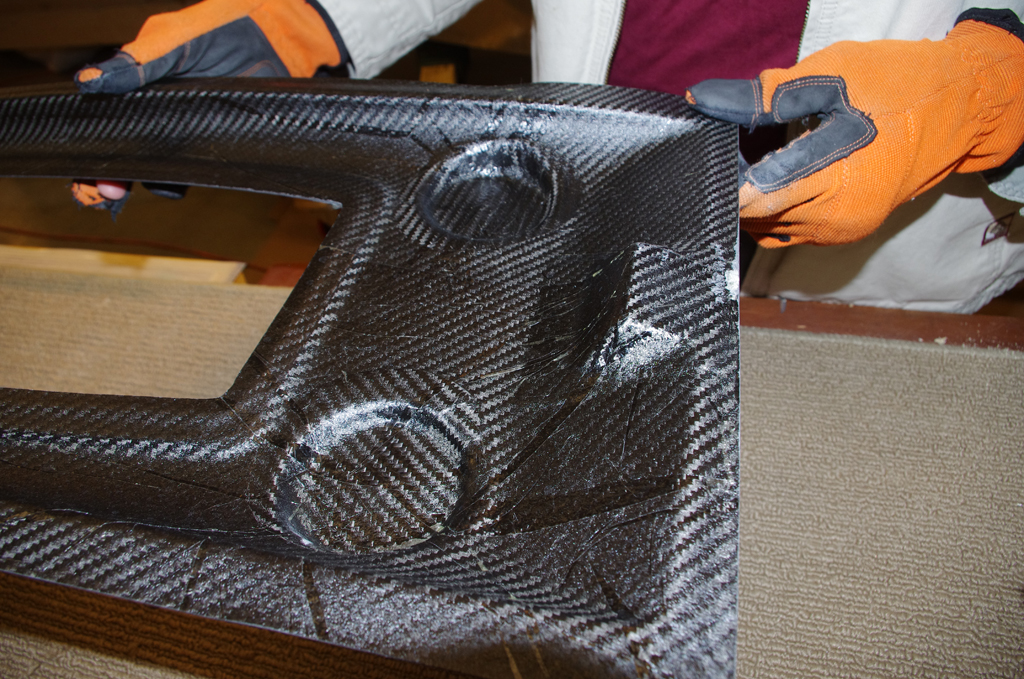 The carbon fiber console was obtained from AeroSport Products. It is very light weight, but not exactly proportioned to the Van’s cabin cover.

 The middle portion needs to be relieved to accommodate the heavy fiberglass reinforcement section of the cabin cover. This element apparently is very significant to the structural integrity of the plane and everyone suggests no alterations to this element should be undertaken. My intention is feather the console into the ceiling with fiberglass and paint (no need for the carbon fiber look).

 Here are photos of aligning the rear console with the baggage bulkhead.
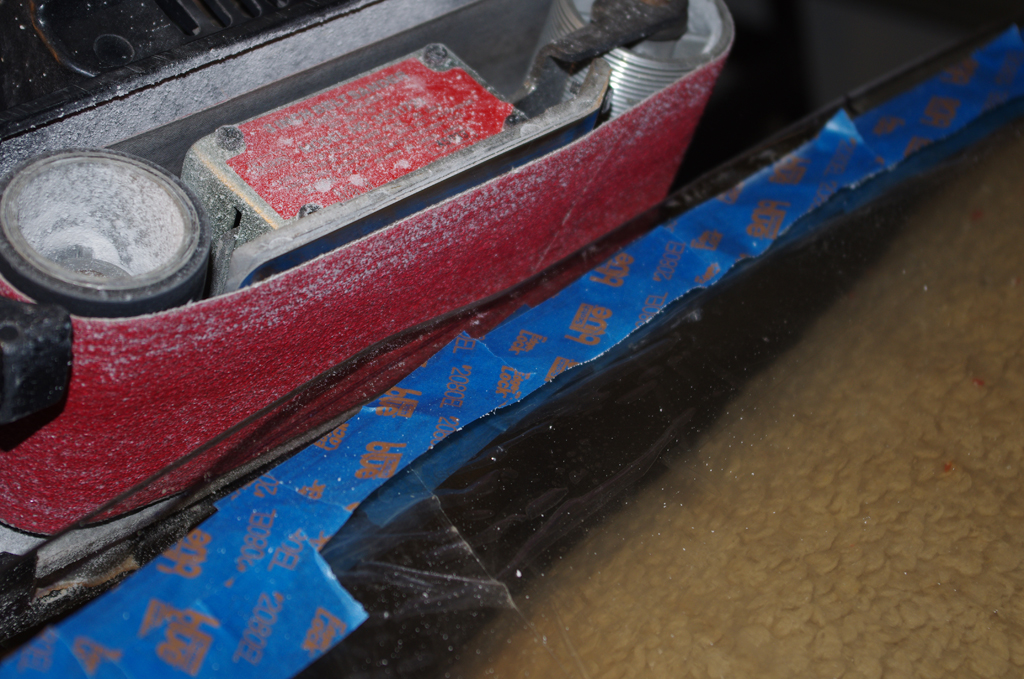
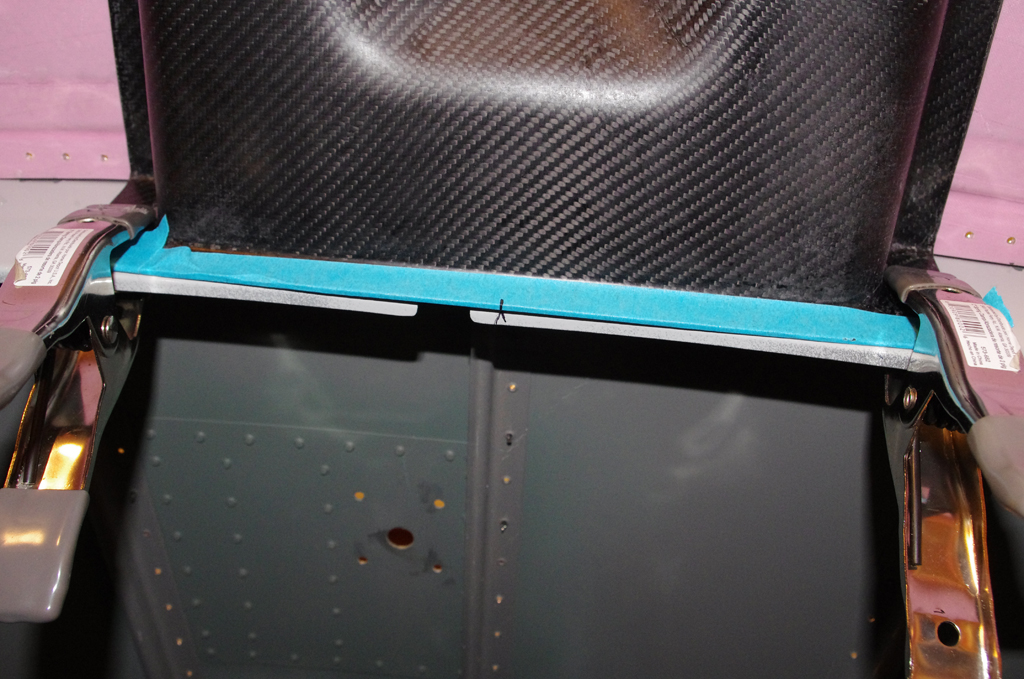
 A #30 drill with a drill stop set to a depth of about 1/4″ was used to drill through the carbon fiber and the under layer of fiberglass/resin of the cabin cover – just enough for a cleco to grab. Drilling much further would penetrate the outer fiberglass, definitely not recommended.
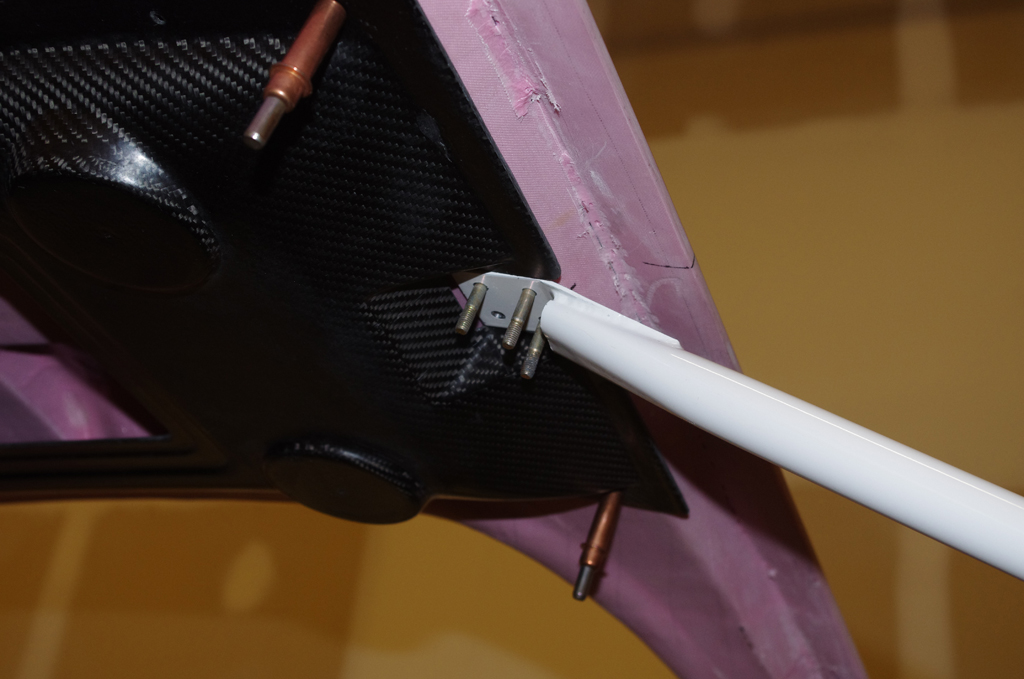
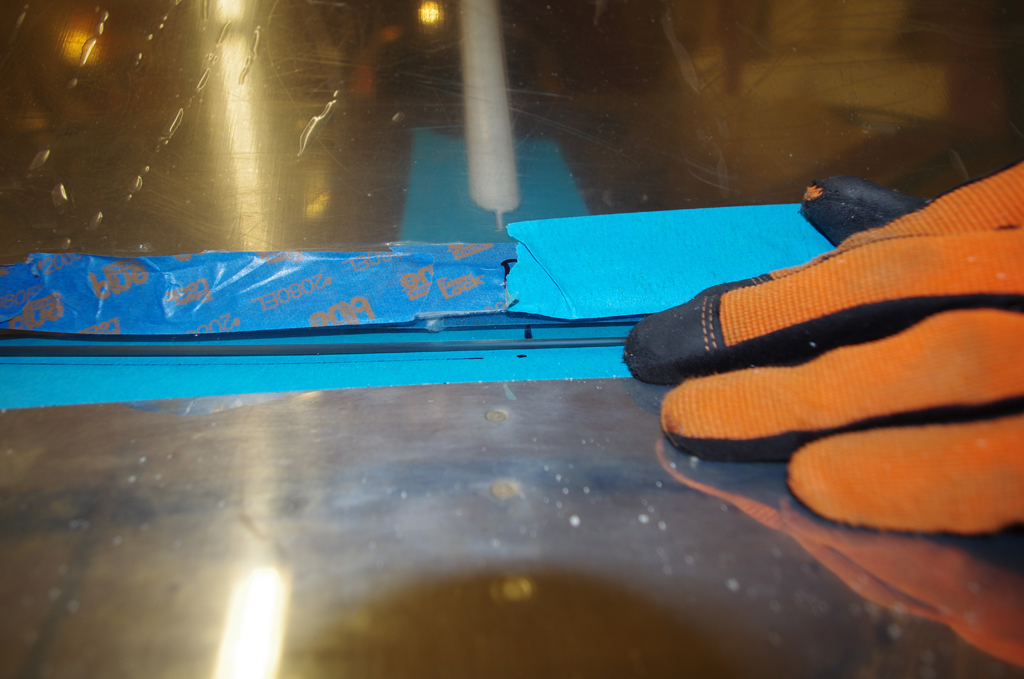
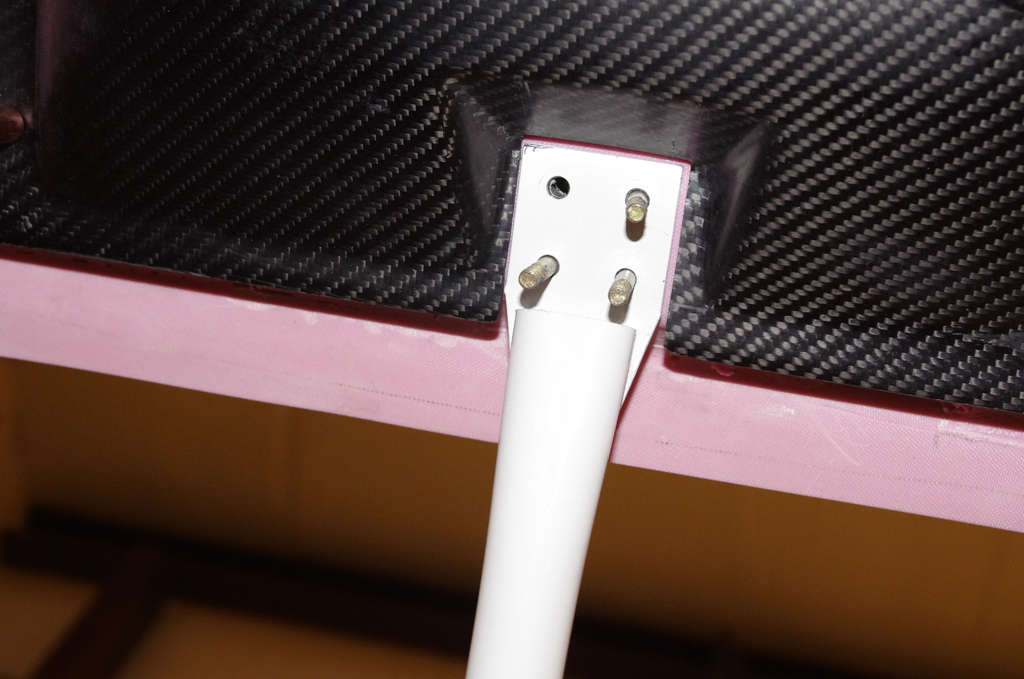 The console was removed and modified for the center bracket, then refit to check clearance.
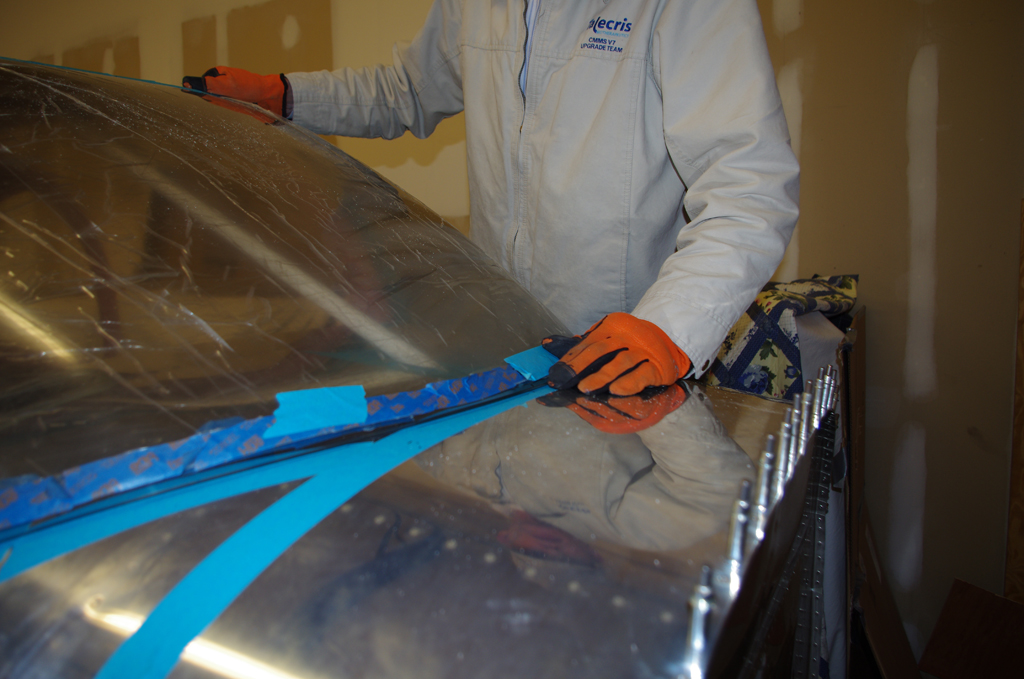
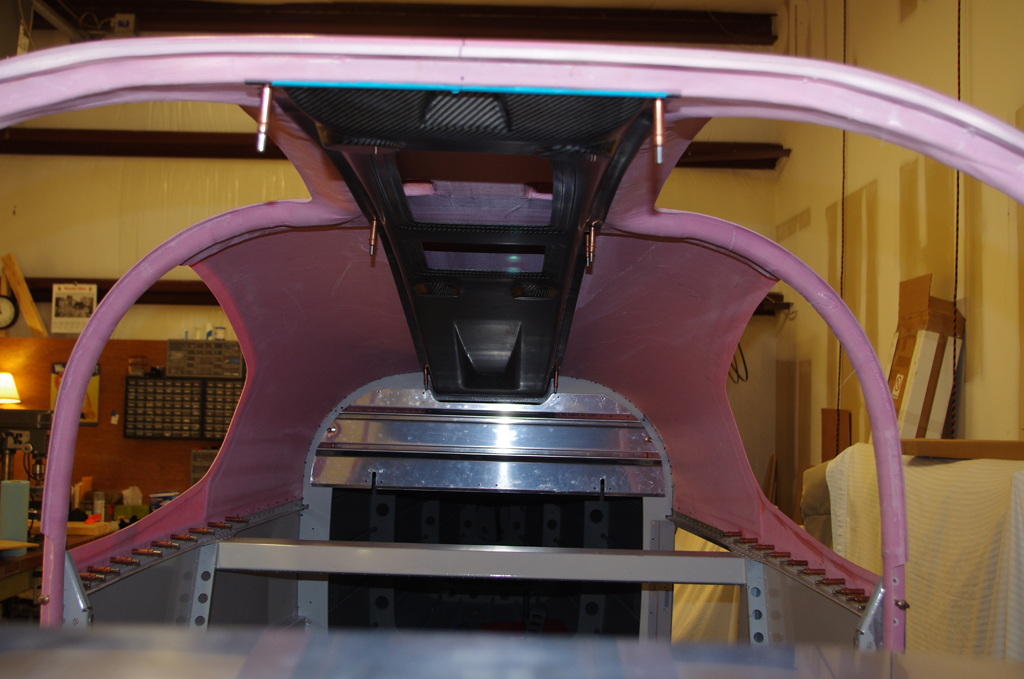 Here the console is shown in final fit configuration. Further work on vents, lights and cabling will be performed with the cabin off the plane. With the canopy upside-down gravity will assist holding the console in-place.