My first foray into fiberglass is modifying the wingtips to accept special inserts for the AeroLED VX landing lights and Pulsar PS position/strobe lights.
 Measure twice…
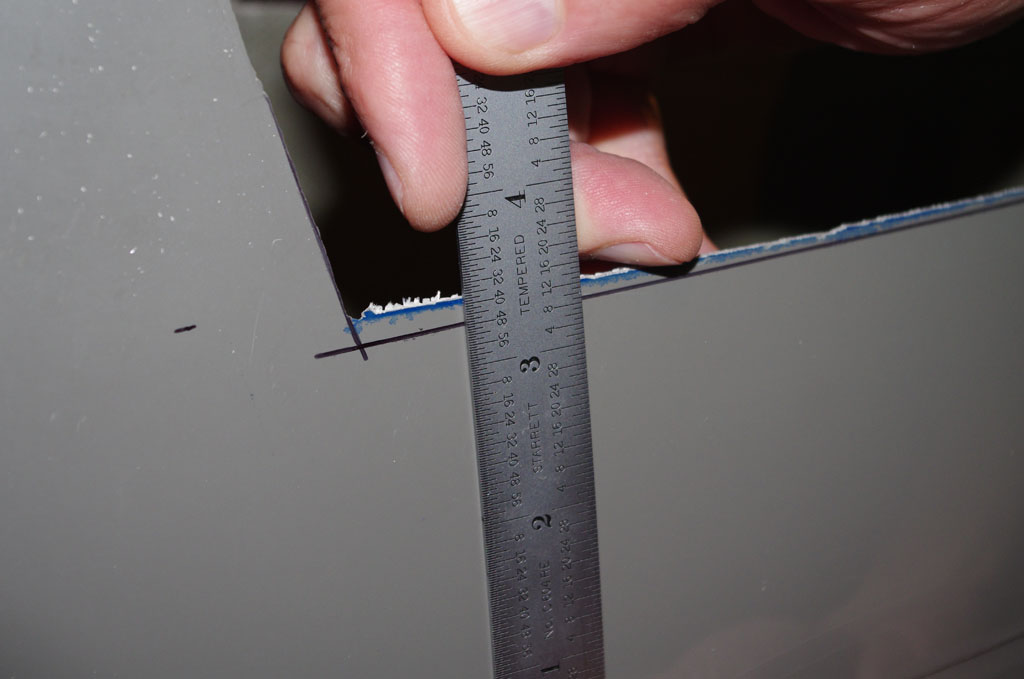 Cut once, twice, three times…

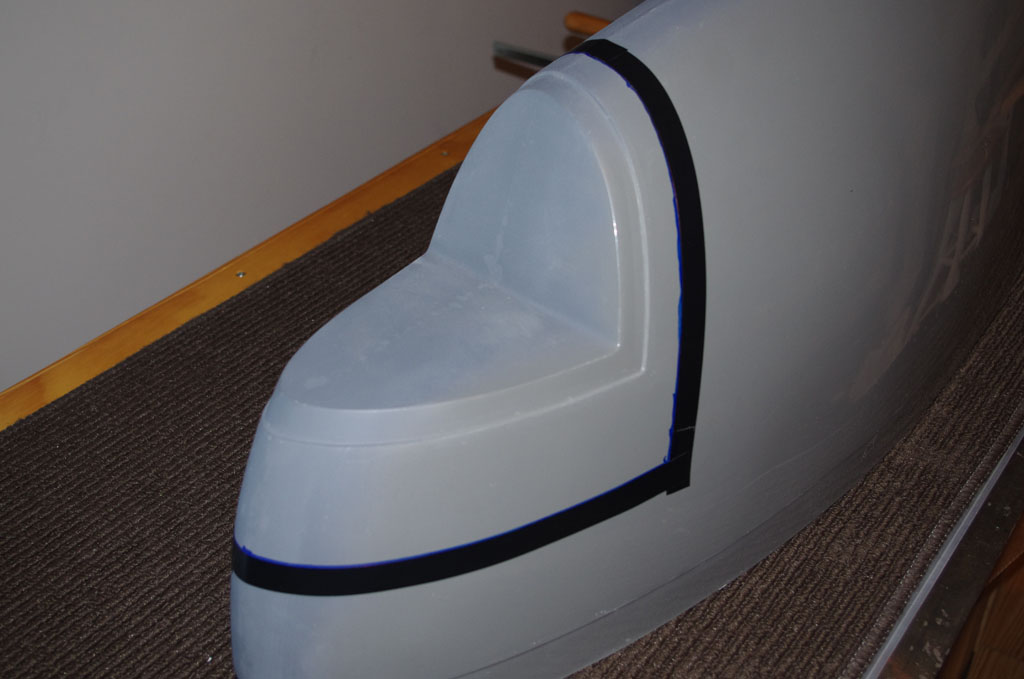
 Inserts rough fit in the new openings.

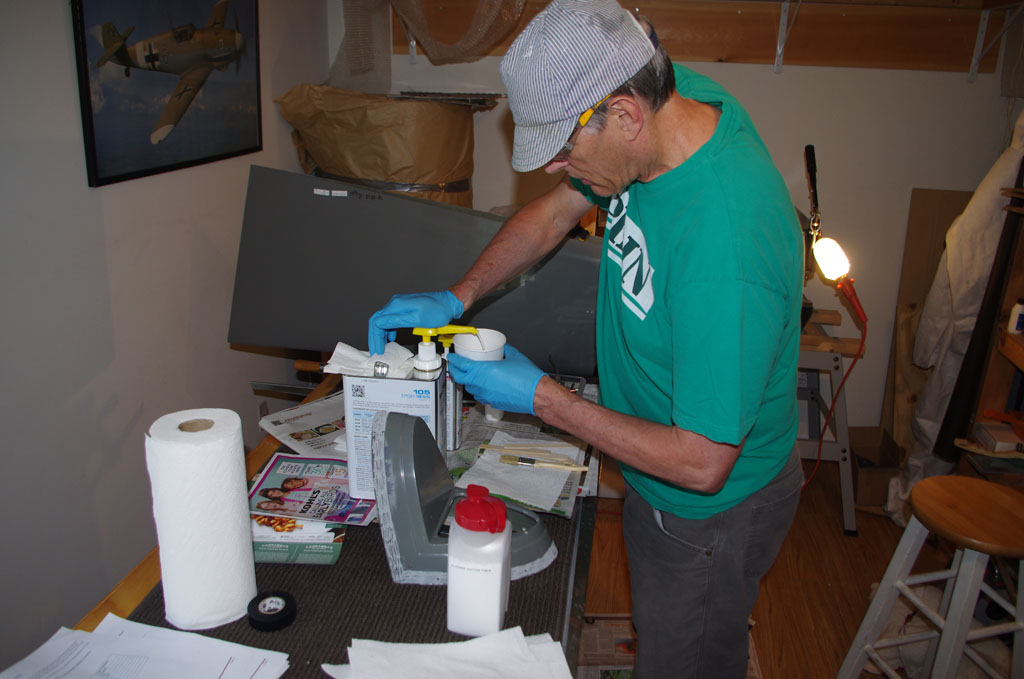
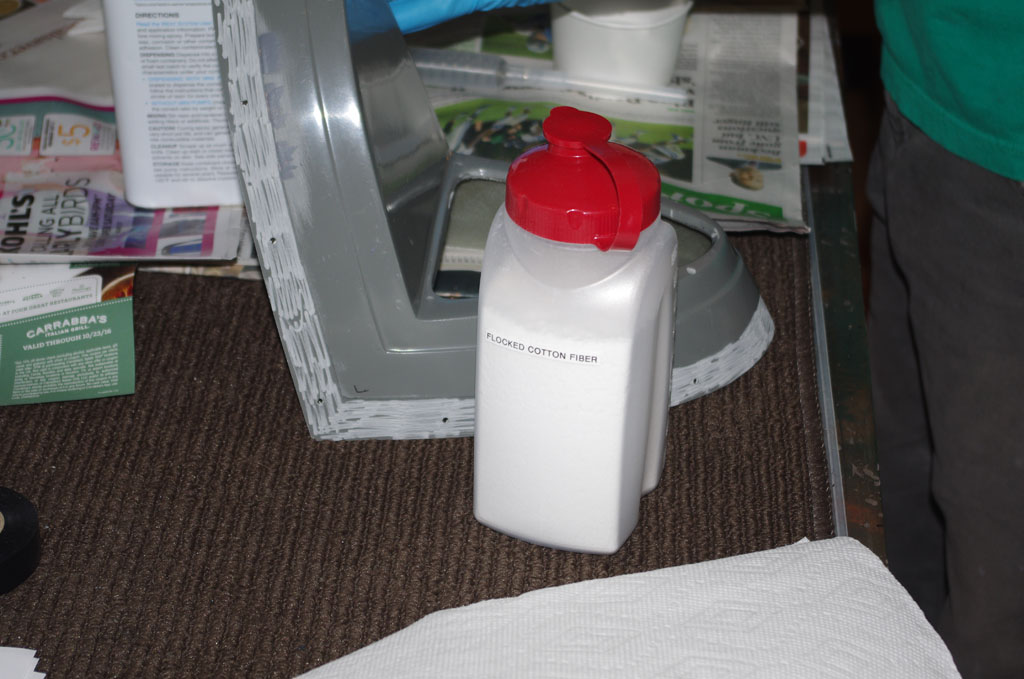 Layout of West resin system components.
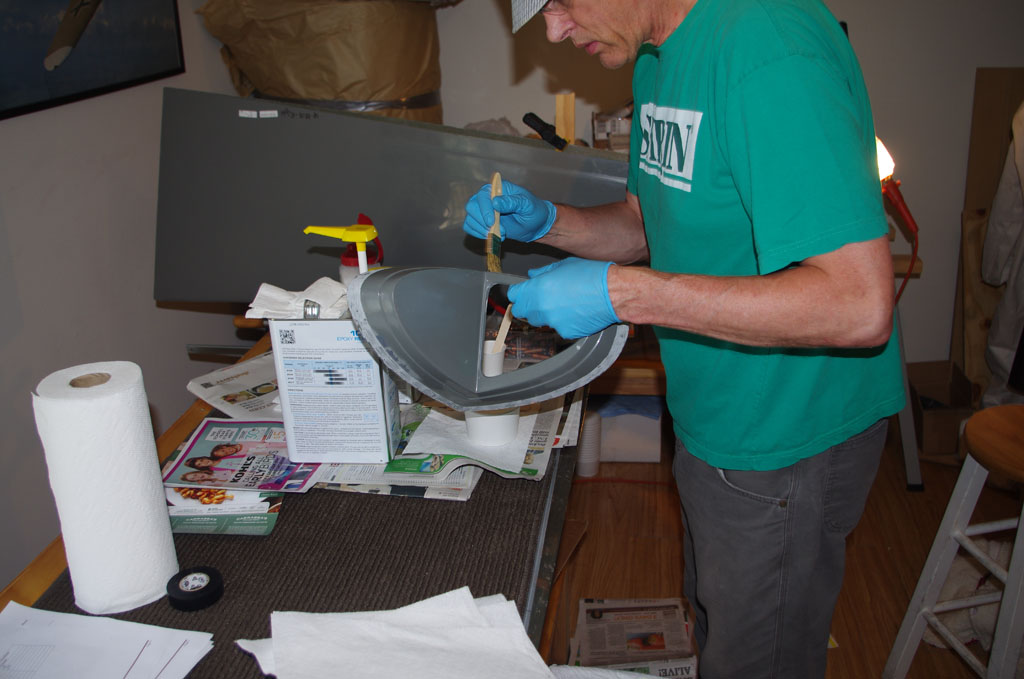
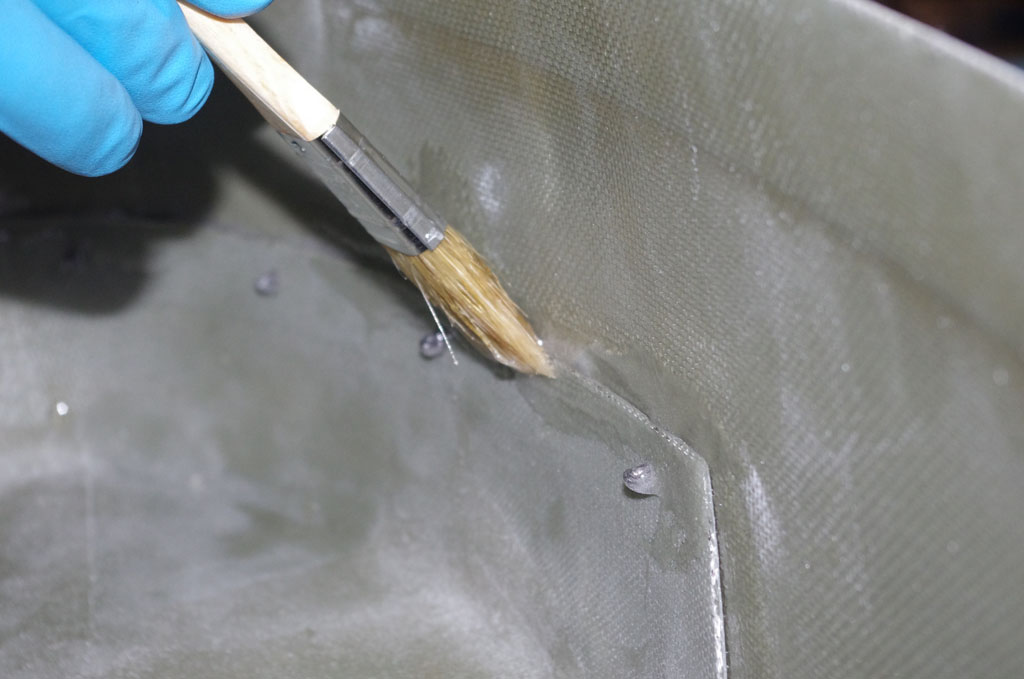
 Mix, and brush on both surfaces.
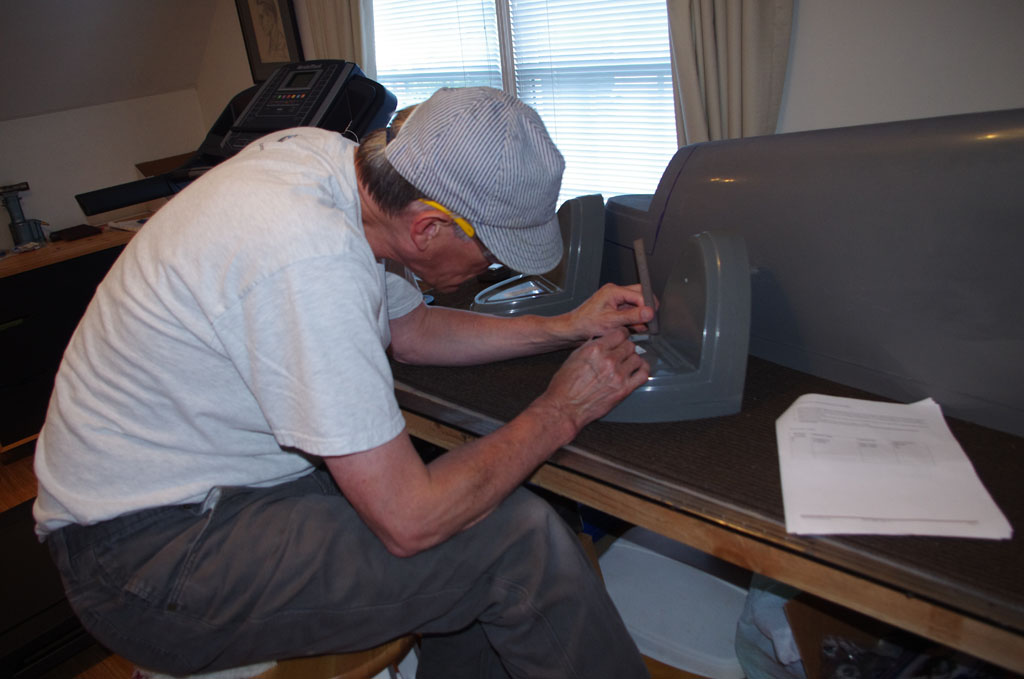
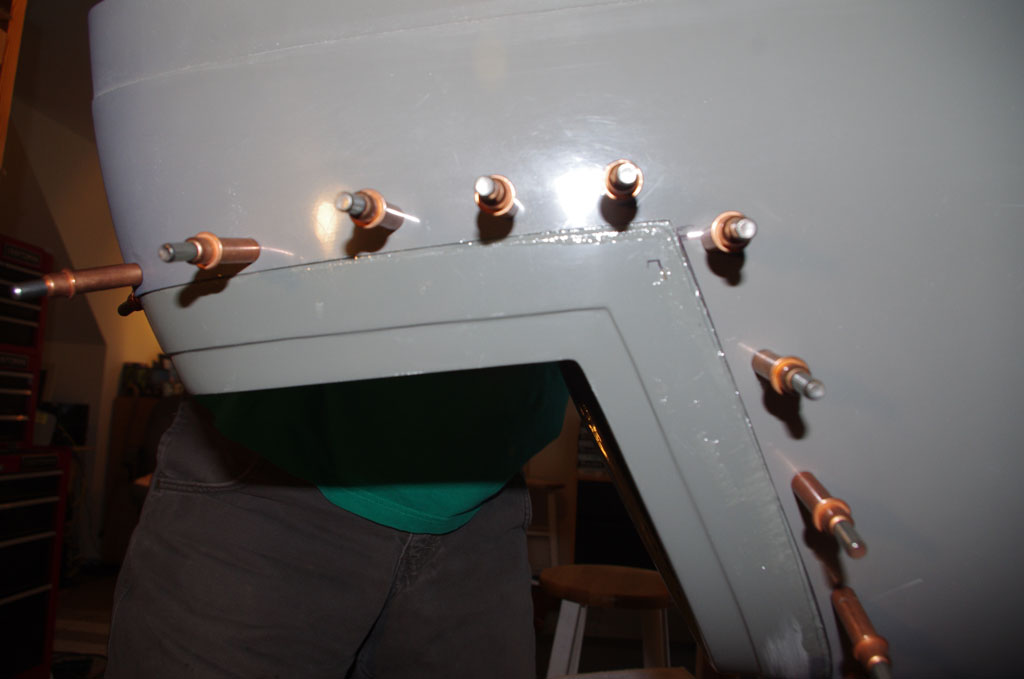 Position insert and cleco together.
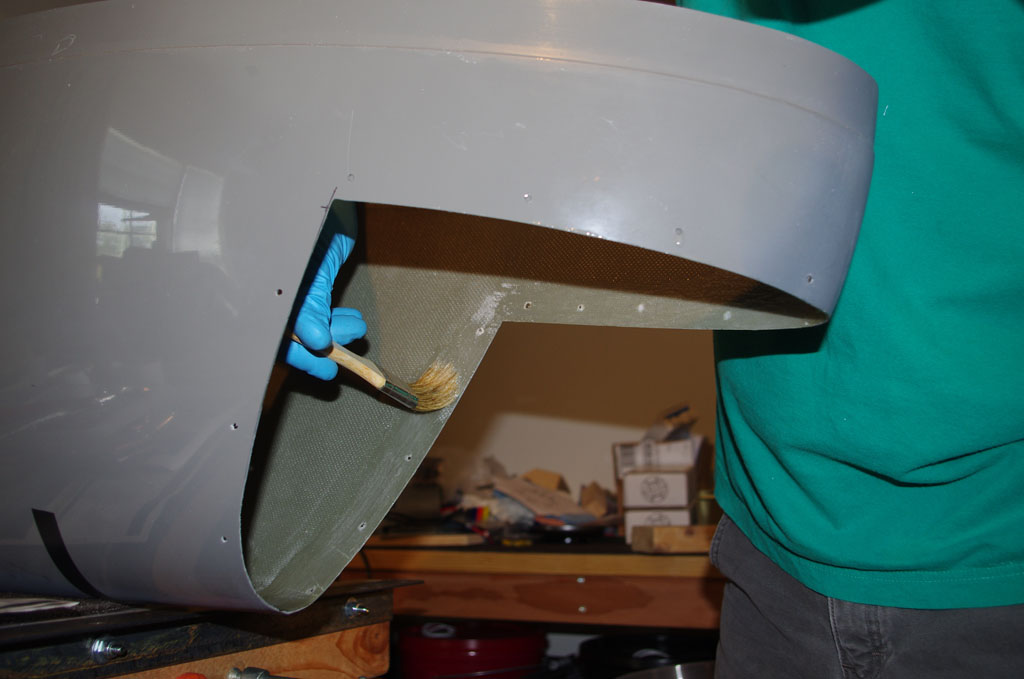
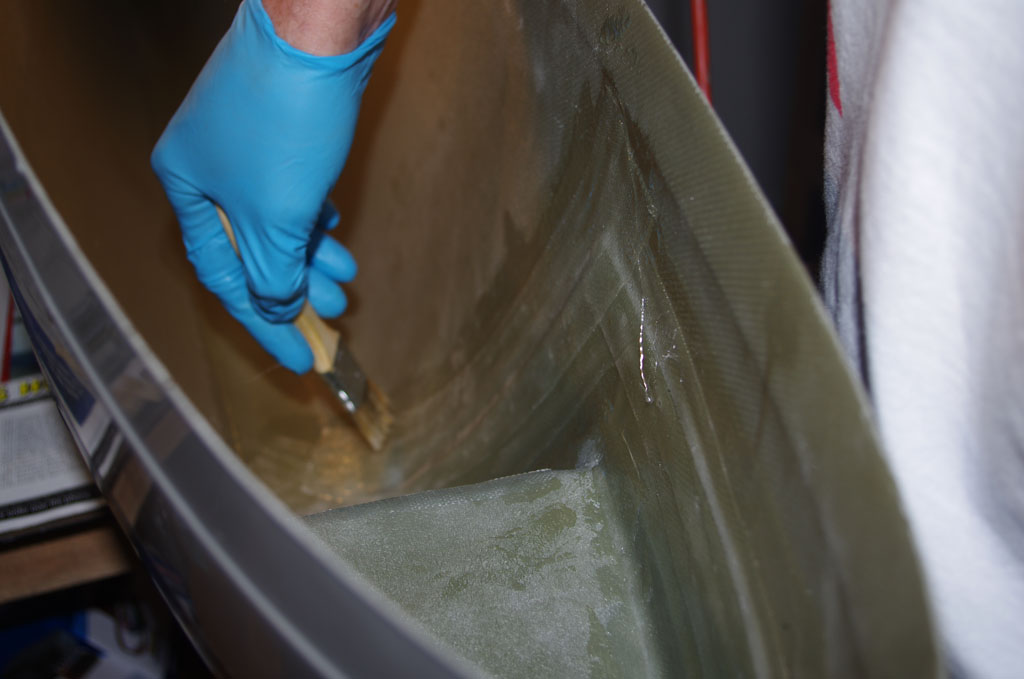
 Fill inside edge with remaining resin to ease the sharp angle (will help later when fiberglass cloth is applied). Let this combination dry overnight.
 Now add three layers of fiberglass cloth on the inside to reinforce the insert seams. Let this cure overnight.
 Fill in the outside gaps, let cure overnight, then sand roughly smooth.
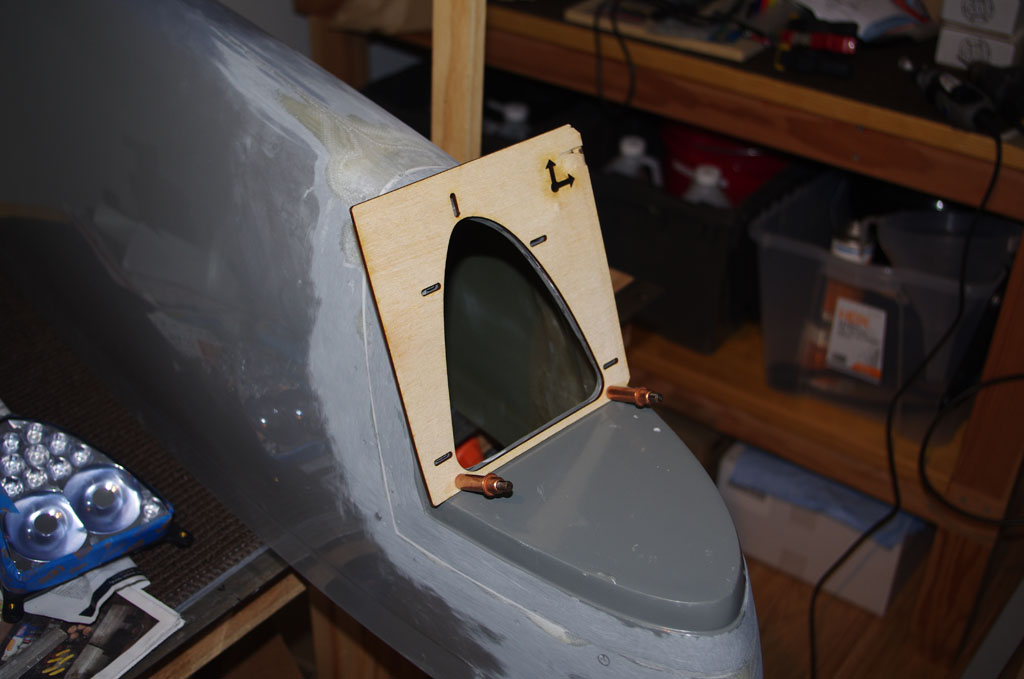
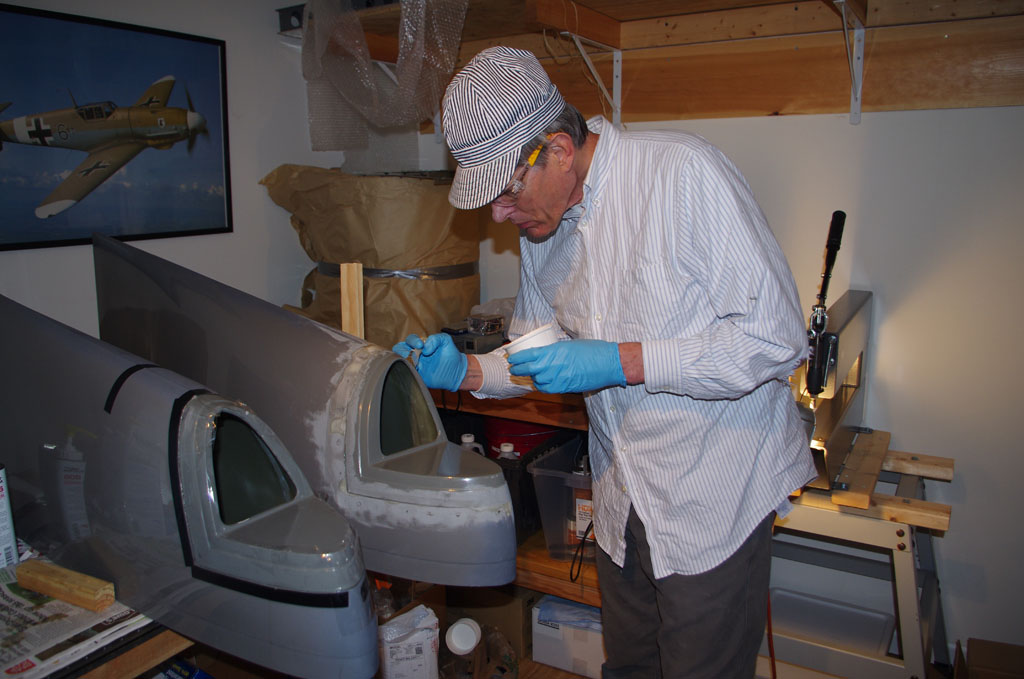
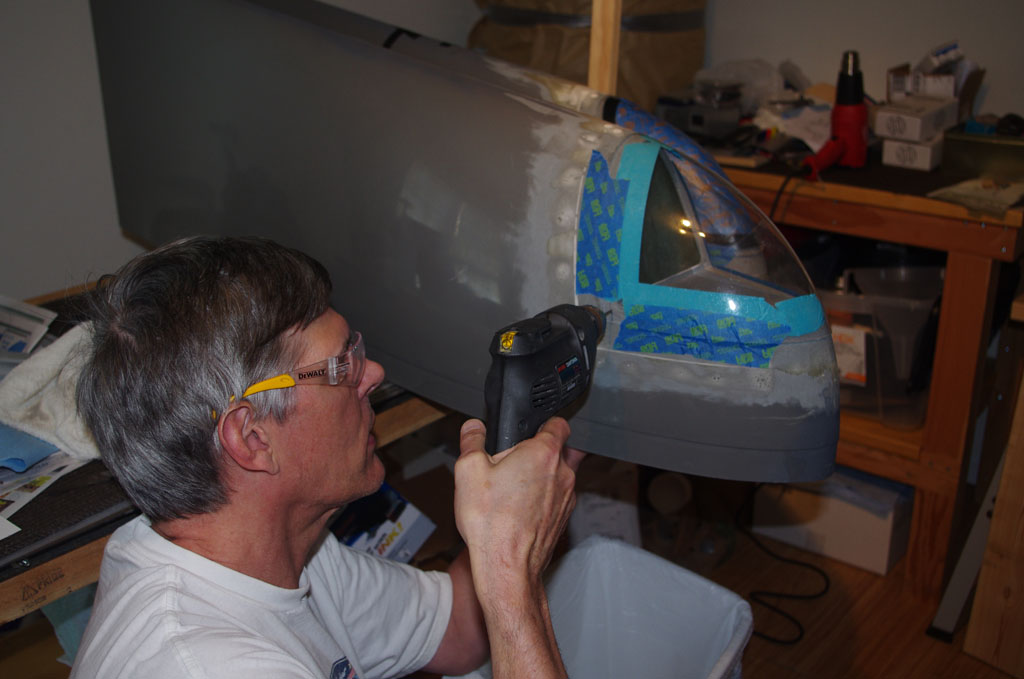
 Position template, drill adjustment holes and rough fit the taped landing light lens to the initial opening. Sand, sand and more sand until lens fits perfectly in the opening with sufficient clearance for later alignments with airplane axis.
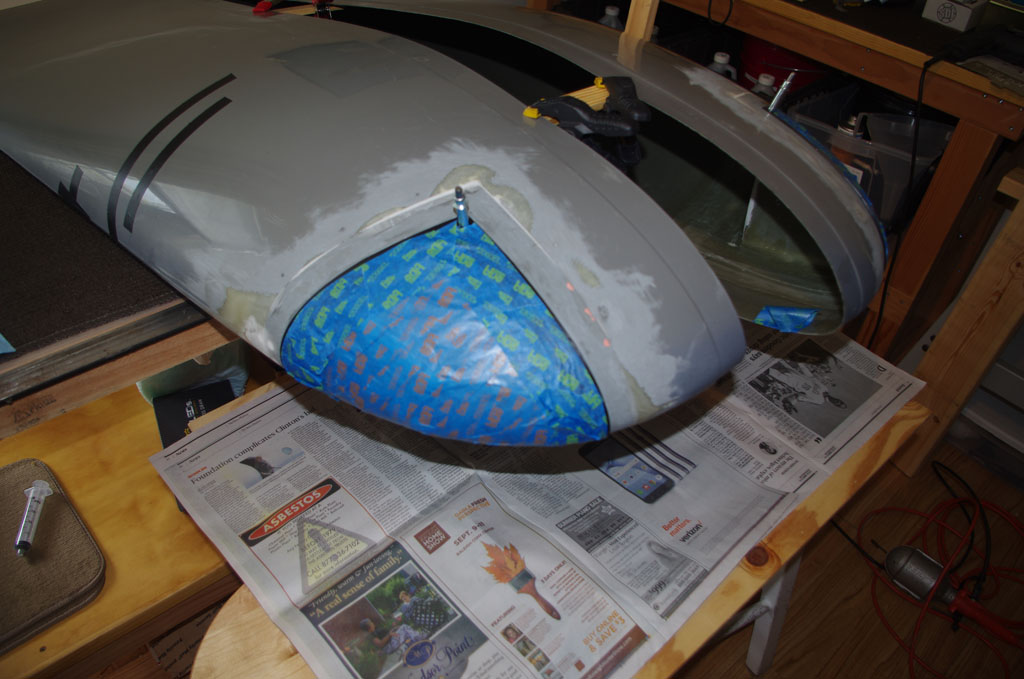
 Rough fit is done, need some additional build-up in certain areas. This will be done later.
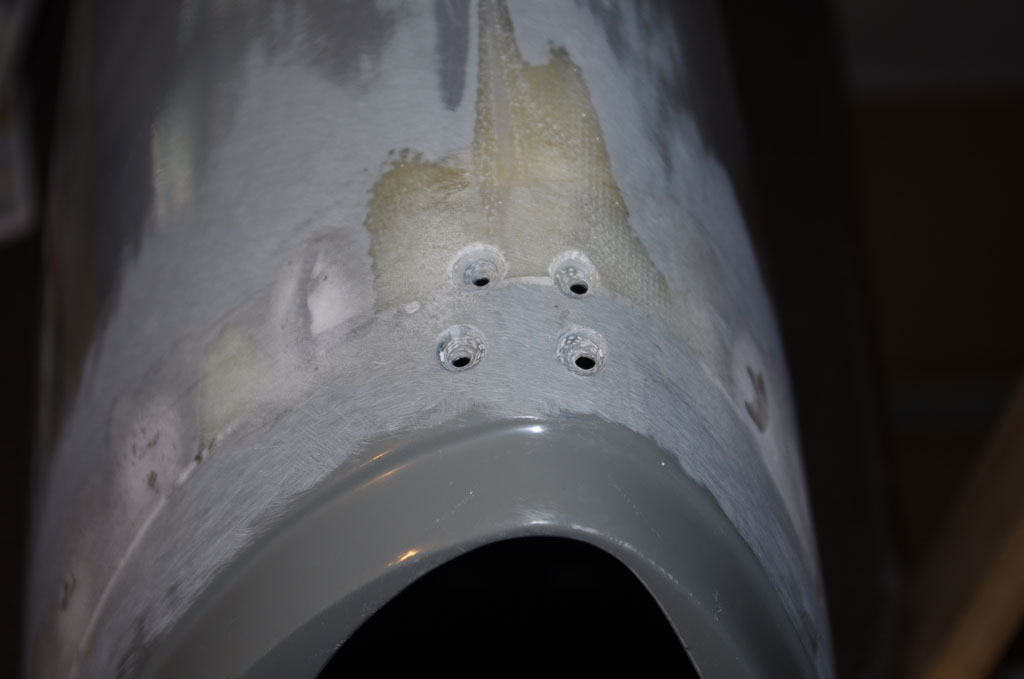
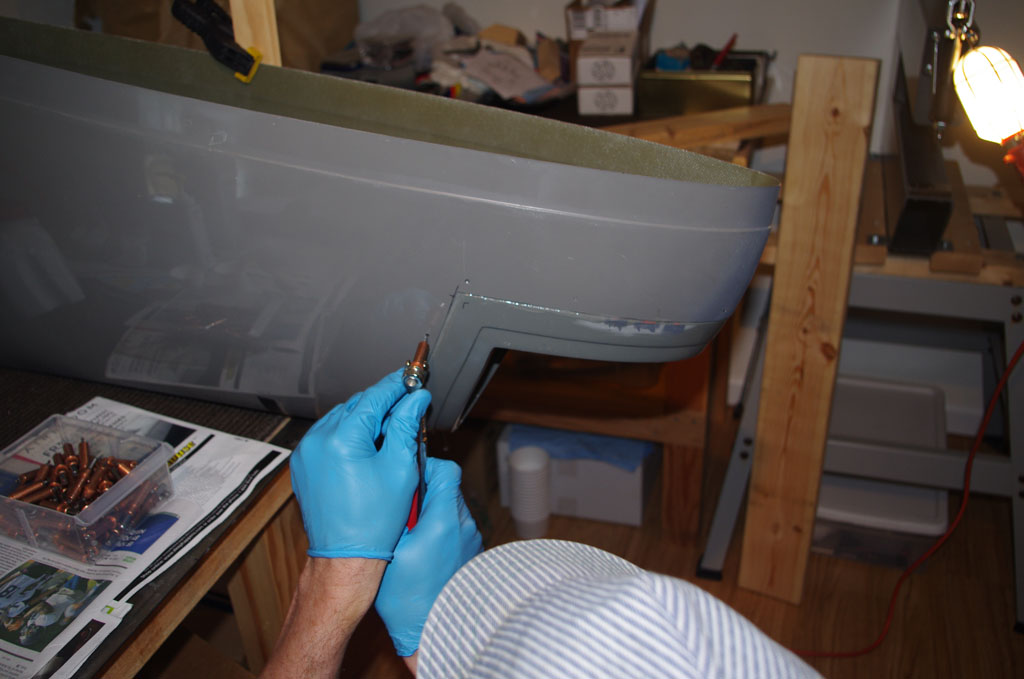
 Place pivot point and drill fastening holes.
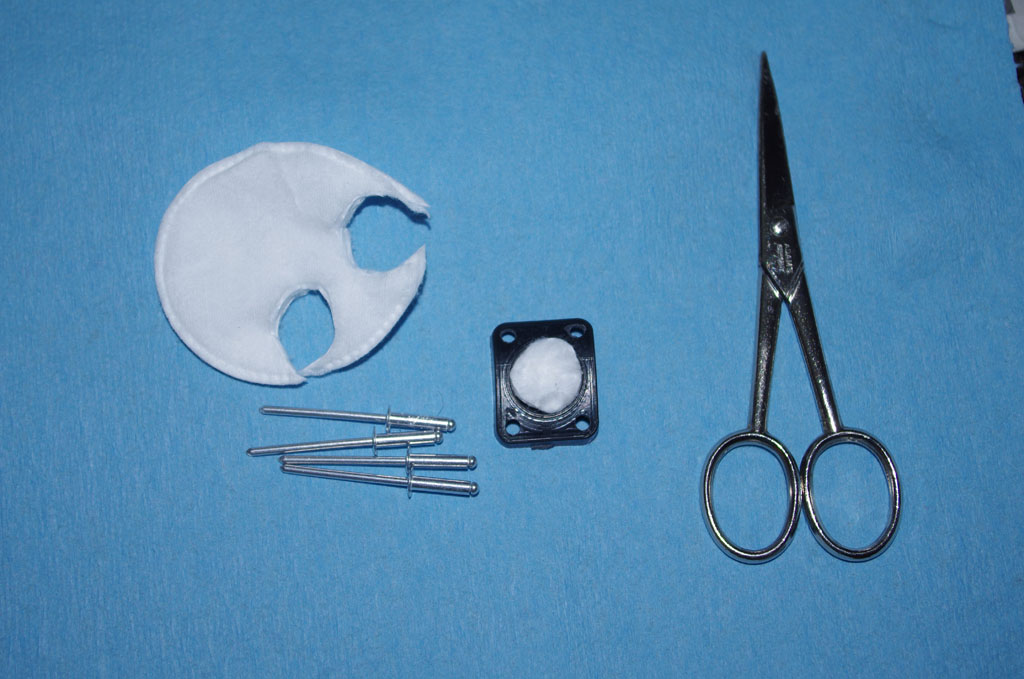
 The internal section of the pivot is stuffed with a cotton plug. Use E6000 structural adhesive to hold the pivot point, plus add pop rivets for additional stability. The cotton keeps the adhesive from filling the pivot cavity.
 Build-up needed, as the dimensions of the fiberglass inserts obtained from AeroLED is very poor. The left side is a good 1/4″ bigger top-bottom and 1/4″ left-right compared to the other side.

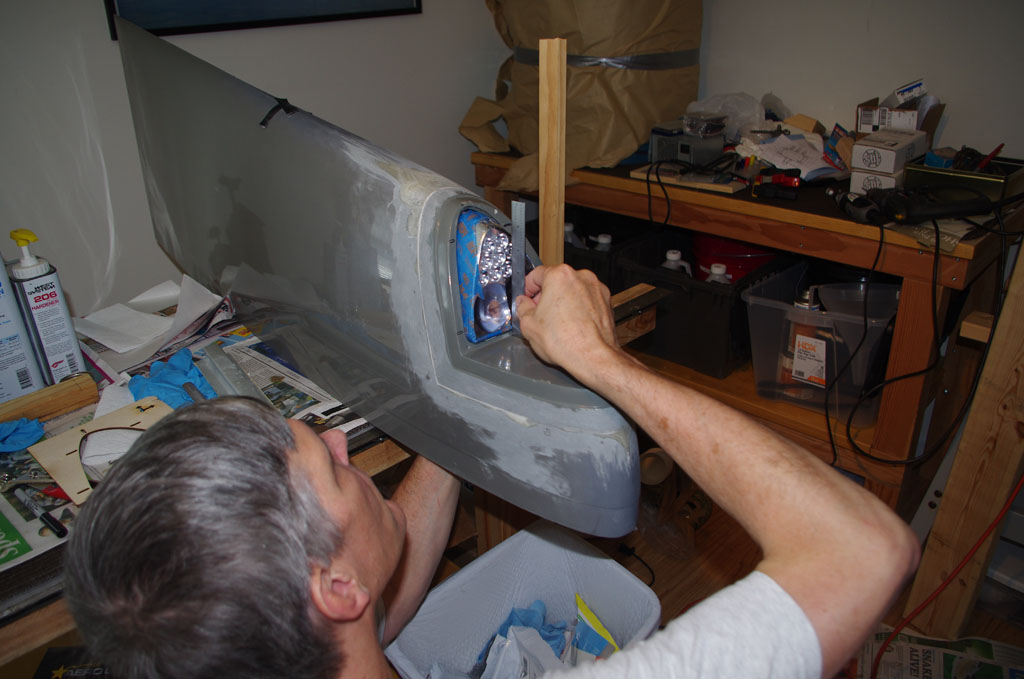
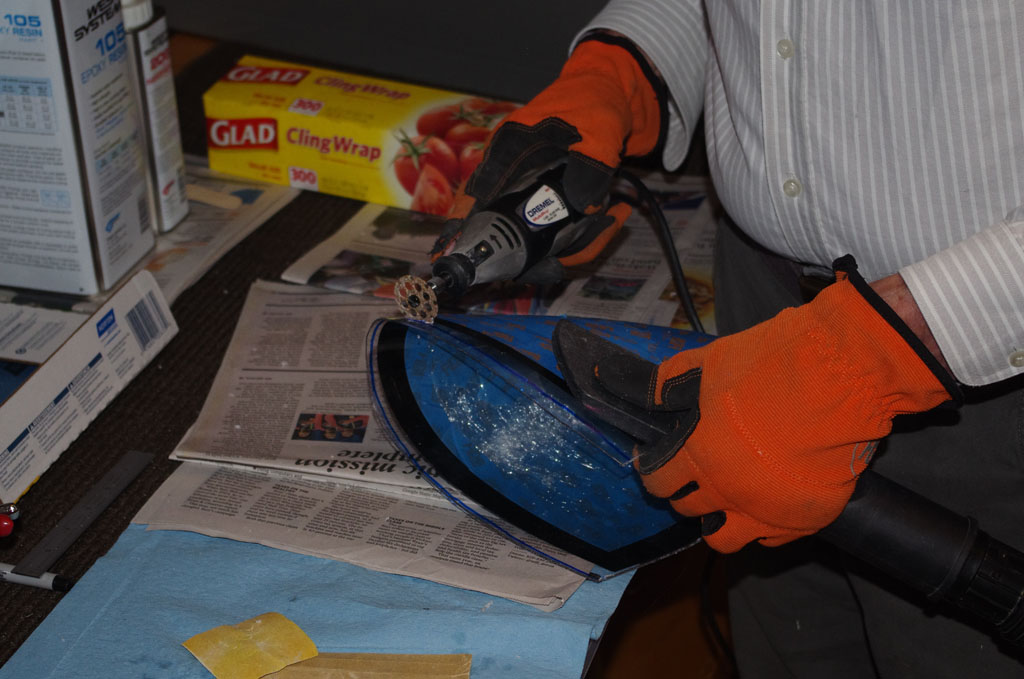 Measure the lexan lens for rough cutting. Use a dremel tool for approximate size, then hand sand to closer dimensions. Electrical tape is applied around the edges to prevent scratching during the fit process.
 The fit process took a long time with hand sanding. The edges still protruded a bit from the wing surface.

 AWLFAIR 8020 resin and AWLFAIR 7007 red hardener are 1:1 mixed together to create a creamy fairing compound. Tape covers the entire lens.
 Coat number one is applied to the fitted lens.
===========
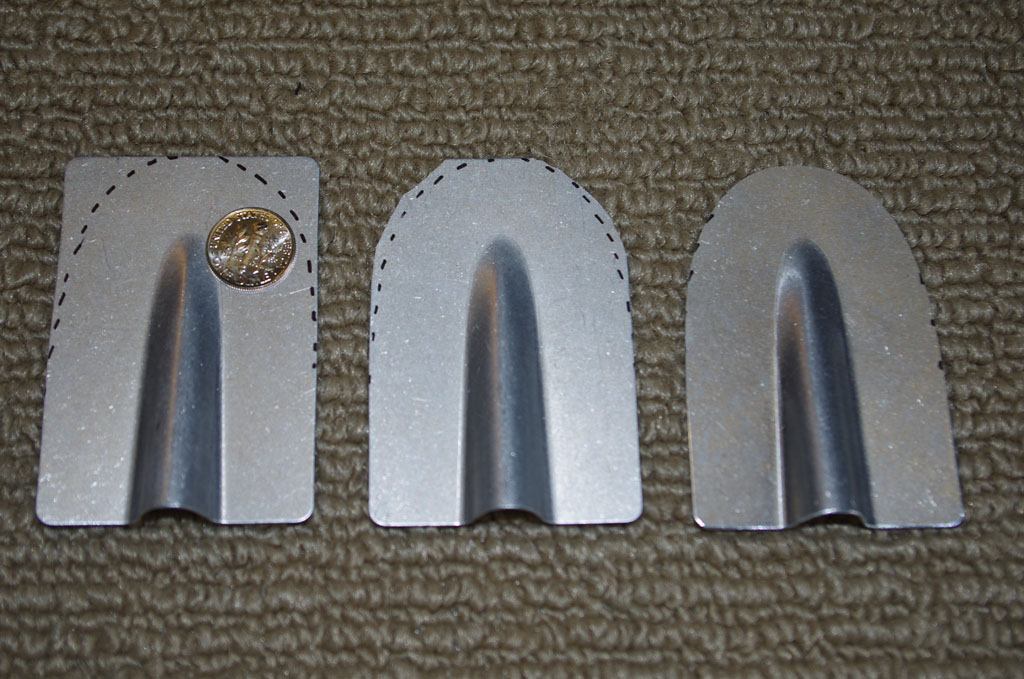 An additional job for the week is rounding over some cable fairings. A dime was perfectly sized for measuring the distances.