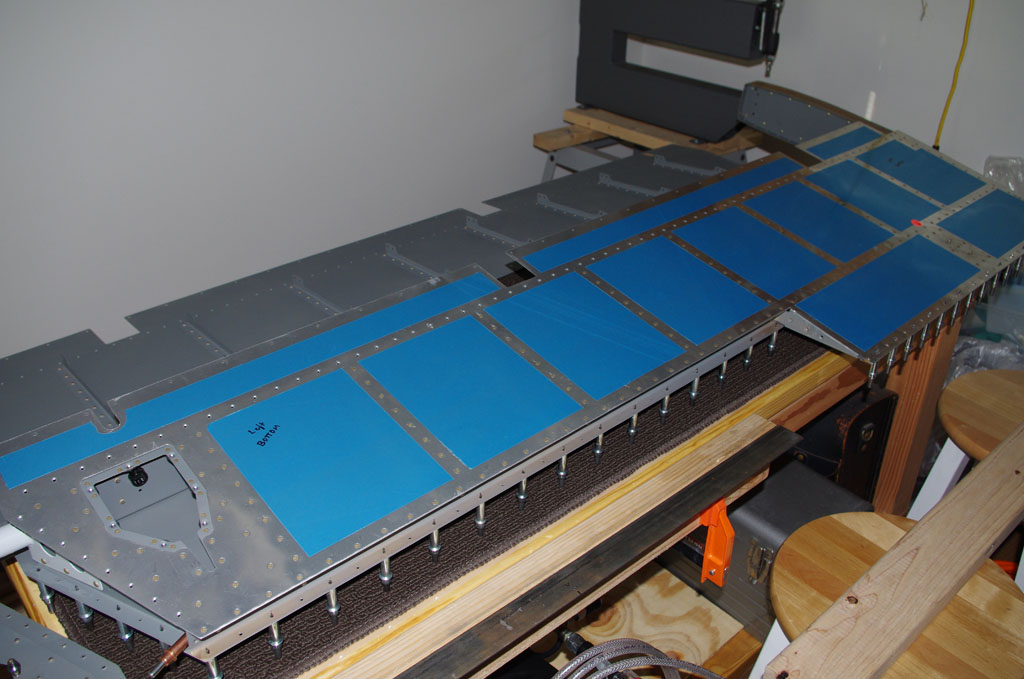
This week I consulted with Terry Gardner on the best approach for handling the skin crease in the lower right elevator skin. Just proceeding ‘as-is’ was one option, provided continual awareness of any crack development over time. After considering alternatives, we decided to apply an external patch, drill out the adjacent rivets, stress relief holes, provide some bonding with a thin layer of ProSeal, and then apply new structural rivets all around. Essentially this approach sandwiches the weakened crease line between the new patch and the internal rib. This may seem like a touch of overkill, but worrying about potential cracks on a new plane did not seem an attractive alternative. Plus the time is right – the right elevator is basically wide open, I can get to both sides of the skins, and using structural rivets is preferred to Cherry rivets applied later.
Here is the effort for the week of October 5-11.
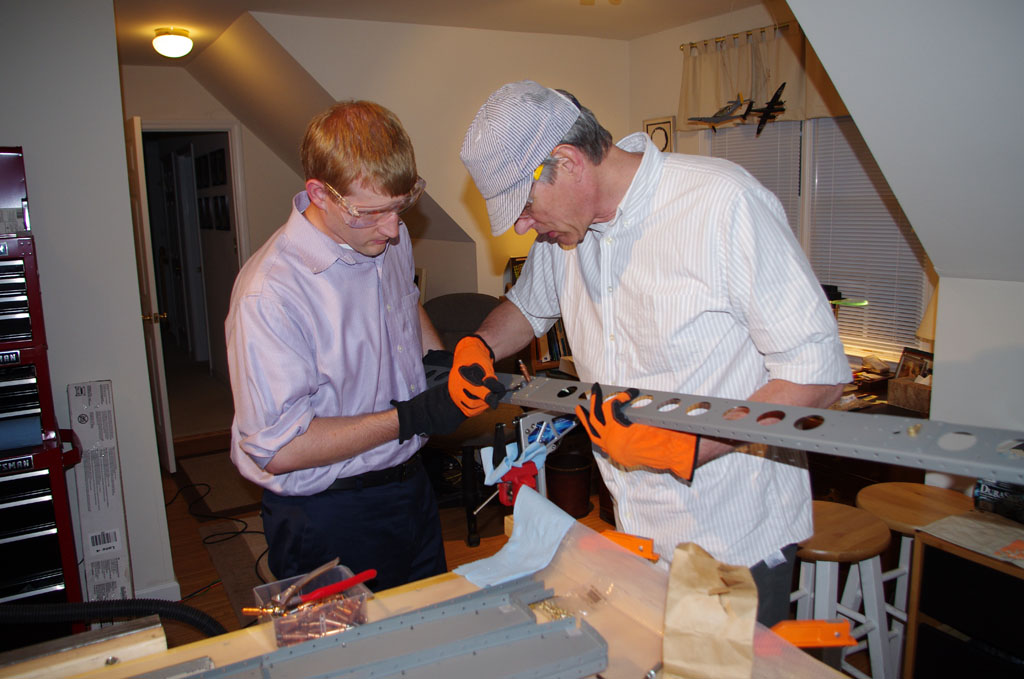
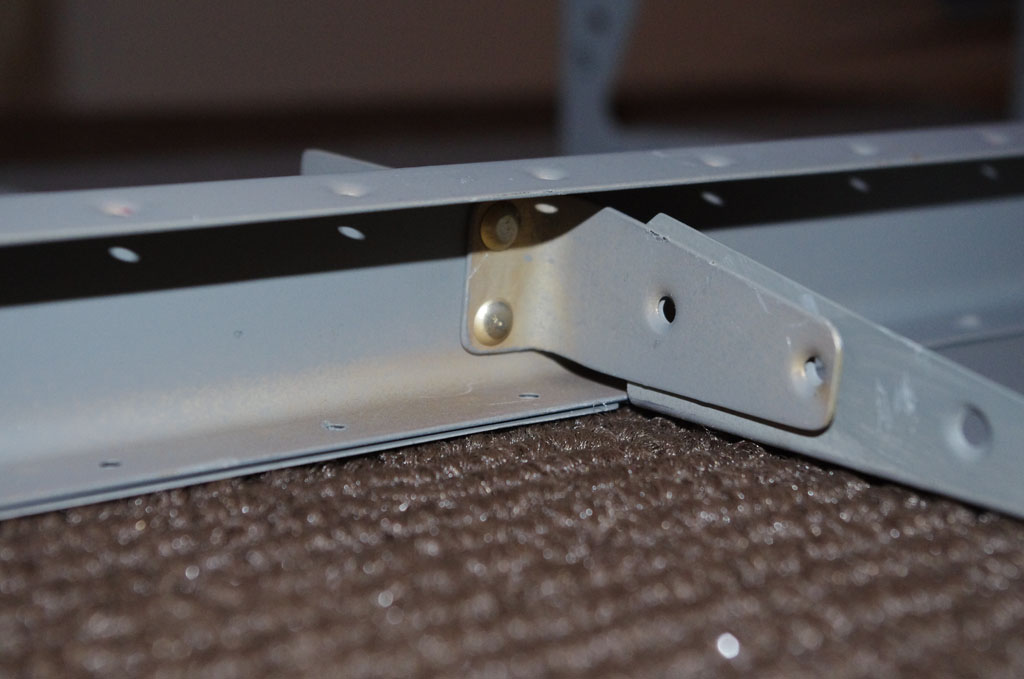
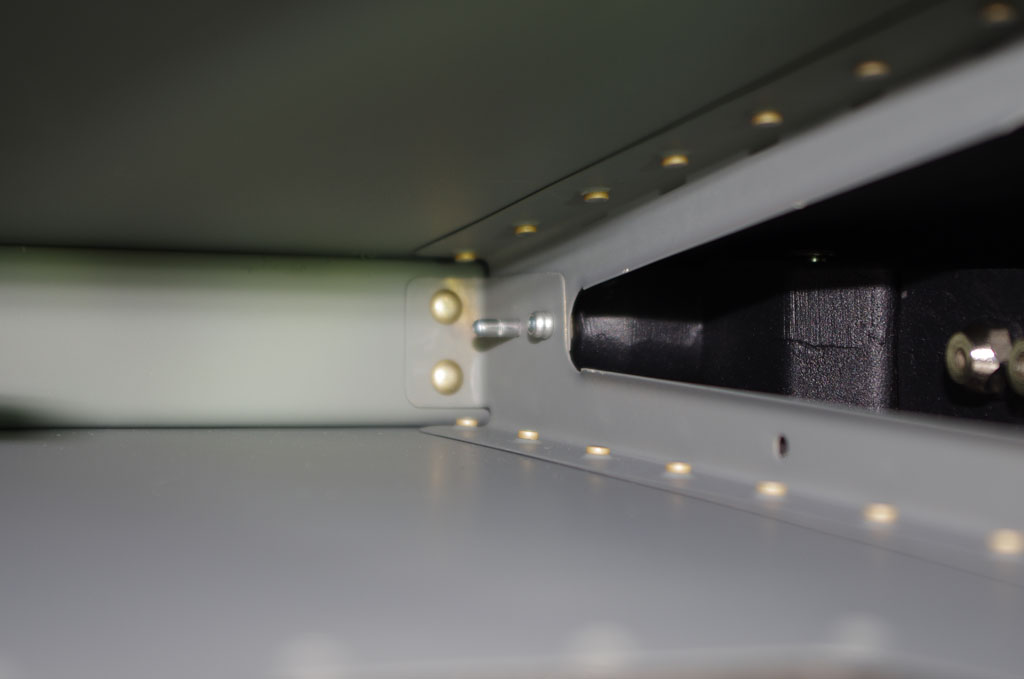
 Another look at the offending location…
 Pattern laid out to fabricate the patch. Here I am using a scrap piece of .025″ aluminum. The skin itself is .016″, so this should be adequate and easily use an AN426AD3-4 rivet for proper thickness. The Advisory Circular AD43.13 page 4-20 was used to determine proper rivet separate for this plate (three diameters between centers).
 Using the drill press to fashion the plate holes.
 Deburr the holes with a hand-held cordless screwdriver and about 120rpm. Notice the right hatching, this will be removed in the next stages to get the proper outer dimensions of the patch.
 Used the patch as a template for first match drilling the skin holes. Here piece is clecoed to the skin. Not all the holes have been drilled in this picture. Example, the lower left hole is clearly visible in white.
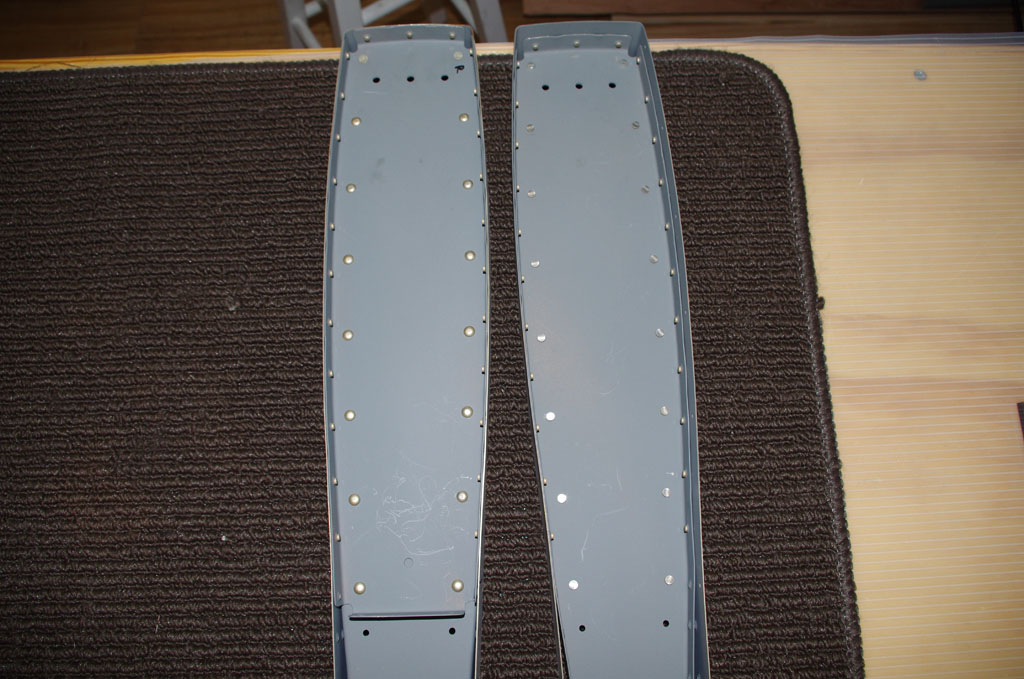
 Here is how the skin looks after match drilling all the holes with the patch and the adjacent rivets removed.
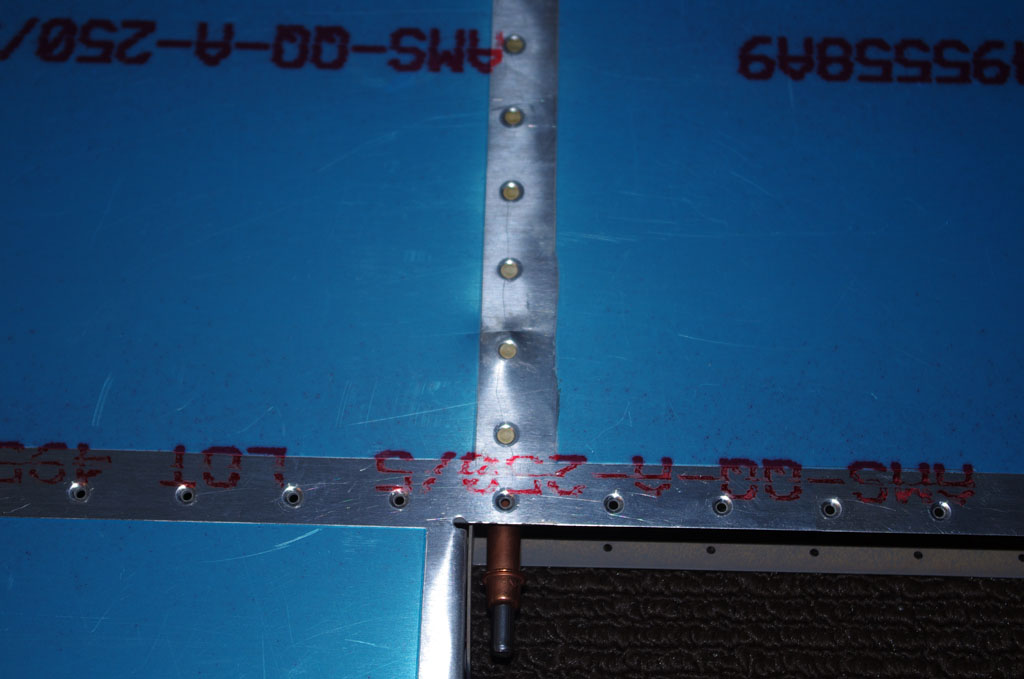
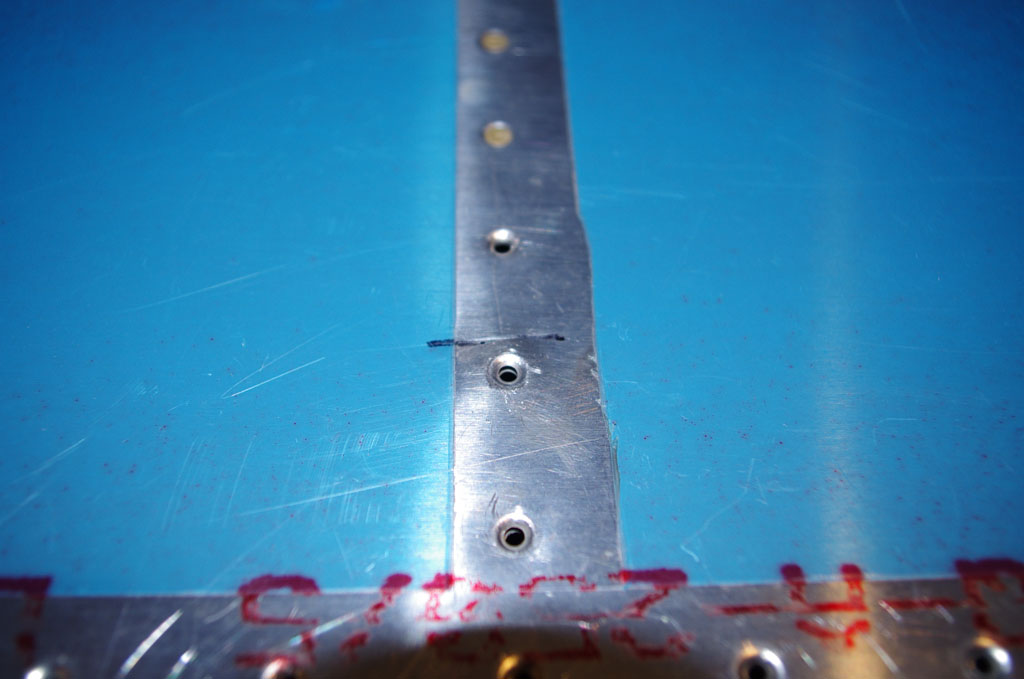
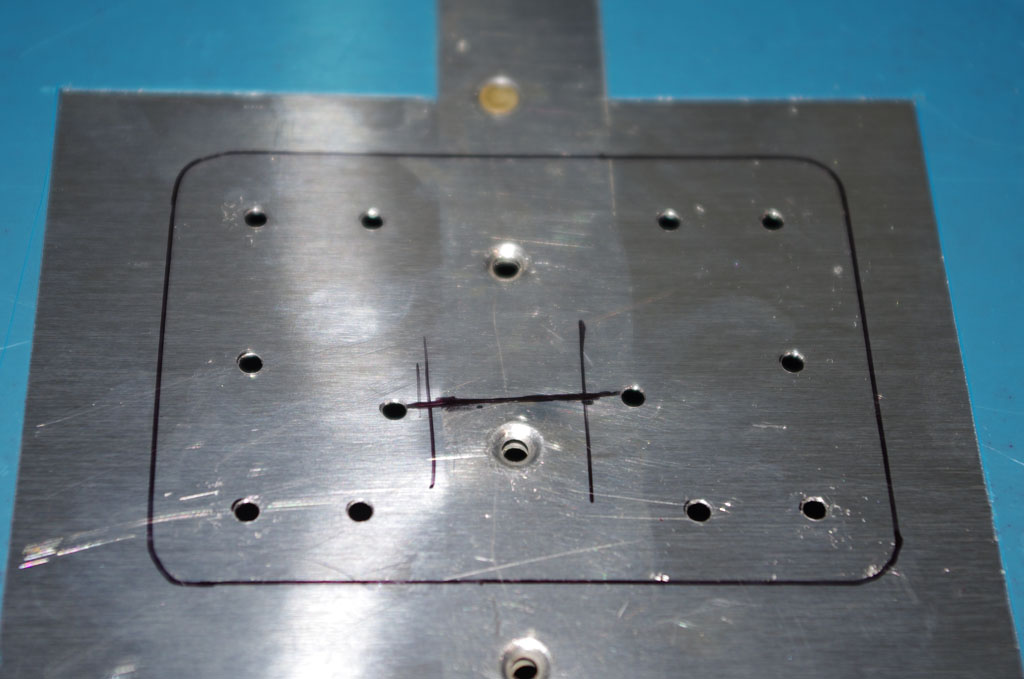 This picture shows the stress relief holes drilled at the ends of the crease. A #40 drill was used. Fortunately the crease line is very well defined, not diffuse across the skin. Next up is dimpling, bonding and riveting.
 I had a little time available after skin drilling, so I started in on the rebuild of the trim tabs. Here a jig for holding the rough-cut elevator horns is depicted (next to the roughed out patch plate).
Week of October 20 – A business trip to LA consumed over a week of my time. Before leaving I ordered a small one ounce quantity of ProSeal equivalent from Van’s for bonding the patch to the skin.
 This stuff looks and smells just like the branded ProSeal version. This container has a one hour set time, so moving expeditiously through the process is required. The white bottle contains the main compound, the foil pouch has a black colored catalyst. The instructions call for uniform mixing with the wooden stick, and the final outcome should be a dark grey.
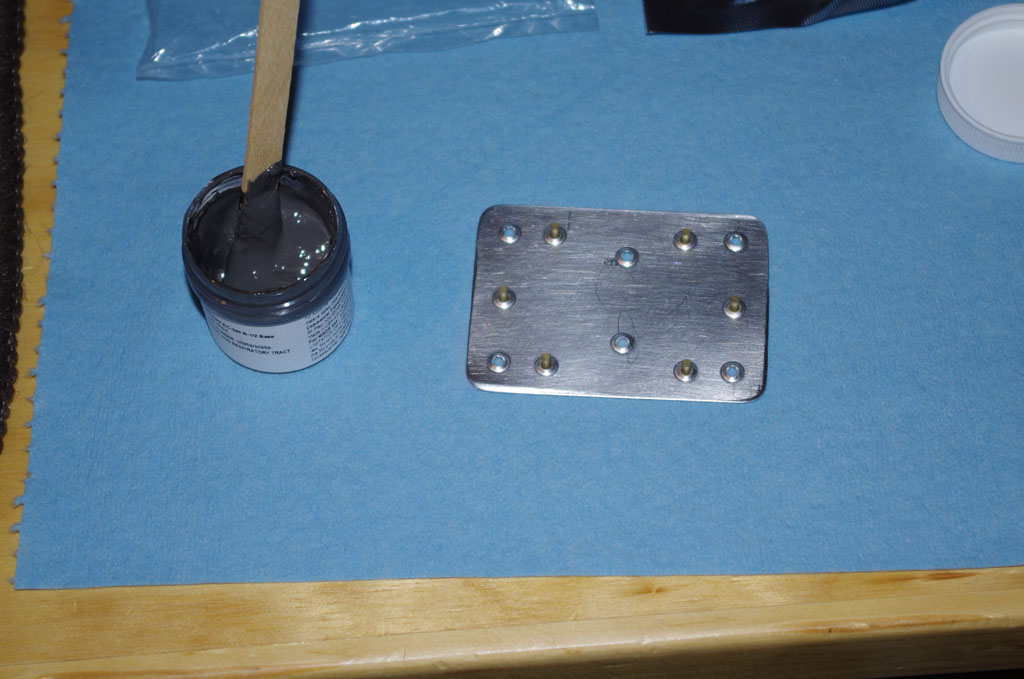 The mixture did turn dark grey. The stuff is very sticky and quite thick, which made it difficult to spread thinly or evenly on the pieces. The patch has some of the rivets held in place with rivet tape for alignment with the holes in the skin.
 Smeared and ready for back riveting.
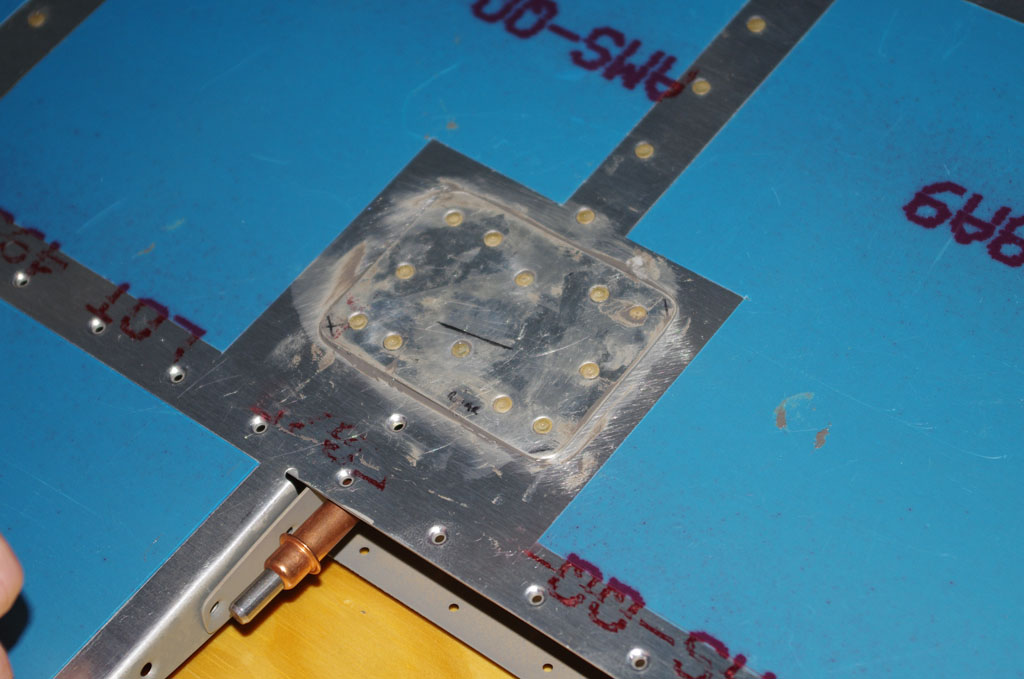
 Well here it is riveted, and then cleaned up. Not too bad. The final cosmetic verdict will be once primer and paint are applied. My feeling is the structural elements of the patch are very solid.