Upon return from vacation I started the assembly of the elevator parts. All went well until …. (more on that later).
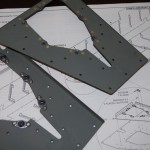 Elevator reinforcement plates on inital assembly.
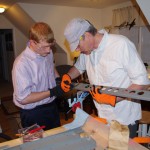 Adding the hinge reinforcement plates (those not already installed with the bonding strap nut plates).
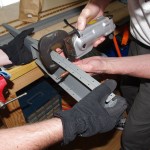 Using a pneumatic squeezer and longeron yoke borrowed from Tal Halloway, a fellow RV10 builder. The longeron yoke configuration is needed to get at both sides of the tip ribs.
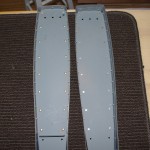 Completed tip ribs, shown front and back.
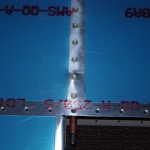 Here it is – my big mistake on back riveting the lower right ribs to the skins. Despite much care in alignment, the rivet head vibrated off the side of the backing rivet plate, resulting in me pounding the **** out of the skin. Looks bad, thought skin was not broken. I will have my technical counselor advise on path forward for this error. In the meantime, I completed the left side back riveting with very good results.
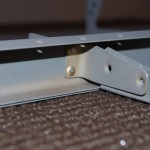 Sheer clip install on left rear elevator spar.
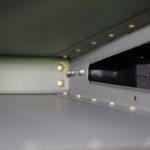 Pop riveting the upper and lower left skins together with the ribs. I used an old mouse pad under the pop rivet tool for proper vertical alignment and keeping the tool from scratching the primed surfaces. The outcome was excellent.
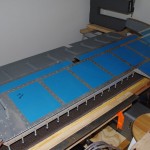 The left side assembly through riveting the rear hinge is completed. Again this part looks very good. We shall see how the right side proceeds.