The same day as ‘the big move’, we attached the wings with provisional fasteners, then began work fitting the wing root fairings.

 Following the Van’s instructions, the wings were first pinned into place with drift pins and hardware store 3/8″ bolts. These bolts have much looser tolerances (~.010 “) as compared to the high precision NAS1309-58 and NAS1306-58 bolts called for final insertions (done at a later date).

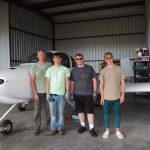
 Both wings were provisionally attached with just a few main bolts. Thanks to Eric, Peter and Aaron for help during the wing transport and attachment activities.

 The wing root fairings were trimmed to match the contour of the fuselage. This left about a 3/16″ gap between the fairing and fuselage. This gap will be filled with black rubber edge molding as some vibration and flexing of the wing will be expected during flight. On the right stiffeners, upon which people will stand when entering the cabin, are clecoed then riveted onto the upper fairing panels.

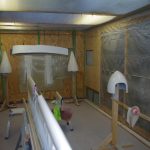
 The inner sides of the fairings were scuffed, washed and then sprayed with SEM Self-etching primer (grey 39683). The outer sides were scuffed, treated with Prekote, then primed with DesoPrime followed by application of Snow White Desothane CA8800 paint. Wheel pants and fairings were painted at the same time.