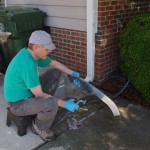
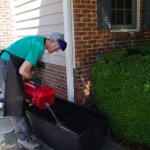
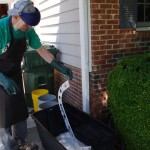
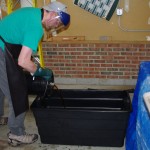
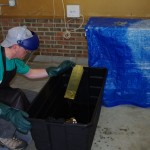
After vacation in Germany, I spent the next few weekends preparing the tailcone parts for assembly. As usual this involves dimpling, washing, scuffing, brightening, alodining and priming parts. Because of the variety of shapes and sizes of tailcone elements, multiple batches over different weekends were needed. This is tedious, hot work, especially when temperatures outside are near 100 degrees! However, the outcome is worth the effort.
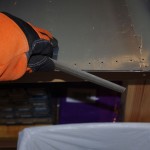 Oddly the right side skin needs to have a triangular shaped piece removed, while the left side stays intact. I am not sure the reason, as the plans for joining the tailcone to the forward fuselage section will only come when the quickbuild kit arrives.
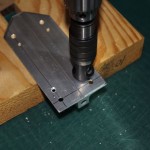
 Some parts needed to be countersunk prior to prepping.
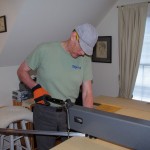
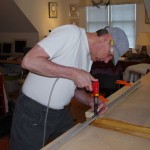
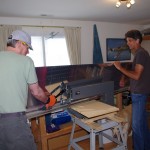 Others are dimpled beforehand.
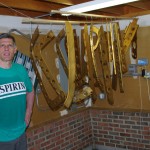 The product of one weekend’s work.
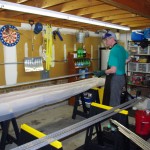
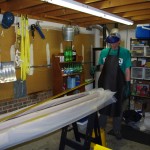 Brightened stiffeners and longerons go in the long tank, come out alodined.
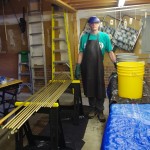 The product of another weekend’s work.
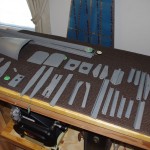 Here the stiffeners, longerons, and small parts are ready for assembly. One more weekend is needed to prime all the skins.
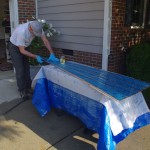
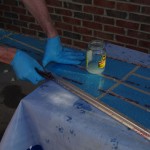 Mid-June and this is the third straight weekend prepping tailcone parts. Unlike alodine treatment for the small parts, I use Pre-Kote to treat the large skin surfaces while scuffing. After drying, they are ready for a primer application within 24 hours. I used lint-free shop cloths and Rita’s hair dryer to make sure no moisture remained on the surface.
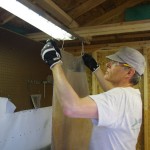
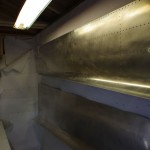 After hanging in the shed I also wiped the surfaces with PPG 303 Degreaser for good measure. Finally two thin coats of DP40LF were applied.
