While the horizontal stabilizer is in the jig for work on the fairings, there are also elements of control surface configuration which can be performed. Checks on elevator up +30 degrees and down -25 degrees confirmed proper range of motion. Then both sides are set to the “trail” position for drilling the elevator center bearing and elevator push rod bolt holes. To accomplish these tasks two drill guides were fabricated.

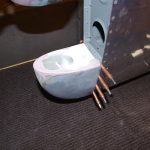
 The first drill guide protects the center bearing while the pivot points in the elevator horns are configured. The outer diameter of the guide needs to be reduced just small enough for a snug fit in the inner bearing. The Delta drill press and Pferd files did the trick. Once again I am amazed and happy at the incredibly small runout on the drill press!
 The left photo shows the drill guide inserted into the center bearing for drilling the right elevator horn. Next comes the actual drilling operation. The right elevator is then removed and the same process used on the left elevator. The guide aligned everything perfectly and an AN4 bolt fits cleanly between both elevator horns.
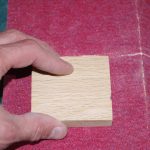
To facilitate proper alignment of the push rod holes, a drill guide is made from a piece of oak sanded to the exact thickness spanning between the elevator horns. Caliper readings were used for initial hand sanding. Then the piece is aligned and drilled perpendicular to the surfaces with the drill press.
 Here the oak drill guide is clamped into place prior to drilling the second hole. A piece of 3/16″ stainless rod is inserted to align the first hole for the right elevator with the undrilled face of the left elevator. After drilling is completed, an AN3 bolt passes cleaning through both horns with perfect alignment.

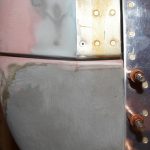
 This week was also some final sanding and fitting of the HS tips. The desired 1/8″ gap between the tips and the elevator fairings look good.


