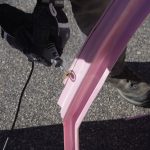
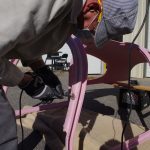
I had another forced pause from the shop due to business travel overseas. This weekend was getting back in action with Eric’s help on further cutting, fitting and sanding the fiberglass cabin cover.
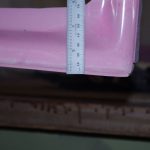 The door bottom needs extensive trimming to get to the proper thickness.
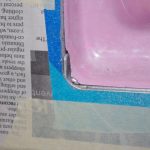 Left and right sides need to be notched to accommodate the bulkhead reinforcements at the bottom. Notice the degree of relief needed to make this fit.
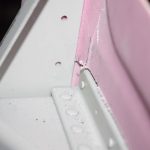 The inner section must line up just right with the mid-skin longerons. Too much taken off will decrease strength for the connecting rivets. Too little and the fiberglass bottoms out on the longeron and fit will not be proper.
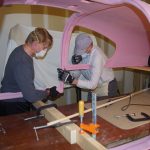 First reduction was with a fiberglass cutting wheel on a Dremel tool, followed by a belt sander, hand file and finally Great Lakes 22″ sanding block with 120 grit paper.
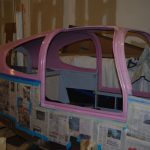
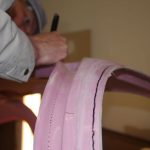 Fit, trim and refit is the process here. Getting the cabin cover to slide in without too much material removed takes time and patience. On the right photo the 3/4″ offset for windshield and doors are being highlighted with a Sharpie.
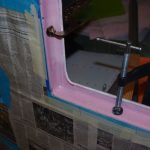 Clamp the rear door pillar and bottom flange in place. Then start the match drilling of the cabin cover to the top tailcone skin.
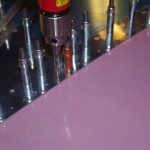 Eric pushes up on the cabin cover fiberglass while I drill #30 holes down through the tailcone skin. This process will continue on around the whole baggage bulkhead area.
