Attaching the center console brace and beginning to trim window panes was the order for the day.
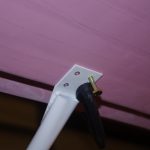 The center brace is clamped in the middle of the forward canopy cover, then match drilled with a #12 drill to accommodate an AN3 bolt. This is tightened down to fasten the brace, so the the rest of the holes can be drilled.
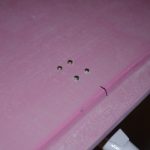 Here is how the top of the outer cabin cover looks after the fastener holes are completed.
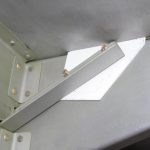
 Here are left/right pictures of the bottom portion of the center brace attached near the firewall. Two AN3 bolt hole are drilled between an angle bulkhead and a reinforcing plate.
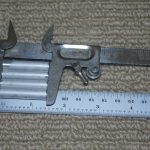 A set of spacers 1-13/32″ long are fabricated from 5/16″ diameter tube. This will eventually be driven into enlarged holes for the center brace. The cabin cover needs to come off for further processing, so this step will be saved for later.
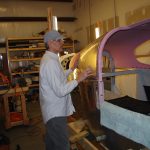 The plans call for fitting the windscreen first, but I wanted some experience dealing with Lexan/acrylic trimming beforehand. The side windows will be my test platform – if things go south these will be cheaper and easier to replace compared to the windscreen.
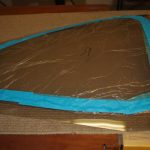
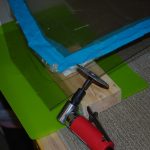 Pull back the protective covering and get ready to power trim!