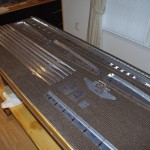
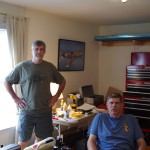
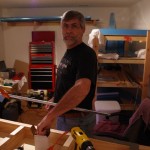
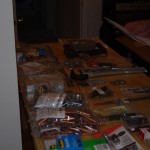
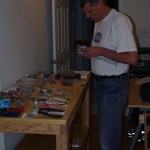
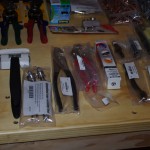
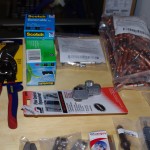
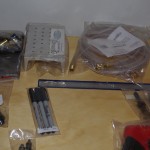
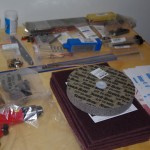
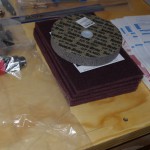
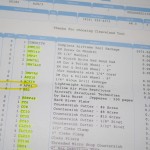
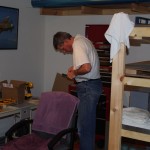
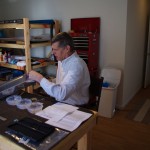
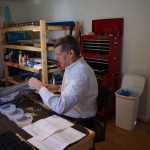
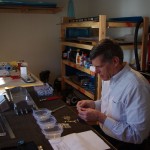
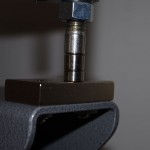
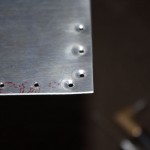
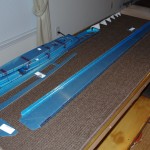
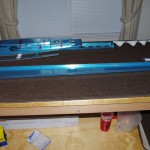
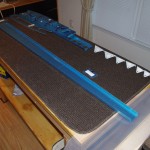
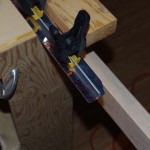
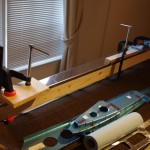
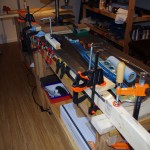
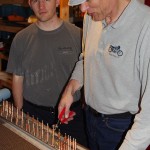
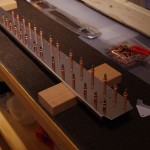
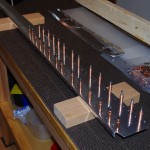
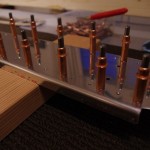
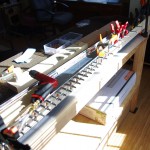
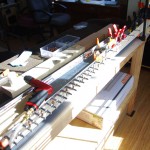
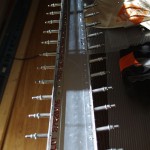
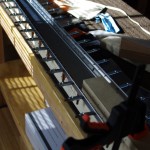
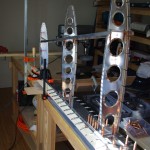
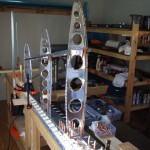
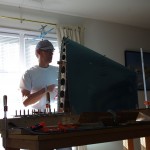
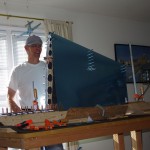
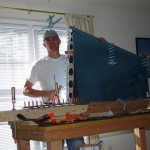
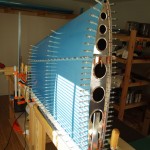
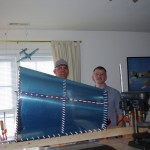
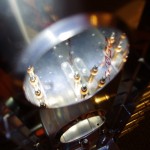
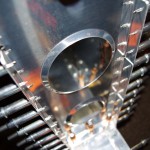
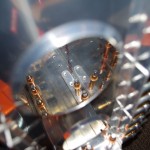
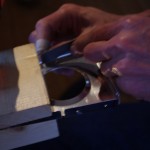
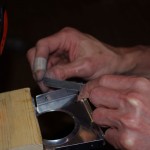
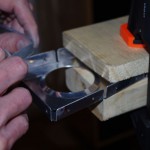
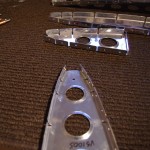
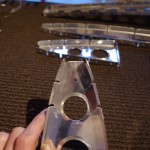
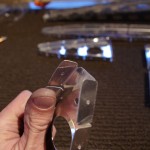
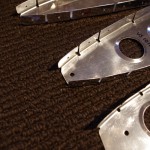
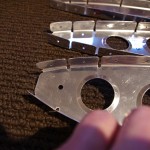
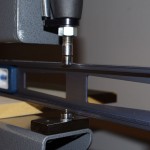
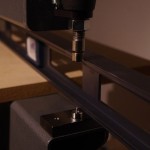
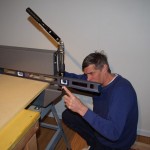
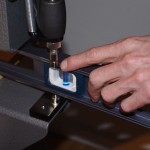
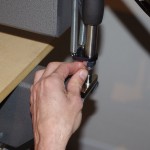
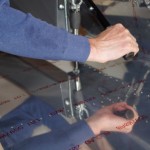
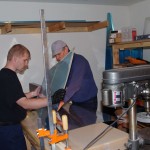
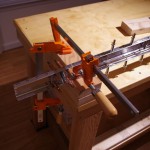
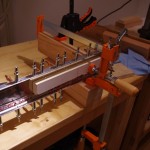
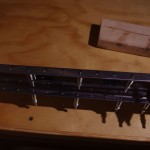
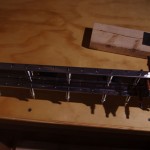
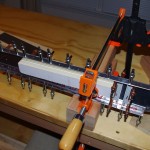
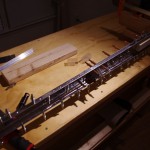
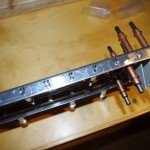
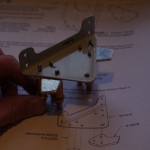
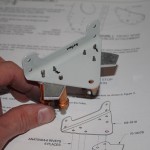
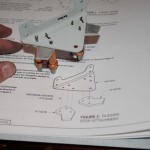
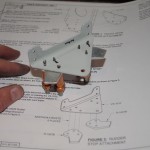
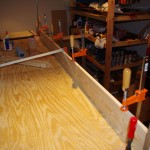
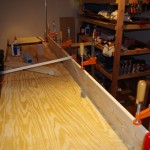
Started on the rudder section of the build plans today. The initial effort involved separating stiffener and rib pieces with tin snips after marking carefully. The usual deburring process then ensued.
Dunk Tank
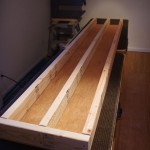
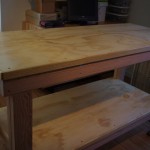
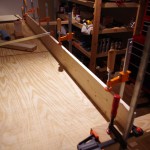
The first section of the dunk tank for alodine and aluminum prep, DX503 and DX533 respectively, was completed today. It is make from three 8′ long 2×4 studs with a 1/4″ plywood bottom. This will be lined with 4-5mil plastic on each side, then filled with about 3 gallons of material. Drain holes at this end of the tanks will funnel material back into 5 gallon sealable buckets when each cycle is done.
The length of the tank is adjustable using 6″ 2×4 pieces. This 8′ section can be used for almost all empennage parts, the exceptions being the eleven foot spars for the horizontal stabilizer. For these another section about 5′ long will be made, then bolted to the end of this tank. Two smaller tanks in this configuration will be easier to manipulate than on huge 12′ tank. The backs of both tanks can also serve as painting surfaces when they are not in use otherwise.
Shed Improvements
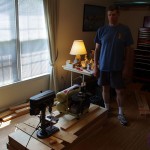
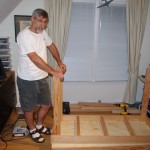
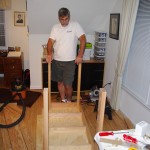
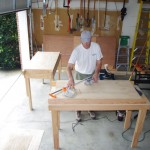
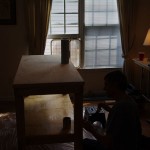
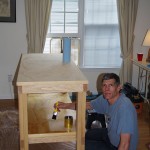
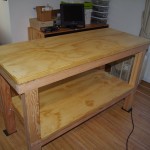
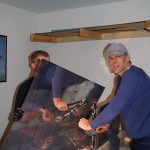
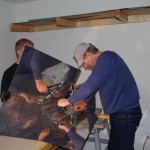
This week Eric and I installed a work surface in the 8’x10′ shed in our back yard. The intention is to utilize the shed for corrosion protection and priming/painting. I have decided to use the alodine process (PPG DX503 surface treatment) on ribs and spars, using a dunk tank to submerge the parts completely for 100% coverage on all the nooks/crannies of these parts. The big flat surfaces like skins will be treated with PreKote.
After the different corrosion treatments, the interior parts will then be primed with two-part epoxy primer. The selected primer is PPG DP40LG, grey-green in color with good adhesion characteristics and excellent water vapor penetration protection.
Benches
One basis for a good shop is having solid workbenches. Years of experience and recommendations from knowledgeable folks led me to using EAA Chapter 1000 plans for the benches. I wanted multiple smaller units rather than on a big, single table to allow flexibility in configuration due to the cramped space in the bonus room, but still have the ability to clamp then together to form a longer surface. The EAA plans were ideal for this and good documentation was available for wood specifications and cutting plans. I did want the top surfaces to be 36″ off the ground, because of comfort for my own height (shorter would cause me to bend over slightly for everything). I slurged cost-wise to buy clear Douglas Fir 2×4 and 3/4″ plywood from a speciality lumber company in Raleigh. The cost of the wood was about $500, which I know is quite expensive. The final outcomes, however, justified the cost. At least in my mind.
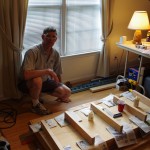
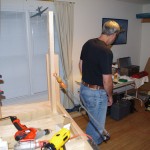
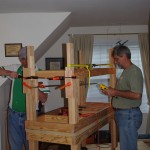
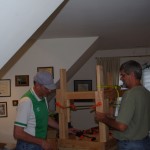
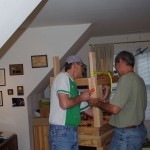
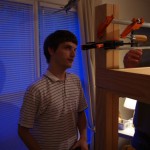
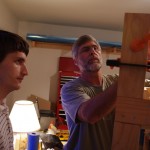
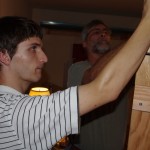
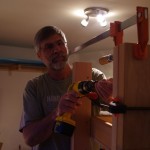
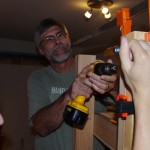
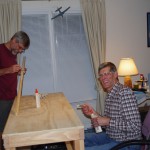
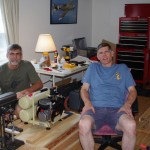 Rich came for an initial visit to help with building the benches. He had used the EAA plans on a previous project and had insights on construction techniques.
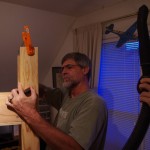
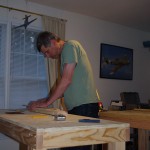
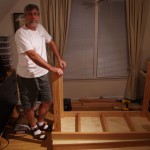 The benches are basically built from the upper surface down to the legs. This allows each level/stage to be accurately references against the final desired height.
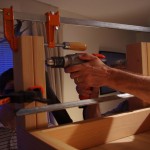
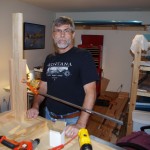 The main posts have been installed, now for the first reinforcement pieces down to the second level shelves.
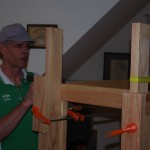
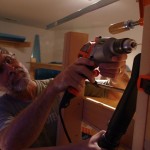
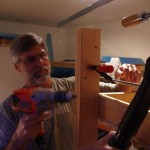
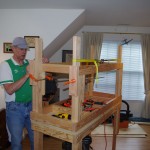 Everything gets screwed and glued into place. Using clear, straight wood is a Godsend for accurate building.
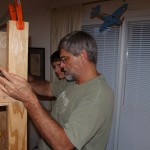
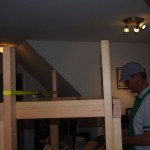 More jigging and clamping for straight results.
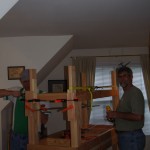
More assembly…
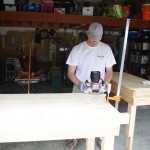
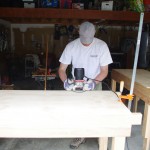
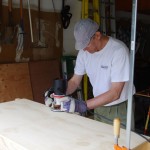
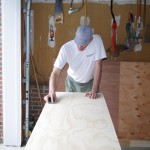
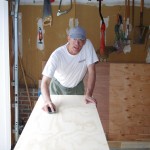
The slight overhang of the surfaces are routed flush with the side rails, then sanded ready for polyurethane coating.
Benches are not supposed to be constructed as finely as furniture, but I decided to add moulding strips anyway.
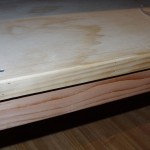 Here is a close-up of the top surface edged with 1″ moulding. This is probably overkill, but the results are nice.
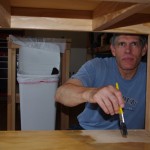
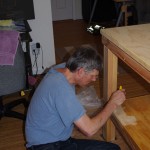
The work surfaces are sealed with two coats of MinWax polyurethane to keep down any absorption of fluid and splinter reduction.
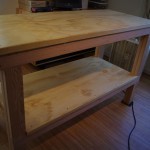 The final benches are nice, straight, perfectly aligned, and level. Great start to the project. Thanks to Rich and the kids for all their help.
