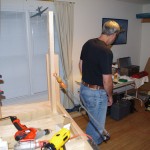
One basis for a good shop is having solid workbenches. Years of experience and recommendations from knowledgeable folks led me to using EAA Chapter 1000 plans for the benches. I wanted multiple smaller units rather than on a big, single table to allow flexibility in configuration due to the cramped space in the bonus room, but still have the ability to clamp then together to form a longer surface. The EAA plans were ideal for this and good documentation was available for wood specifications and cutting plans. I did want the top surfaces to be 36″ off the ground, because of comfort for my own height (shorter would cause me to bend over slightly for everything). I slurged cost-wise to buy clear Douglas Fir 2×4 and 3/4″ plywood from a speciality lumber company in Raleigh. The cost of the wood was about $500, which I know is quite expensive. The final outcomes, however, justified the cost. At least in my mind.
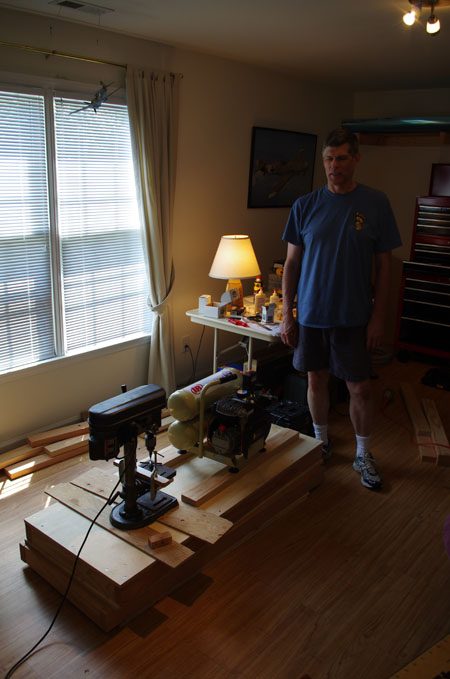
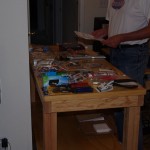
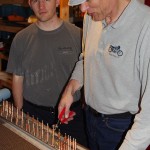
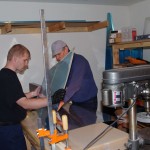
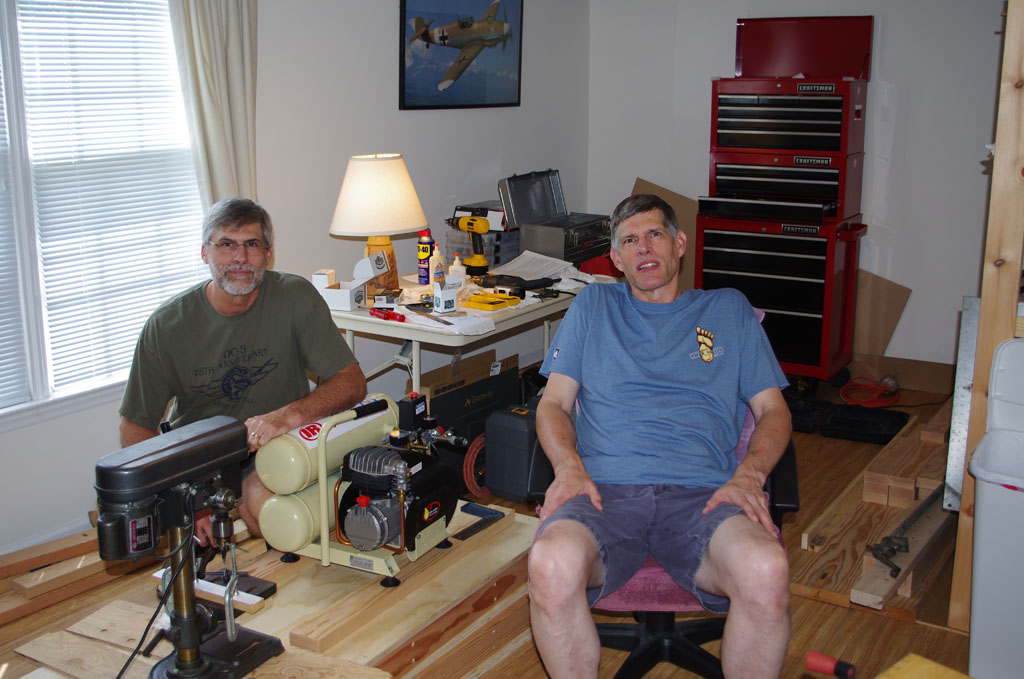
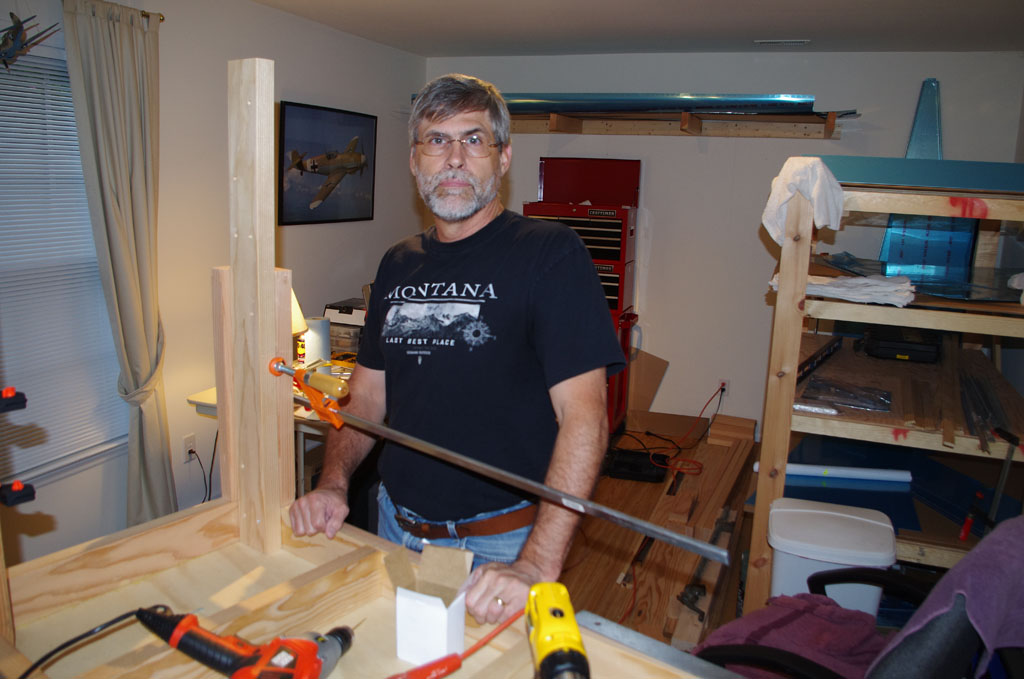
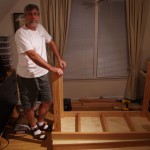
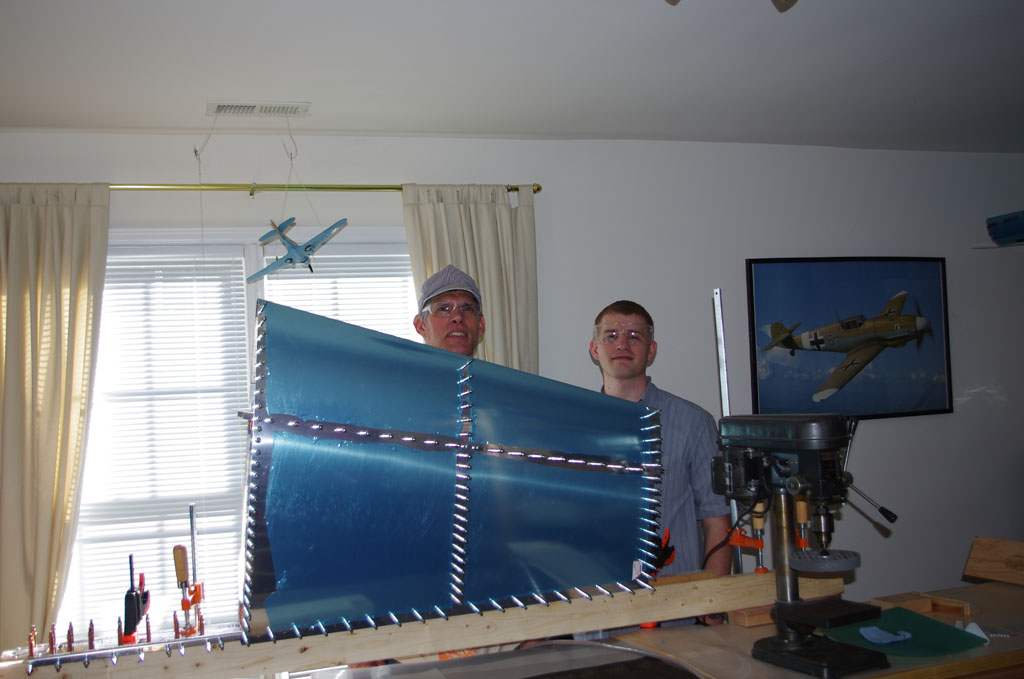
 Rich came for an initial visit to help with building the benches. He had used the EAA plans on a previous project and had insights on construction techniques.
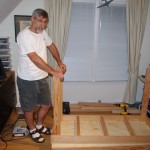
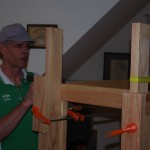
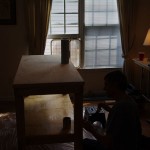
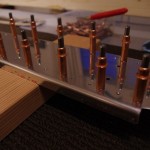
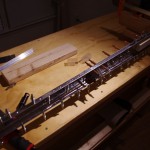
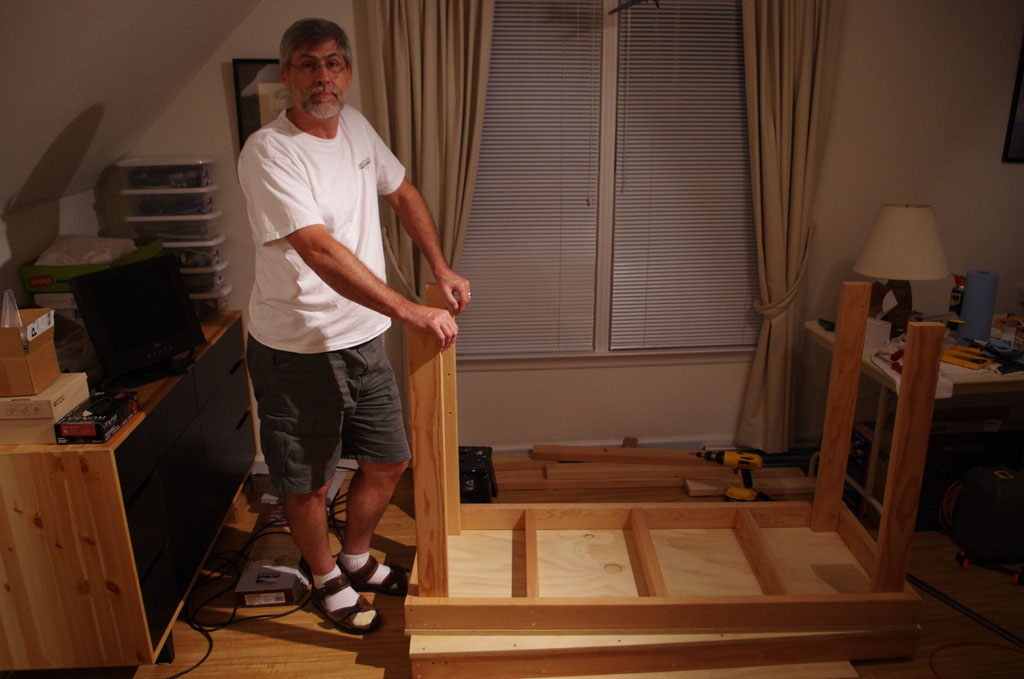
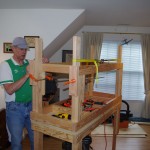
 The benches are basically built from the upper surface down to the legs. This allows each level/stage to be accurately references against the final desired height.
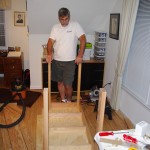
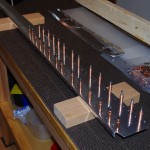
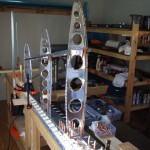
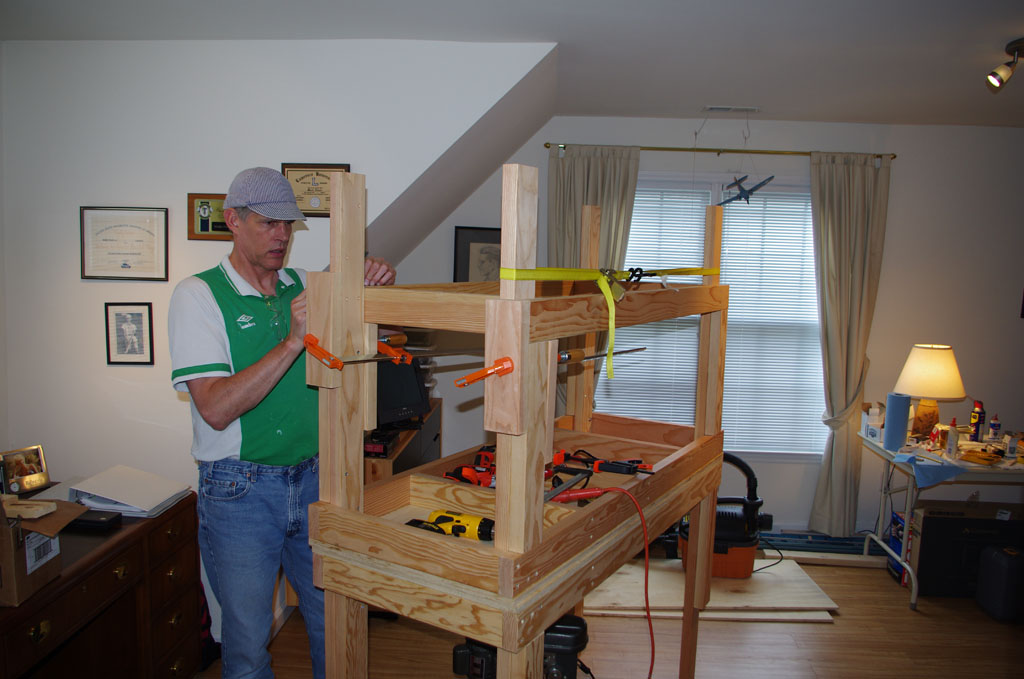
 The main posts have been installed, now for the first reinforcement pieces down to the second level shelves.
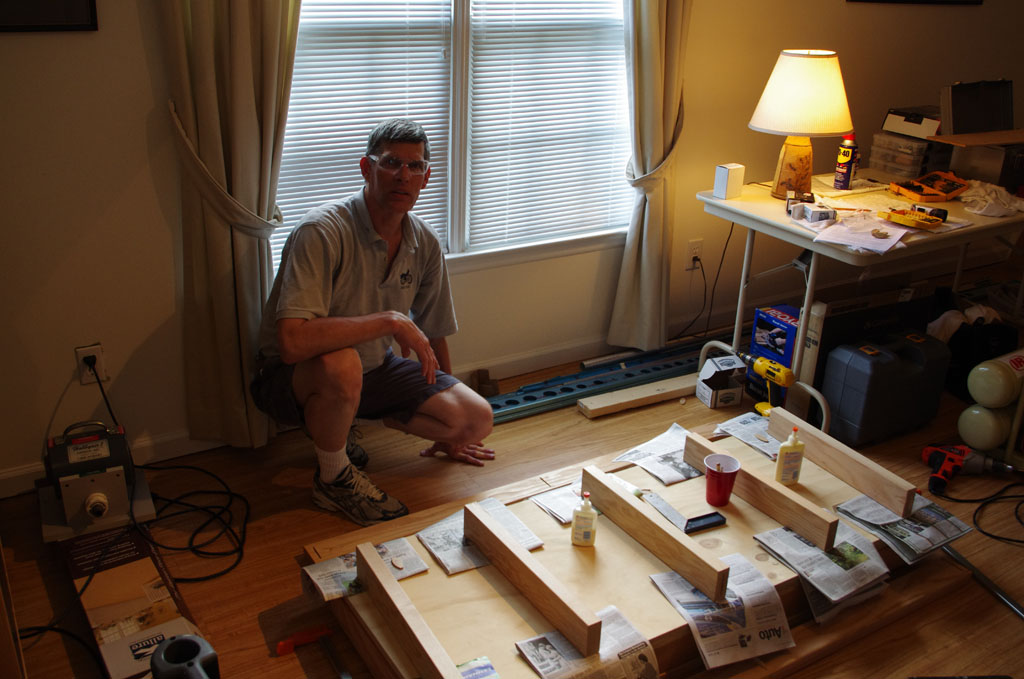
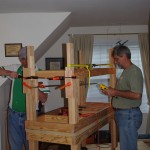
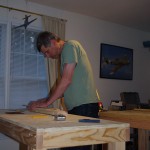
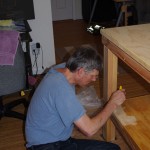
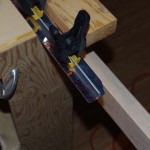
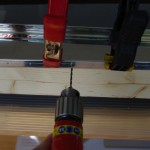
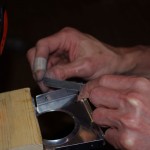
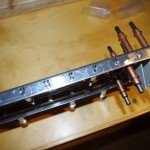
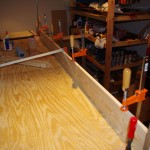
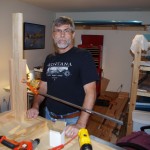
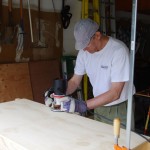
 Everything gets screwed and glued into place. Using clear, straight wood is a Godsend for accurate building.
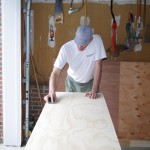
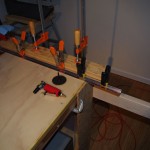
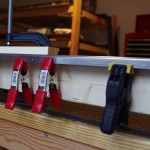
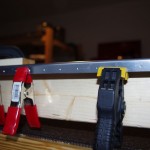
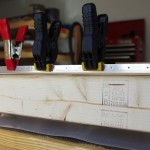
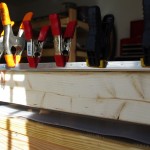
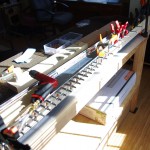
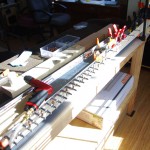
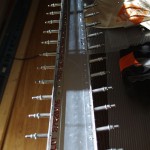
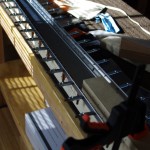
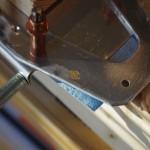
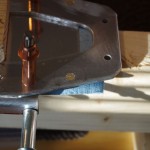
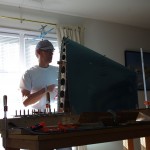
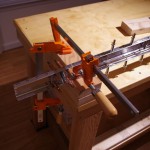
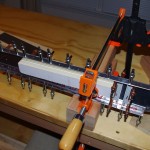
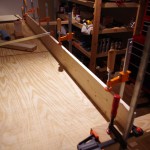
 More jigging and clamping for straight results.

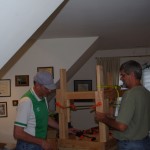
More assembly…
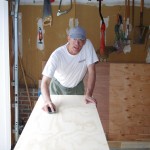
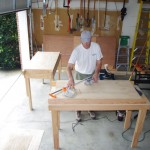
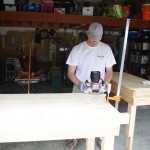
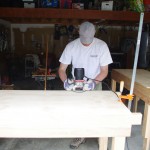
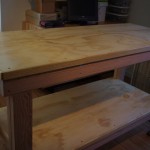
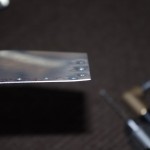
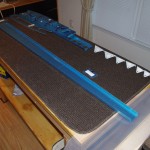
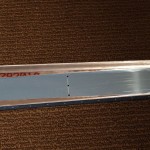
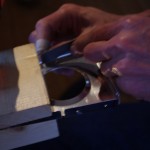
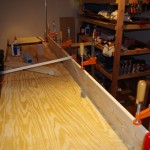
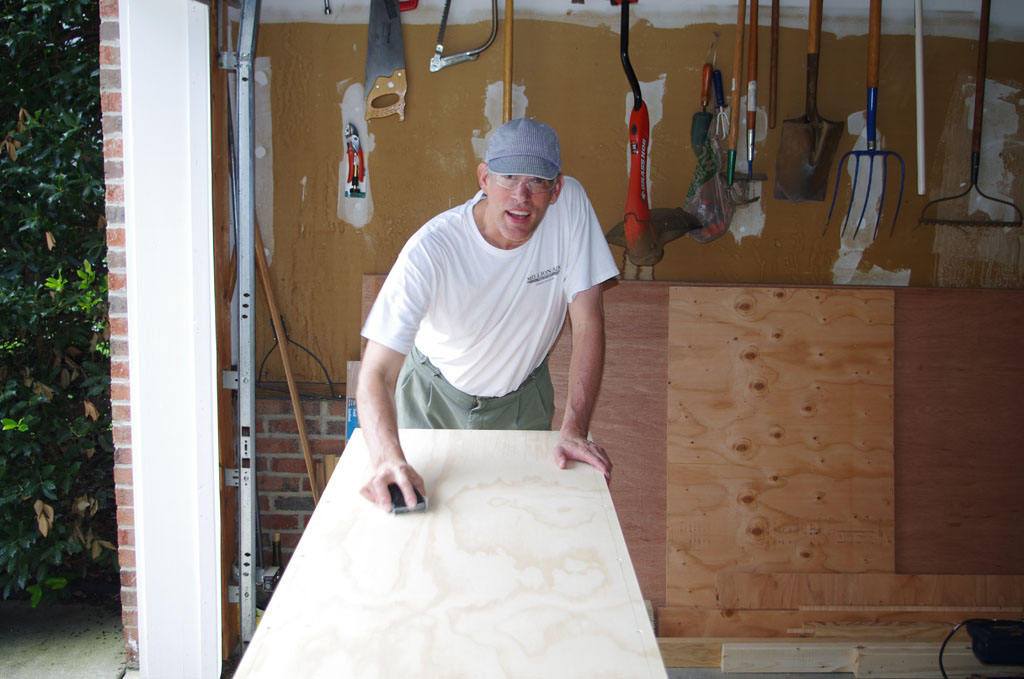
The slight overhang of the surfaces are routed flush with the side rails, then sanded ready for polyurethane coating.

Benches are not supposed to be constructed as finely as furniture, but I decided to add moulding strips anyway.
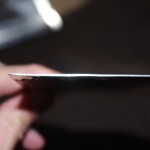
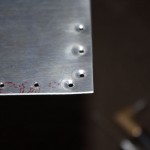
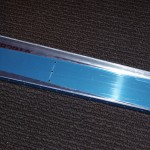
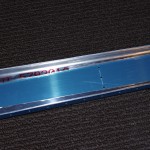
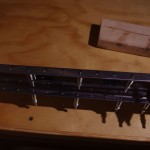
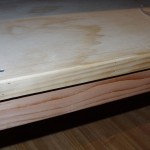 Here is a close-up of the top surface edged with 1″ moulding. This is probably overkill, but the results are nice.

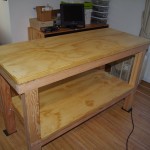
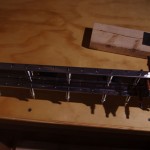
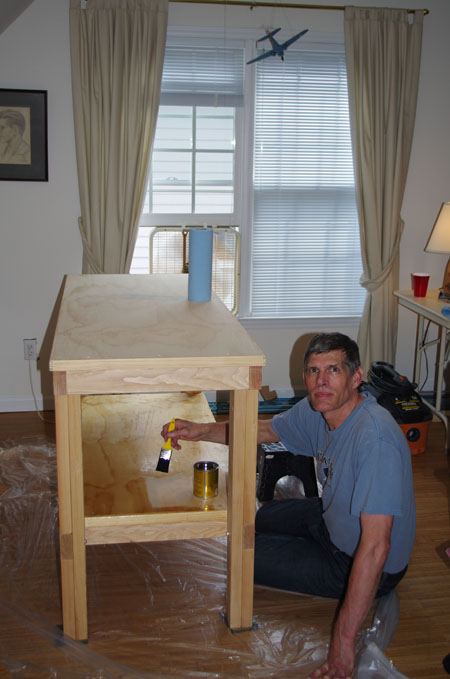
The work surfaces are sealed with two coats of MinWax polyurethane to keep down any absorption of fluid and splinter reduction.
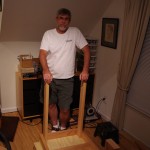
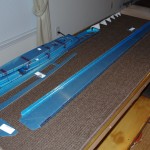
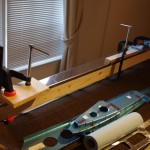
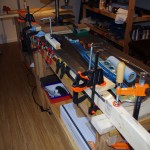
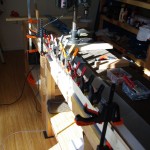
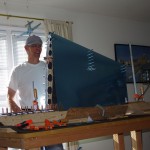
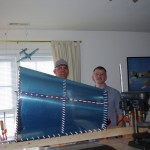
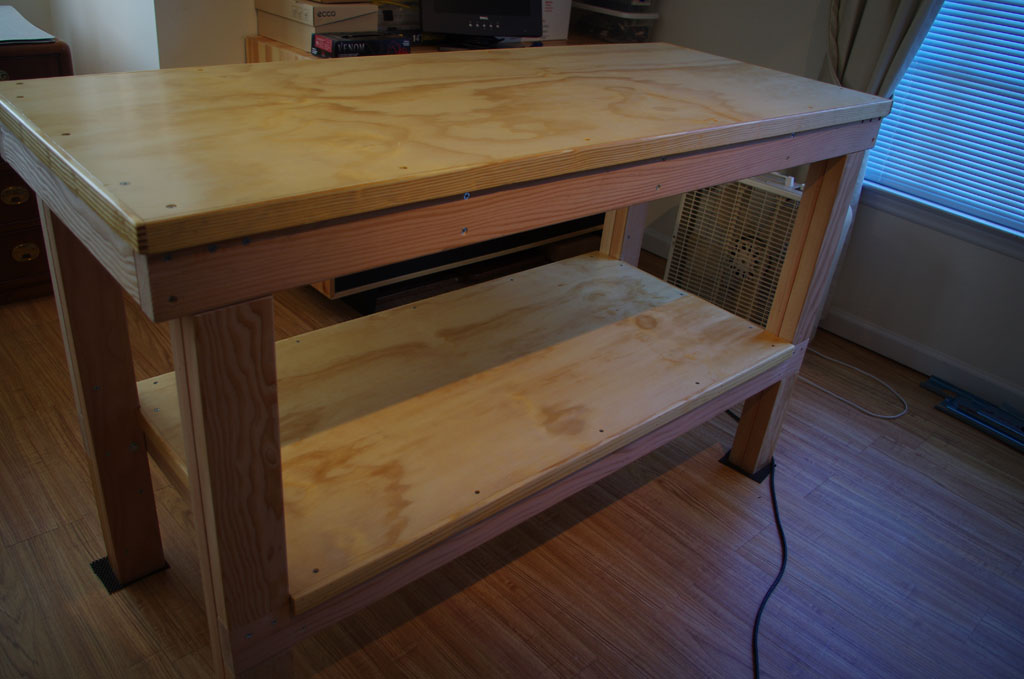
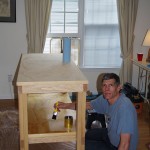
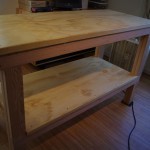 The final benches are nice, straight, perfectly aligned, and level. Great start to the project. Thanks to Rich and the kids for all their help.


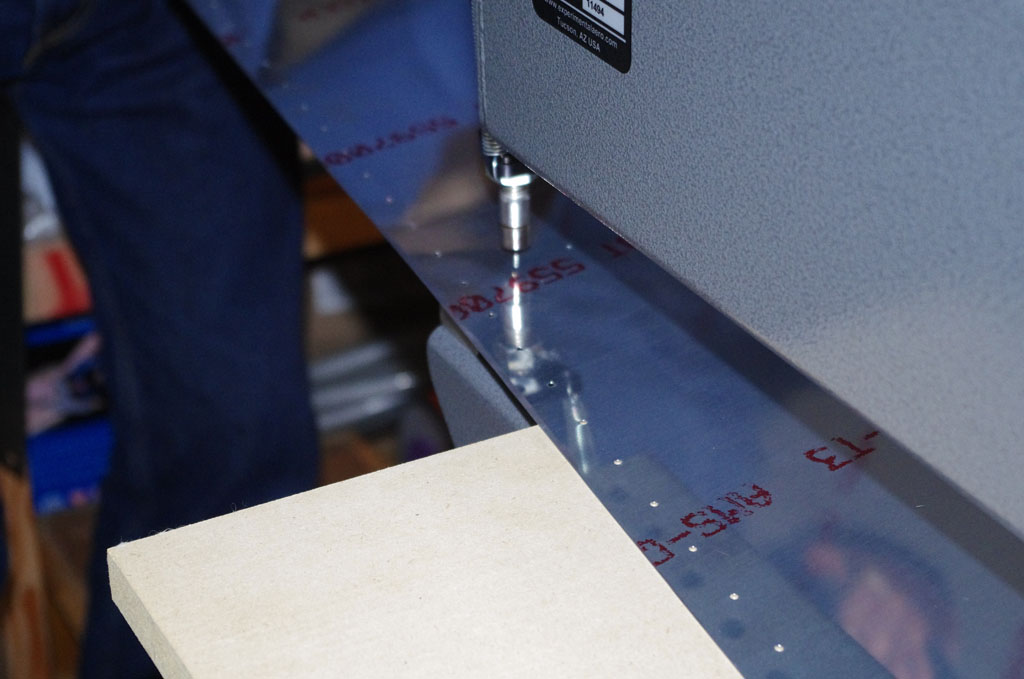
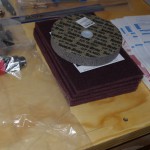
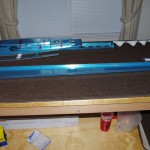
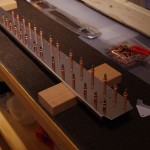
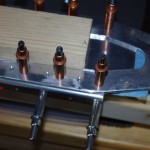
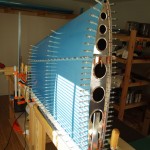
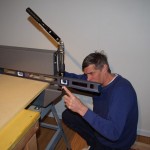
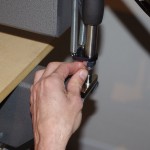
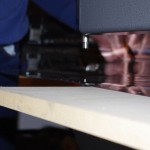
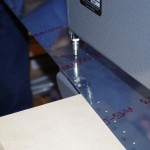
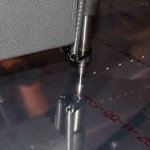
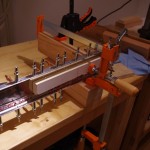
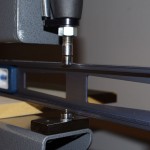 Laying a 5/8inch sheet of MDF on the bench top provides a seamless surface to the DRDT-2. This picture shows the MDF will support the skin exactly level with the male die for the dimpling operation.