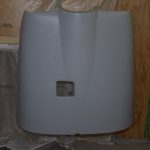
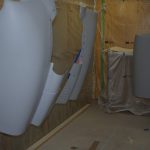
More fitting and body work has been associated with the upper and lower cowling. The sequence I used for painting the cowl parts: cut and fit the cowl as needed, sand/putty for initial prime, attach hinges and fasteners, Smooth Prime, sand/spot putty, prime again, scuff with Maroon scotchbrite, and final paint. Splitting the lower cowl before final prime to accommodate a three-bladed prop was a difficult process.

 Fitting the lower cowl bracket and bending the air outlet louvers were the beginning final cowl preparations.
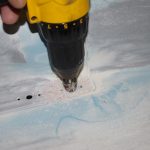
 Holes for the Skybolt camlocks were drilled with a Unibit into the lower cowl where the air scoop will attach.
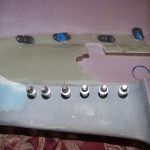
 Superfil was applied to the air inlet ramps of the upper cowl for smooth airflow into the engine compartment.
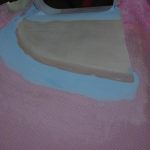
 Sanding the air inlet ramp and application of resin/glass bubbles to secure the Rod Bower scoop inlet piece were also done.

 Drilling for the nose connection screws and aft pin retention block were completed on the upper cowl before the final separation.

 Fishing line (hard to see in the left photo) provide a trace line for the center cowl center. The lower cowl was held together with a forward custom retaining piece while a curf-less saw started the cowl splitting process from the aft side.

 Further splitting of the lower cowl continued with the scoop installed until full separation was achieved. The split process was nerve racking, but seems to have been successful.

 On the left, the lower split cowl near the aft section is shown held together with a custom retaining piece. On the right, the side hinges were then riveted using a pneumatic squeezer.

 Side piano hinges are shown with intermediate and final rivets.
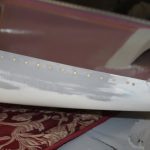
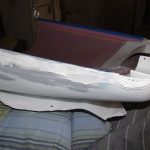 A thin layer of West System resin and colloidal silica was spread to the upper side hinge rivet lines. After 24 hours of cure time, the layers were sanded smooth before Smooth Prime was applied. Another round of sanding in preparation of the final prime coating.

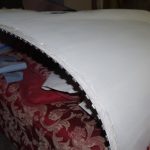 Here the rivet lines on the firewall hinges for the upper cowl are filled, then sanded smooth.
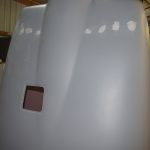
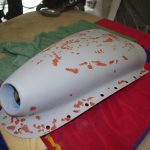 After the first coat of primer was applied, some body work or spot putty was needed in some locations. Those areas were then sanded smooth for another round of priming.
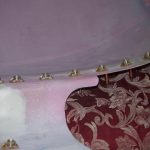
 After the initial prime, Skybolt fasteners were applied to the lower cowl halves and the lower firewall brackets. All the parts were then sanded again and reprimed.
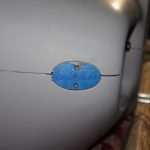

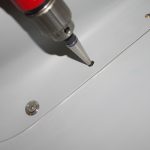 Fitting the Aerosport side cowl pin retention blocks and the Skybolt Camlock pins were the last steps before final paint was applied.
MISCELLANENOUS

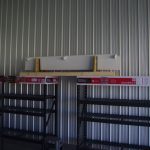 The flaps were the first set of completed parts transported from the workshop to the airport for staging in the final assembly operations.
 Oil lines were covered with firesleeve, then run from the engine mounted adapter to the remote oil filter on the firewall.
