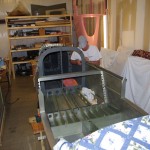
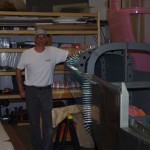
After weeks away from the shop for business travel, vacation, shelf construction, and building jigs for the quickbuild wings and fuselage, I finally got around to working on plane parts again. Rich came from Texas for a week with a stated mission of helping to marry the tailcone with the fuselage. Sounds easy…
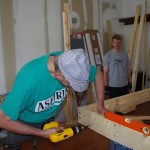
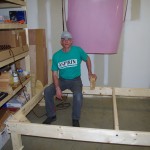 My first action was build a castered frame to hold the fuselage. Since shop space is tight, easy mobility and enough height to work under were prime considerations. Reinforced corners to the 2×6 from helped stabilize the whole assembly.
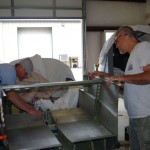 The quickbuild fuselage comes with floor panels pop riveted to the lower ribs. The panels had to be drilled out to remove. Afterwards the actual attachment was tricky, where the tailcone skins must fit precisely underneath the already prepared fuselage skins. Three of us took 2 hours to finally get everything aligned.
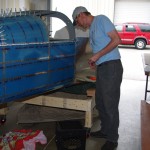
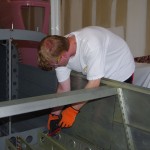 The overall process required first attachment, match drill, deburr, dimple, and some rib riveting prior to the final attachment. Here are a few photos of the first round.
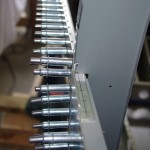
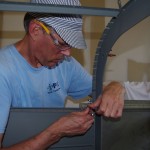 Laying out the longeron hole pattern, match drilling and initial lockdown are first in the process before doing the skin/bulkhead holes.
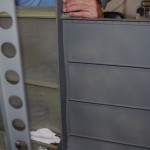
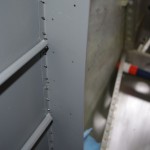 As seen here the bulkheads are quite wiggly before being clecoed into proper alignment. Once clecoed into place, the seemingly flimsy construction of the individual parts turns rock solid as a combined unit.
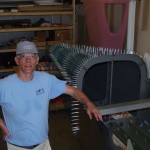 Here is a photo of the initial attachment after all match drilling has been completed. Thrilling – but pulling apart for further processing is next. I was not looking forward to this after a full, hot day getting it together in the first place.
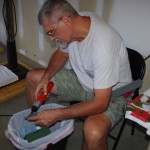
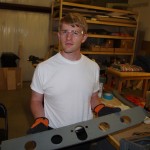 Later in the weekend Rich and Eric helped with the deburring and dimpling of the skins, ribs, and bulkheads.
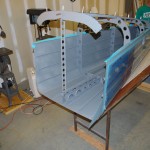
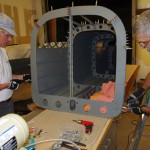 Once the tailcone was removed again, I used the opportunity to SEM prime the skins which will be overlapped with other skin sections. The right photo shows the lower baggage bulkhead riveted to the bellcrank ribs.
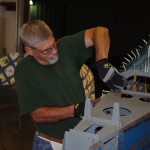 Here Rich reattaches the rear upper skin on the tailcone prior to reattaching to the fuselage.
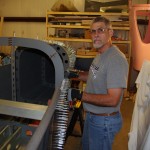 Here the tailcone is back on the fuselage, hopefully for the last time. The left photo shows setting the longeron bolts, the right photo show clecoes being applied externally to all skin holes.
Well not really. Here everything is attached and clecoed, but final rivets are not complete. I could not have reached this point without help from Rich and Eric. The parts are just to unwieldy to handle alone. A friend has said he did this process by himself, I just don’t know how he managed.
