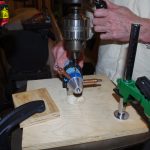
The plans call for numerous parts requiring custom lengths or special fabrication. I decided to process all the remaining control and push rods together. This should reduce the alodine batches required, plus get some minor shop efficiency by not changing tools for every single piece.

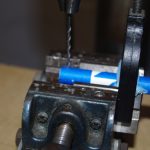
 Here are some follow-up pictures from the last post about how the larger diameter (>1″) aluminum tubes are measured and drilled.
 The smaller flap actuator rods (1/2″ diameter) made of steel are much more difficult to handle, as the tolerance and angles are tighter. Here a dremel tool with small grinder wheel is used to open up the end large enough to accept the screwed fitting.
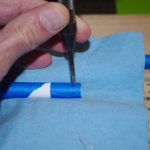
Next comes the measure and alignment of the holes. For these rods, two through holes perpendicular to one another and offset back 1/2 and 3/4 from the edge are required. Unfortunately, the drilling on one rod end was not correct the first time. This resulted in a hole not aligned properly through the center of the rod. It was bad enough I will have to make these over again. Stay tuned for an update.

