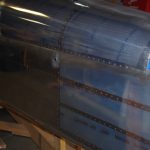
Completion of body work and initial priming of the fuselage with DesoPrime CF took many weeks to accomplish.
The frame around the baggage door was just one example where the height difference between parts was leveled and smoothed. After scuffing the raw aluminum surface and degreasing thoroughly, a mixture of West Marine resin/colloidal silica was applied to provide a hard substrate for later Superfil covering. Multiple layers and many hours of sanding ensued to get the final result.
The treatment for just aluminum surfaces was scuff, degrease, apply Prekote, then prime. The fuselage top was primed in a separate sequence than the bottom. (more on that later).
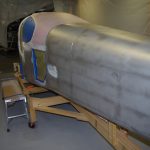
 Before and after shots of the fuselage from the rear. The left photo shows filler transitions on the rear window, door openings, rear air scoop, and canopy/skin seams.
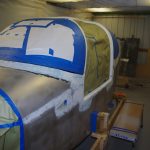
 Before and after shot of the fuselage from the front. The left photo shows body work around the windscreen base, door openings, forward air scoop and upper/side fuselage skin seams.

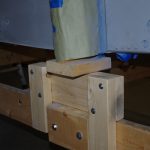 After the first prime on the upper fuselage, additional filler and smoothing was needed in a few places. Particular improvements were applied for the windscreen base – where the transition to aluminum to the fiberglass base needed attention. The left photo shows the sanded elements ready for a second primer round. The fuselage was then lifted about 6″ to provide more room to spray the bottom.
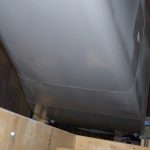 Having never painted upside-down before, applying primer to the bottom was a real challenge. It took a few days of preparation before the painting session. The results seemed fine, but later sanding will reveal whether the primer thickness is uniform across the surface.ad
MISCELLANEOUS
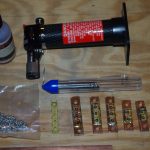
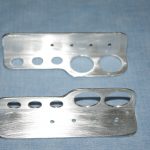 Custom elements were made prior to installation of the instrument panel and wiring harness. The left photo shows 1/4″ connection tabs made into ground blocks for the wing roots and tail section. The right photos shows brackets to hold cable bundles under the Aerosport kick panels near the rudder pedals. These were needed as the default Vans brackets were too ‘proud’ (too high to fit under the plastic panels).
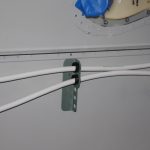
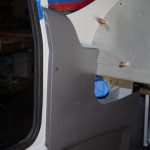 On the left is the SEM primed bracket with 2 AWG cables for PRI BATT and SEC BATT running from behind the baggage area to the firewall. The kick panel was rough fit for the dummy instrument panel. Later adjustments will be made when the real panel is installed.
