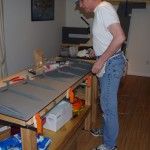
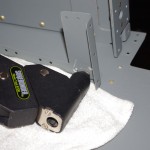
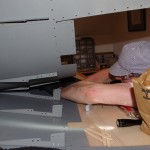
After a week in LA on a business trip and another week in bed sick, I finally got back to plane activities. Over the weekend Eric helped me with the initial rudder assembly, the primary focus is to bond and jig the trailing edge.
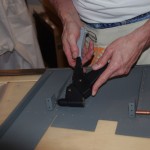 My first use of the pop rivet gun was attaching a retaining clip to the stiffener brackets. Here on the top stiffener. Notice how low the clearance is between the right skin and the width of the clip.
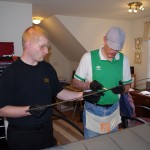 We used Van’s equivalent of ProSeal to bond the AEX trailing edge strip to the skins. Here we are smoothing the globs with popsicle sticks. The instructions say you have about two hours to work with the material before it gets hard. We found it extremely tacky right out of the tube – almost the consistency of Play-Do. BTW – this stuff really stinks (contains sulfide/sulfate components), so good ventilation is a must.
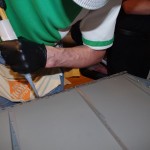 The Van’s stuff comes in a tube. What they don’t tell you is a holder (like a silicone tube gun) makes the end use a whole lot easier. I improvised with a piece of spare wood and hand power.
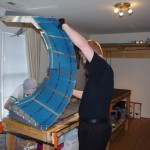 The instructions call for peeling back the left skin and pop rivet the stiffeners one by one. The lower ones were fairly easy.
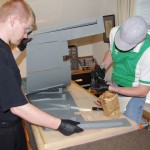 Pop riveting became increasingly more difficult as the spacing between skins got tighter and tighter.
The left stiffener has to be placed above the right, but below the retaining clip. Then the forward hole on left/right stiffeners gets pop riveted. After setting all the stiffeners and the trailing edge, you cycle back to pop rivet the retaining clips.
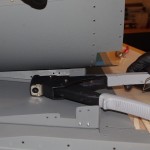 My big old hands are good for some things, but not others. As the space between skins got smaller, I started using needle-nosed pliers to insert the pop rivets in the forward stiffener holes. This picture shows the gun aligned with a rivet before pulling.
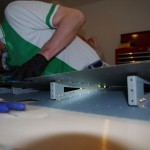 All the stiffeners have been placed, now aligning the upper ribs. Notice the over/under configuration of the stiffeners to the clips.
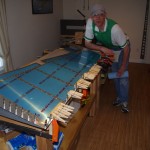 The trailing edge is clecoed down to my special angle bracket jig. Wooden cloths pins and clamps hold the skins between clecoes. Now a few days wait for the glue to cure is required before further processing.
