Unbolting and removing the old gear mounts was relatively straightforward. A few specifics are described below.
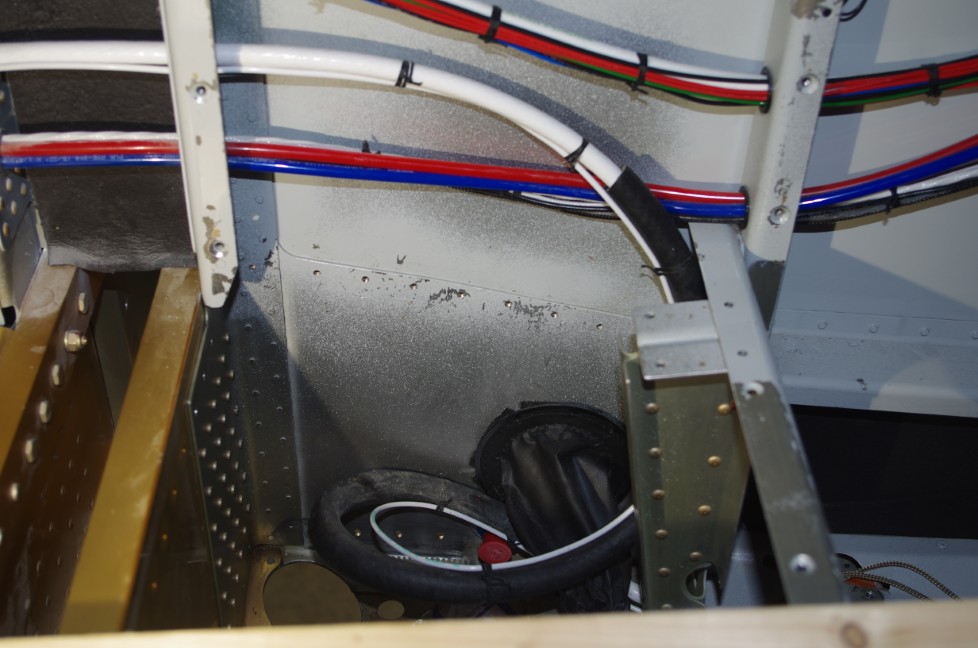
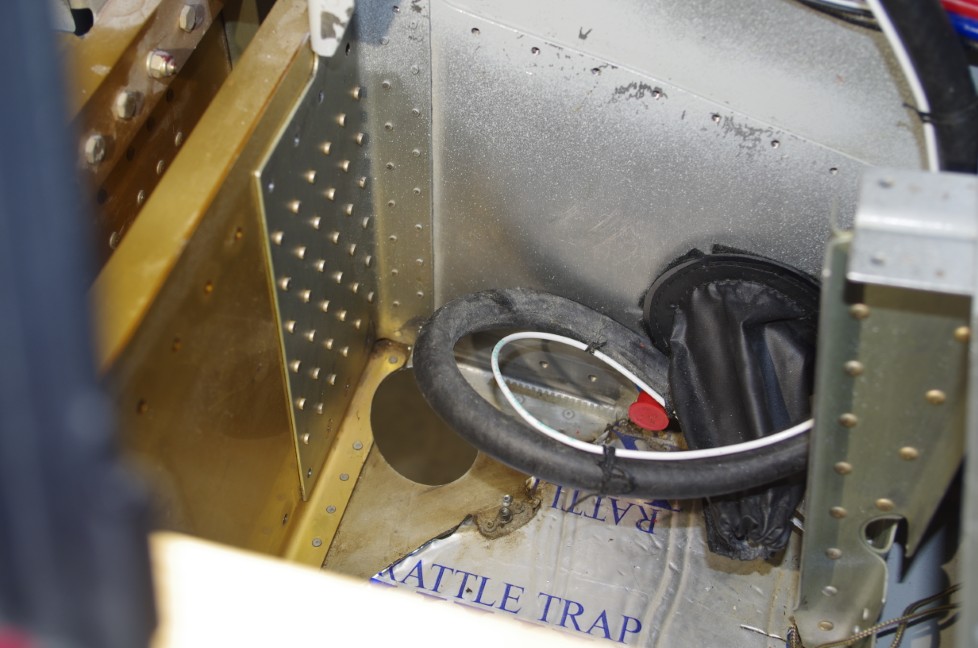 My airplane has a #2 ground wire running along the left fuselage side from the rear batteries to the forest-of-grounds on the firewall. This stiff cable made gear mount manipulation a bit more difficult than on the right side.
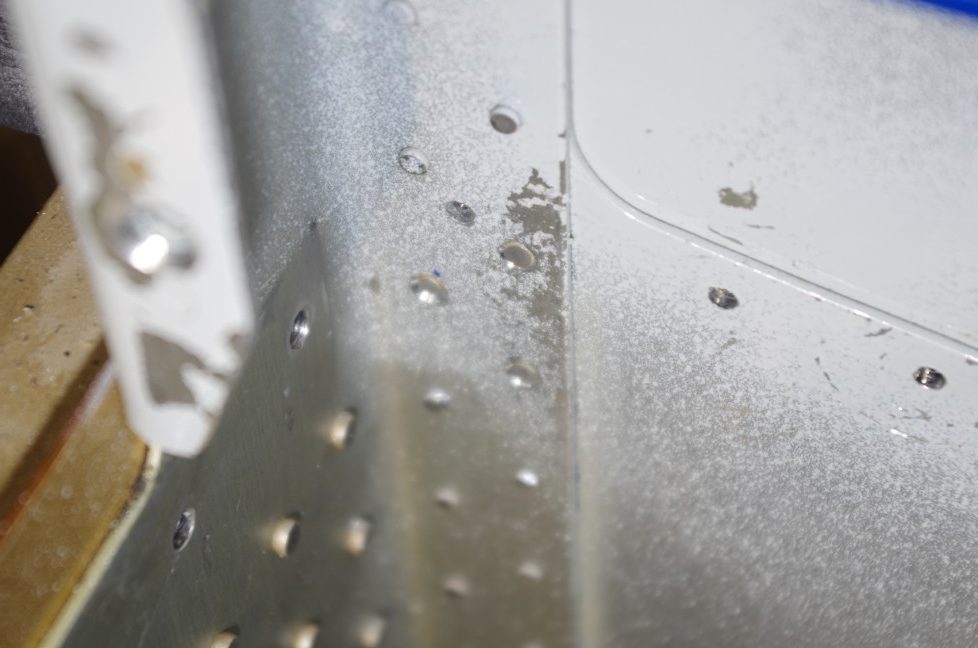
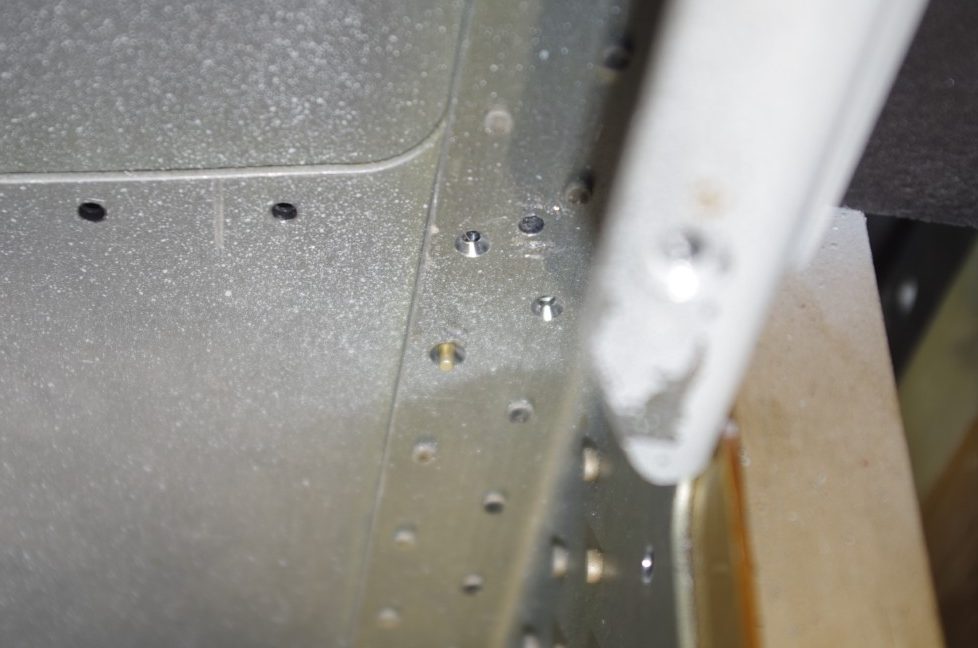 Drilling out three rivets and replacing with flush rivets on both sides was required for installation of the new F-01004T Center Section Side Plate Doublers.
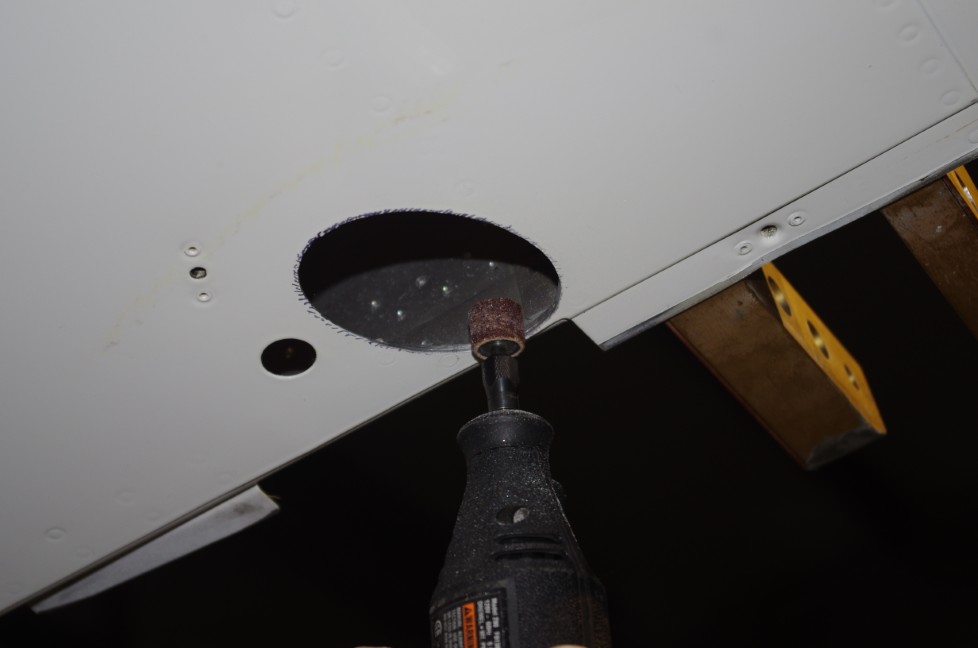
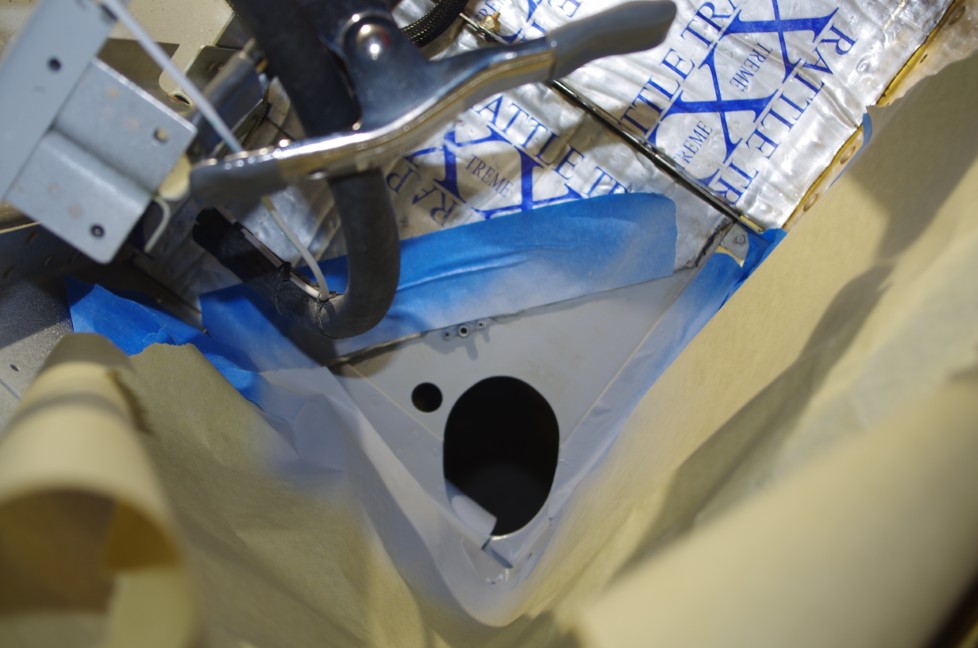 Because the new gear weldment tube is a larger diameter than the original version, the bottom hole needed to be enlarged about 1/16″ – 1/8″. I used a Dremel sanding drum to accomplish the larger hole. The interior and edges with exposed raw material was treated with self-etching primer.
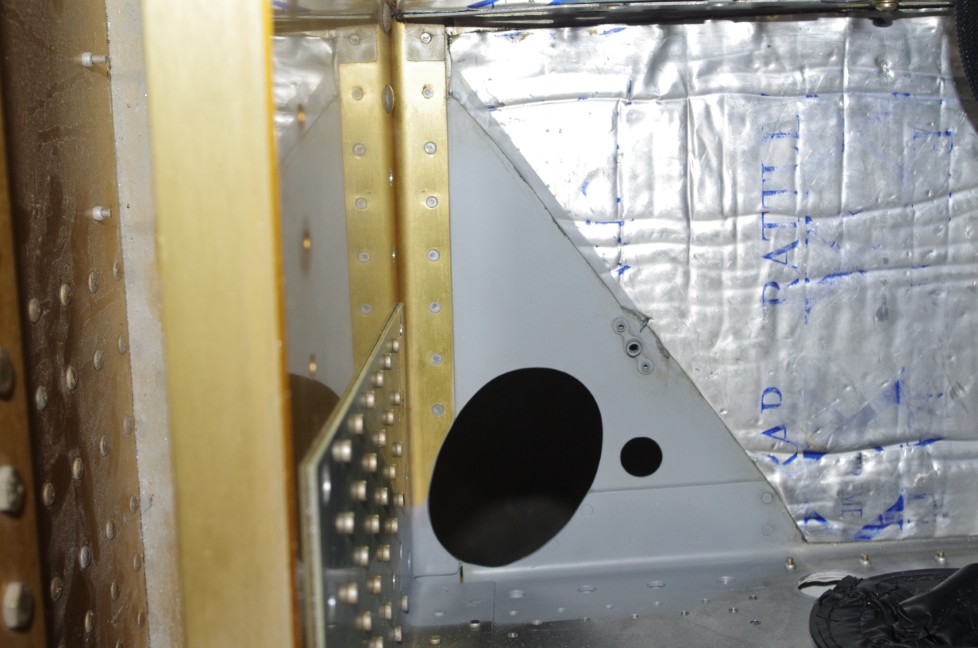
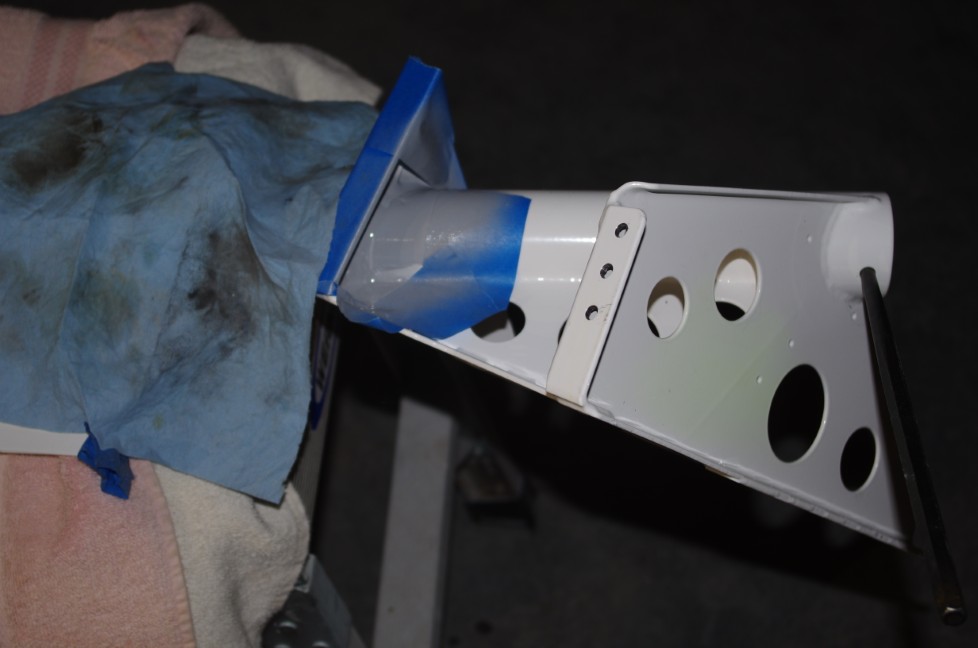 Self-etching primer was utilized not only on the interior sections, but also on nicked or scratched parts (legs, weldments, spars…)
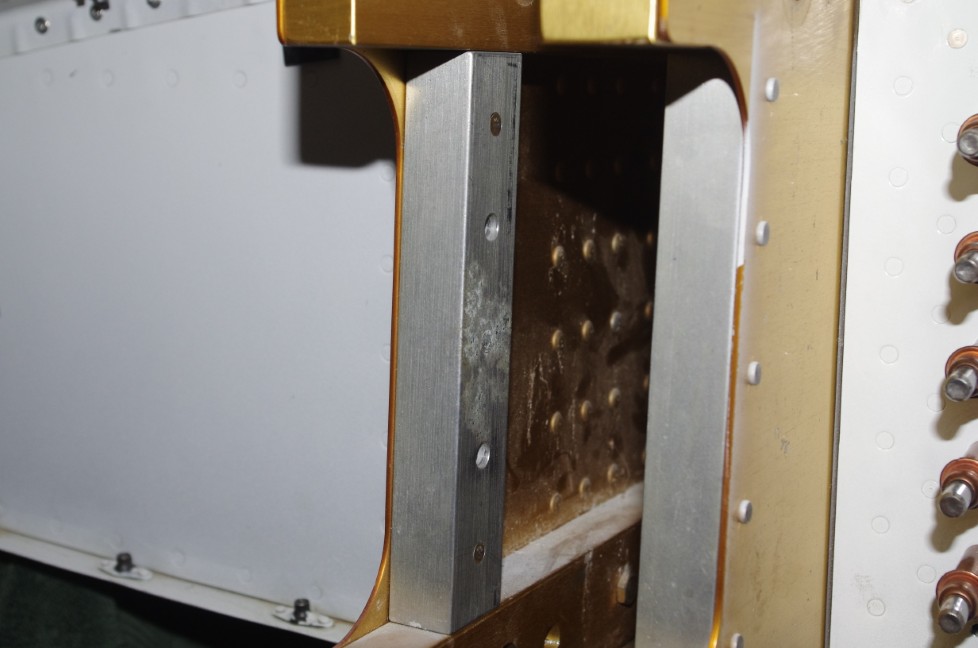 Inspection of the F-1004J Center Section Upright Bars and F-1004N Stiffener Angles revealed some corrosion on the untreated aluminum surfaces on the right side. I assumed this came from the paint stripping process done earlier when the plane was repainted. Regardless of origin, these parts on both sides were removed, cleaned, treated with alodine and then primed. A side benefit of removing these parts was I could fit my hand comfortably between the spar webs to access the nuts for the weldment bolts with a wrench.