I bought an inspection plate from AirWard for later inspection of the boost pump and central tunnel wiring. The installation of the backer and plate is fairly straightforward, but getting a comfortable position to work on the QuickBuild kit is not easy.
 Here the backer is placed beside the tunnel for initial fitting and drilling.
 Here all the rivet holes are match drilled with the tunnel wall.
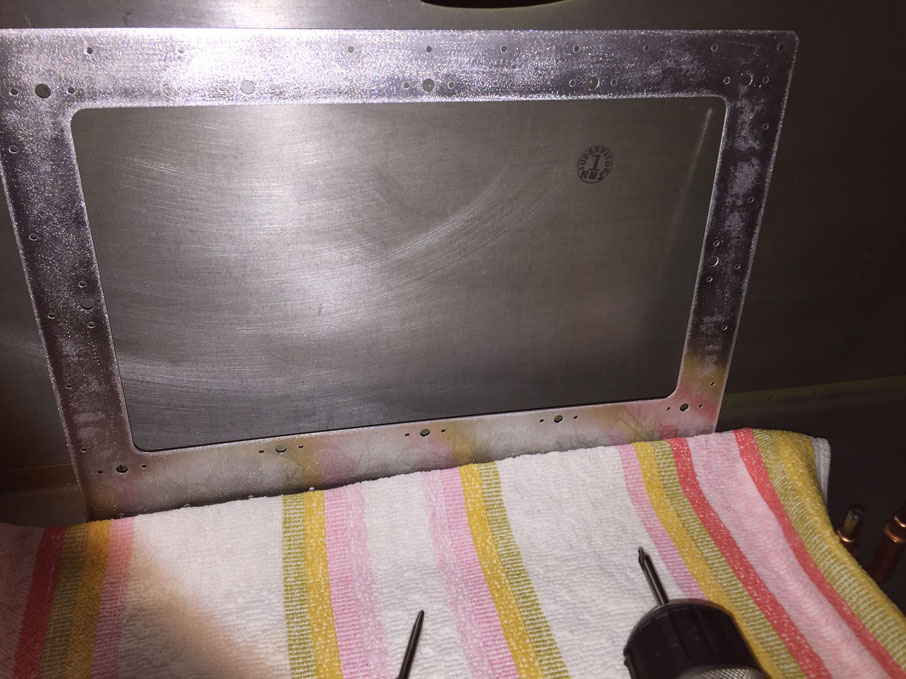
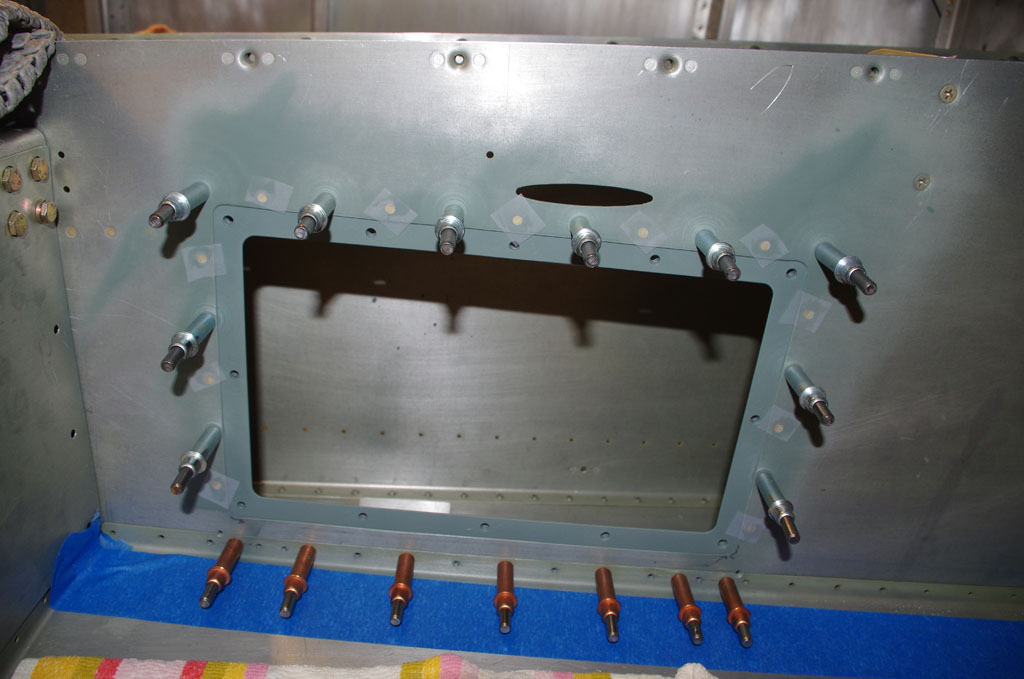
 The cover plate is clecoed into position to mark the edges for cutting out the hole.
 I used a nibbler to rough out the inspection hole using the same technique as for the NACA vents. Some people use a sabre saw or similar mechanical device, but I seem to get in trouble quickly with such devices. The hand method is very much slower, but I have better control and fairly good results so far.

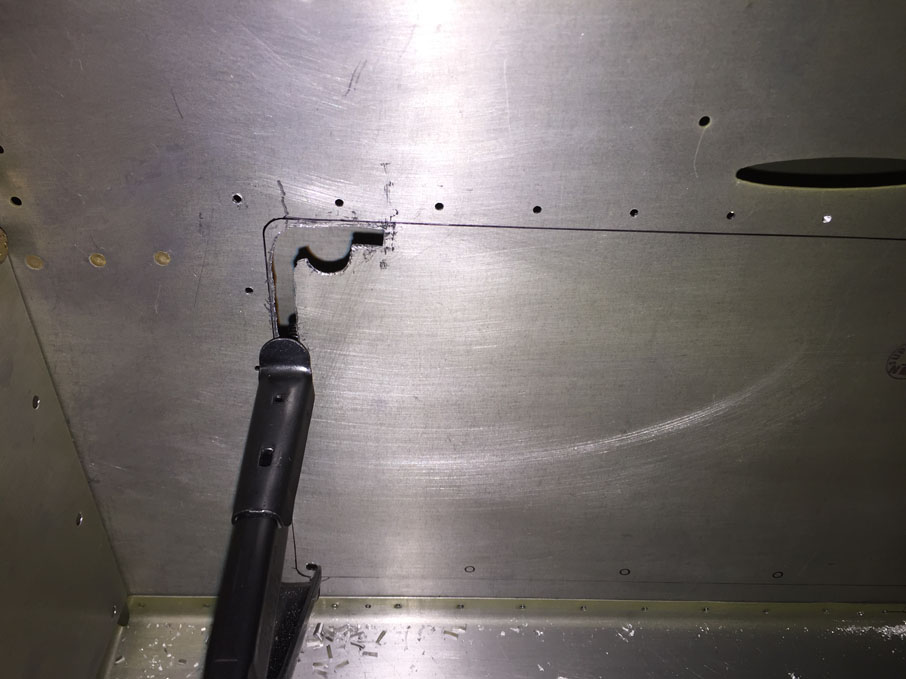
The left photo shows the nibbled inspection hole. The right shows the top and left sides rough filed into shape. Tomorrow I hope to finish off the rough shaping, then do final smoothing and fitting.
DECEMBER 26
 Kneeling in the cabin to hand file the edges took a few hours to complete.

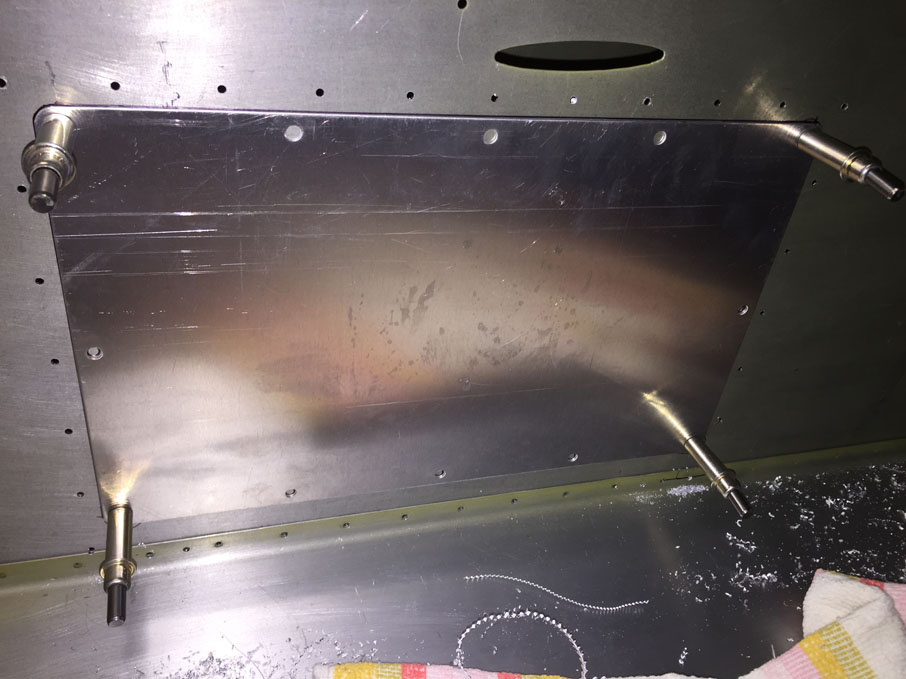
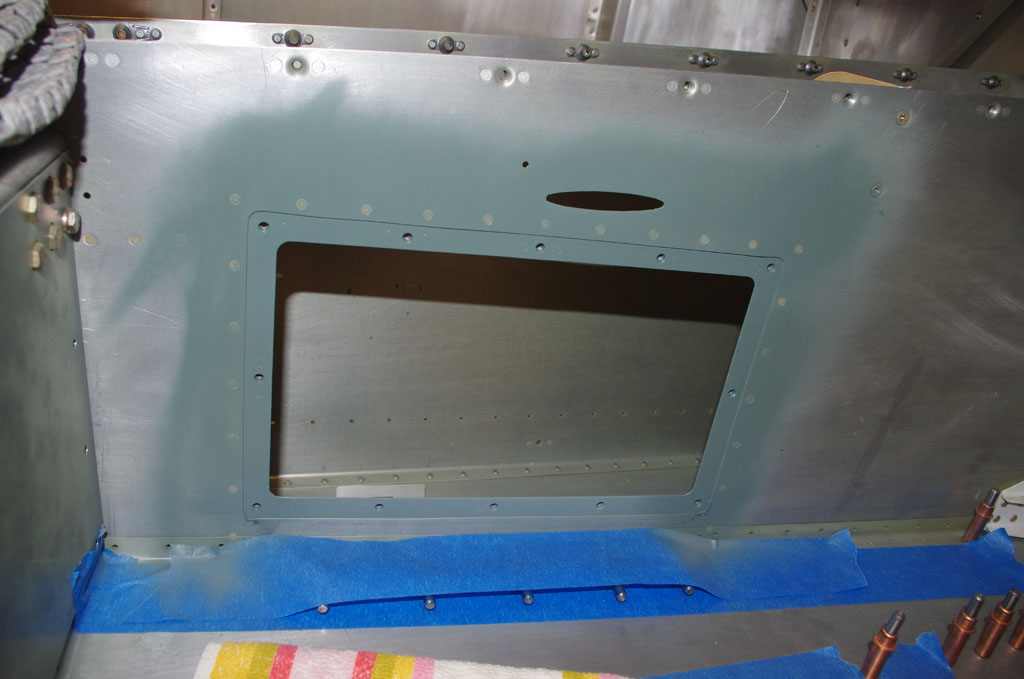
 Final fitting on the inspection plate, then SEM prime the tunnel opening.

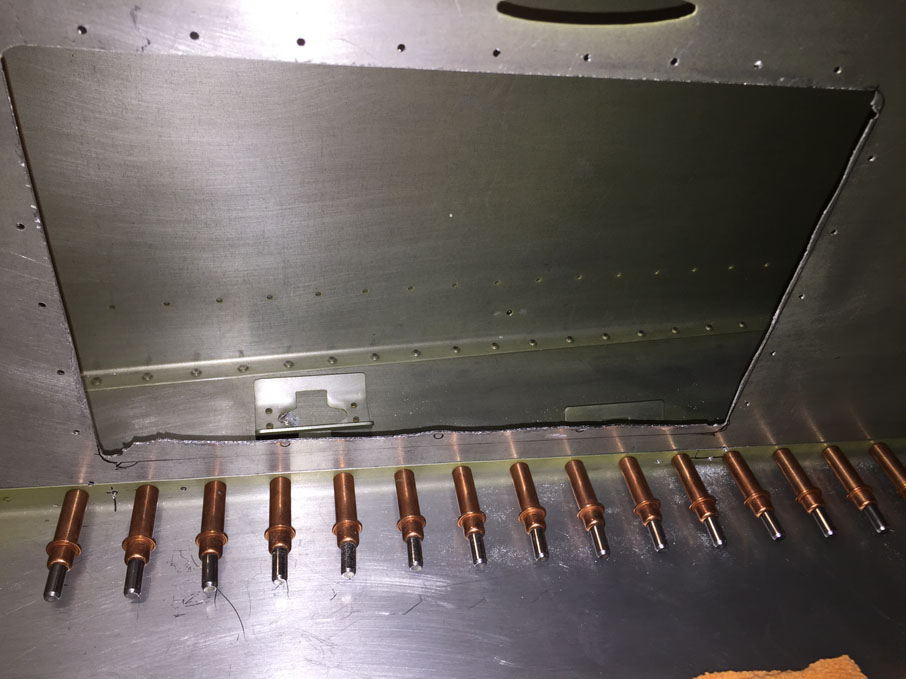
 Retaining bracket front and rear after SEM priming and nut plates installed.
 Bracket clecoed in position, the final rivets installed.