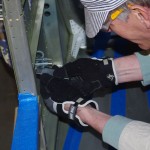
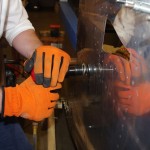
After purchasing the latest RV10 plans CD now available from Van’s, I noticed they have an optional wire covering from the spar bulkheads to the instrument sub-panel. This part only cost $14, so one was purchased and fitted on the left side. I like the appearance so well, the left side will be used to build a mirror image for the right. Adding two upper holes provides four different wiring pathways to the firewall or instrument panel – two above now being created and two 5/8″ black plastic conduits under the forward floor panels. This same configuration will be on both left and right sides and should provide more than adequate wire routes to the wings and tail.
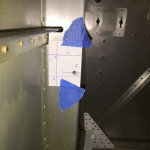 The first step is layout the hole drilling pattern as per the installation instructions.
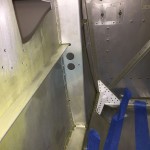 Drill out the holes to 3/4″ diameter using a Unibit. The angle was a bit tight for the cordless drill, but the results after SEM self-etch priming look good. I have decided not to fully alodine/prime attachable parts in the cockpit as exposure to elements like in the tail should be reduced.
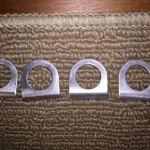 Here the F-1016H brackets are prepped for priming. These will hold SB750-10 black plastic bushings for the wire runs.
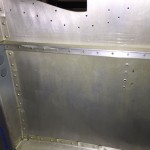 The holes for the brakets are match drilled through the forward skin under the NACA vents. After dimpling, the brackets are ready for AN426AD3-3.5 rivets. Note new bushing holes on the right side of the plane are also visible.
JANUARY 6, 2016
Eric and I riveted the dimpled and SEM primed brackets into place.
Once again, climbing inside the unfinished cockpit to buck the rivets is a bit cramped. Eric outside could drive with ease.
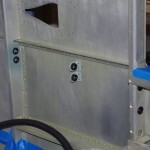
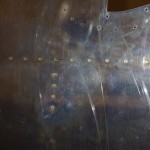 Here is the final view of the right brackets, inside and from the outside.
