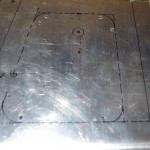
The baggage floor panels will eventually be riveted in place, making later access to the step holding bolt or ADSB/transponder antennas impossible. To rectify this situation two inspection holes (left and right) need to be fabricated. In addition to considering the layout defined by the quickbuild kit, I will make a hole big enough for my fairly large hands. A hole roughly 5″ x 5″ is needed for comfortable access.
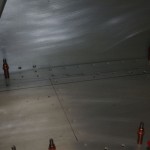 The shows the right baggage floor panel in position just aft of the rear seat angle bracket. Notice the numerous rivet locations already laid out in the quick-build kit. The inspection plates need to avoid the ribs and reinforcing brackets already there.
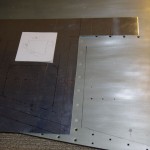 With the panel out of the plane a proposed inspection port geometry is marked on paper first, then transferred onto .025″ sheet for evaluation. This picture and the next section show a layout only about 4″ deep, not enough for my hands. I eventually lengthened the plate to about 6 inches.
The reinforcement plate layout shows the approximate location of the step bolt on the left, and the ADSB antenna fasteners. The final larger plate should have good access to these locations.
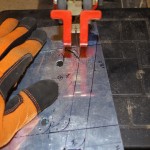
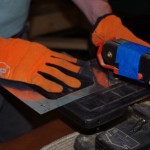 Here I am using another of Rich’s fantastic trickle-down tools (Crafstman Scroll Saw) to rough out the reinforcement plate for the inspection panel.
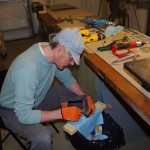 After the center portion is roughed out, back to hand-filing and shaping on the reinforcement plate.
