These ports haven taken a long time to fabricate, basically because most of the work is being done by hand and I am quite slow with a file. This results are usually decent for me with this method.
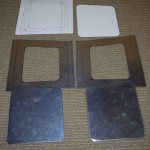
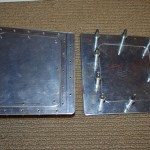 These are the roughed out plates and backers in the left photo after hand shaping and polishing. On the right are both set after initial match drilling the holding rivet and nutplate center holes.
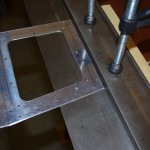
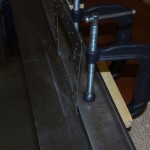 Using the brake to bend a reinforcement angle on the backer plates.
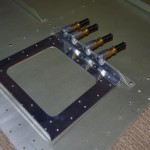
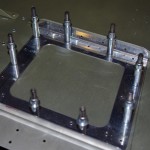 The backer is clamped to an already attached cross-brace on bottom of the baggage floor panel. This serves as the template for the rivet holes and nutplate positions. The right photo is after all pilot holes drilled and the plate is clecoed in place.
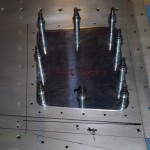
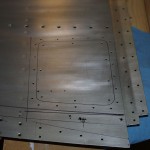 The inspection plate itself is clecoed to the top of the baggage floor to trace an outline hole.
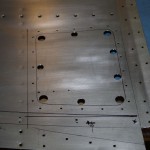
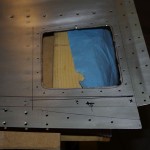 Now for the normal progression – pilot holes, nibble base outline, rough file, finish file, final polish with Scotchbrite. Again everything is done by hand at this point.
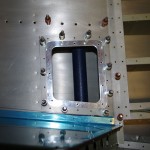
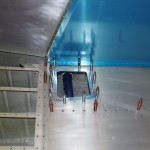 The backer plate is nearly finished. Adding the nutplates and priming are the remaining step before riveting into place. These photos are prior to final attachment to make sure the alignment with the baggage floor, cover panels, and step brackets are all good.