The entire week was used to prepare for the first interior paint in the cockpit. Materials were transported from the garden shed, my usual paintbooth, to the shop. These included air compressor, paint gun, supplies, hoses, fans, filters, and barrier walls. Quite a logistics challenge. Eric and I got up Saturday at 5:00am to beat the oppressive heat which comes later in the day. Temperature in the shop was a comfortable 74F in the shop before the sun came up.
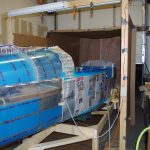 A rudimentary paint booth is constructed of large cardboard sheets and thin plywood paneling. This is not intended for long term use, just enough to keep paint/fumes fairly contained on the side.
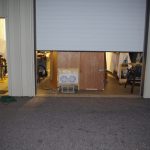
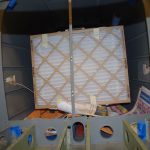 Fans/filters placed in the tail and on the plywood barrier are just enough to keep a gentle air flow from back to front, then out the shop door. This concept, while looking very crude in the photos, worked extremely well in practice.
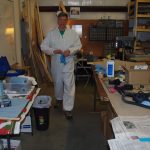
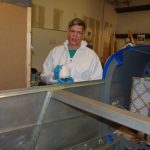
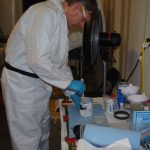 The basic process getting ready to shoot remains the same: suit up, shake and mix well. Then pucker and pull the trigger.
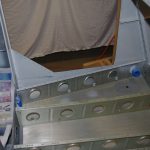
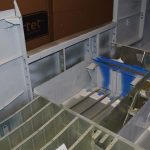 Now for the results – baggage door and rear seat areas. Only those visible areas are painted. The remaining parts are covered by side or floor panels.
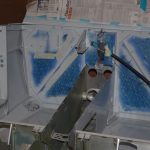
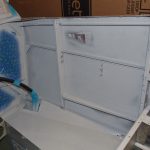 Firewall and side panels. Some areas here are perhaps a bit thin on paint, but no worries about appearance, as these sections will be covered with soundproofing material and probably panels as well.
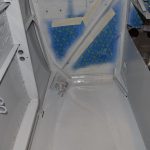
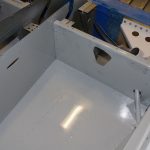 Front floorboards and forward seating areas.
I used PPG Concept paint coded DCC in Boeing grey (BAC707). This is a three part system with paint, reducer and hardener. This stuff is fantastically hard, flows together when applied properly, and covers very well. Any runs can be sanded and resprayed for a smooth finish . The downsides to this material are its high expense and caution must be taken for personal safety. The poly-isocyanates in the hardener are toxic and exposure must be avoided. Fortunately I have the HobbyAir breathing system, safety glasses, gloves and professional paints suits for protection.
Next steps are install the sound dampening material, run the electrical conduit under floor boards, then rivet all the floor panels in place. I may not do another round of painting, as the overall results for the first round were pretty good.